Walnut Counter Top
 |
 |
Finished
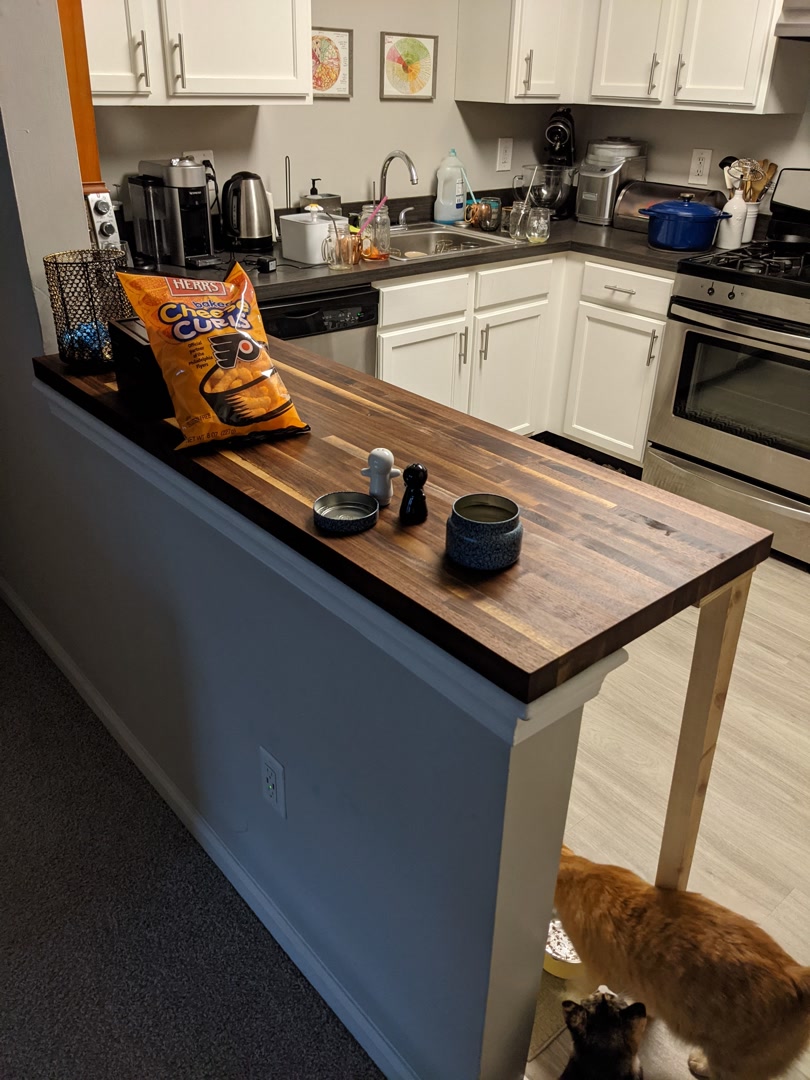
Phew. It looks so simple, but it was a lot of work. I made this counter top as a wedding gift for one of my closest friends.
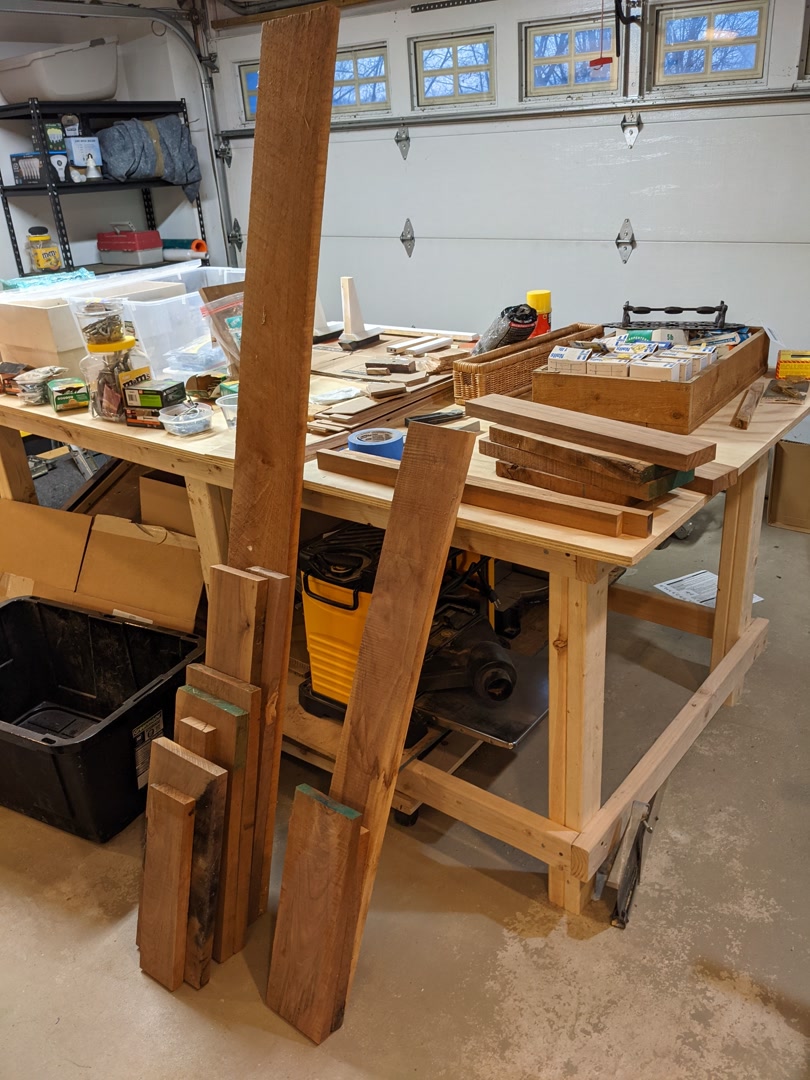
So let’s start. First off, mostly of this wood started as scrap off-cuts. I bought a dust collector from a local guy who was moving, and he had a bunch of this wood laying around. I figured I could use it (and I did), so I brought it back with me.
 |
 |
Nearly all of these pieces weren’t flat, and none of them were over 1” thick. Unfortunately, the counter I planned was 1.5” thick. RIP. So rip I did, into many 1”x1.5” thick strips (slightly oversized of course). I now have a bunch of new, smaller scrap as well. What a hoot.
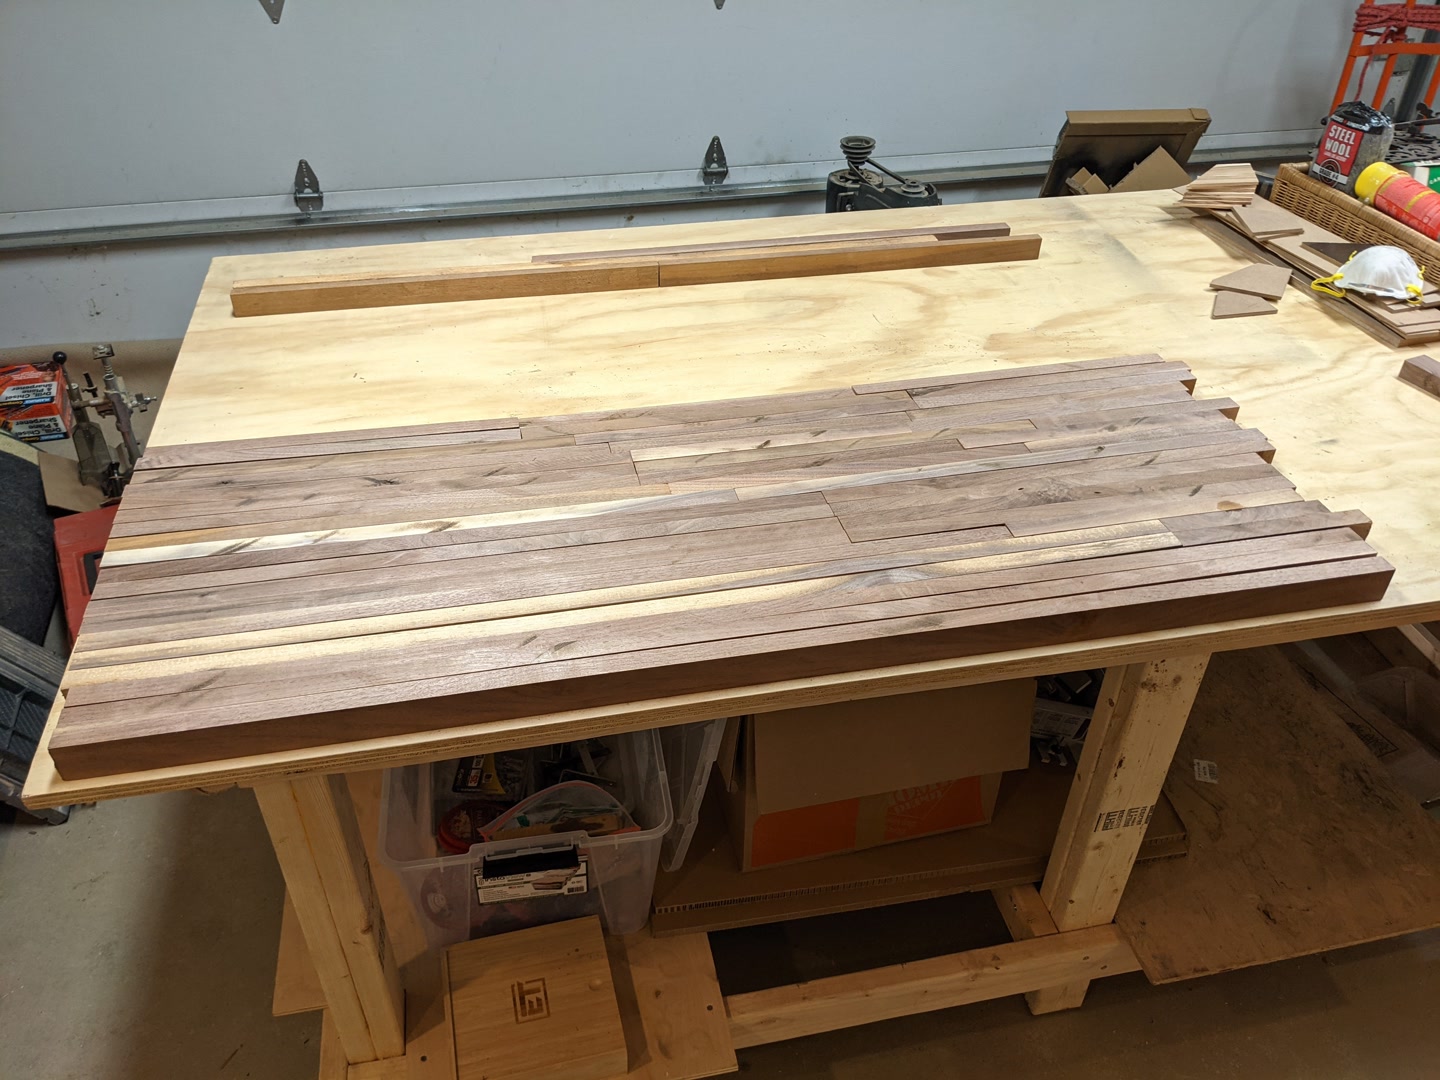
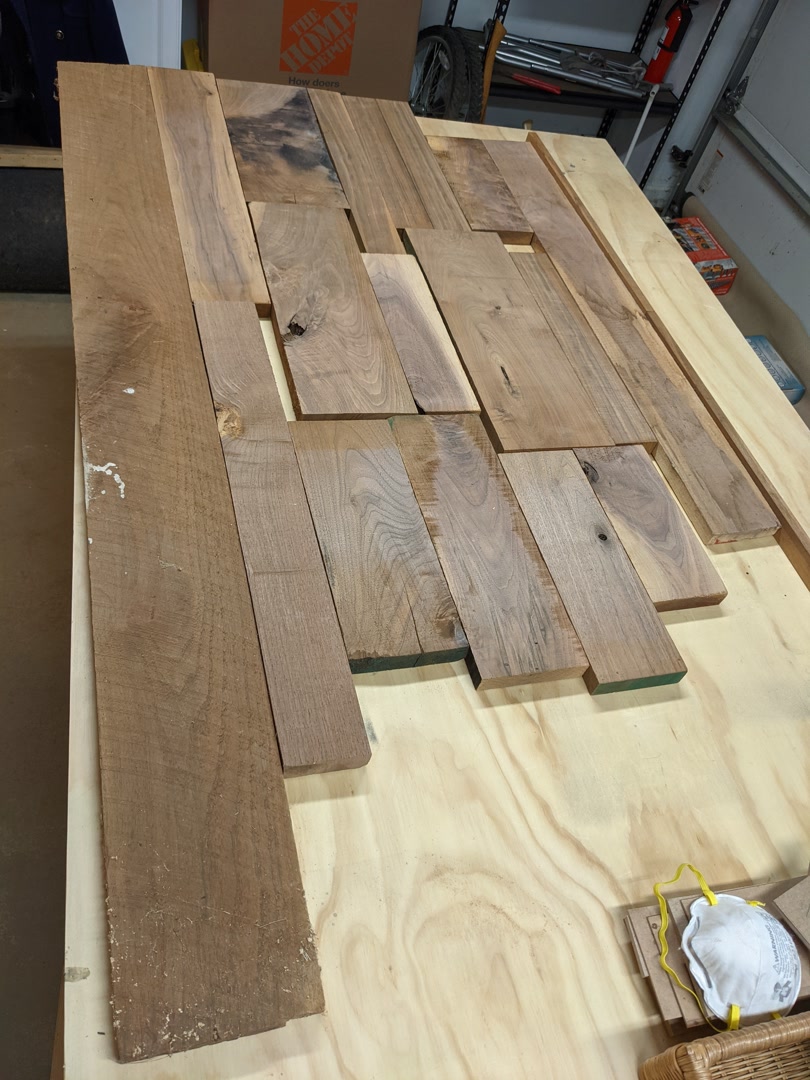
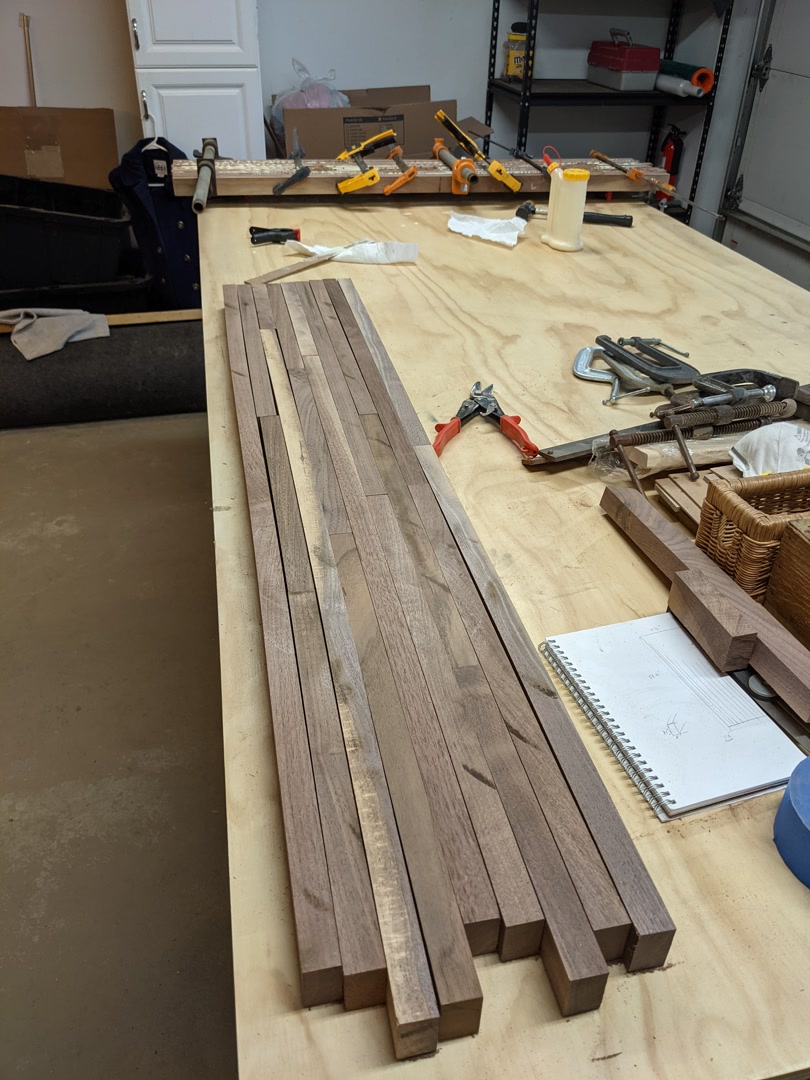
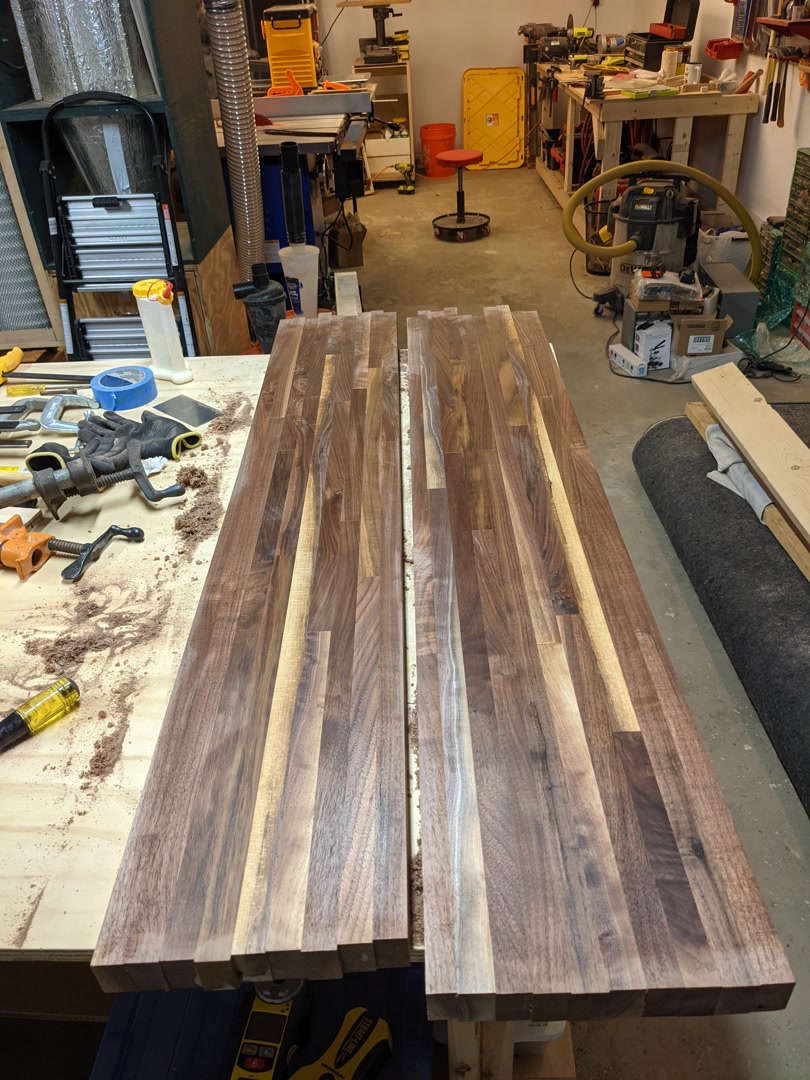
Since these all started as disperate scrap pieces, none of them were the same thickness. I’ll skip over the planer fun here, but it was just great feeding in strip after strip until they were all a uniform shape.
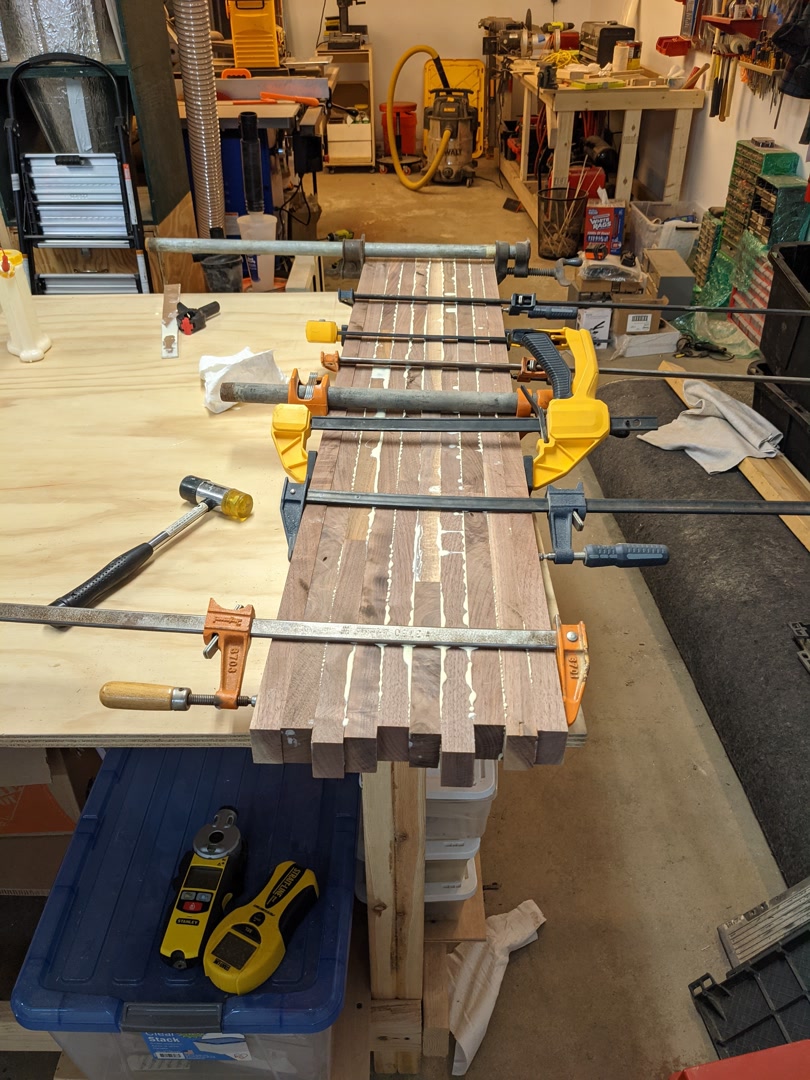
With that done, it was time to glue. I chose to split the glueup into two glueups of a half each, then a final glueup of both halves. This way I could make each half thin enough to fit into my thickness planer and end up with nice uniform surfaces.
 |
 |
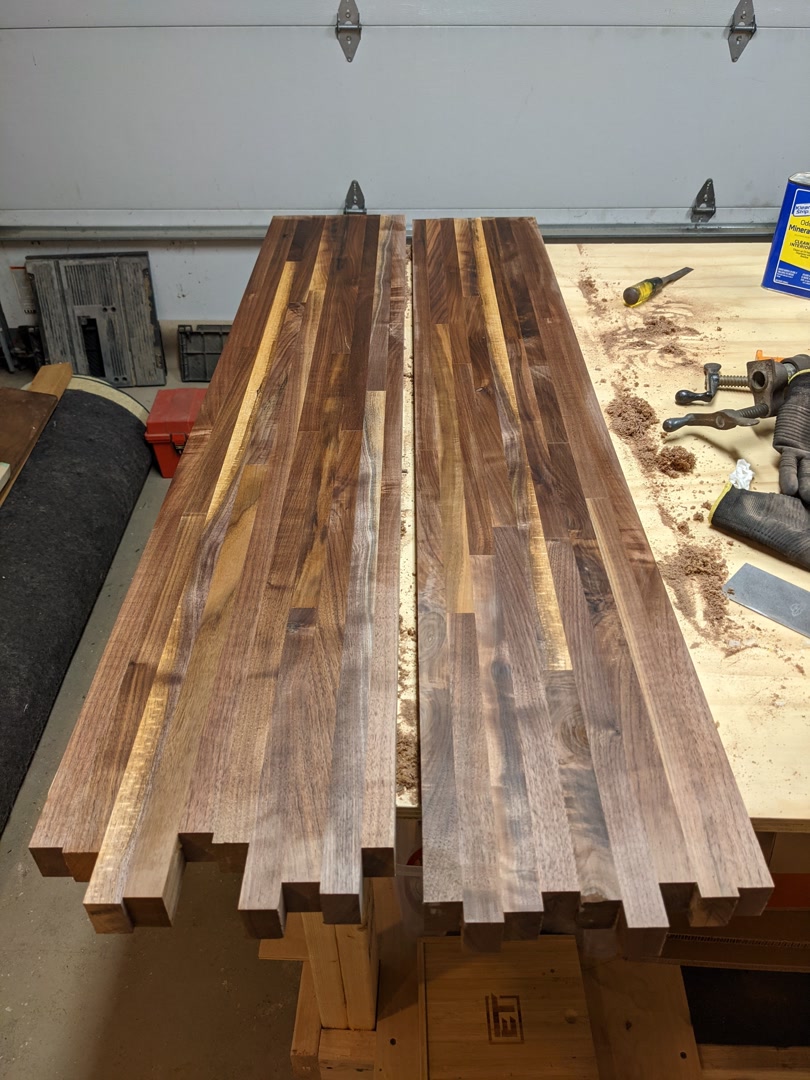
With the halves glued up, it was time to put my plan into motion. My jointer isn’t quite this wide, so I started with a hand plane on the bottom side to work out any major defects. Things like glue squeezeout and any major pieces that stuck out.
From there they were flat enough on one side to run through the thickness planer. I did both the top and a few cleanup passes on the bottom of each half.
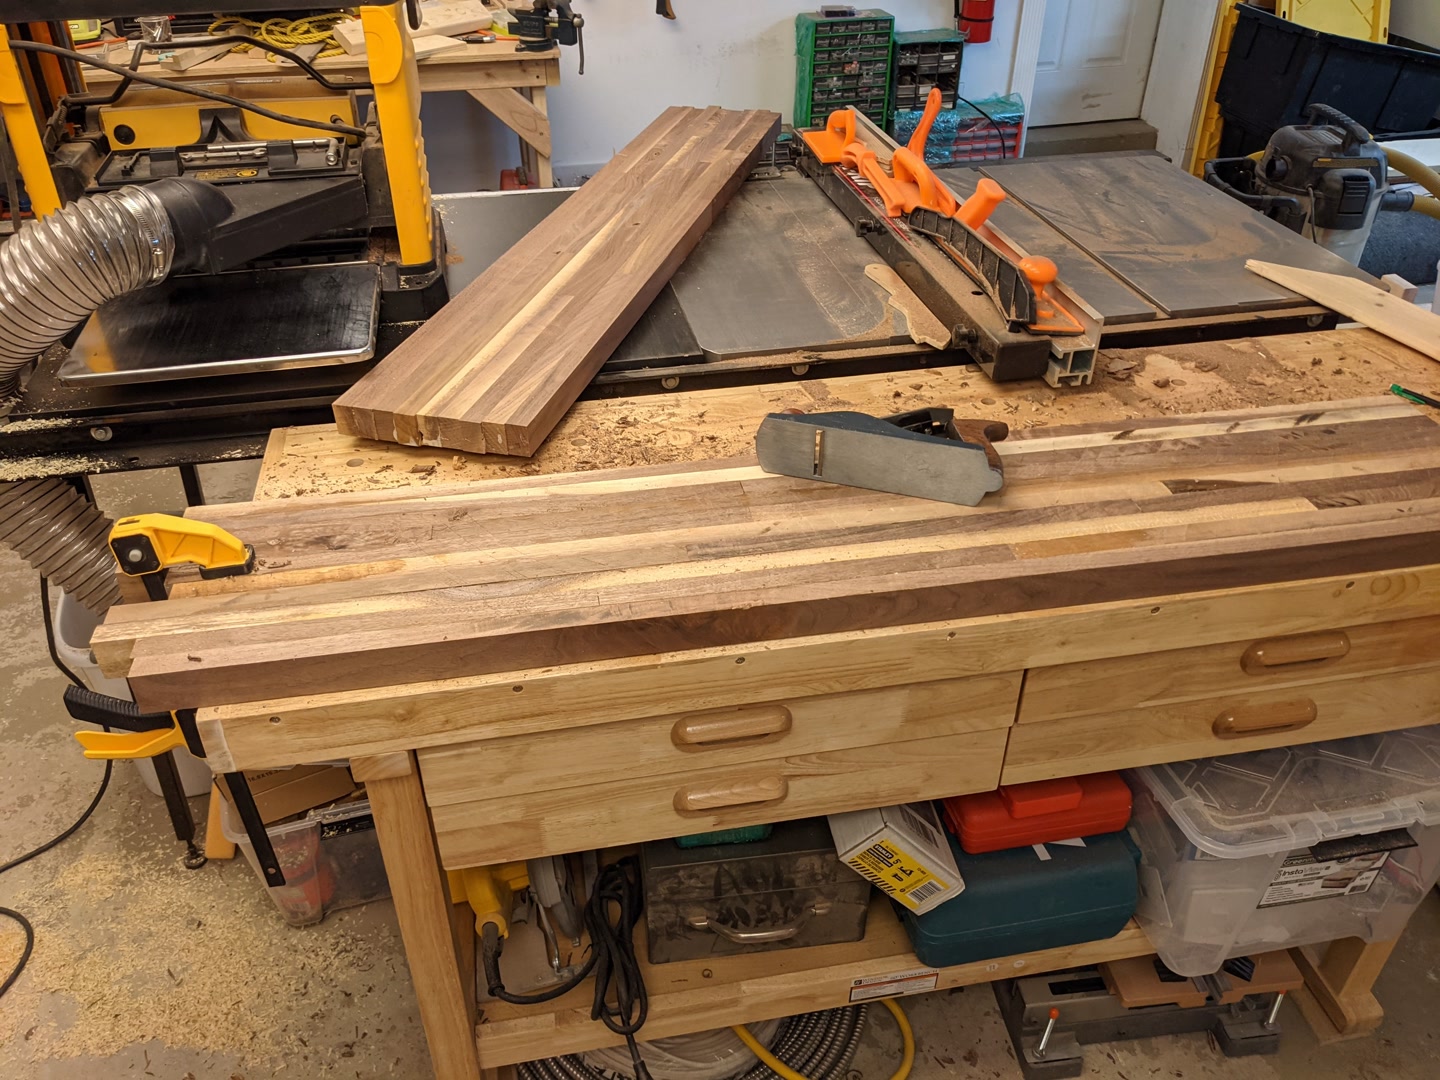
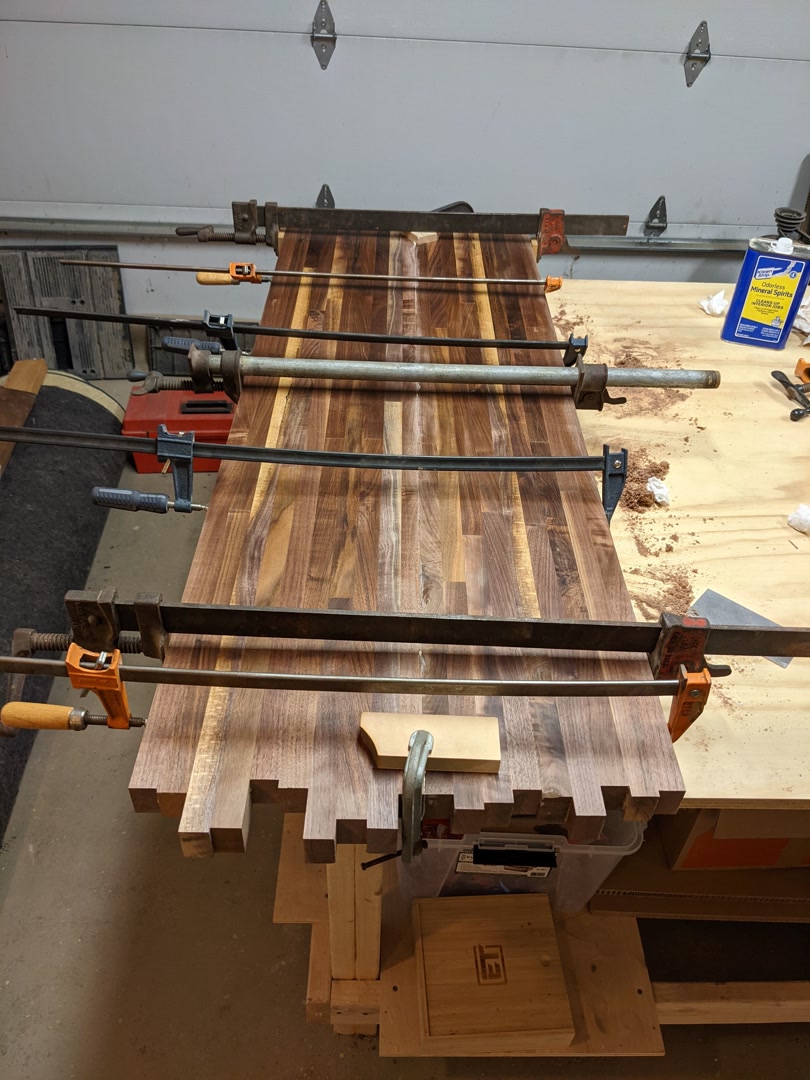
With both halves flat, next was a few iterations of scraping (with a card scraper) and gap filling. The wood had small imperfections in it, and some of the glueups were less than perfect. Glue + card scraper shavings worked really well and matched exactly.
This was the first major project where I used a card scraper to do most of the heavy lifting, and I’ve got to say it was fantastic. For larger projects with flat panels I will certainly be using it again.
Below are pictures of the halves aftering being rubbed down with mineral spirits.
 |
 |
Up next: the big glue up. It was time to glue both halves together to form the actual counter.
 |
 |
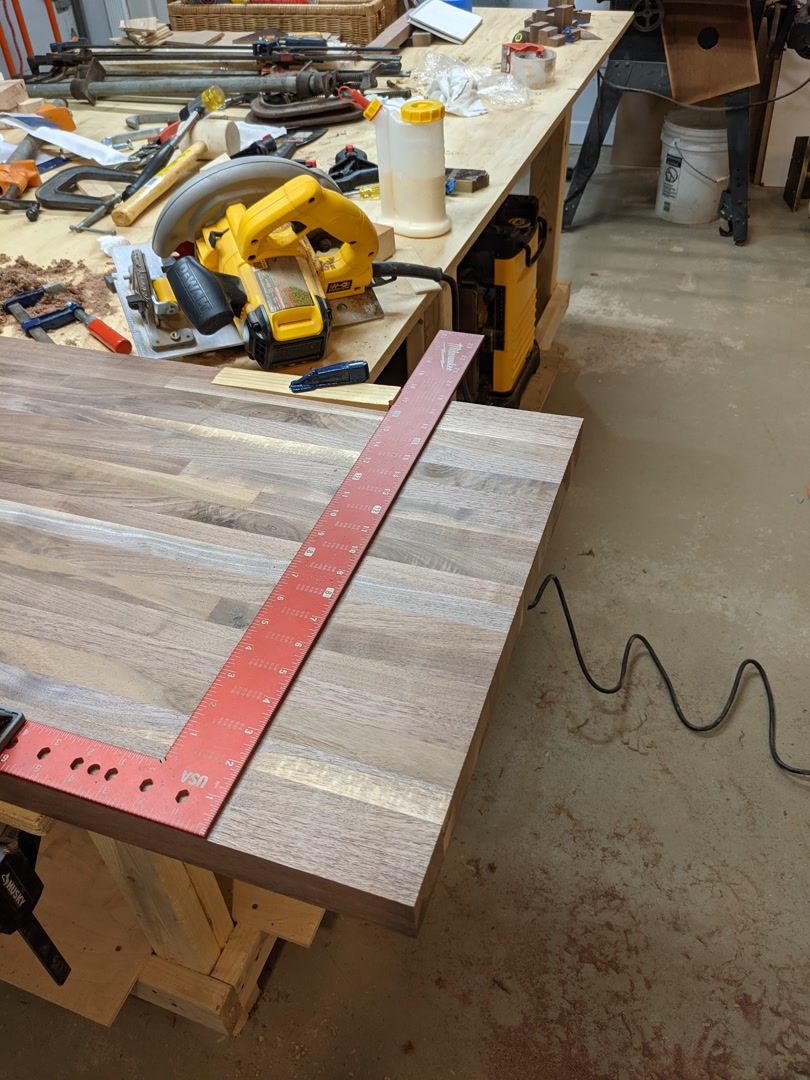
At this point the counter is actually pretty big – big enough that I can’t neatly fit it on any of my go-to tools. It took a little setup, but I was able to use a framing square to guide a circluar saw and cut the counter to final length. It took a few tries to get it set up such that I wouldn’t bump the saw’s motor into any of the clamps.
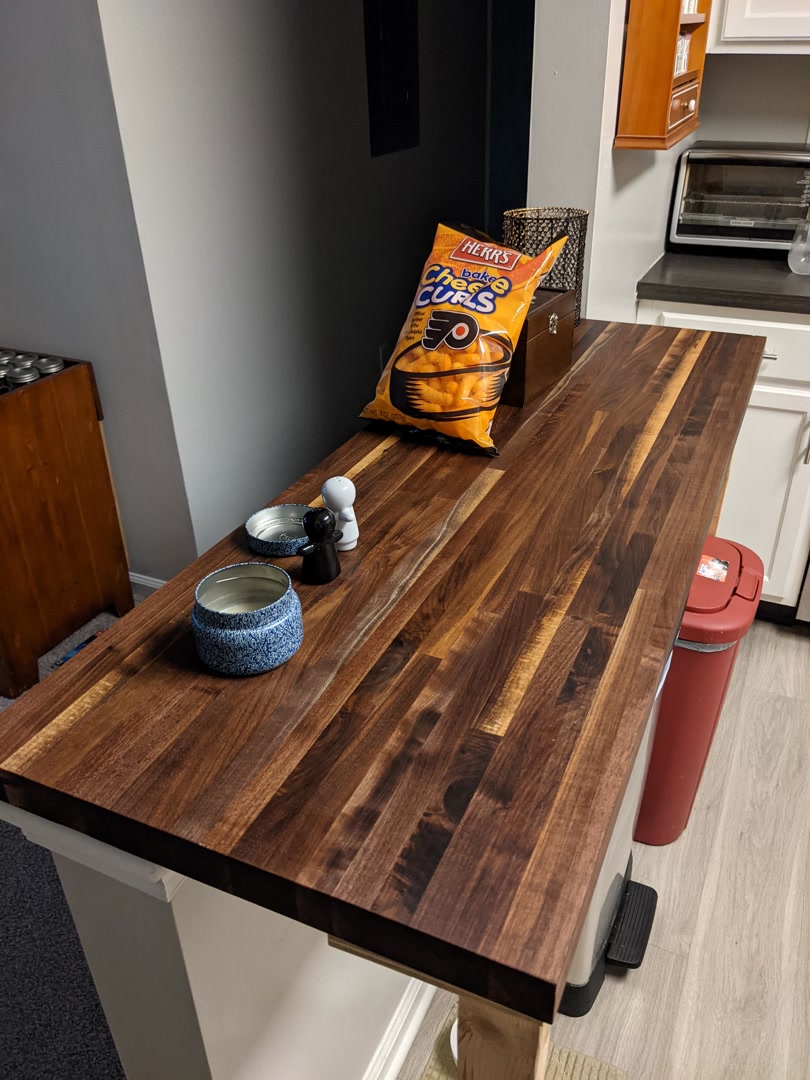
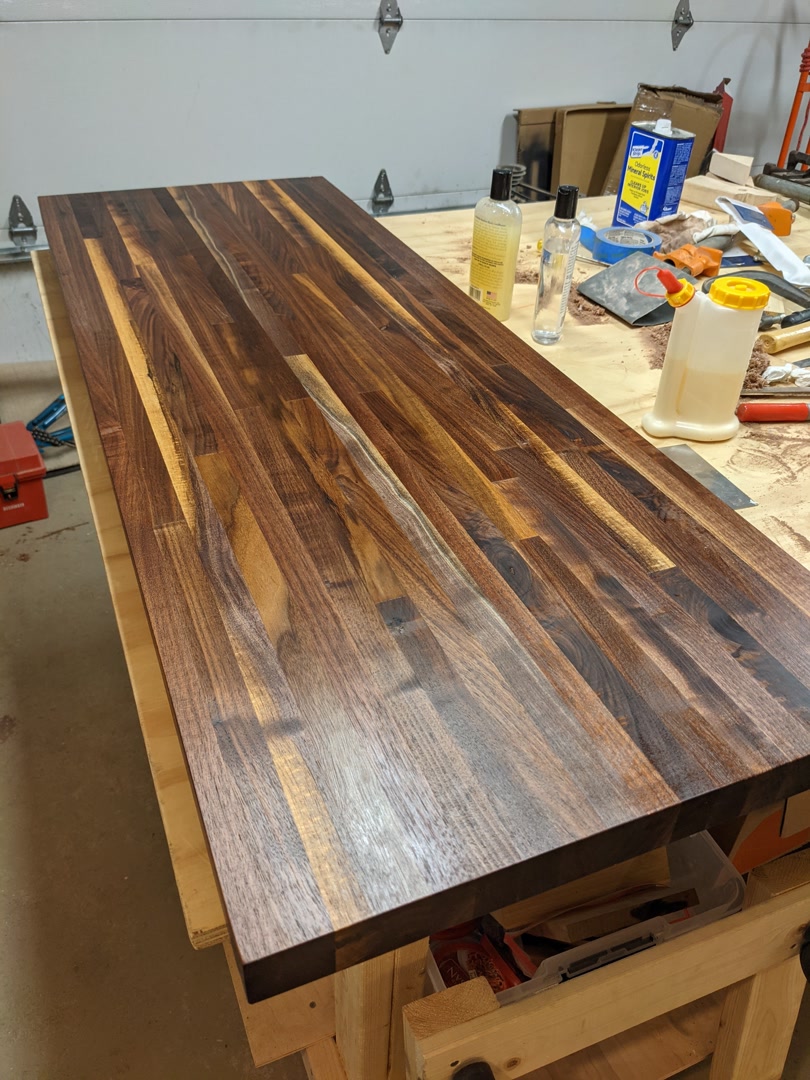
Then just one last round of scraping and gap filling, then it’s pretty much finished! Since this counter will likely be used for food prep, I opted for a food safe finish. I applied a few rounds of food-grade mineral oil, then a few more rounds of howard’s butcher block conditioner (which contains wax as well).
Here’s the result before installation:
 |
 |
I also ordered some powder black aluminum legs, but they didn’t arrive in time for our visit. So the morning of, I whipped up some makeshift legs out of 2x4’s. These will be replaced 1 for 1 with the final legs when they arrive in the mail (shipped directly to them).
|
|