Walnut Side Table
 |
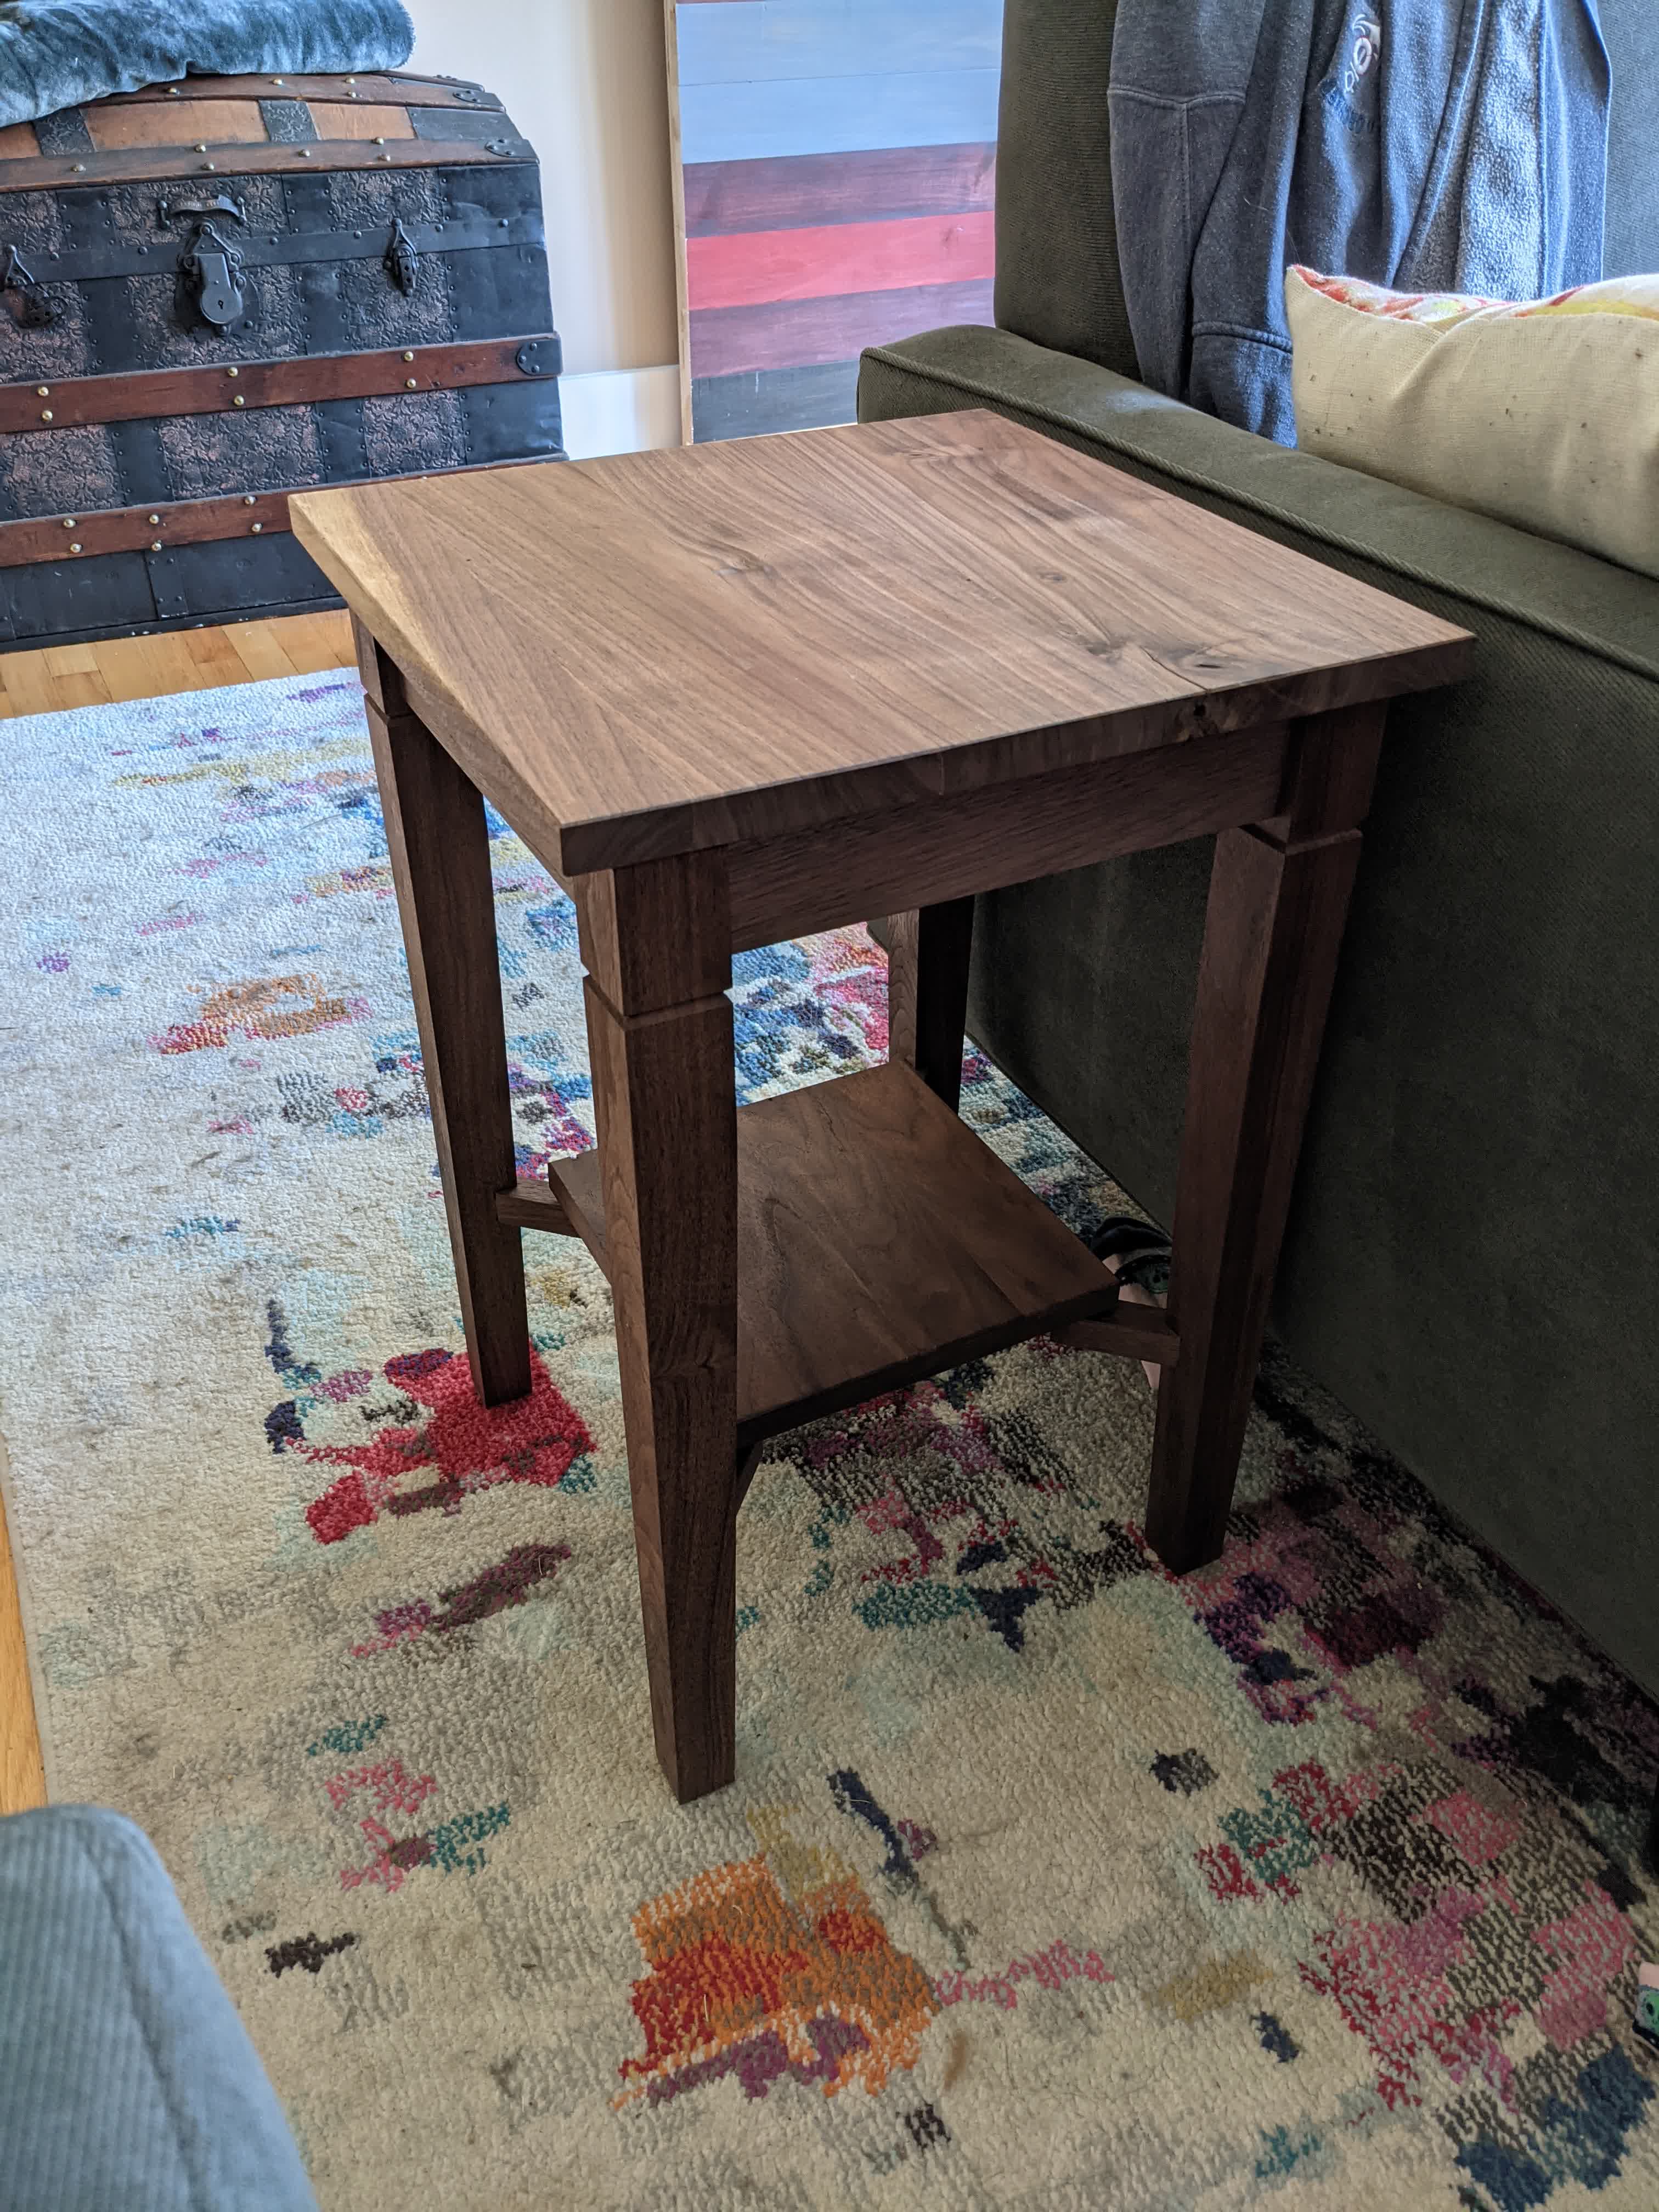 |
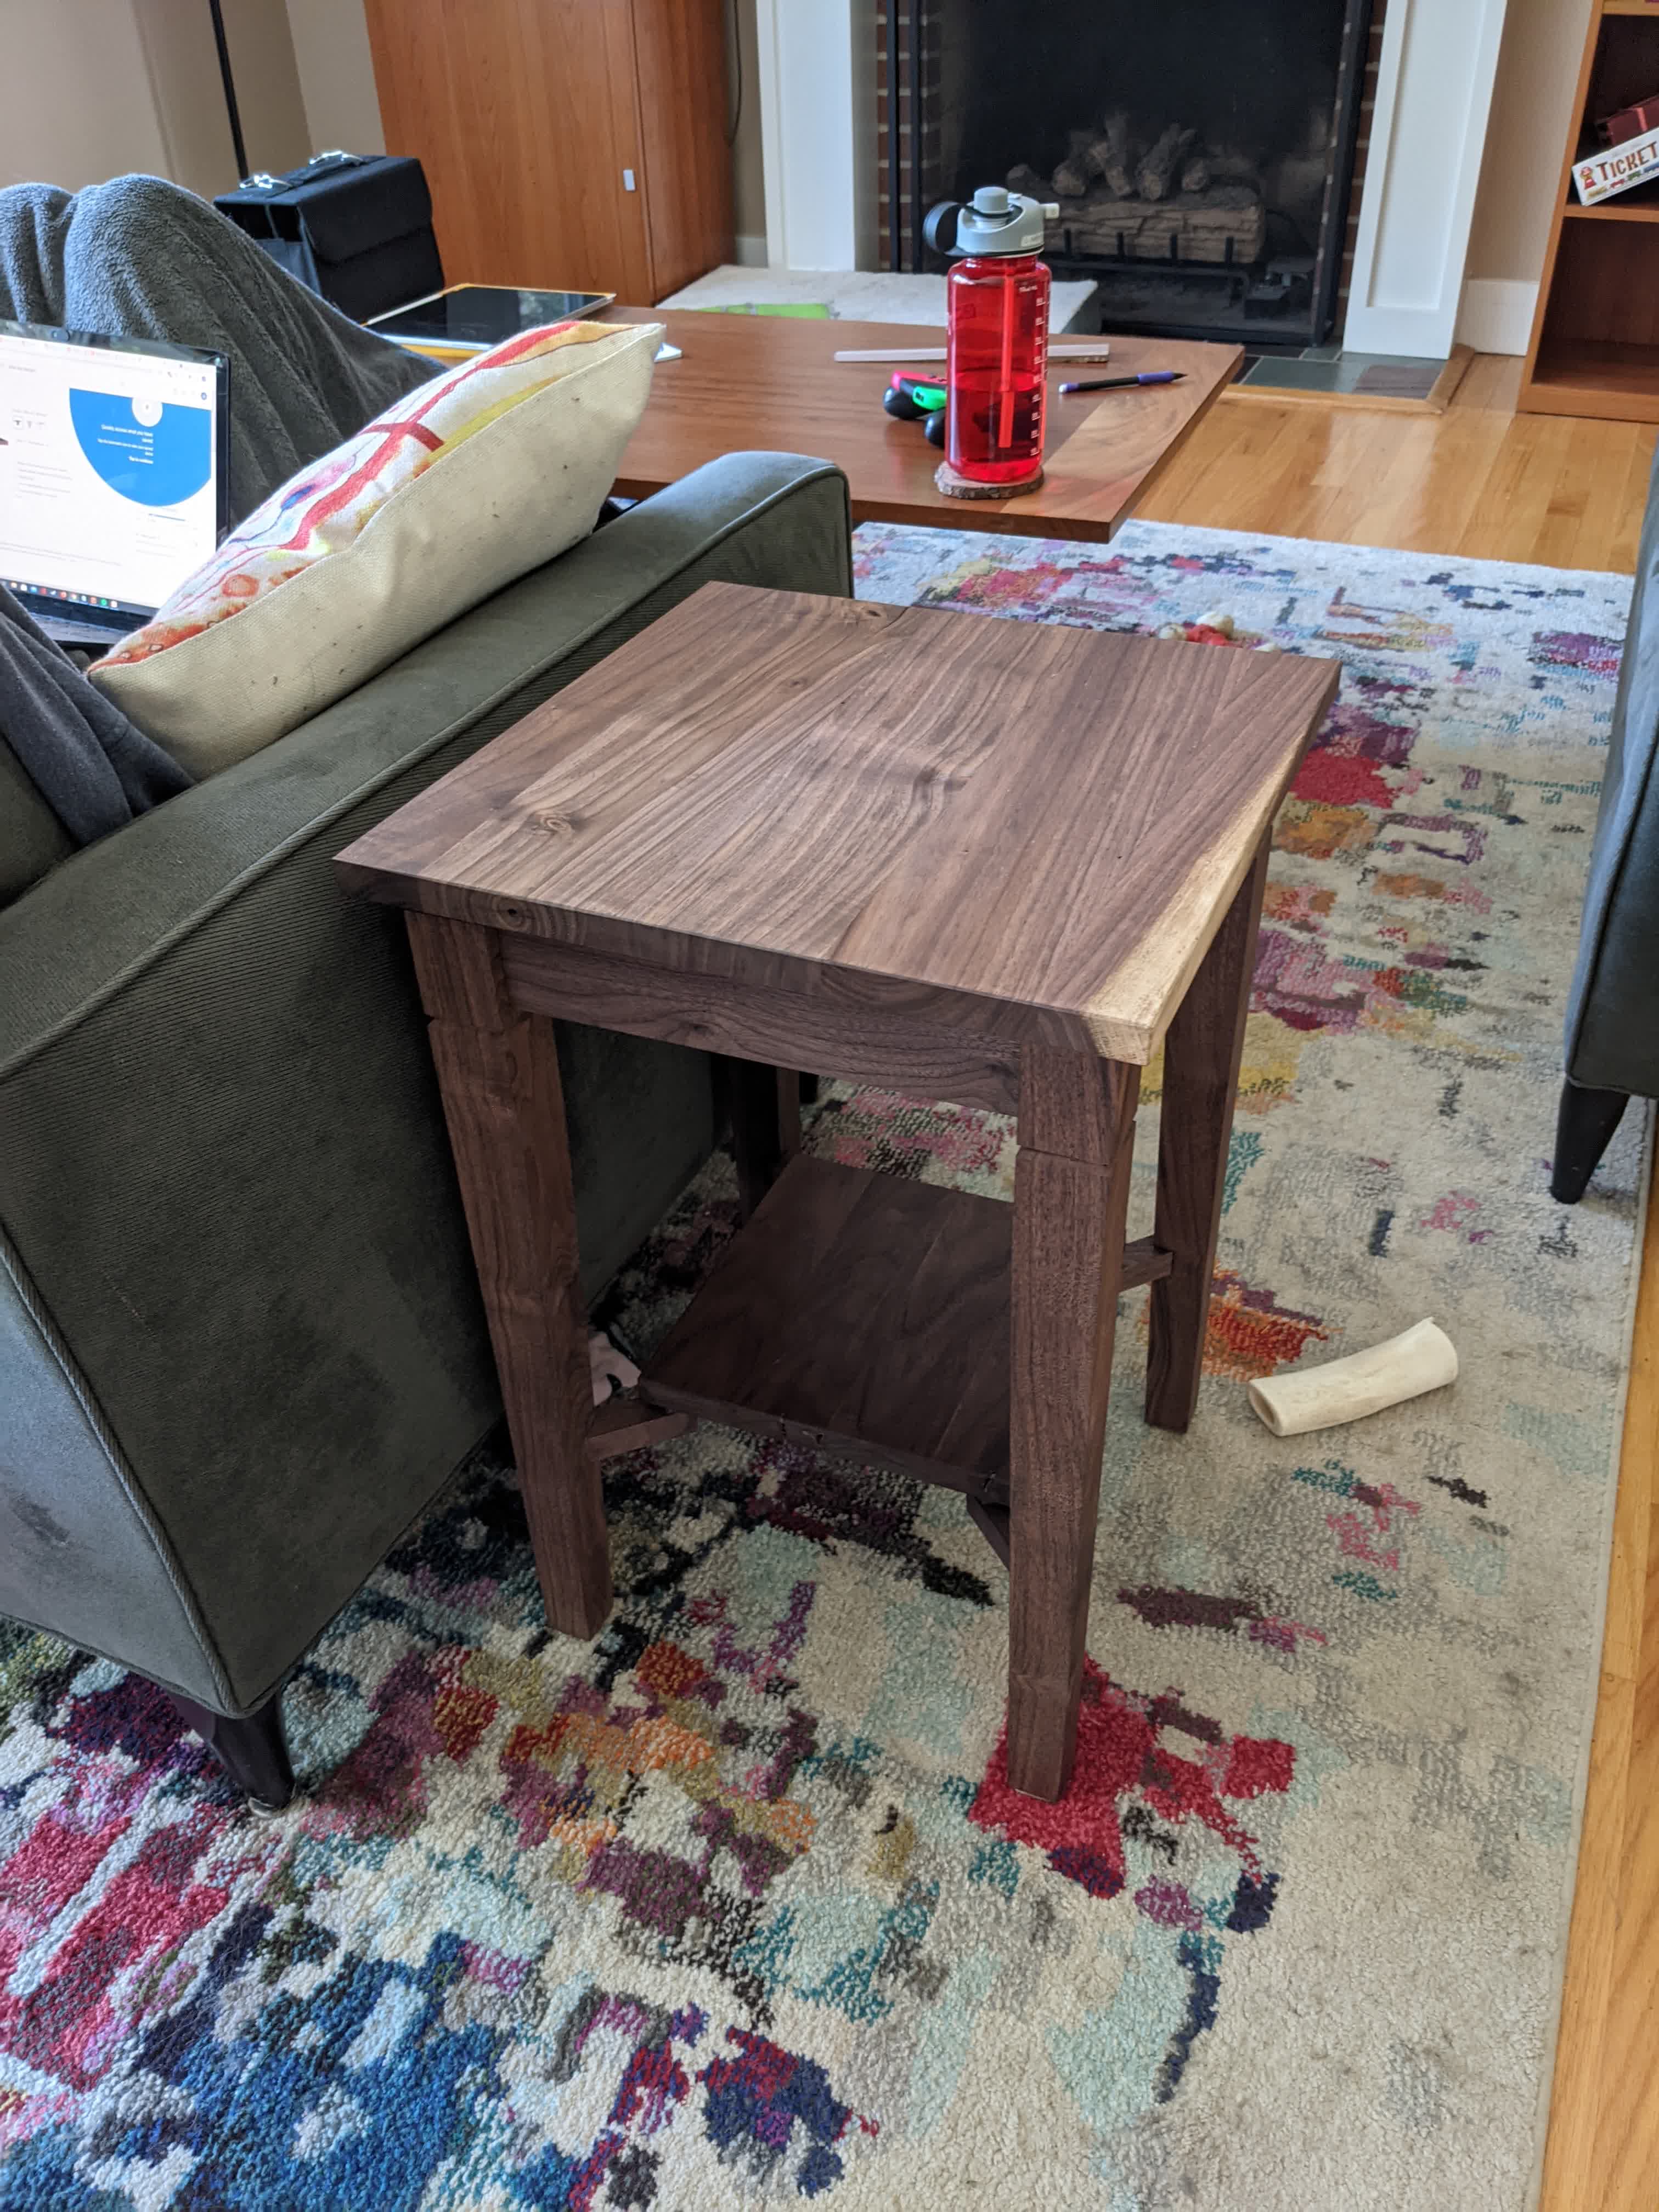
Finished
Building the walnut dining room table resulted in a good amount of scrap wood, so I figured I’d put some of it to use and build a side table.
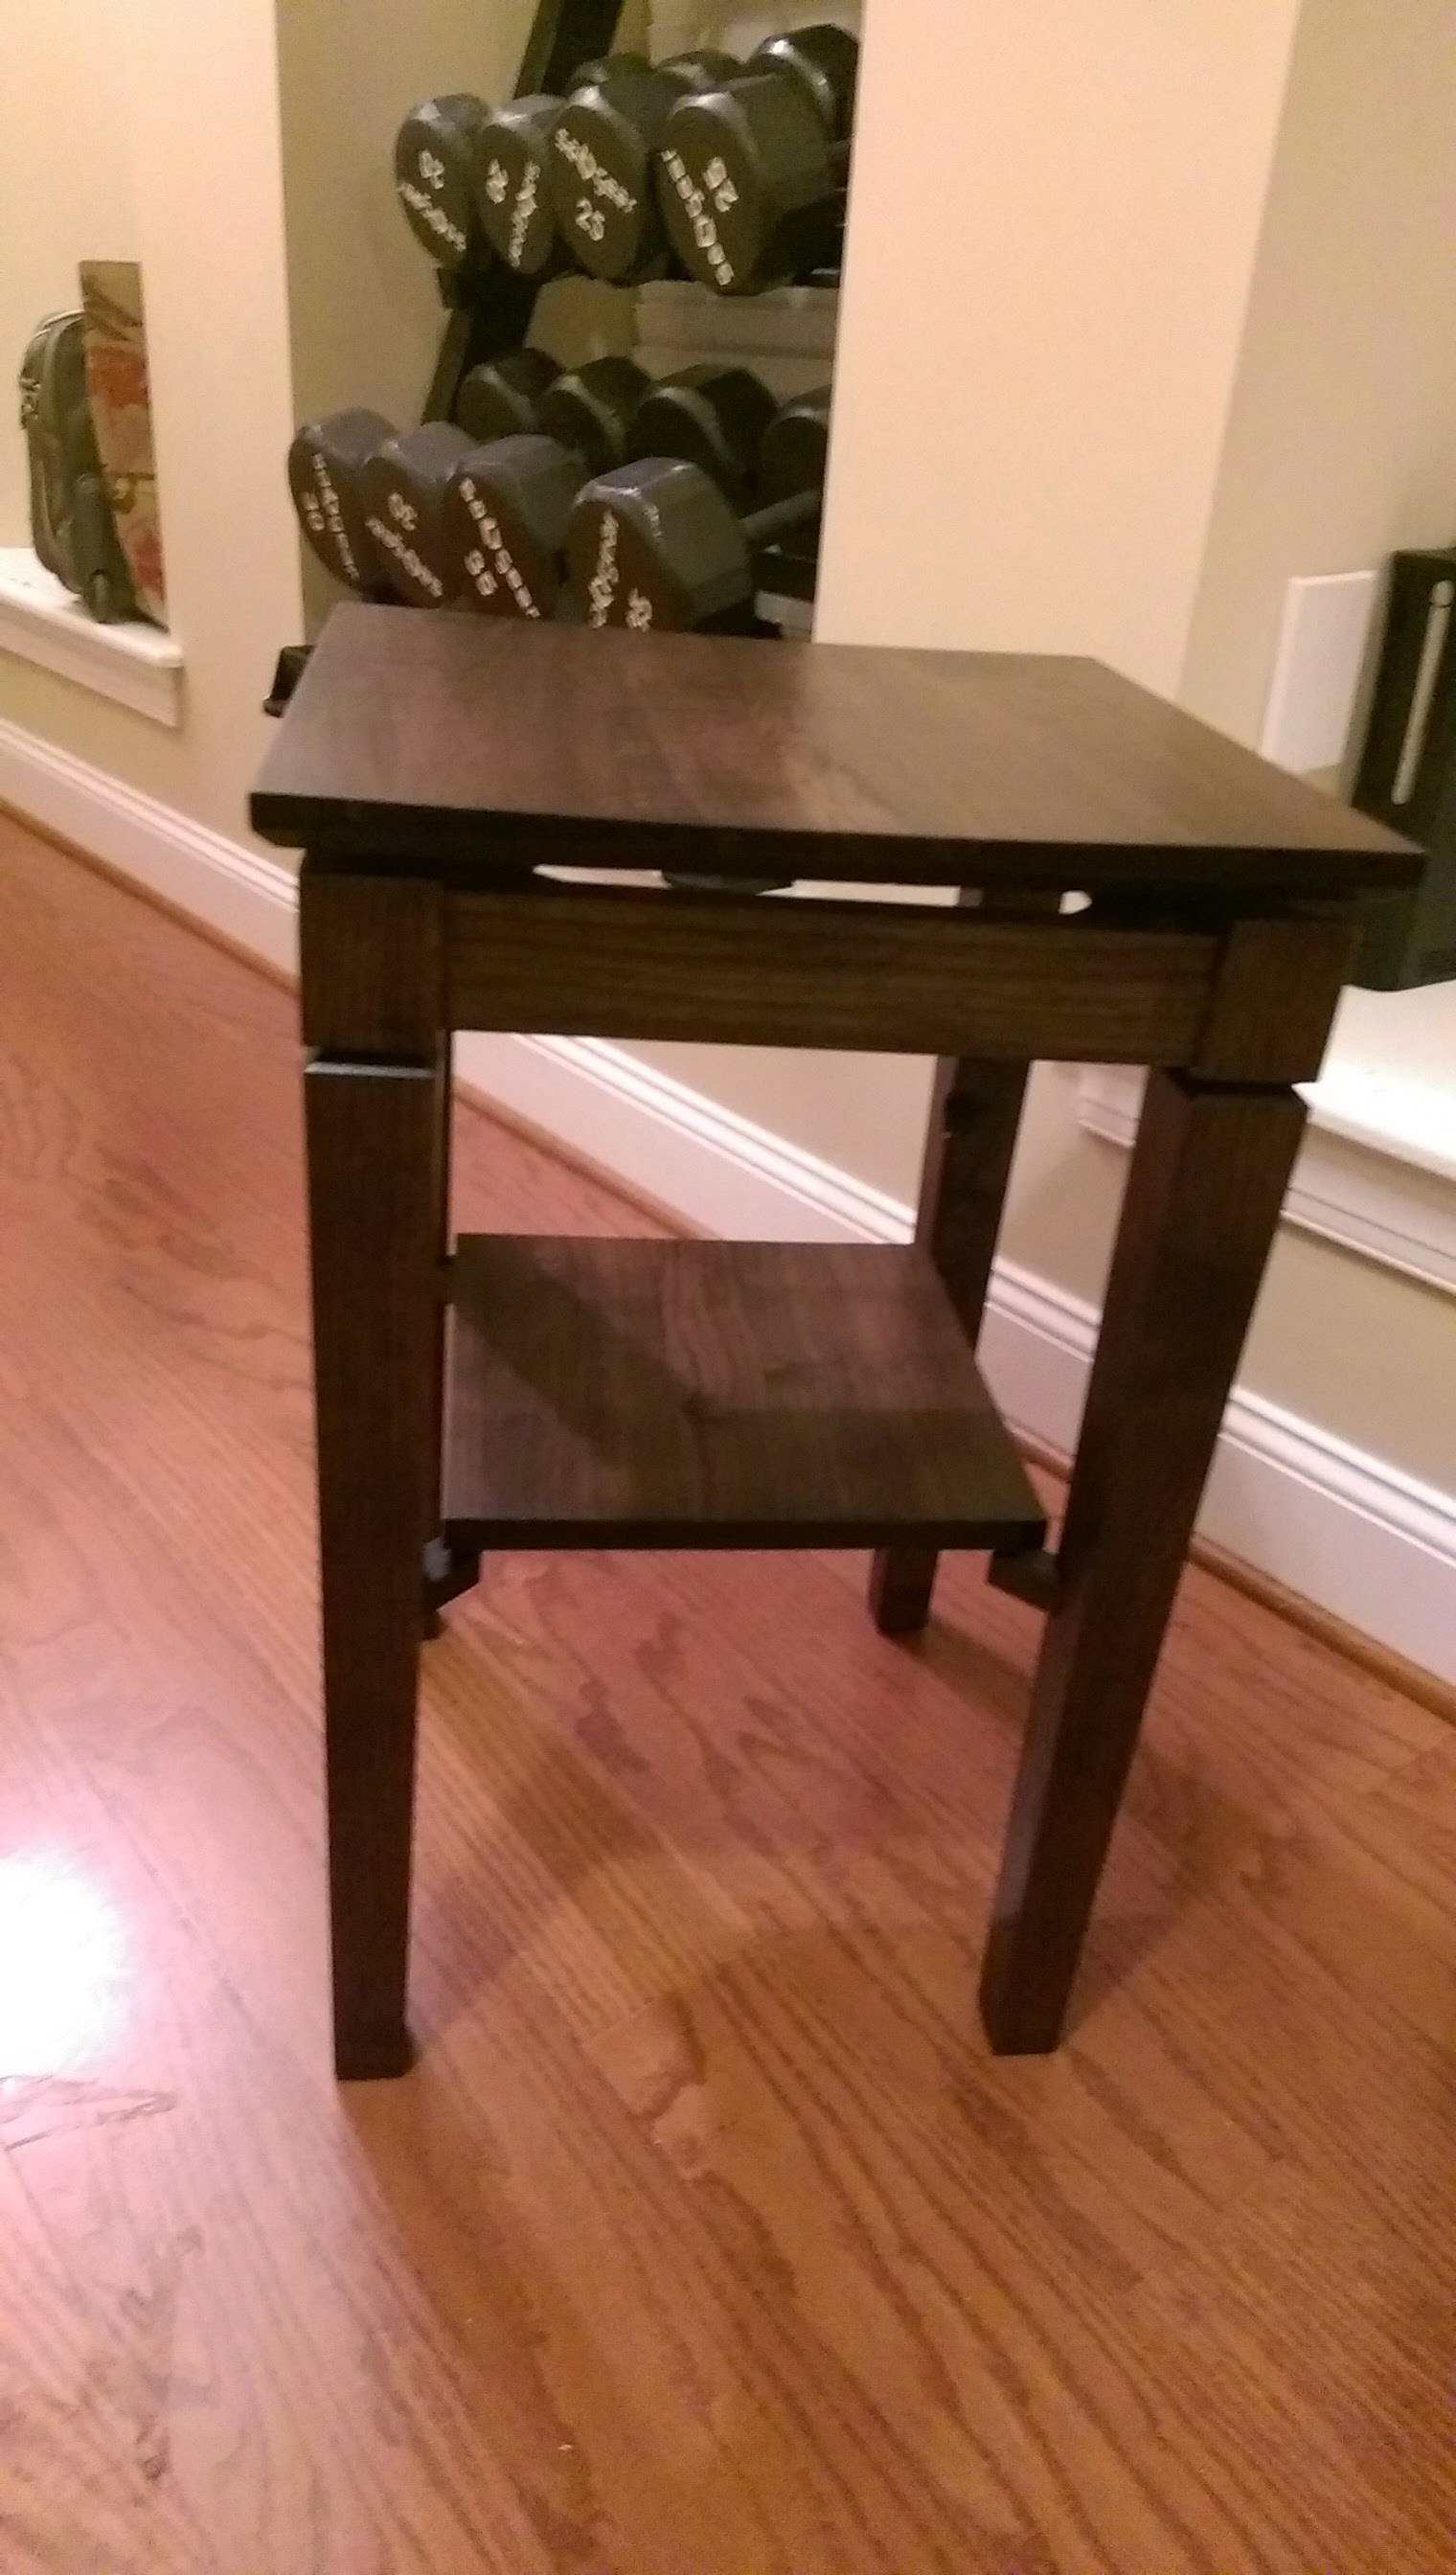
This design is roughly based off of this table my dad made around 2014-ish. I used these photos I took at the time for reference. Unfortunately the scraps I had weren’t quite as thick or good quality, but free wood is free.
 |
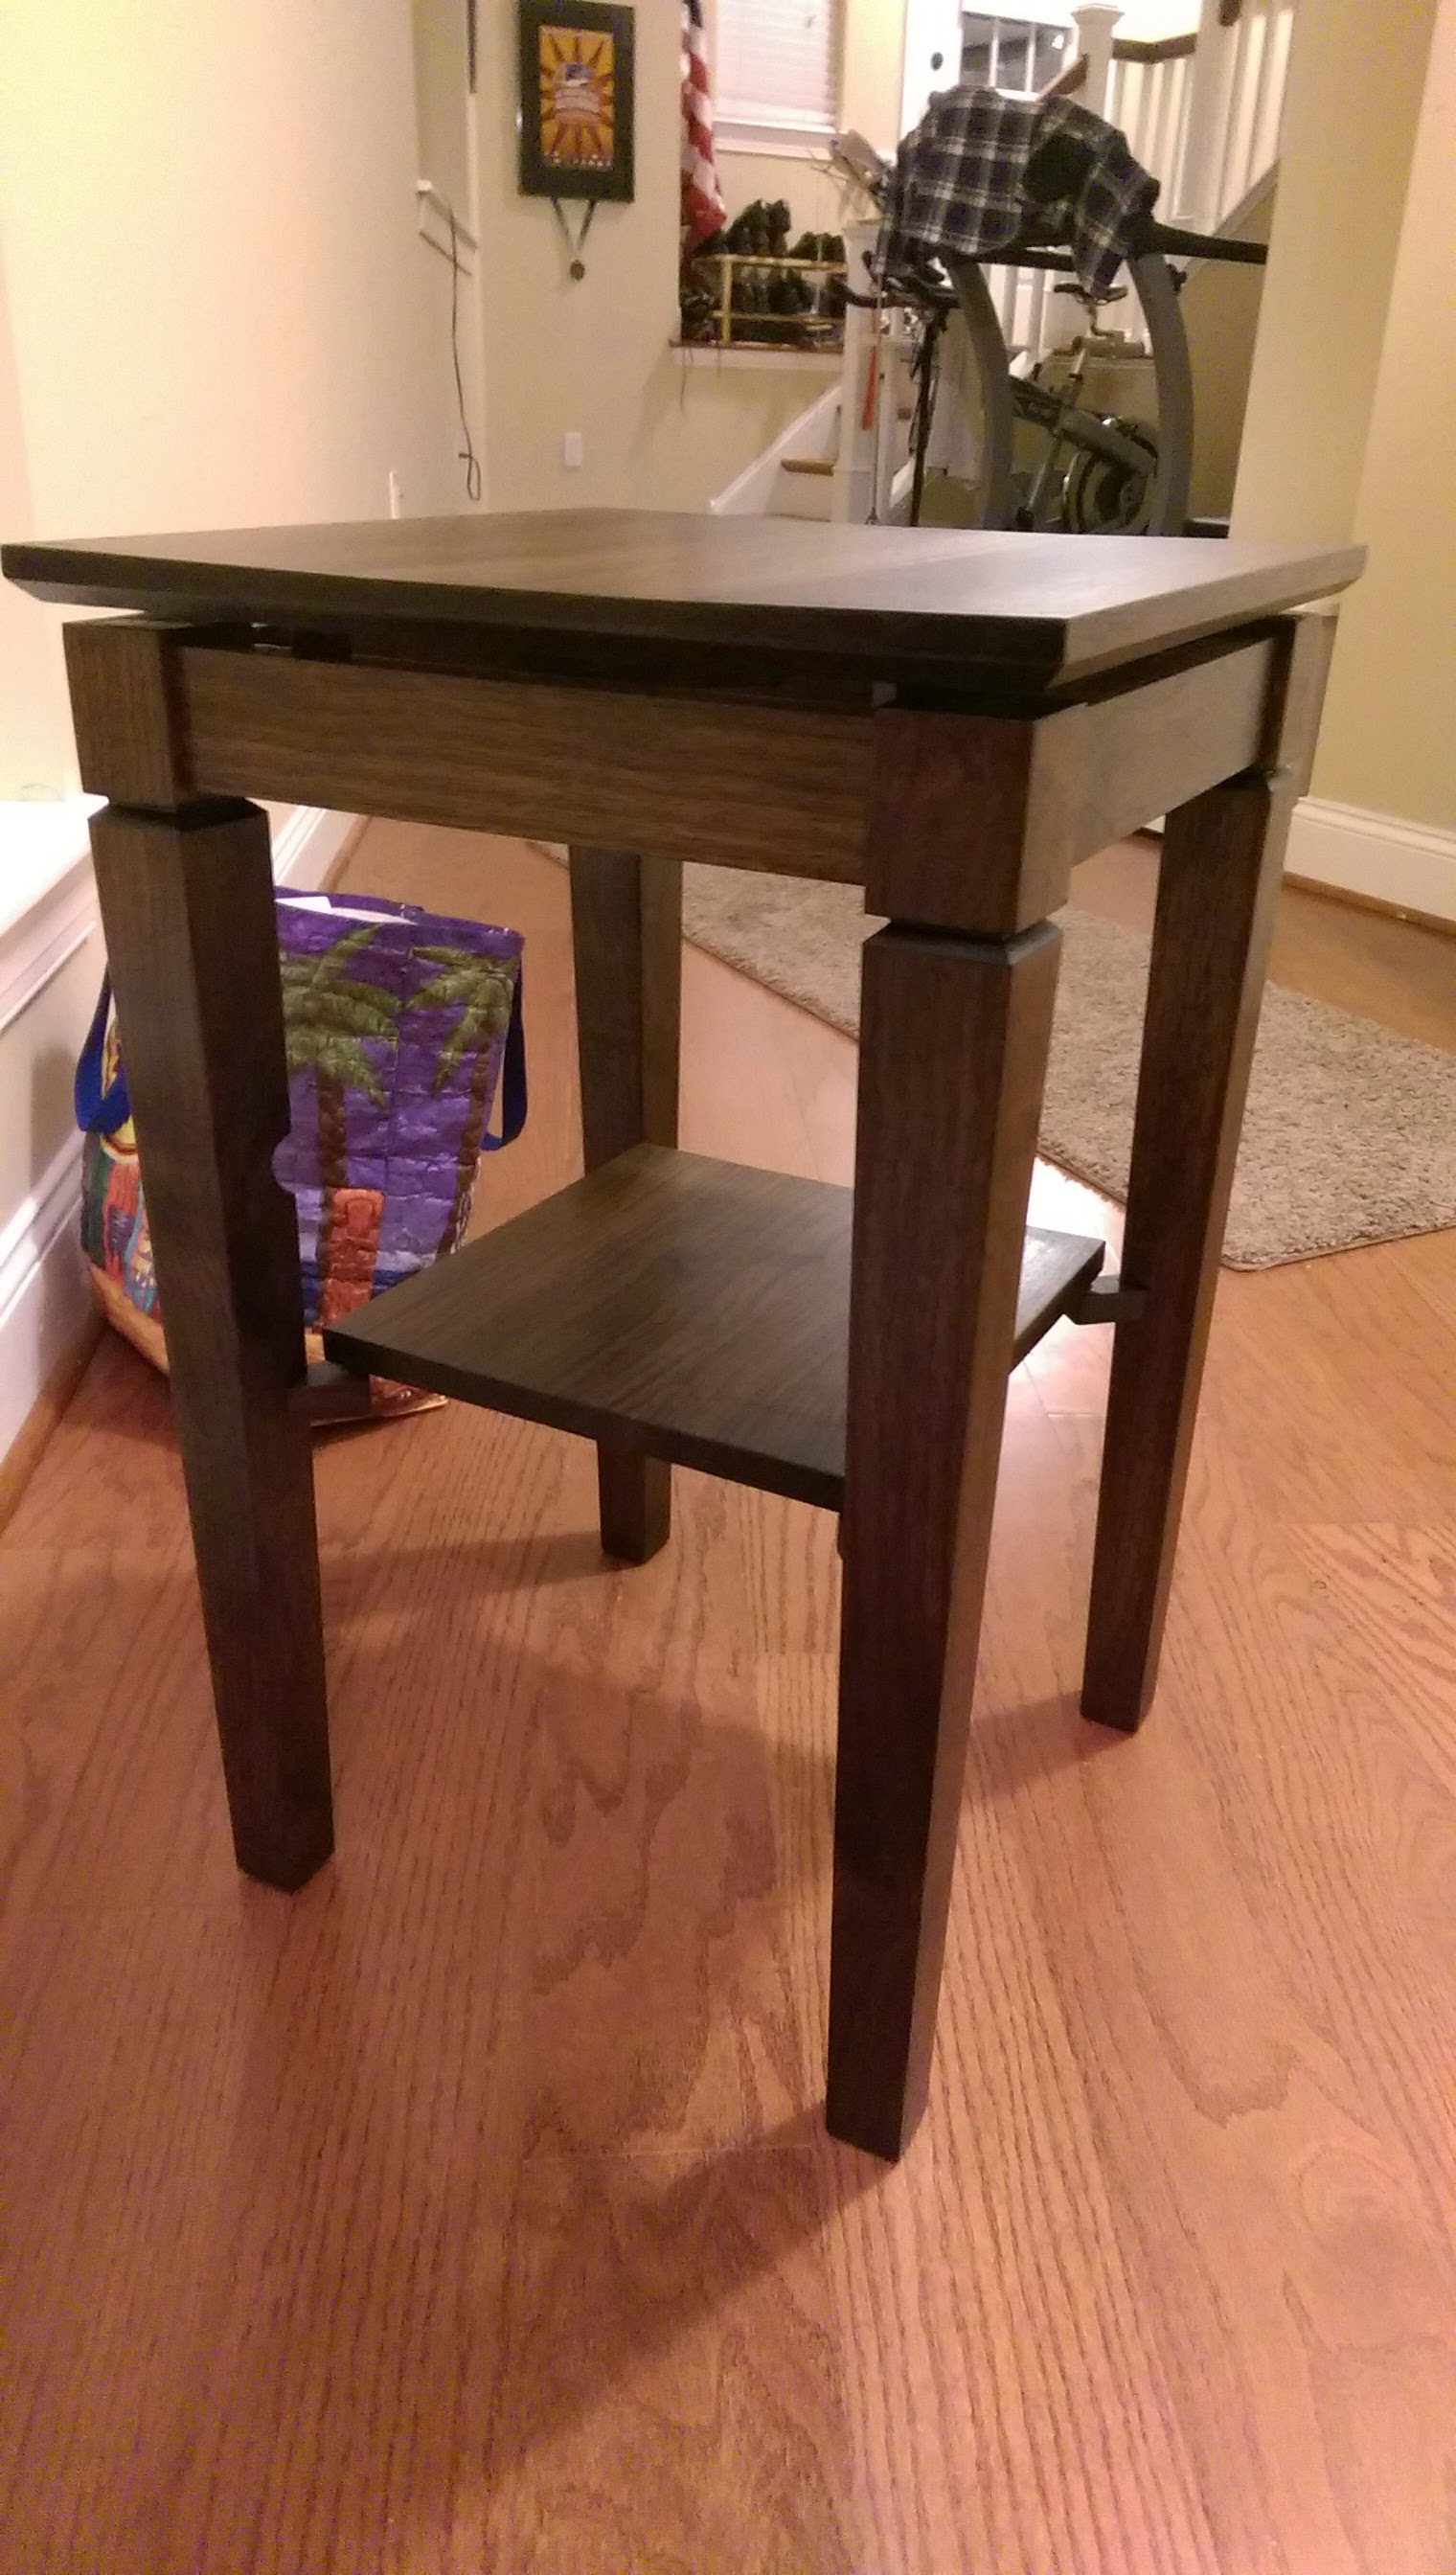 |
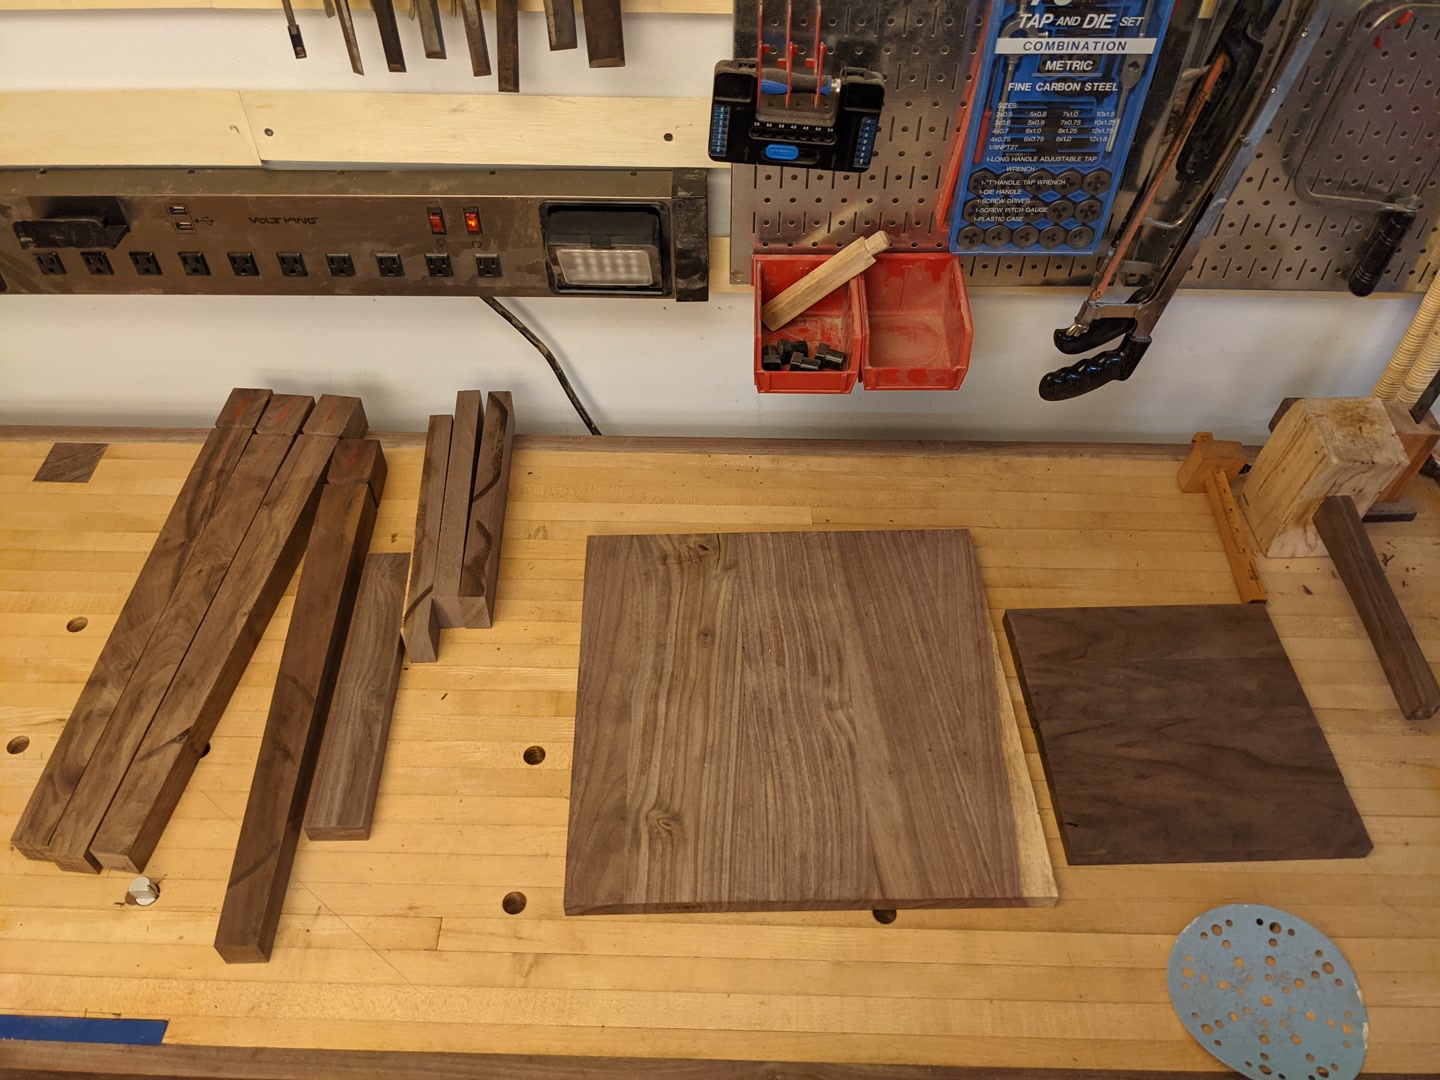
So I guessed at all the dimensions and held a tape measure up against my couch to picture where it would go. From that, I scrounged around for matching scraps and cut all the pieces to rough dimension. I also glued up the platforms.
I had two “challenge” goals for this piece.
- No metal (no screws/nails/etc)
- No sanding (hand plane with a smoothing plane instead)
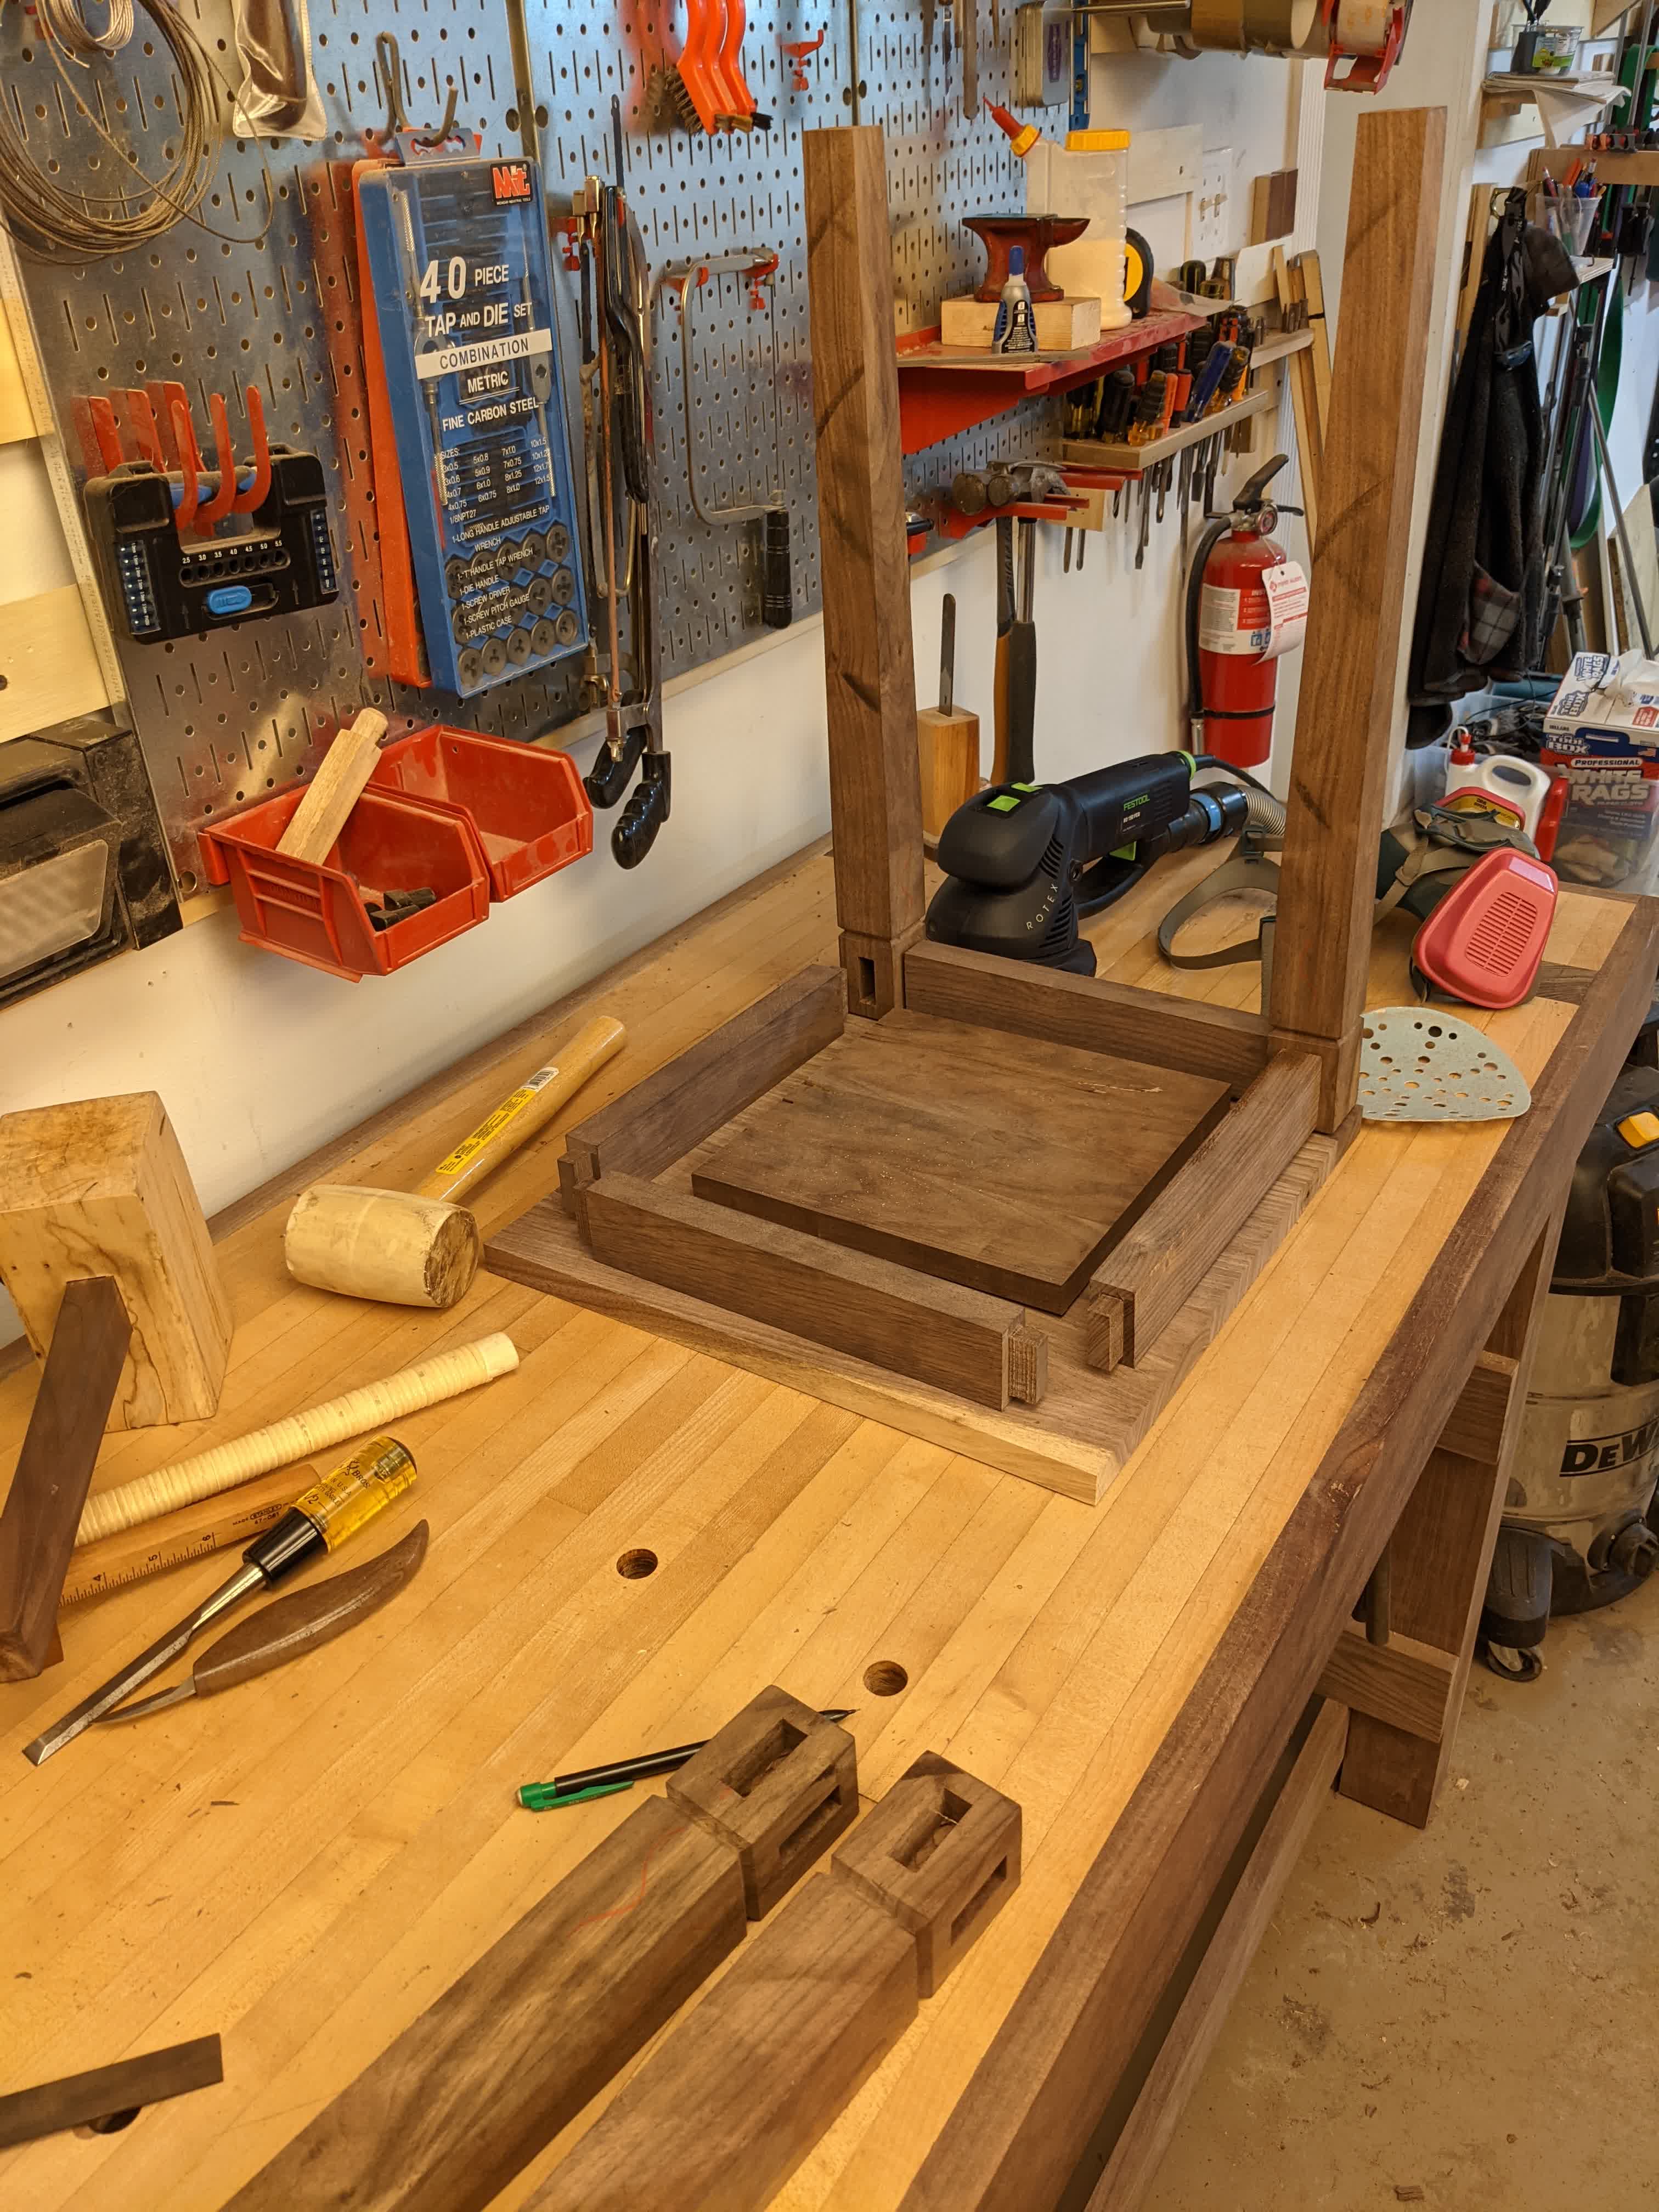
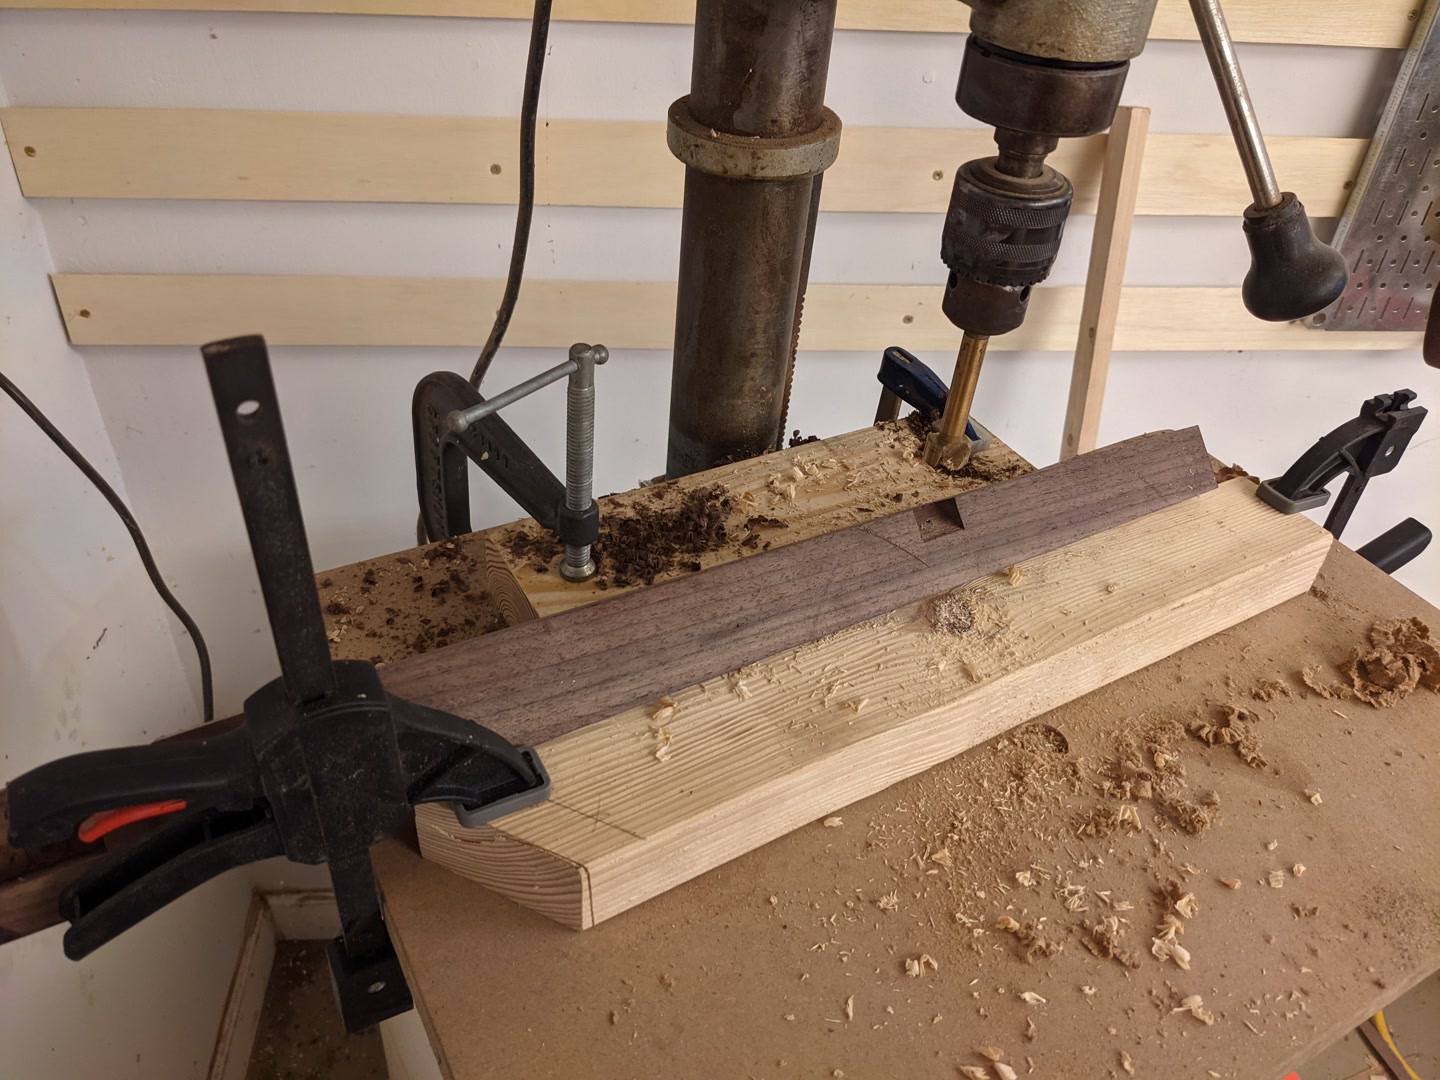
That meant to join the top of the base I went with mortise/tenons. I hogged out most of each moritse with my drill press, but finished them all off by hand with a sharp chisel. I cut the bulk of the tenons on my table saw, but had to do some fine tuning by hand afterwards.
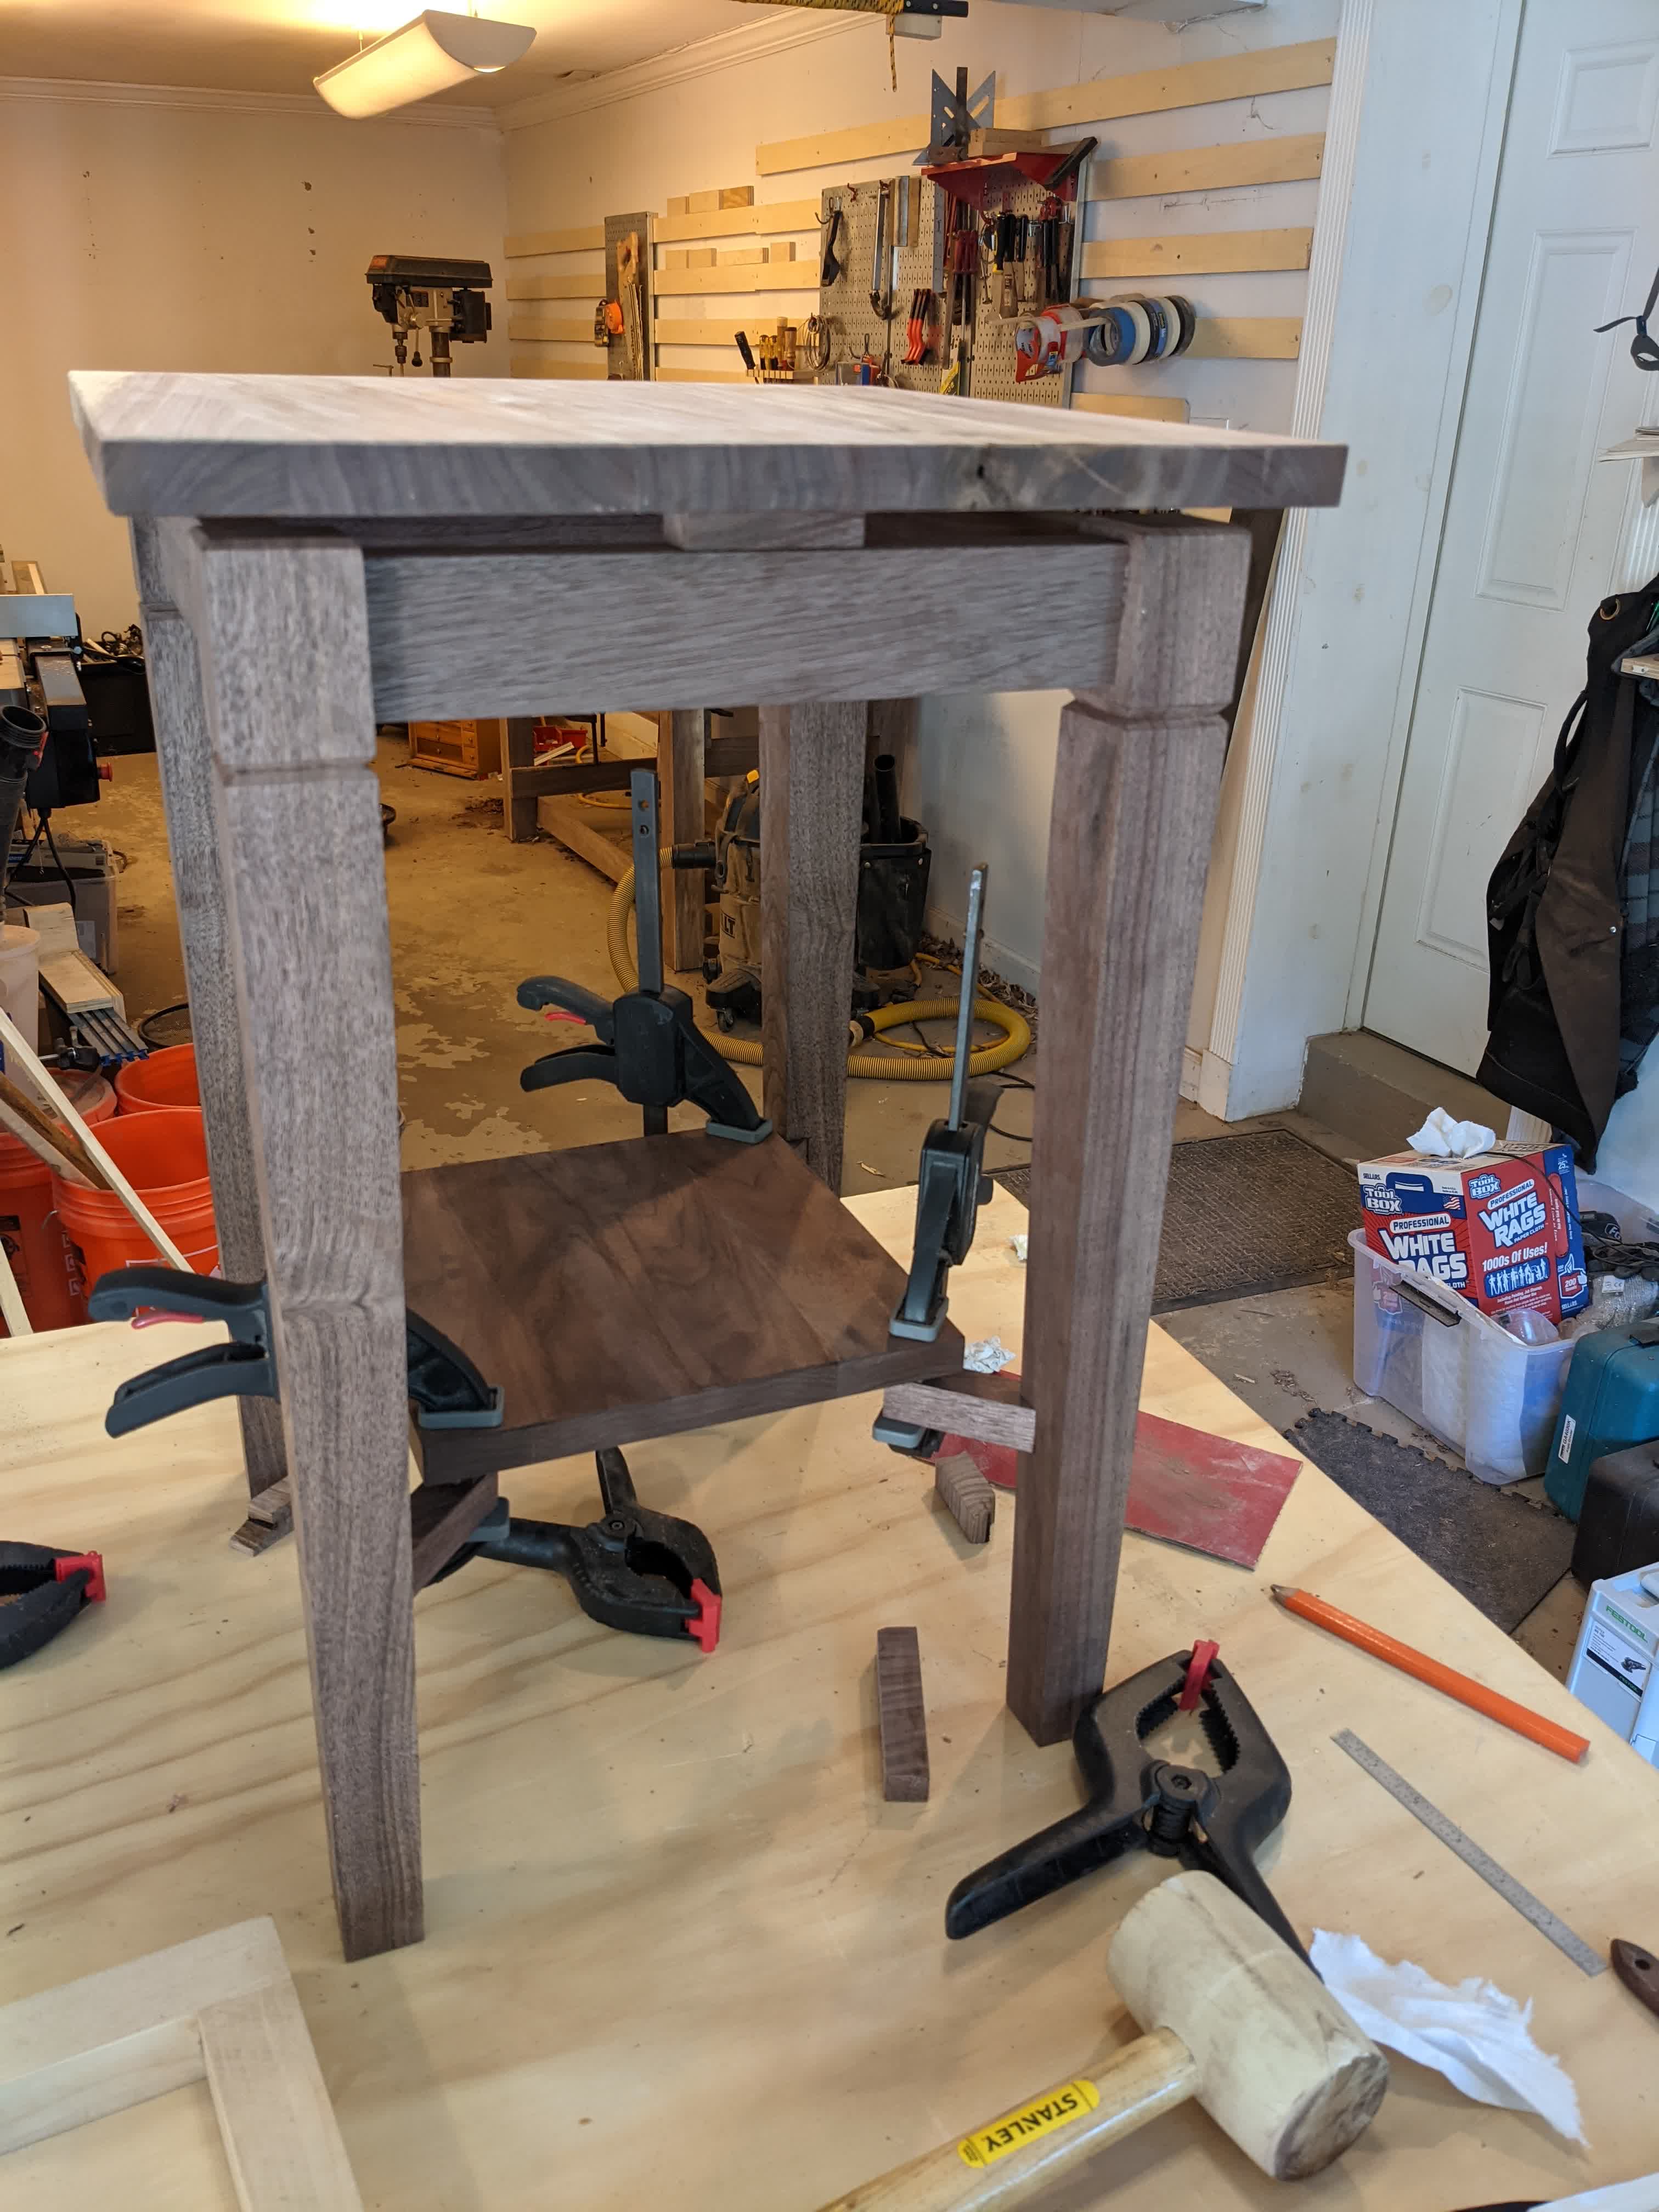
Some extra fun was that each leg had a slight taper, and the lower platform is floated with a mortise/tenon’d piece coming out of the inside corner of each leg. I first created a flat face using a hand saw/chisel, then set up a jig on the drill press to drill a round mortise. From there I rounded each tenon by hand, following lines from a compass.
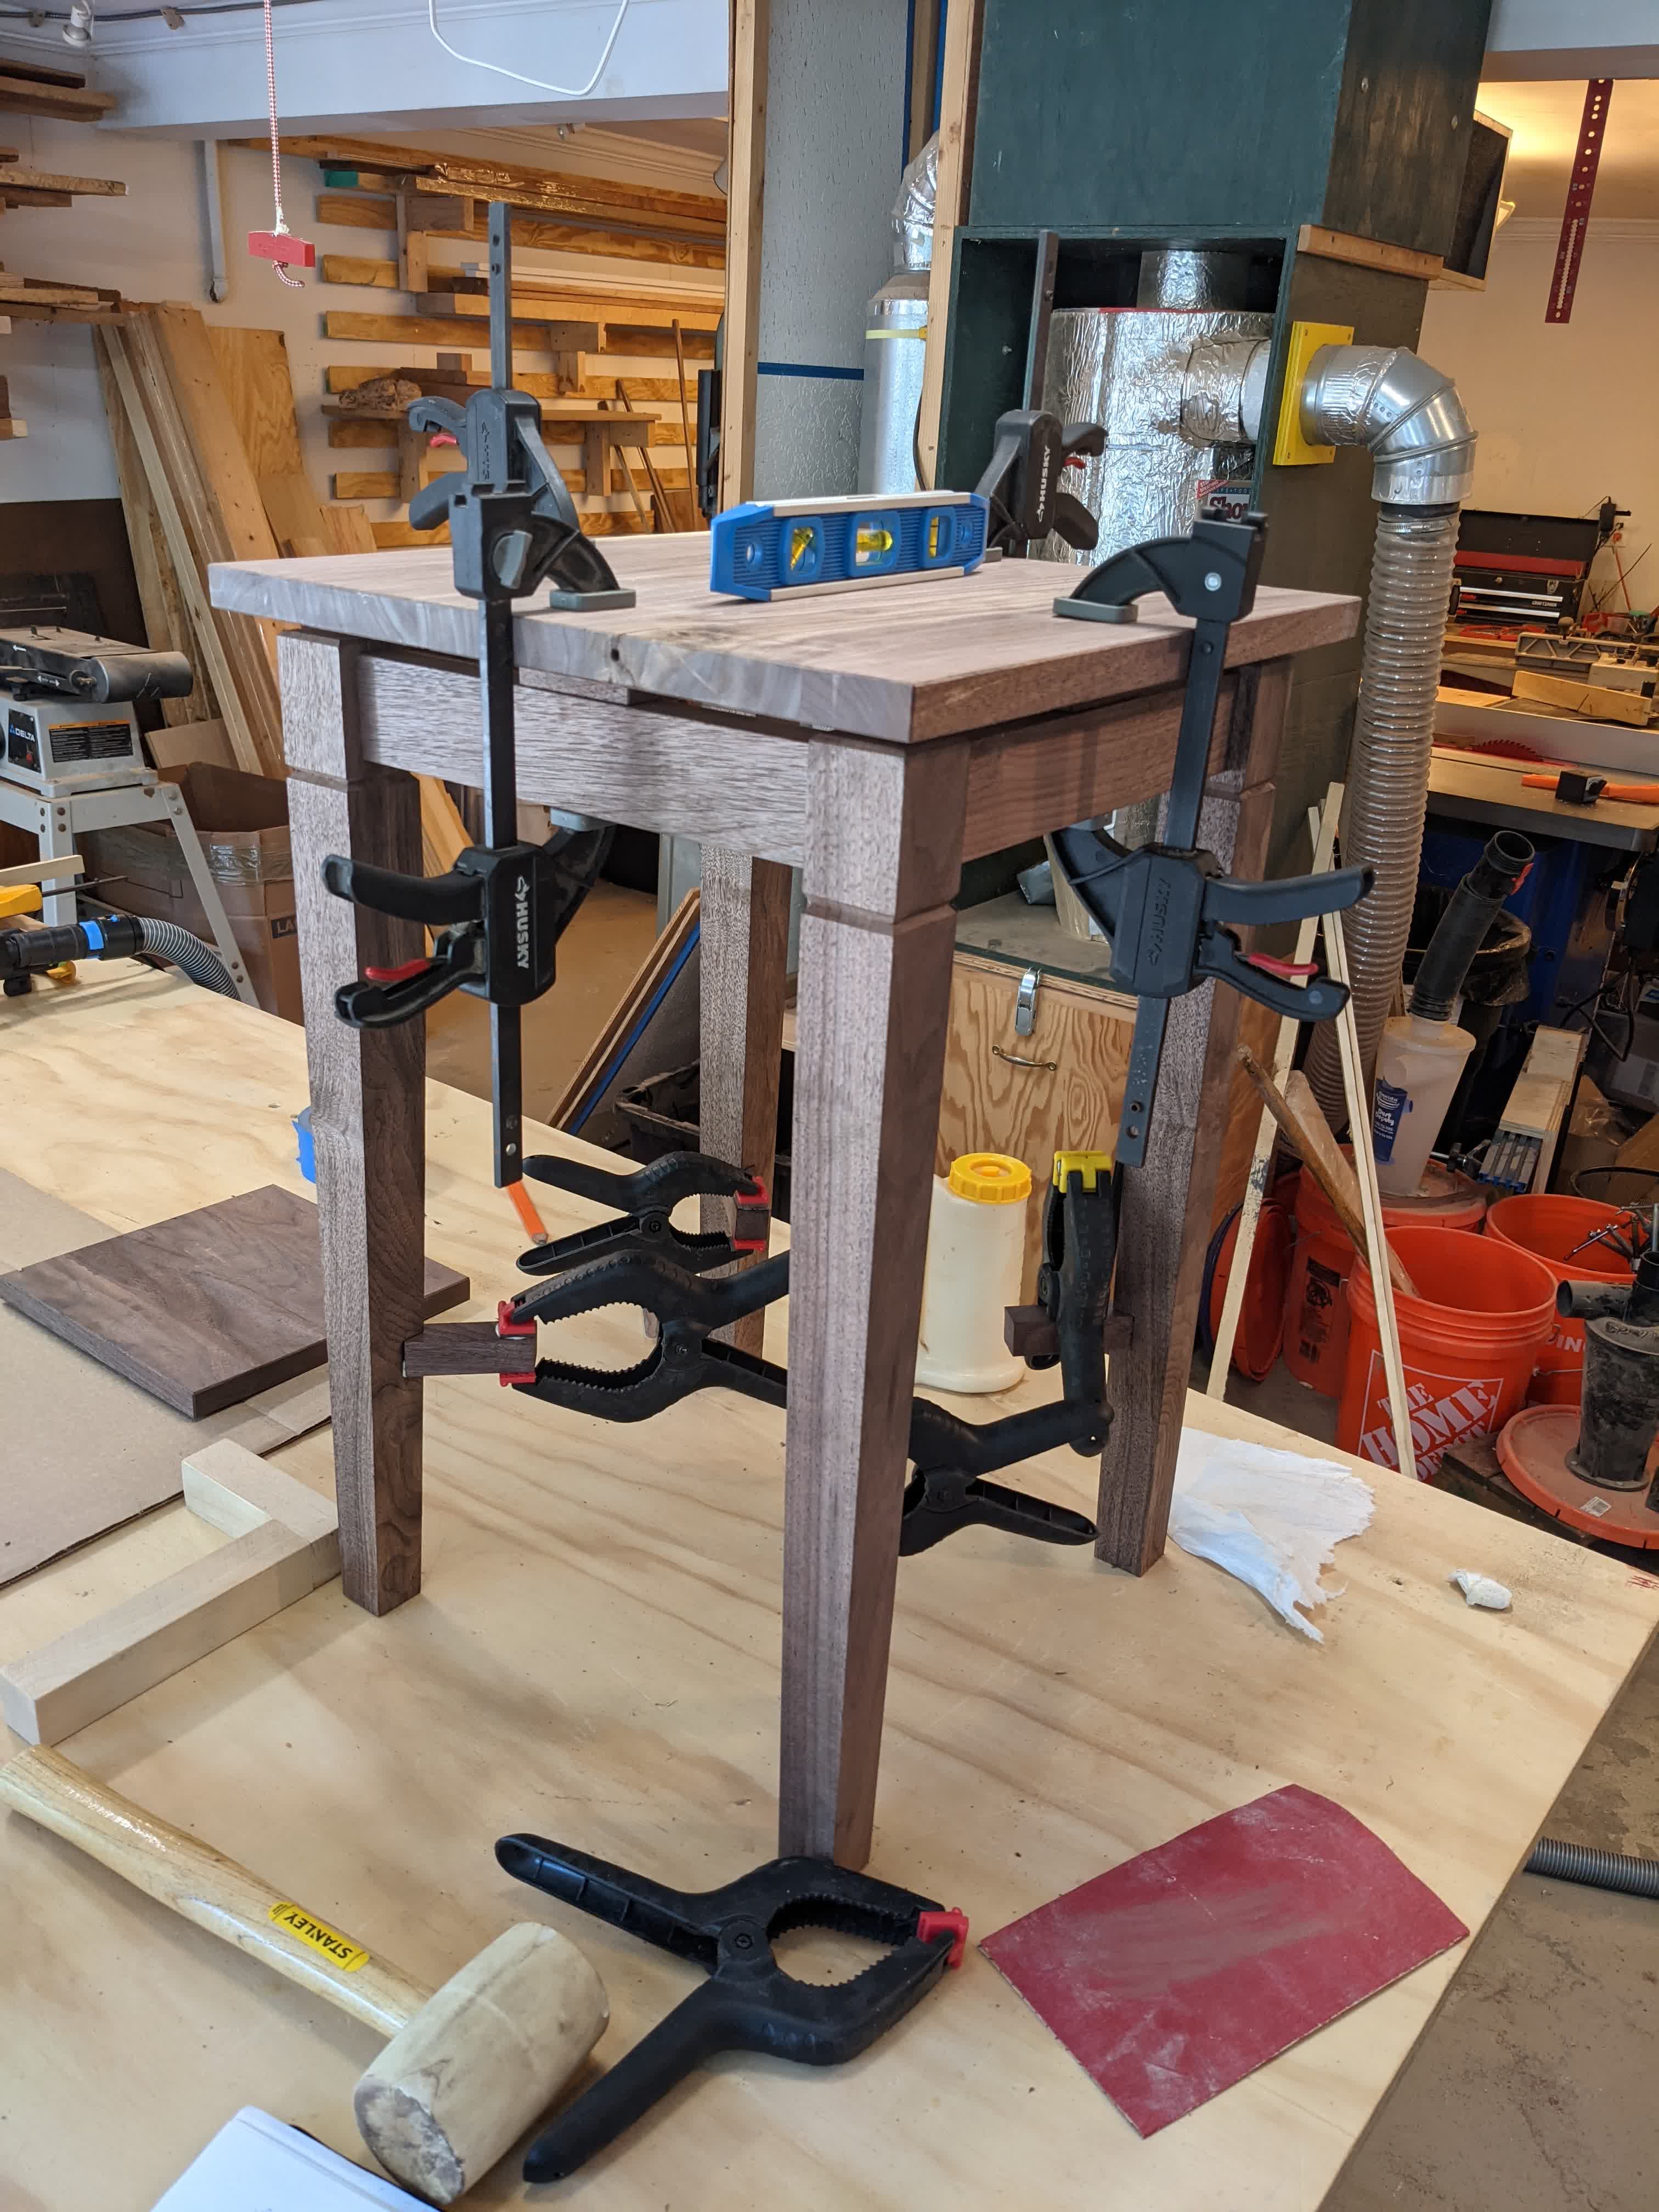
 |
 |
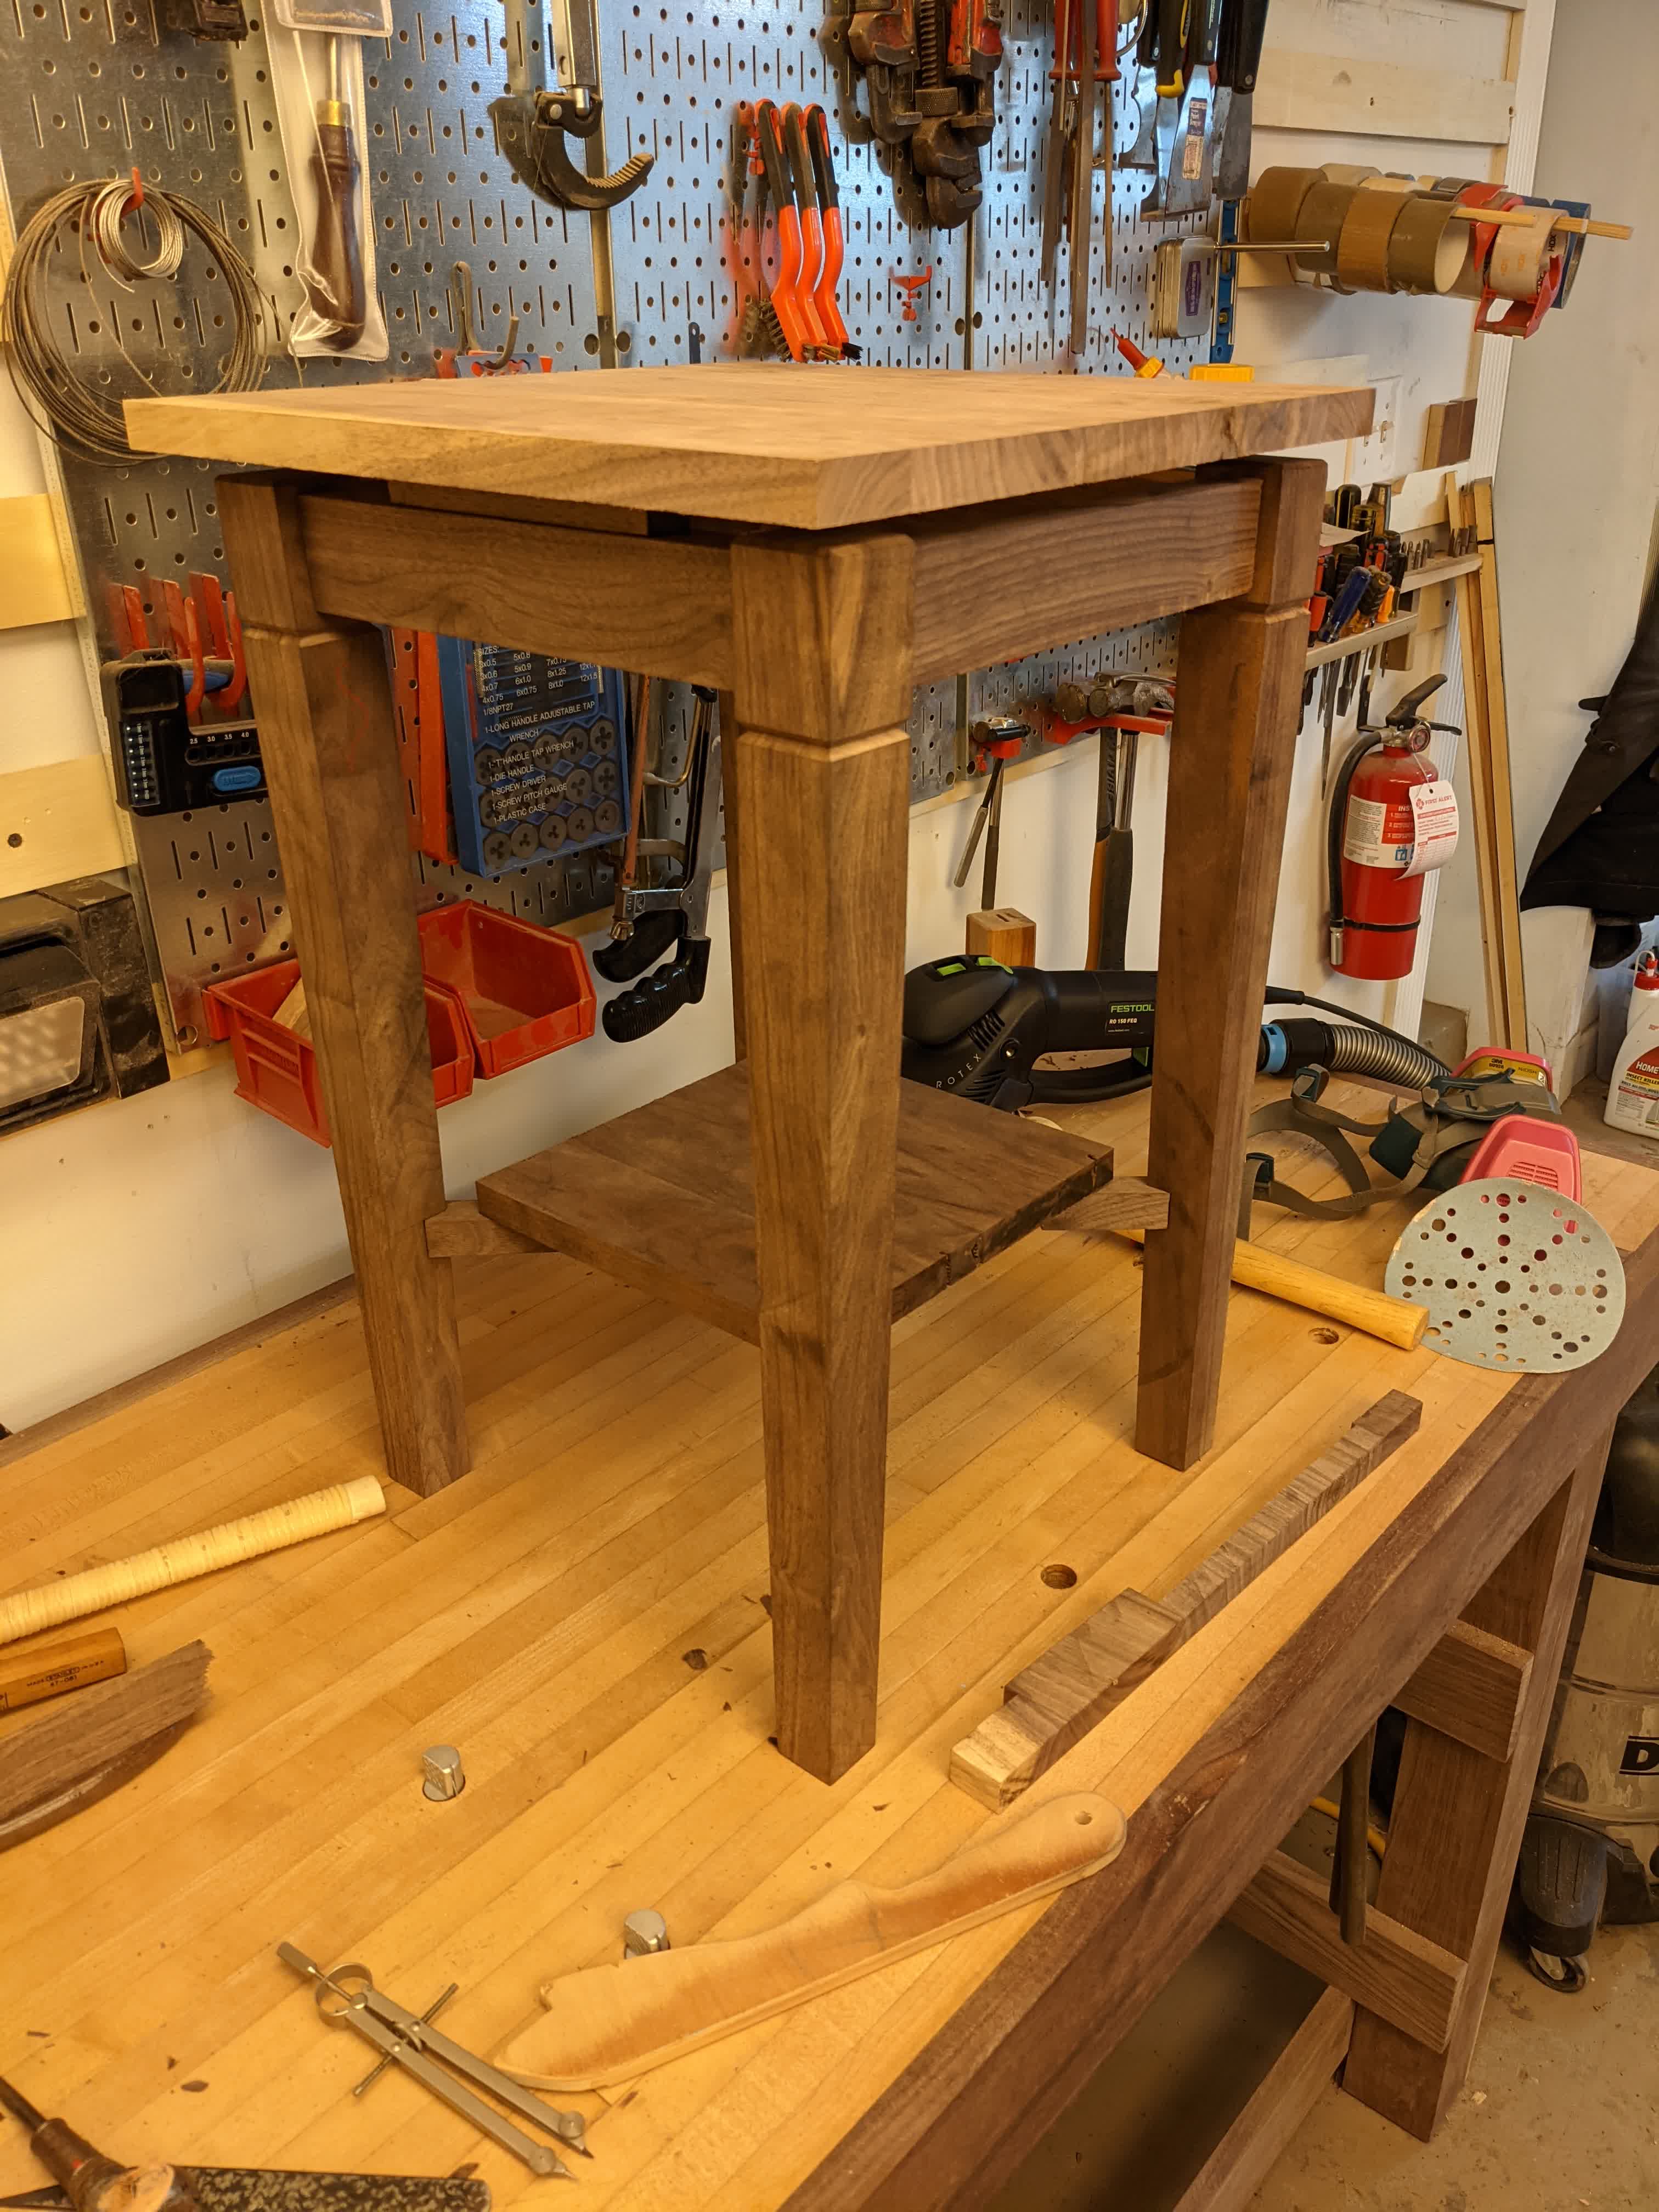
And with that, everything was in place for a dry fit! Now comes the part about no sanding though. Instead of using my power sander, I used a small smoothing plane to get out all the burn marks from the legs, smooth the table surfaces, knock down sharp corners, and do any final tweaks on fit. Then it was time for some glue and finish! I just used spray laquer this time.
 |
 |
 |
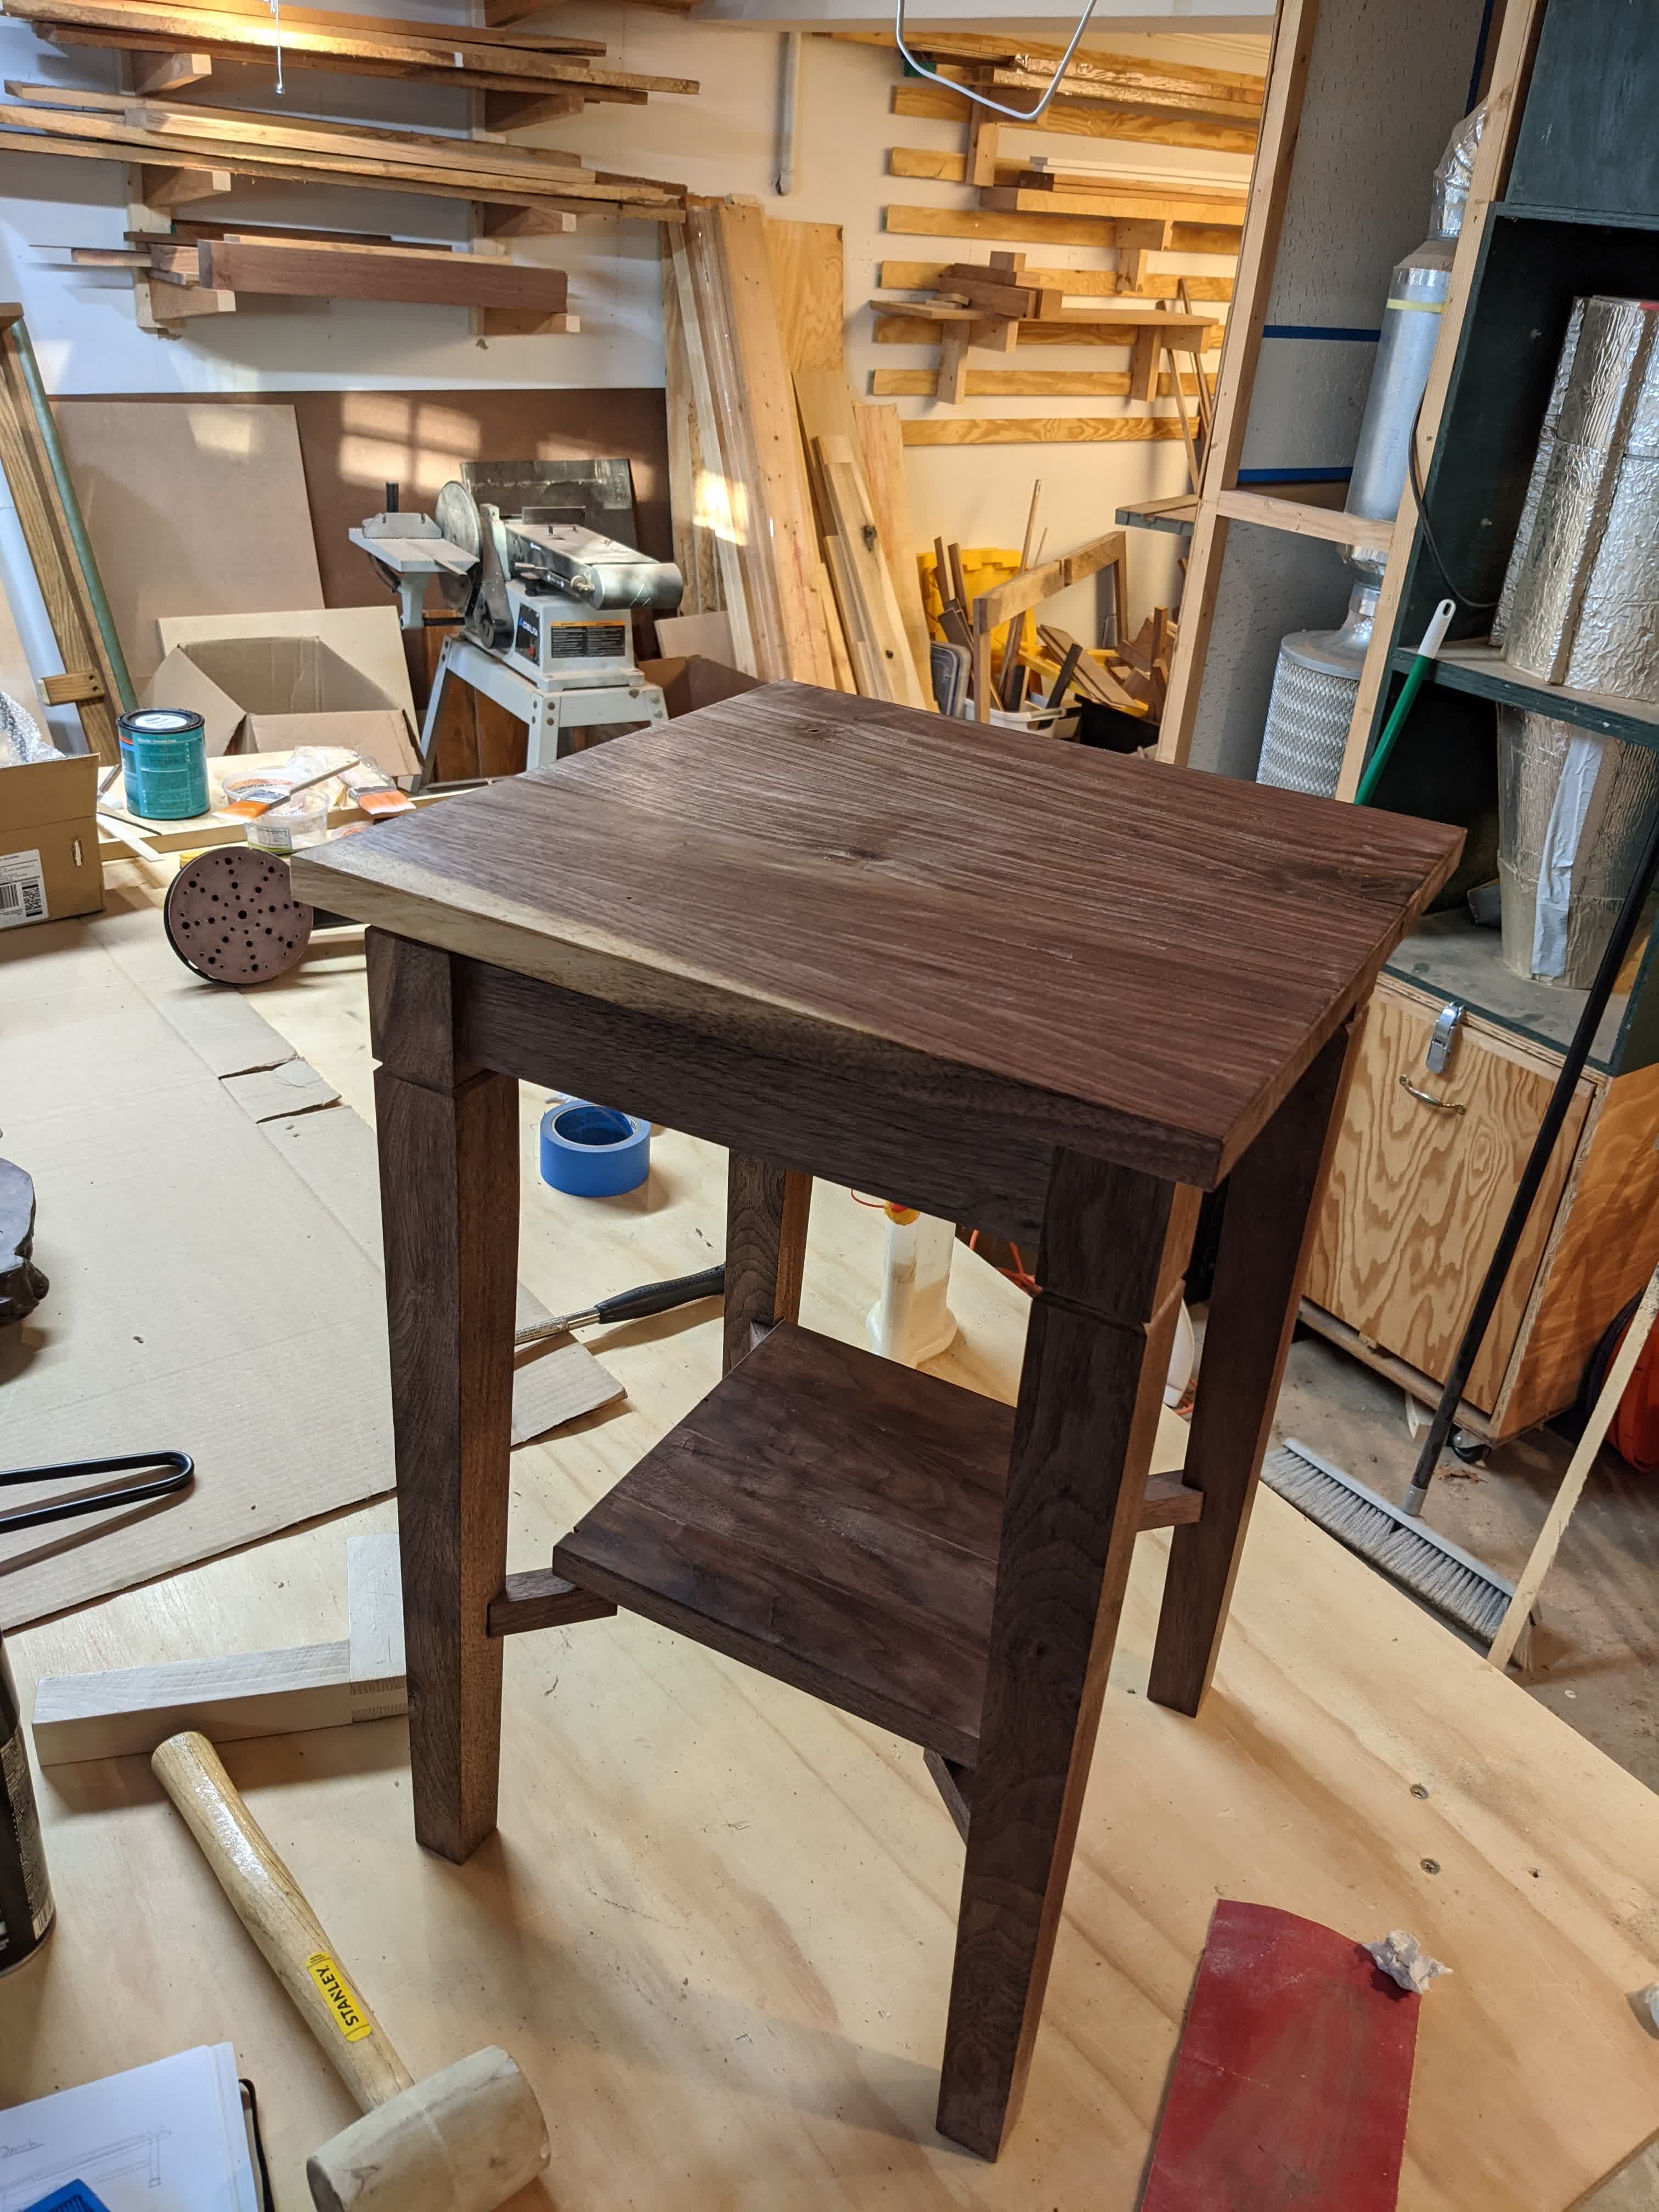 |
And then it was done!
|
|