Walnut Slab Table
 |
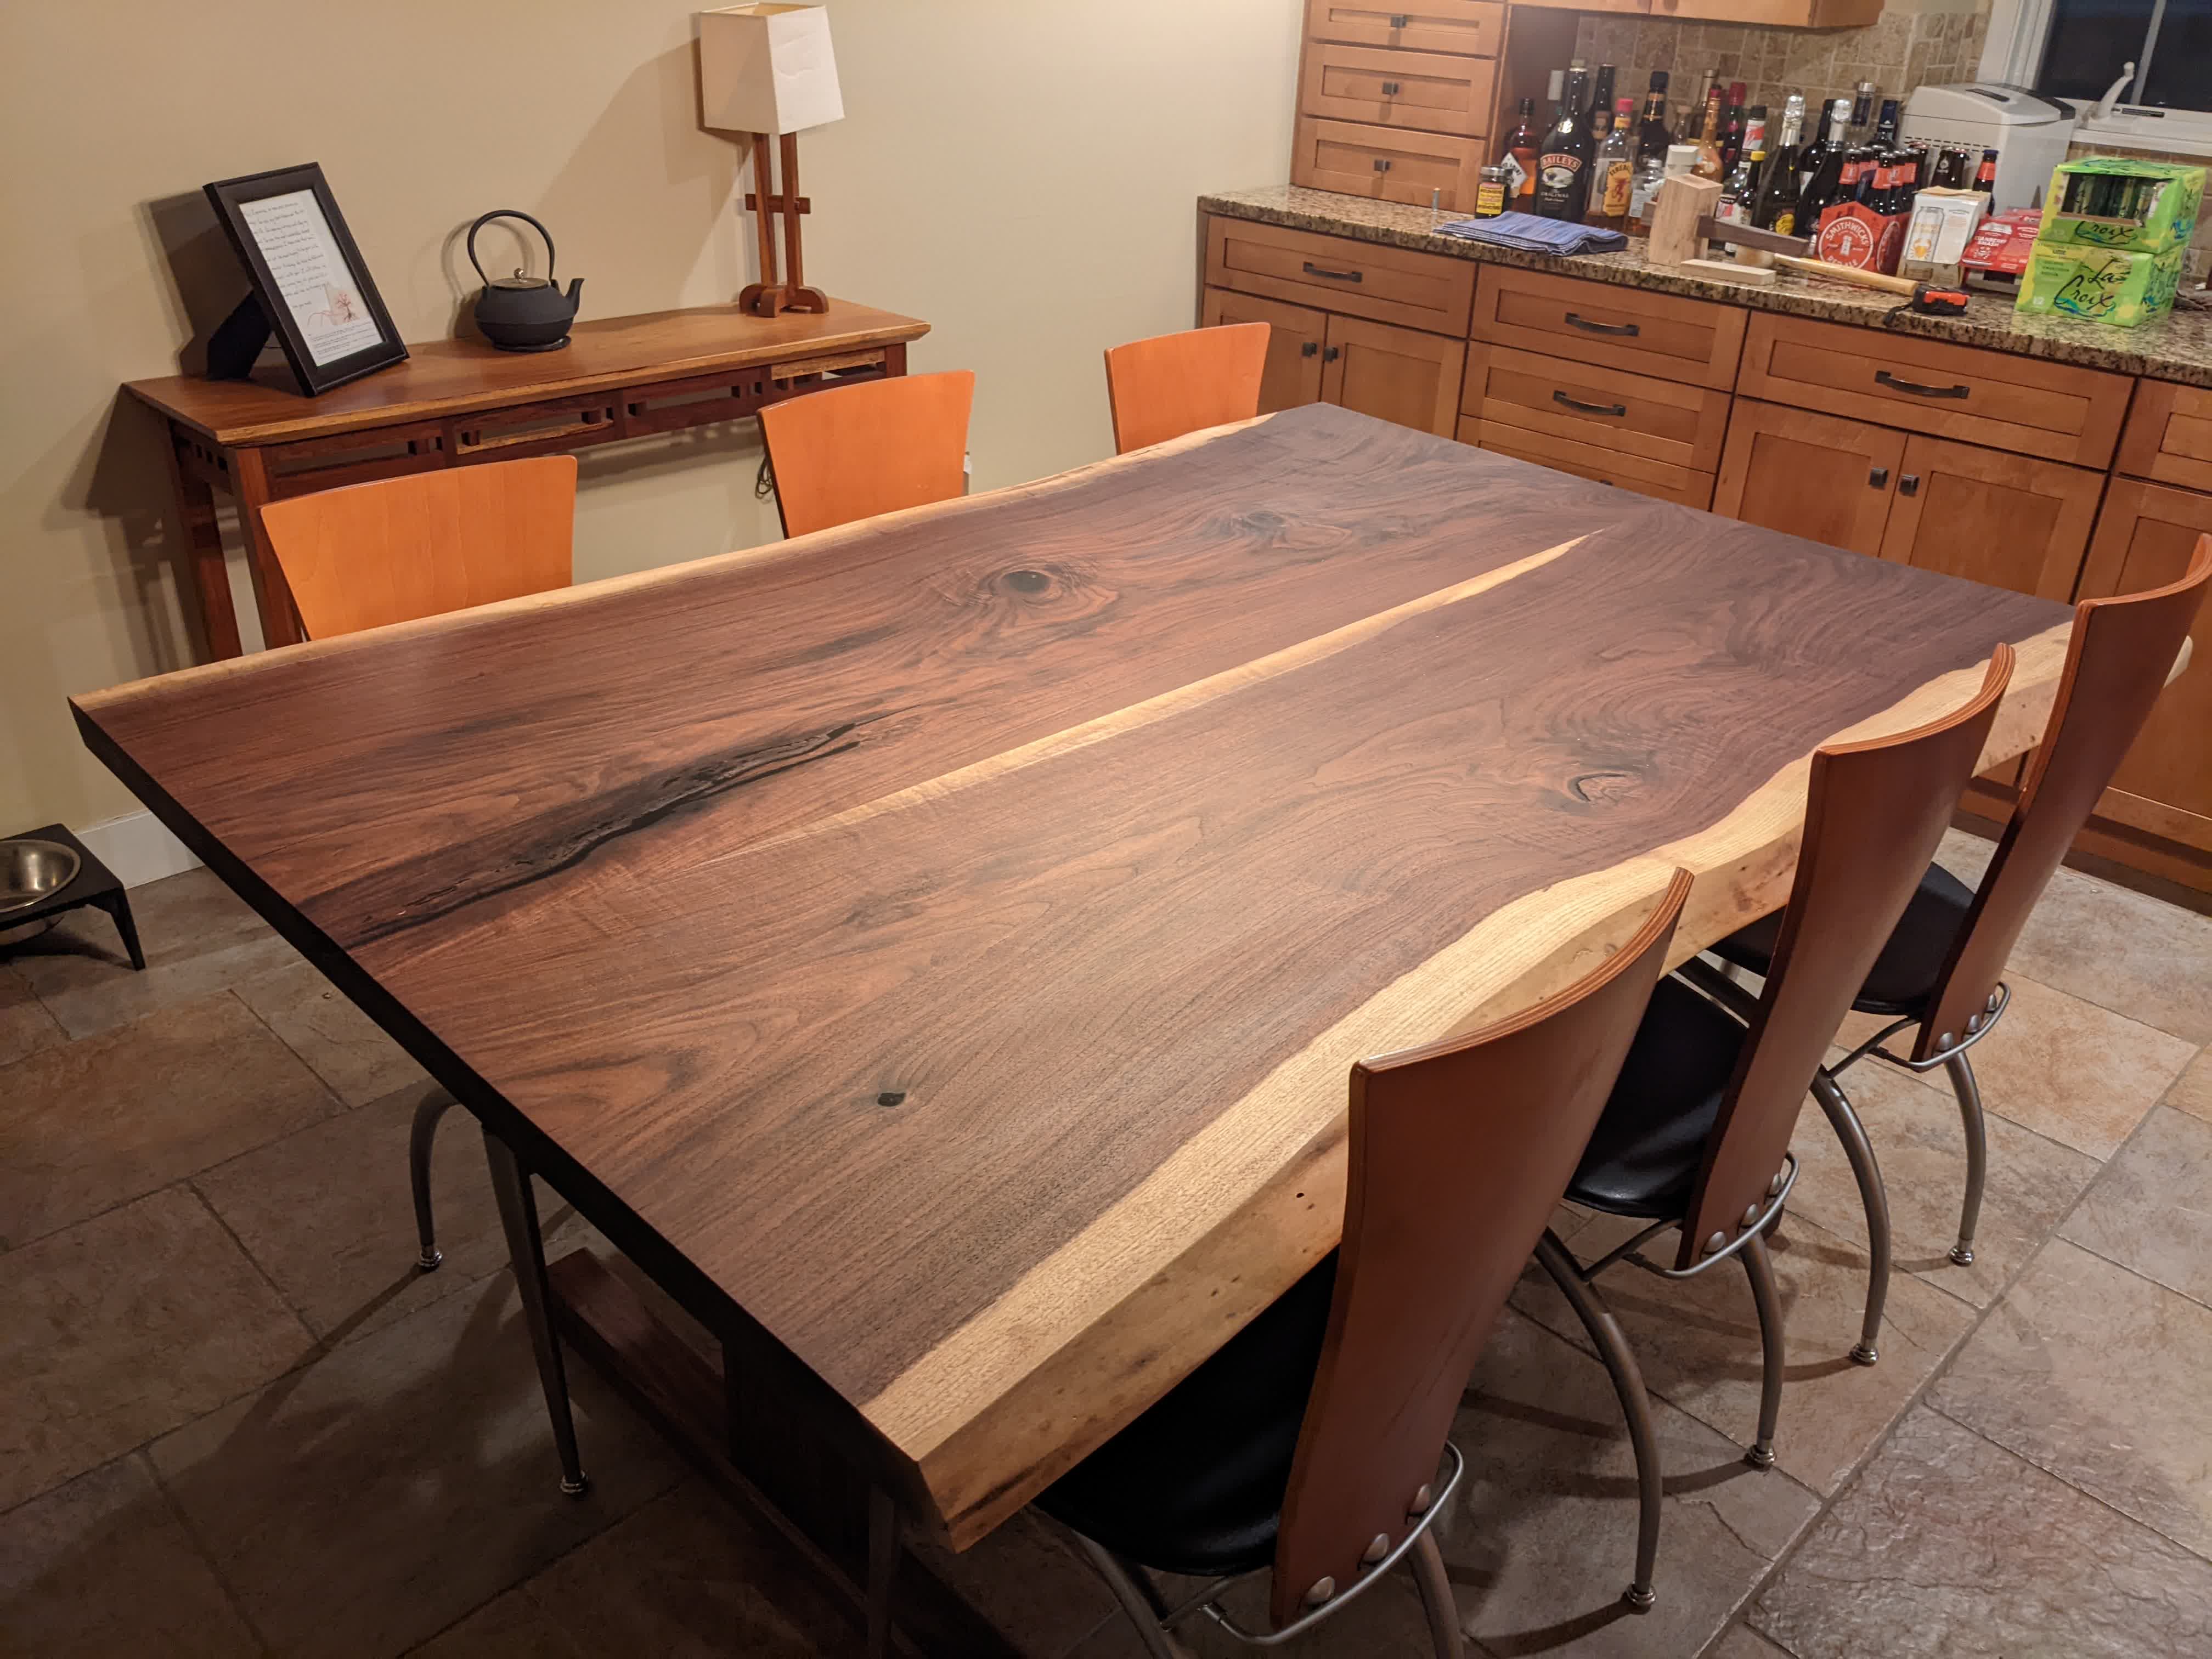 |
Finished shots first!
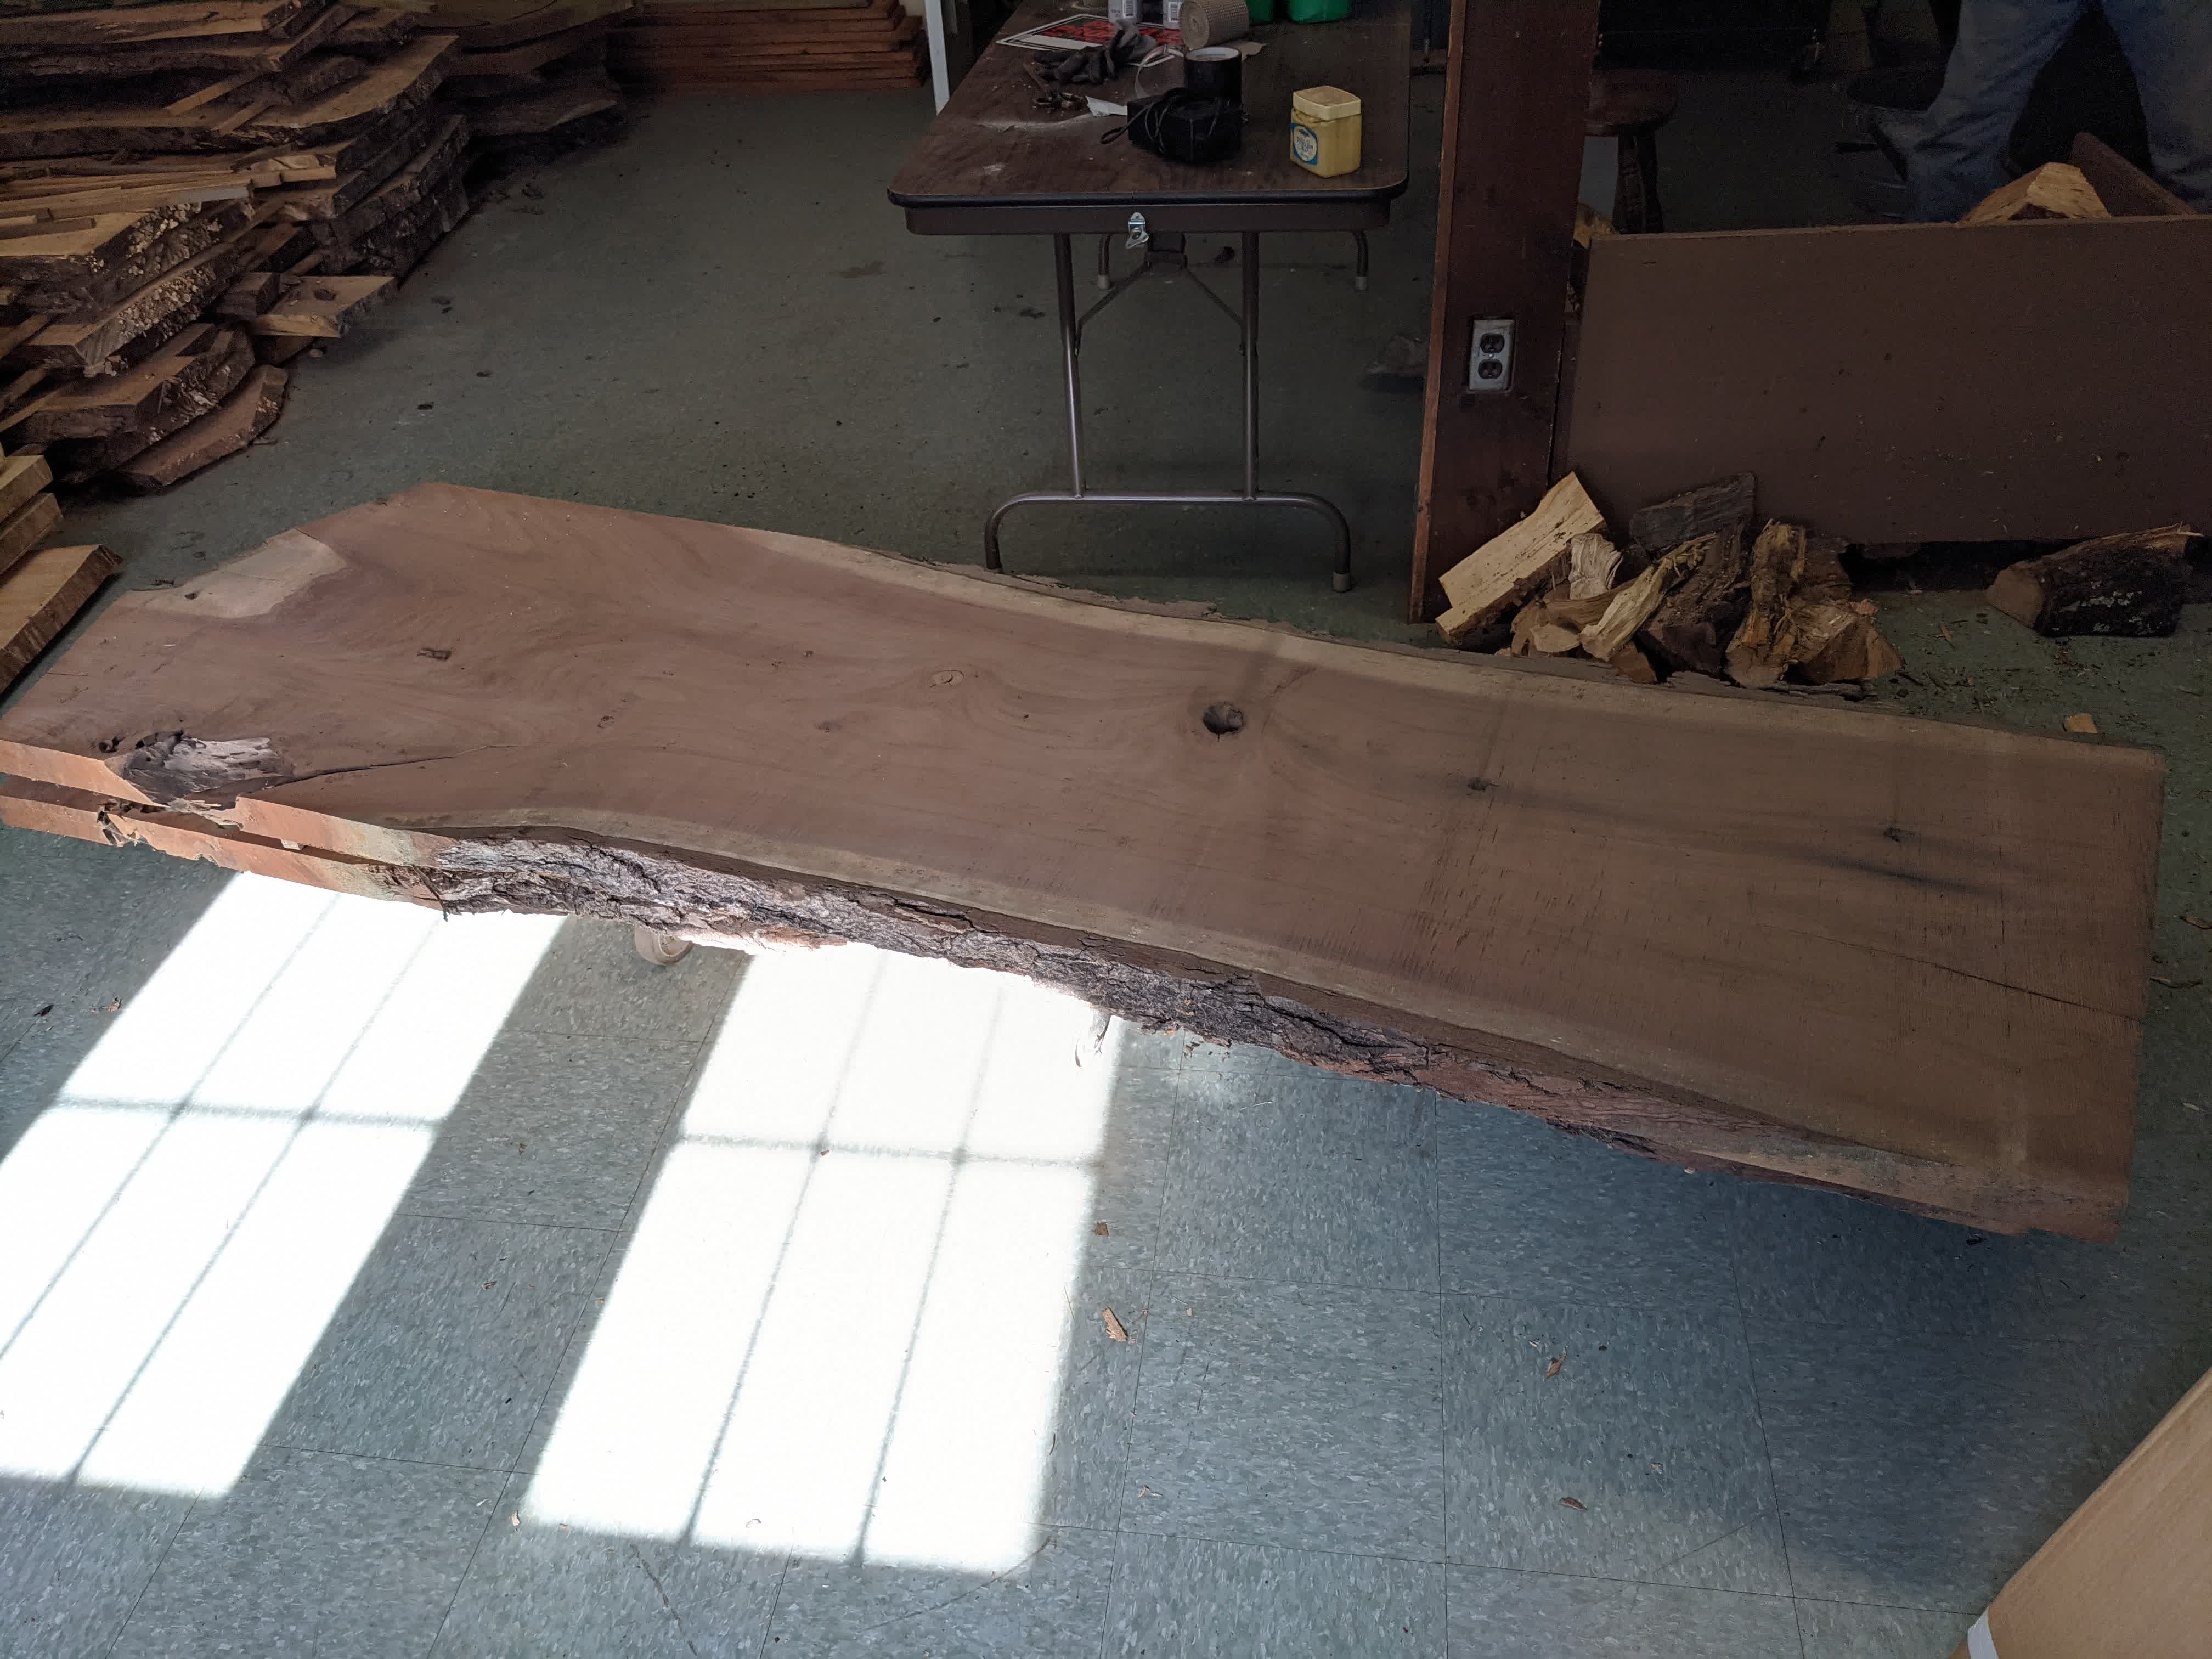
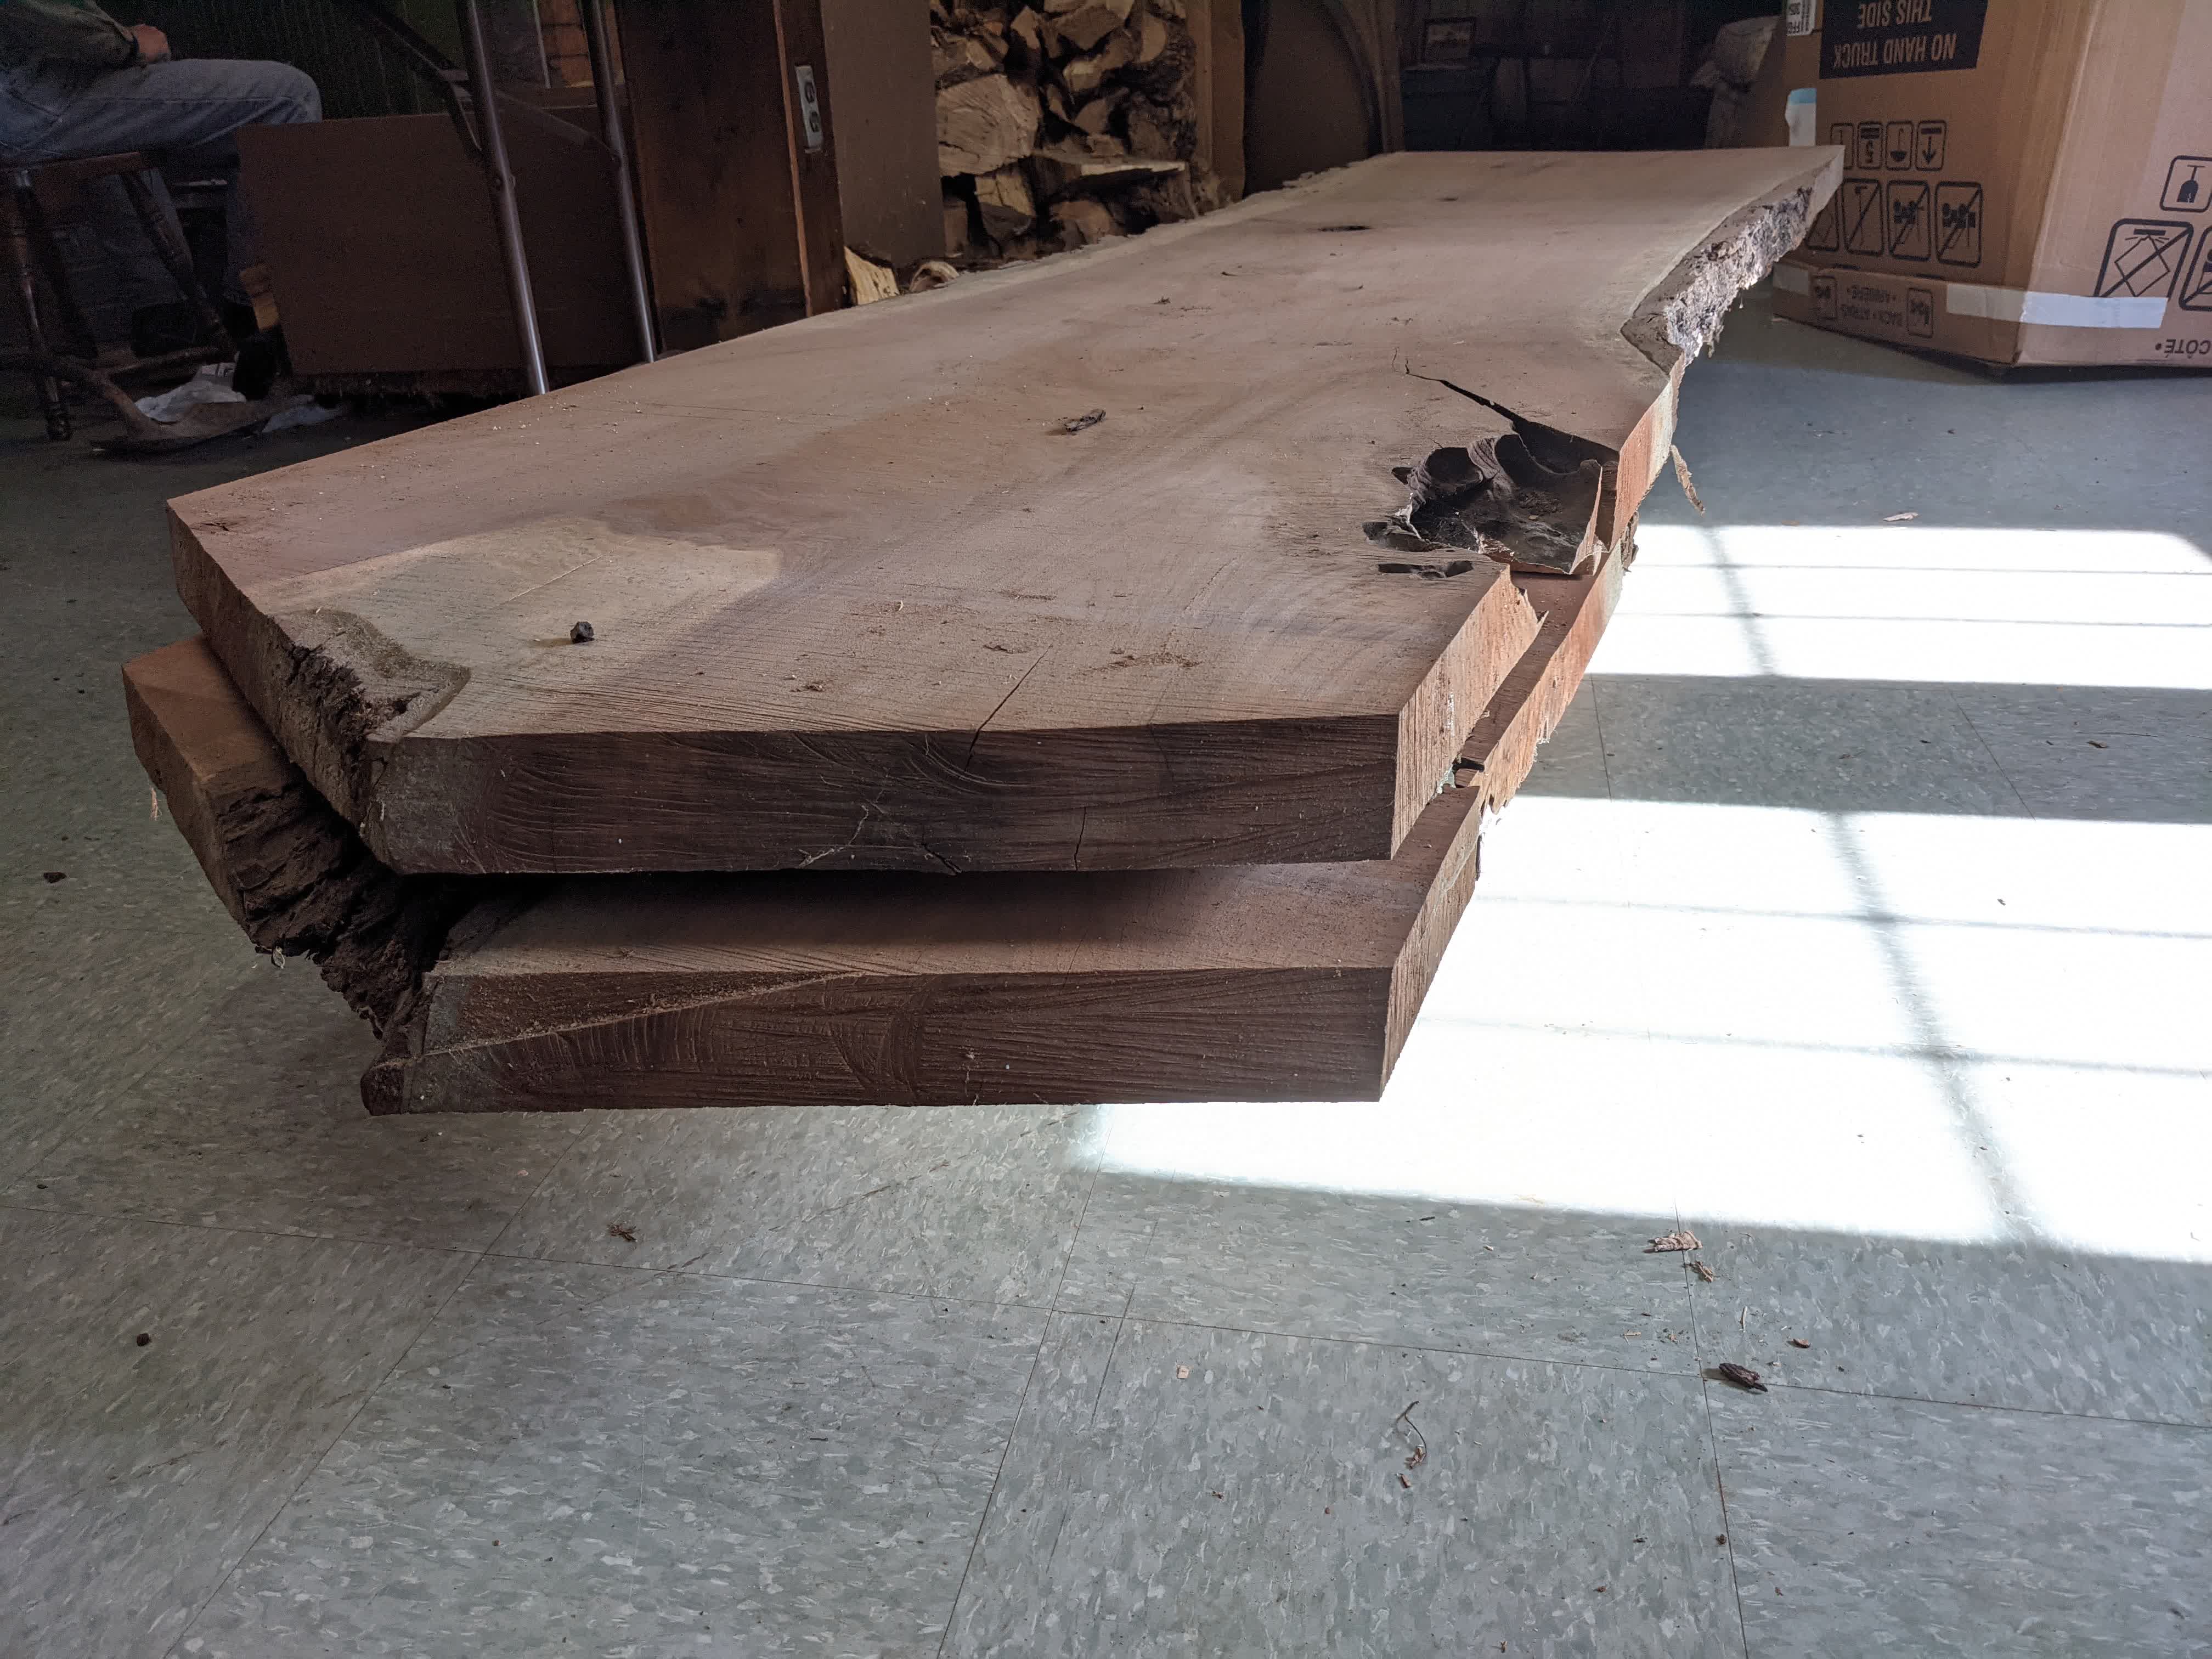
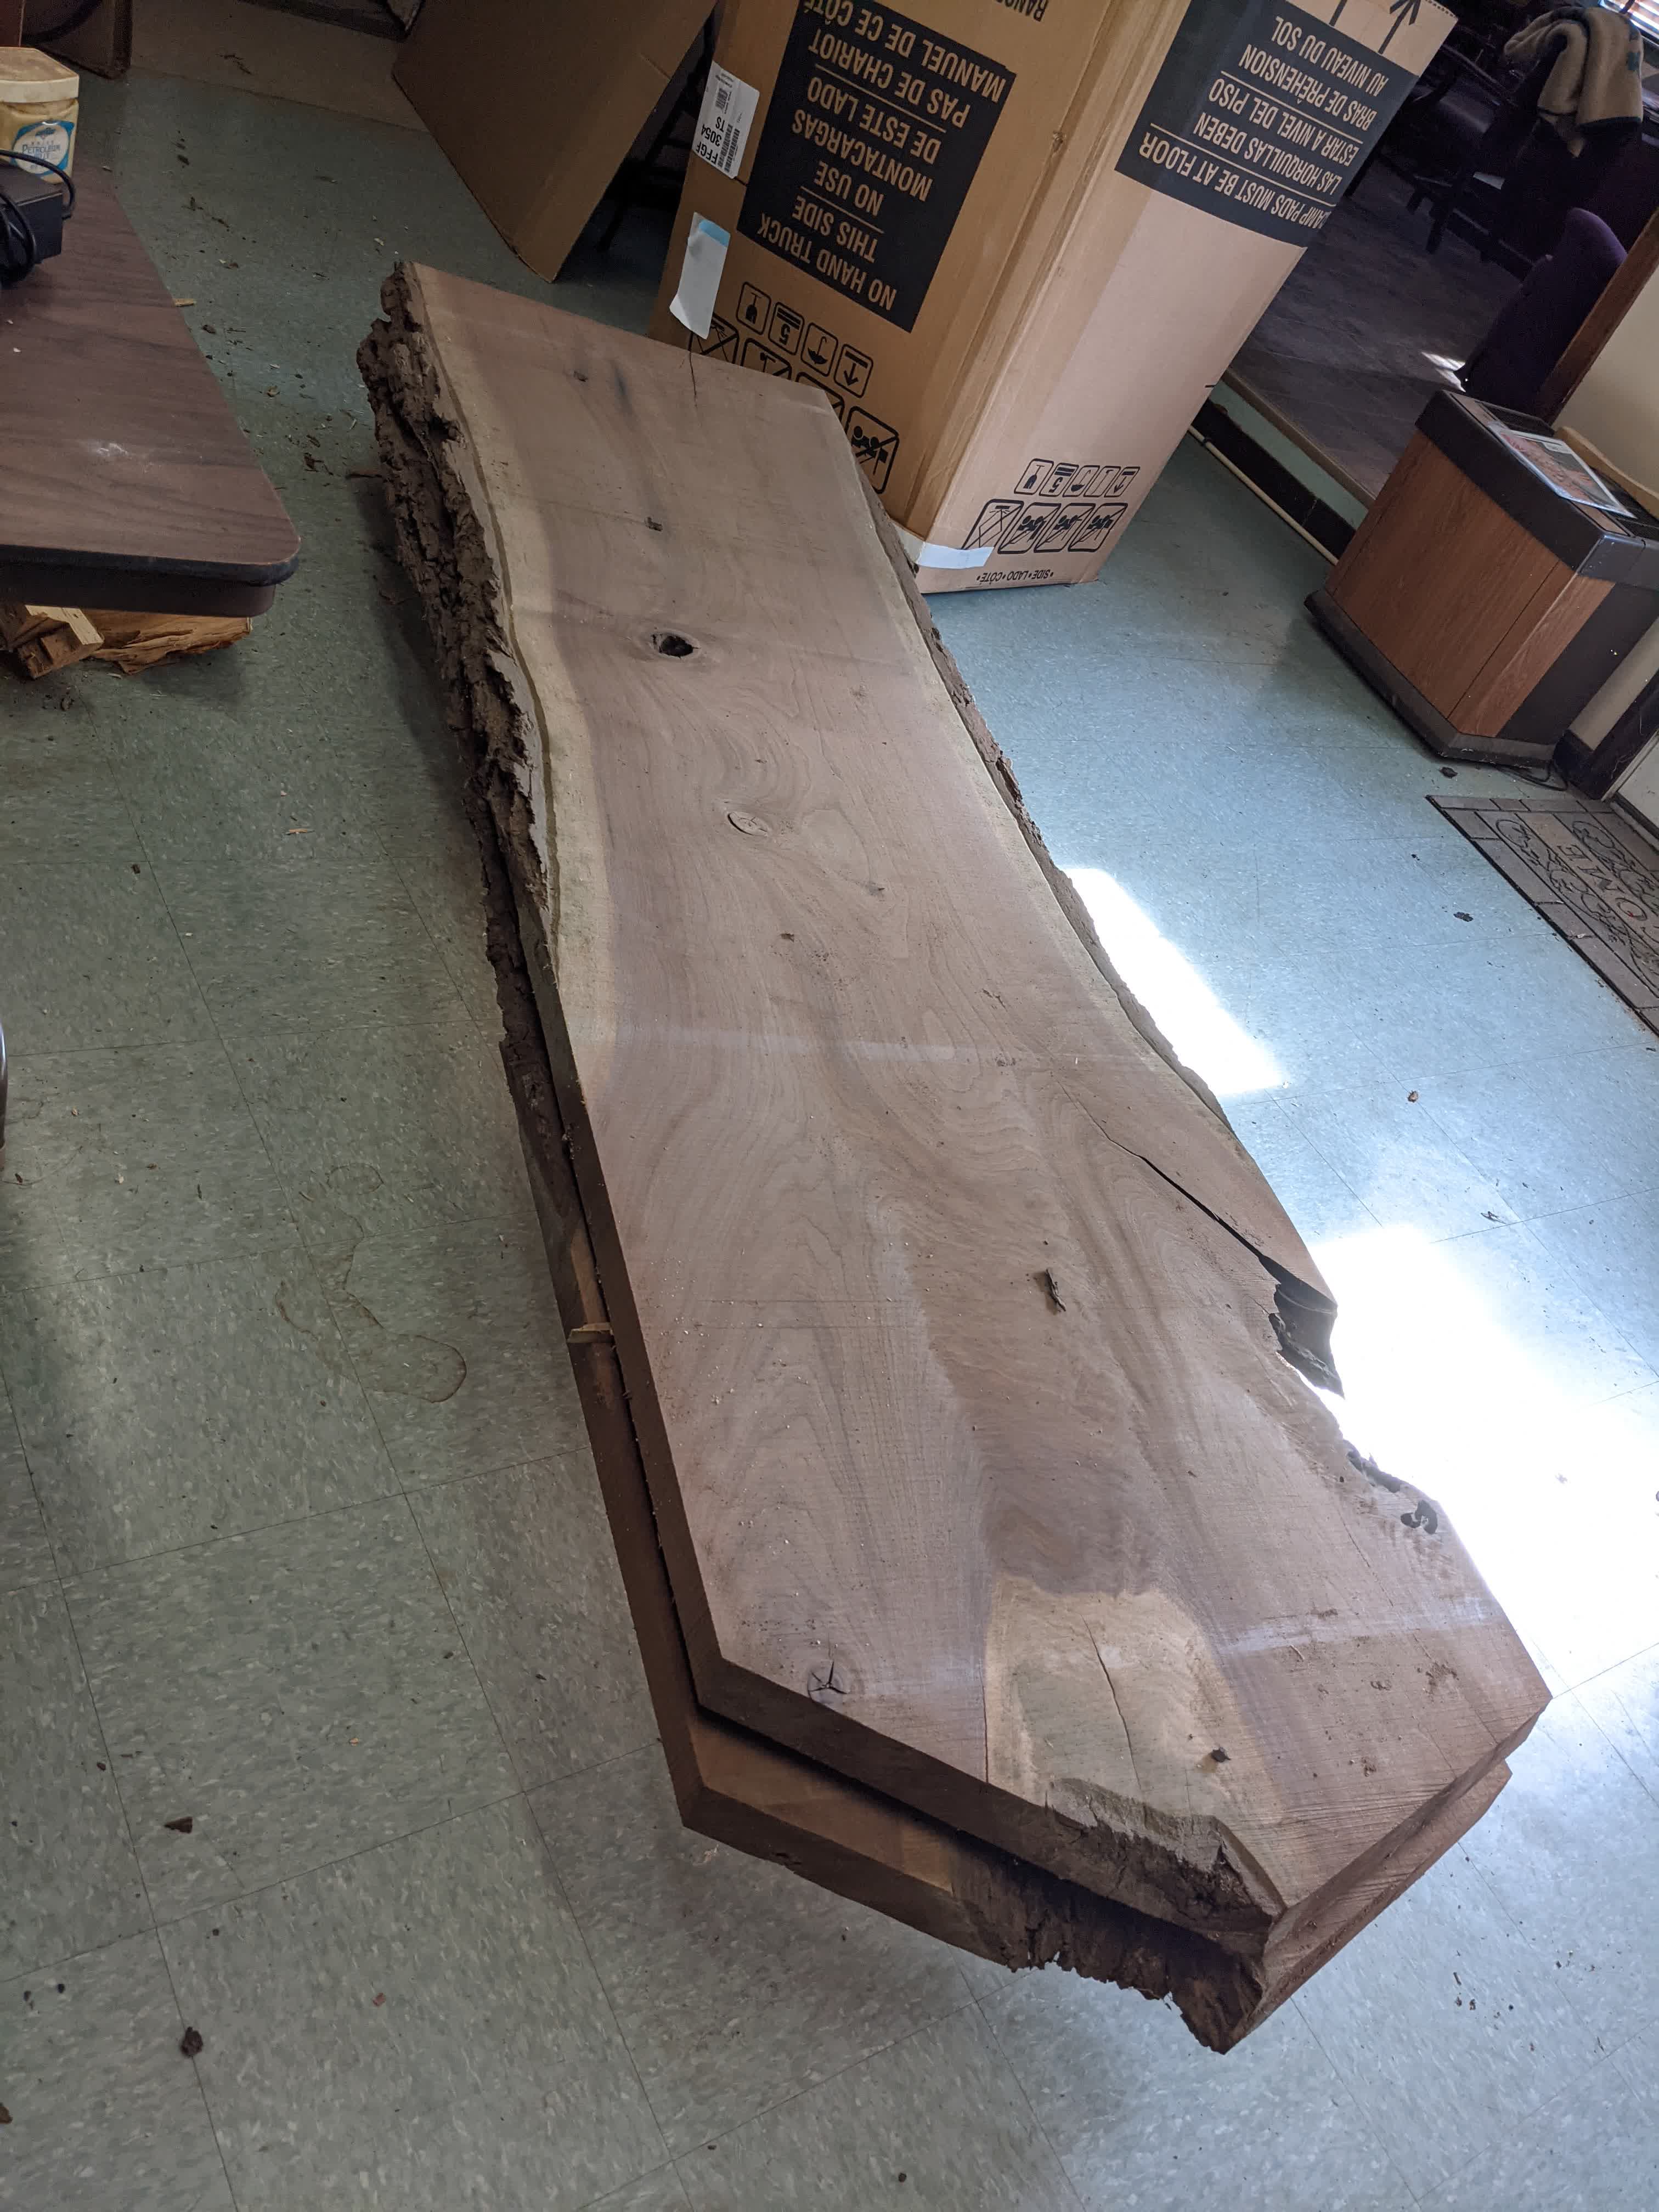
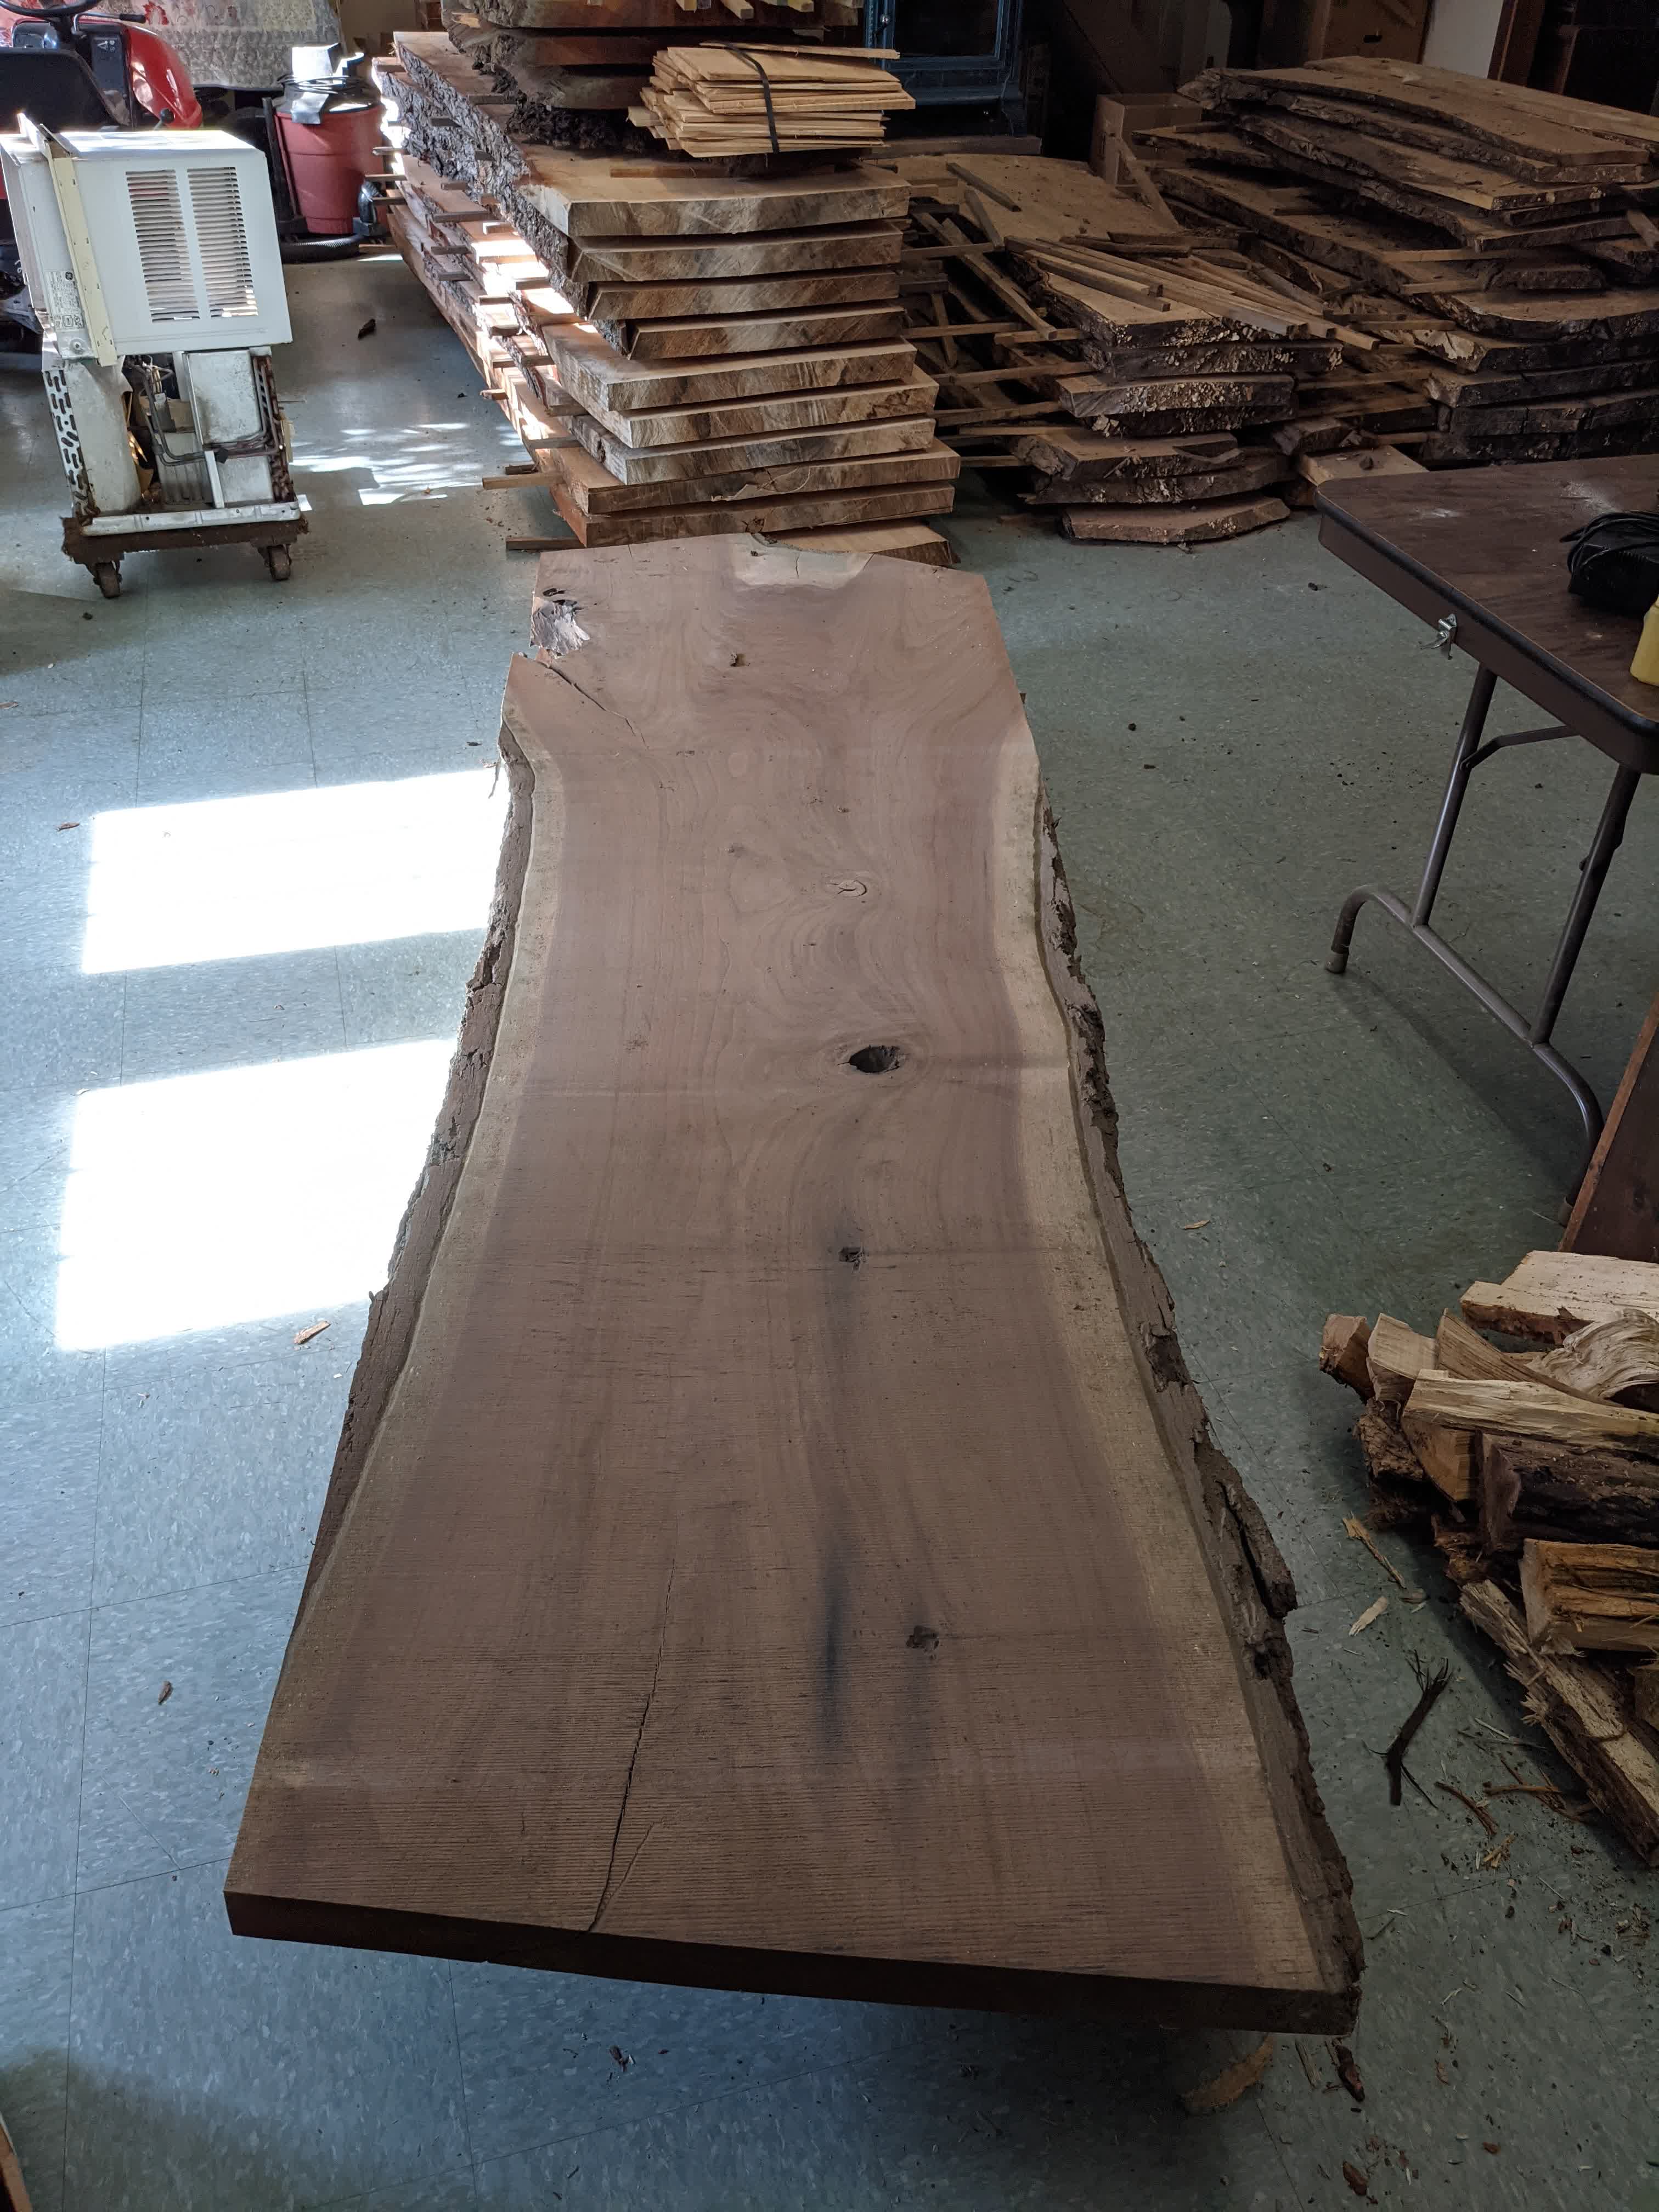
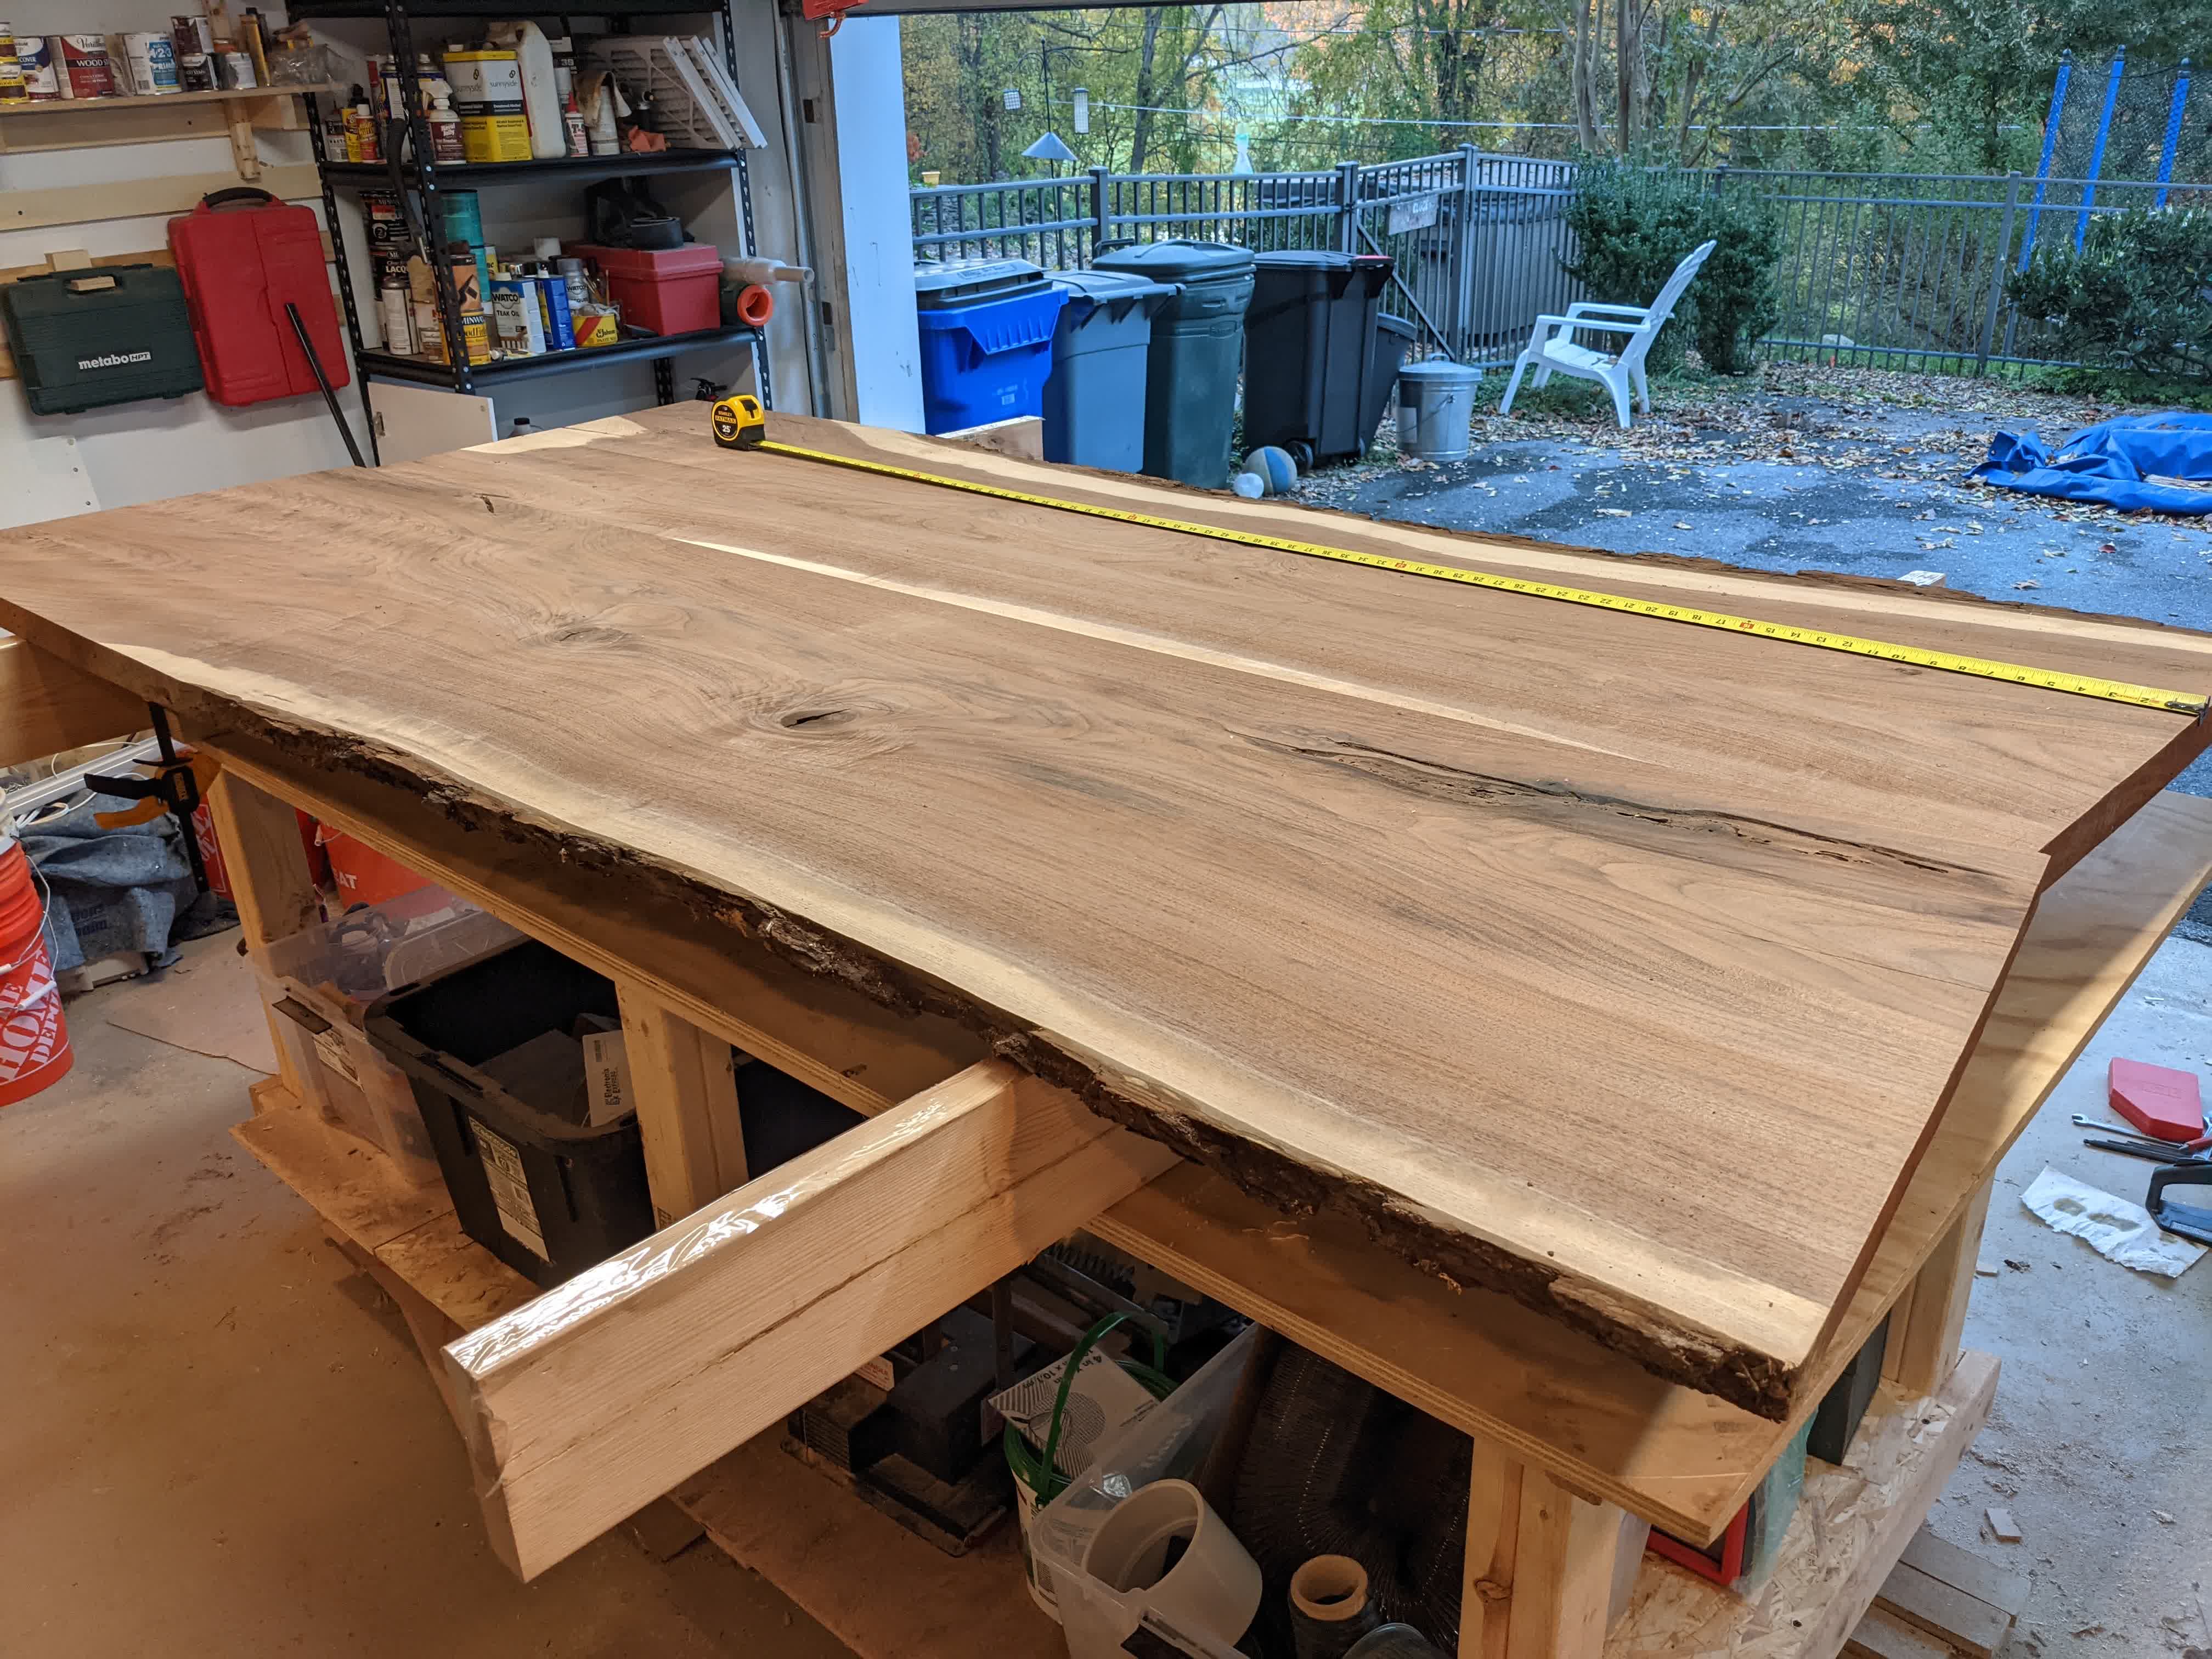
But this is what it looked like when I started:
 |
 |
 |
 |
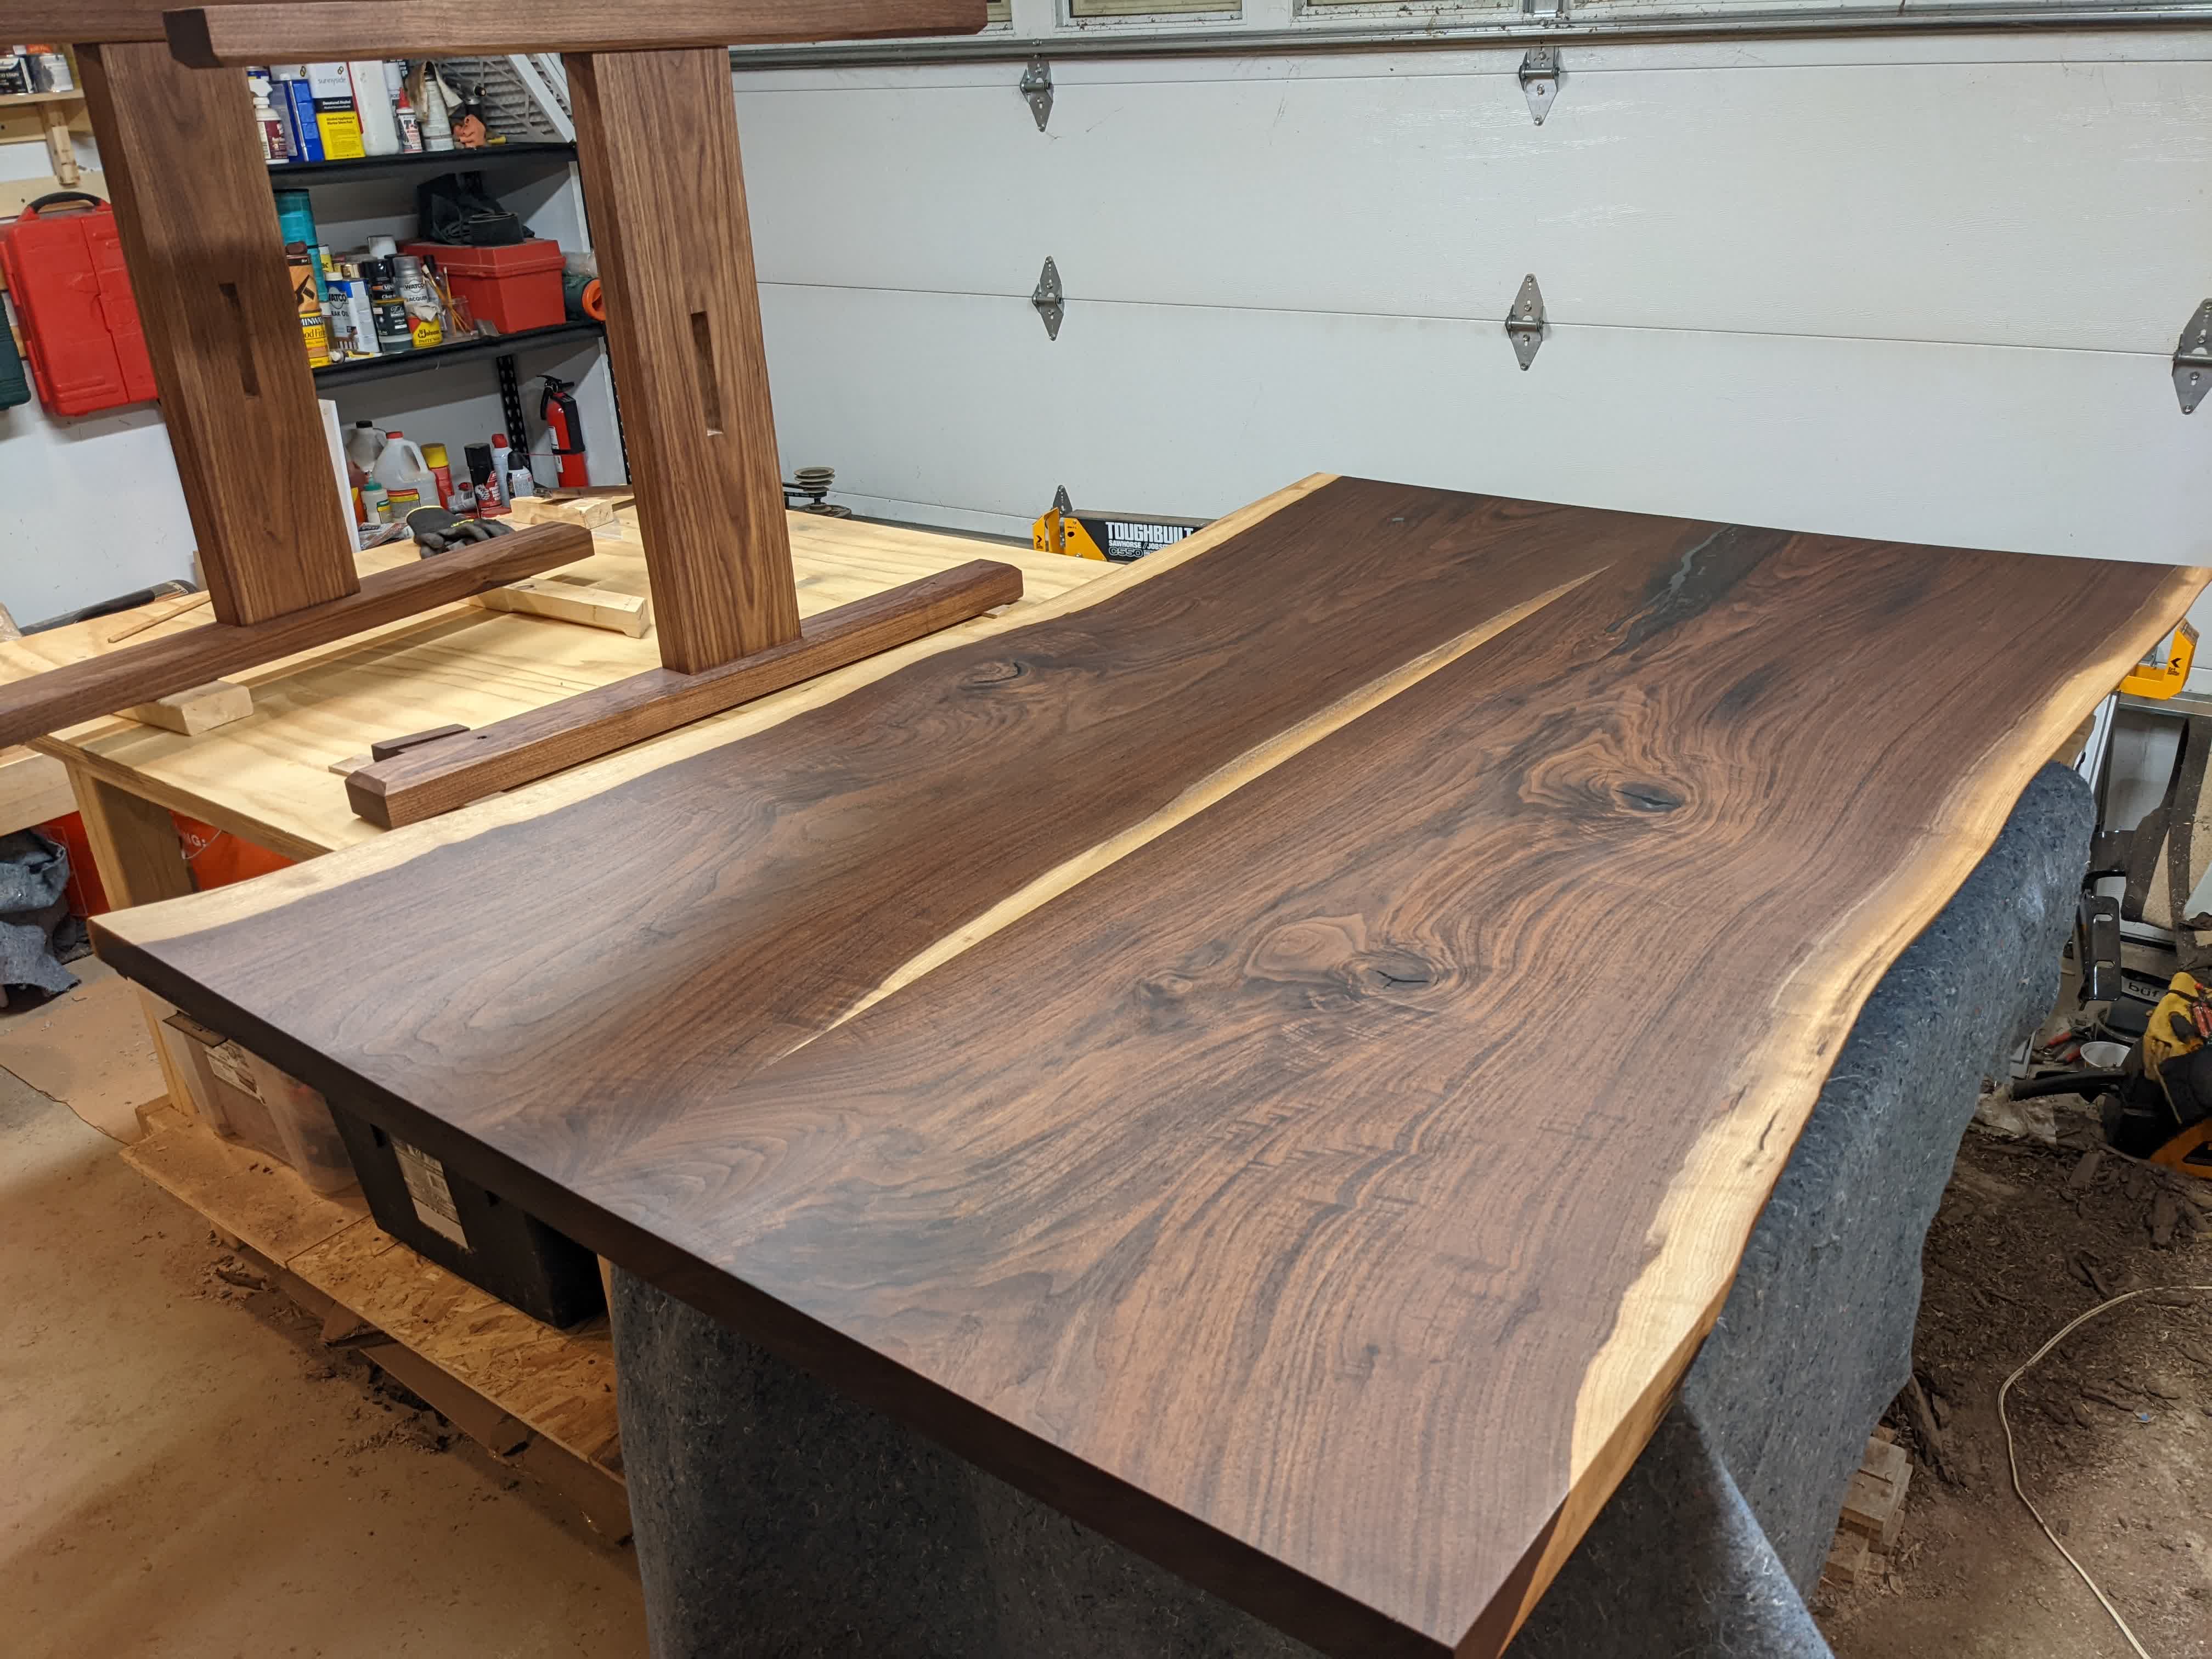
The Sawmill had a huge CNC router setup, which took care of flattening each of the slabs. Then a Festool track saw to cut the joint (it’s really impressive how clean of a line that leaves).
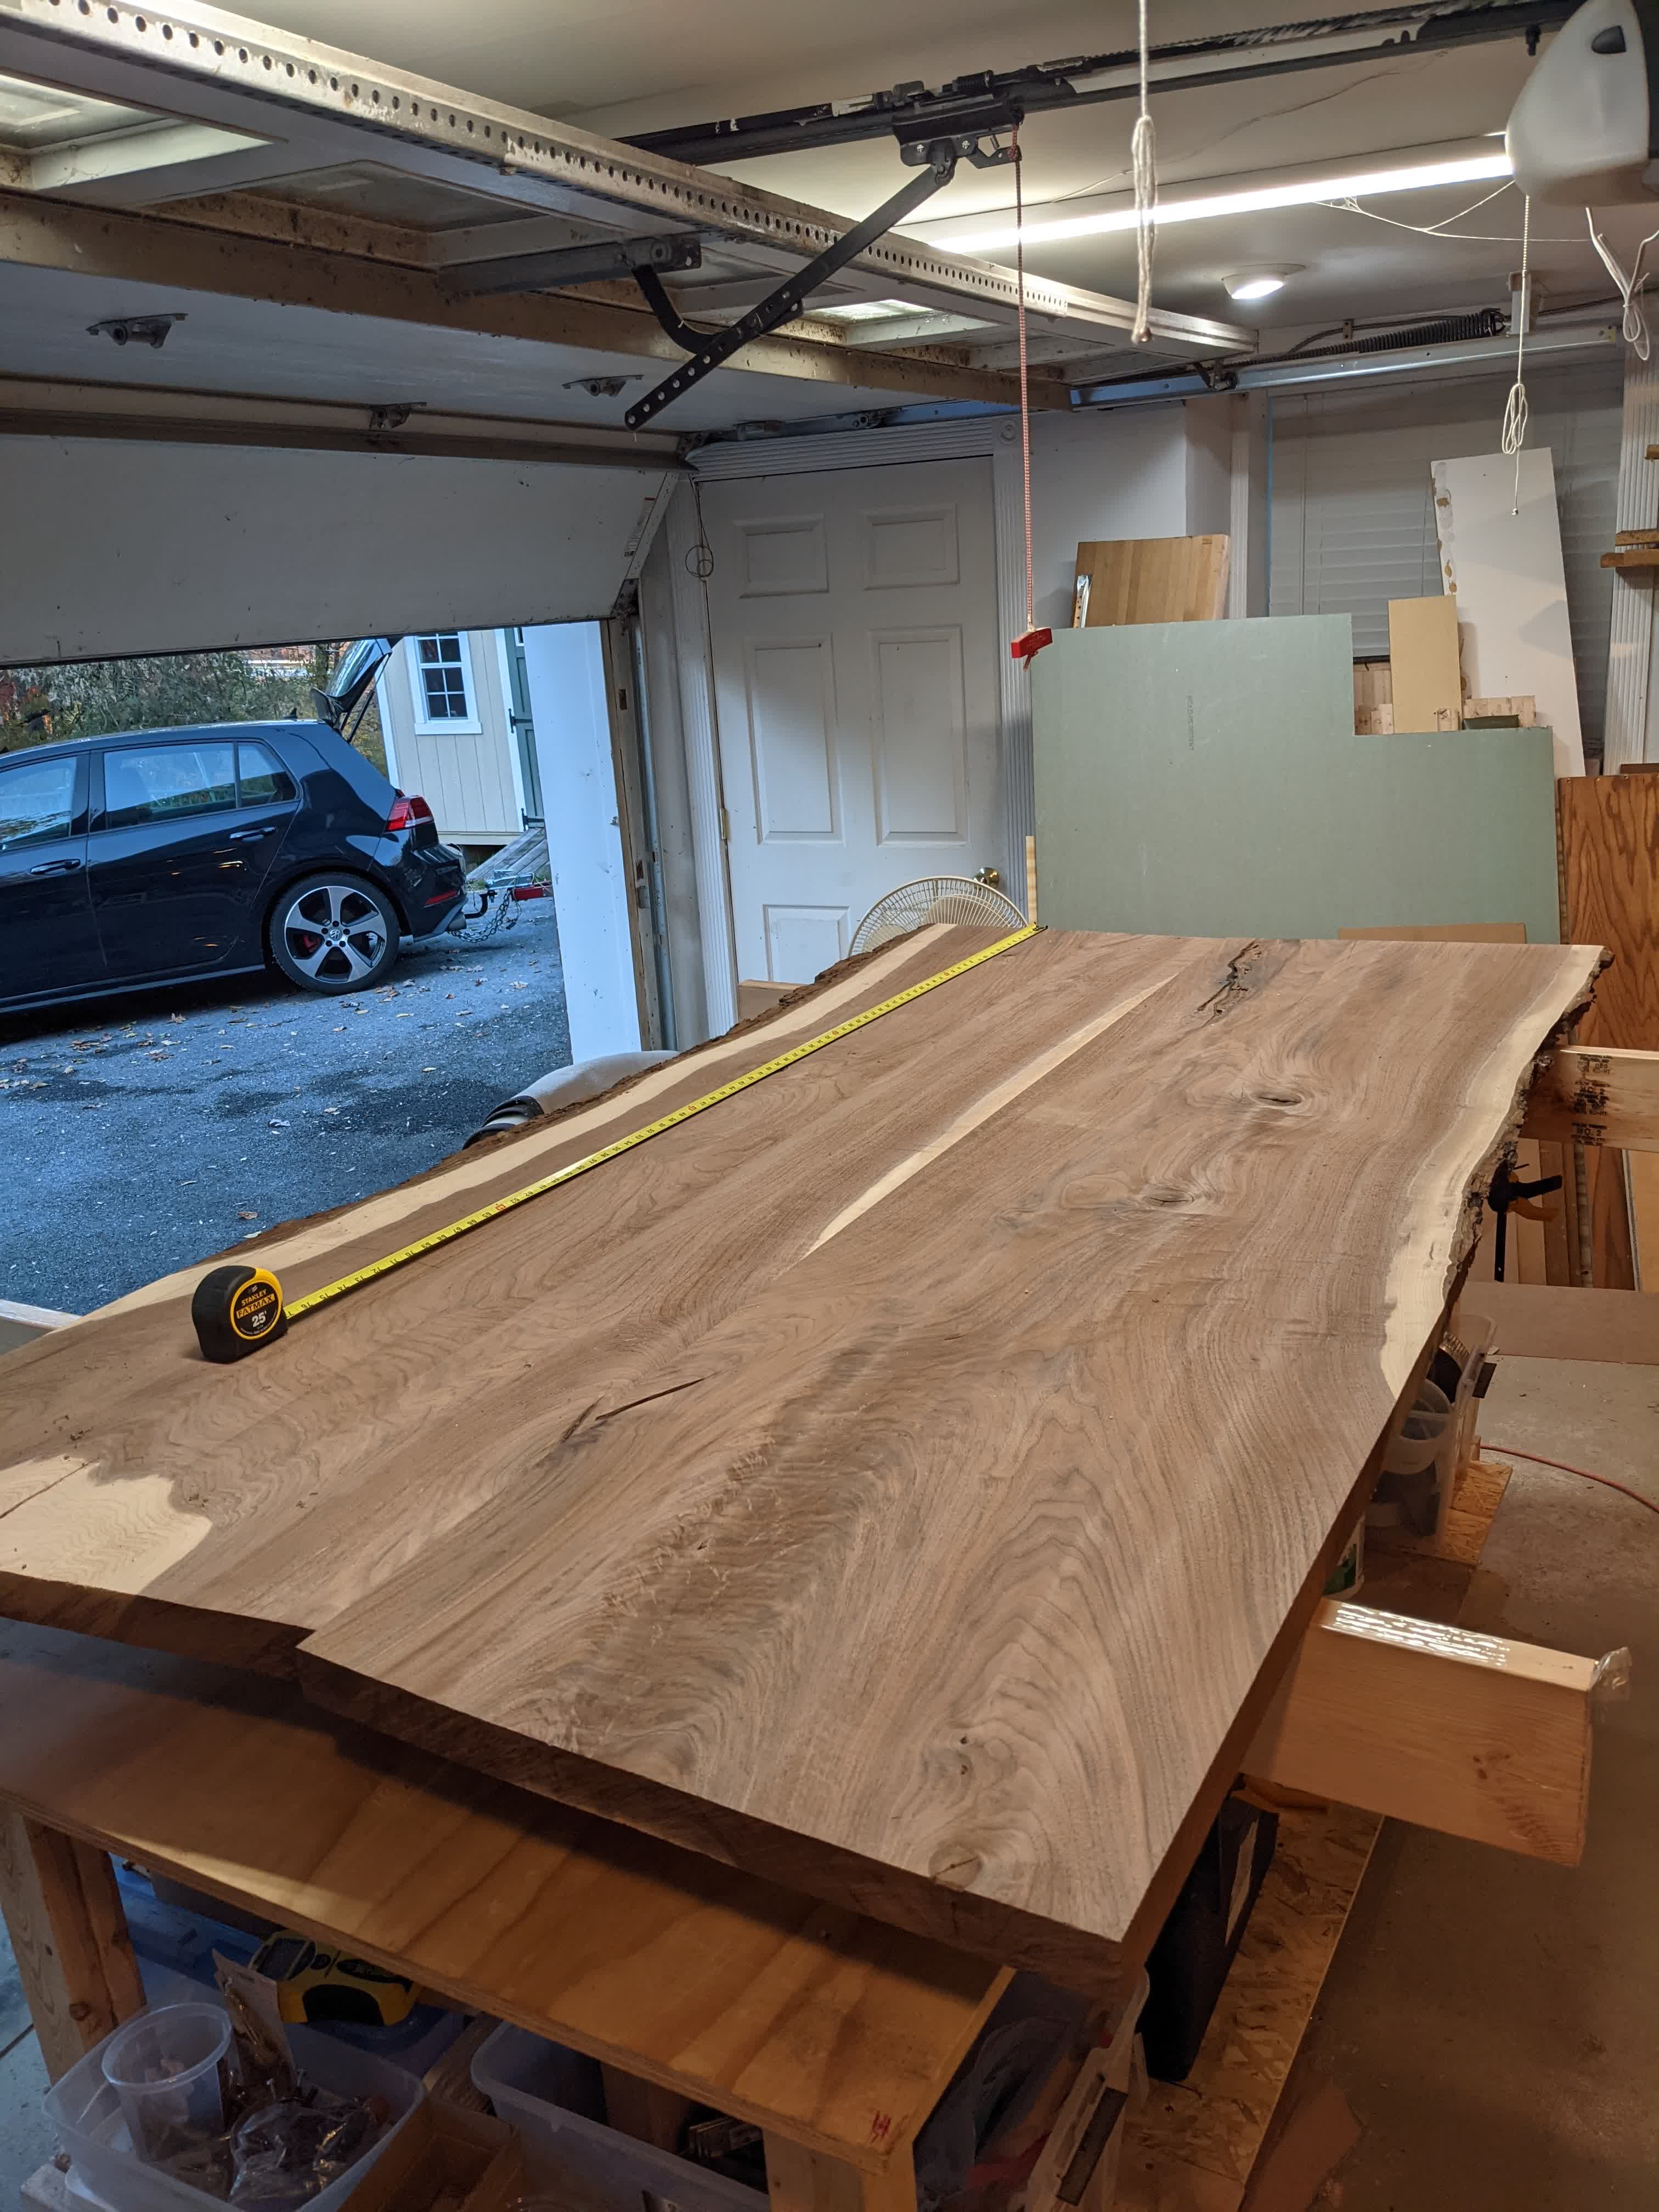
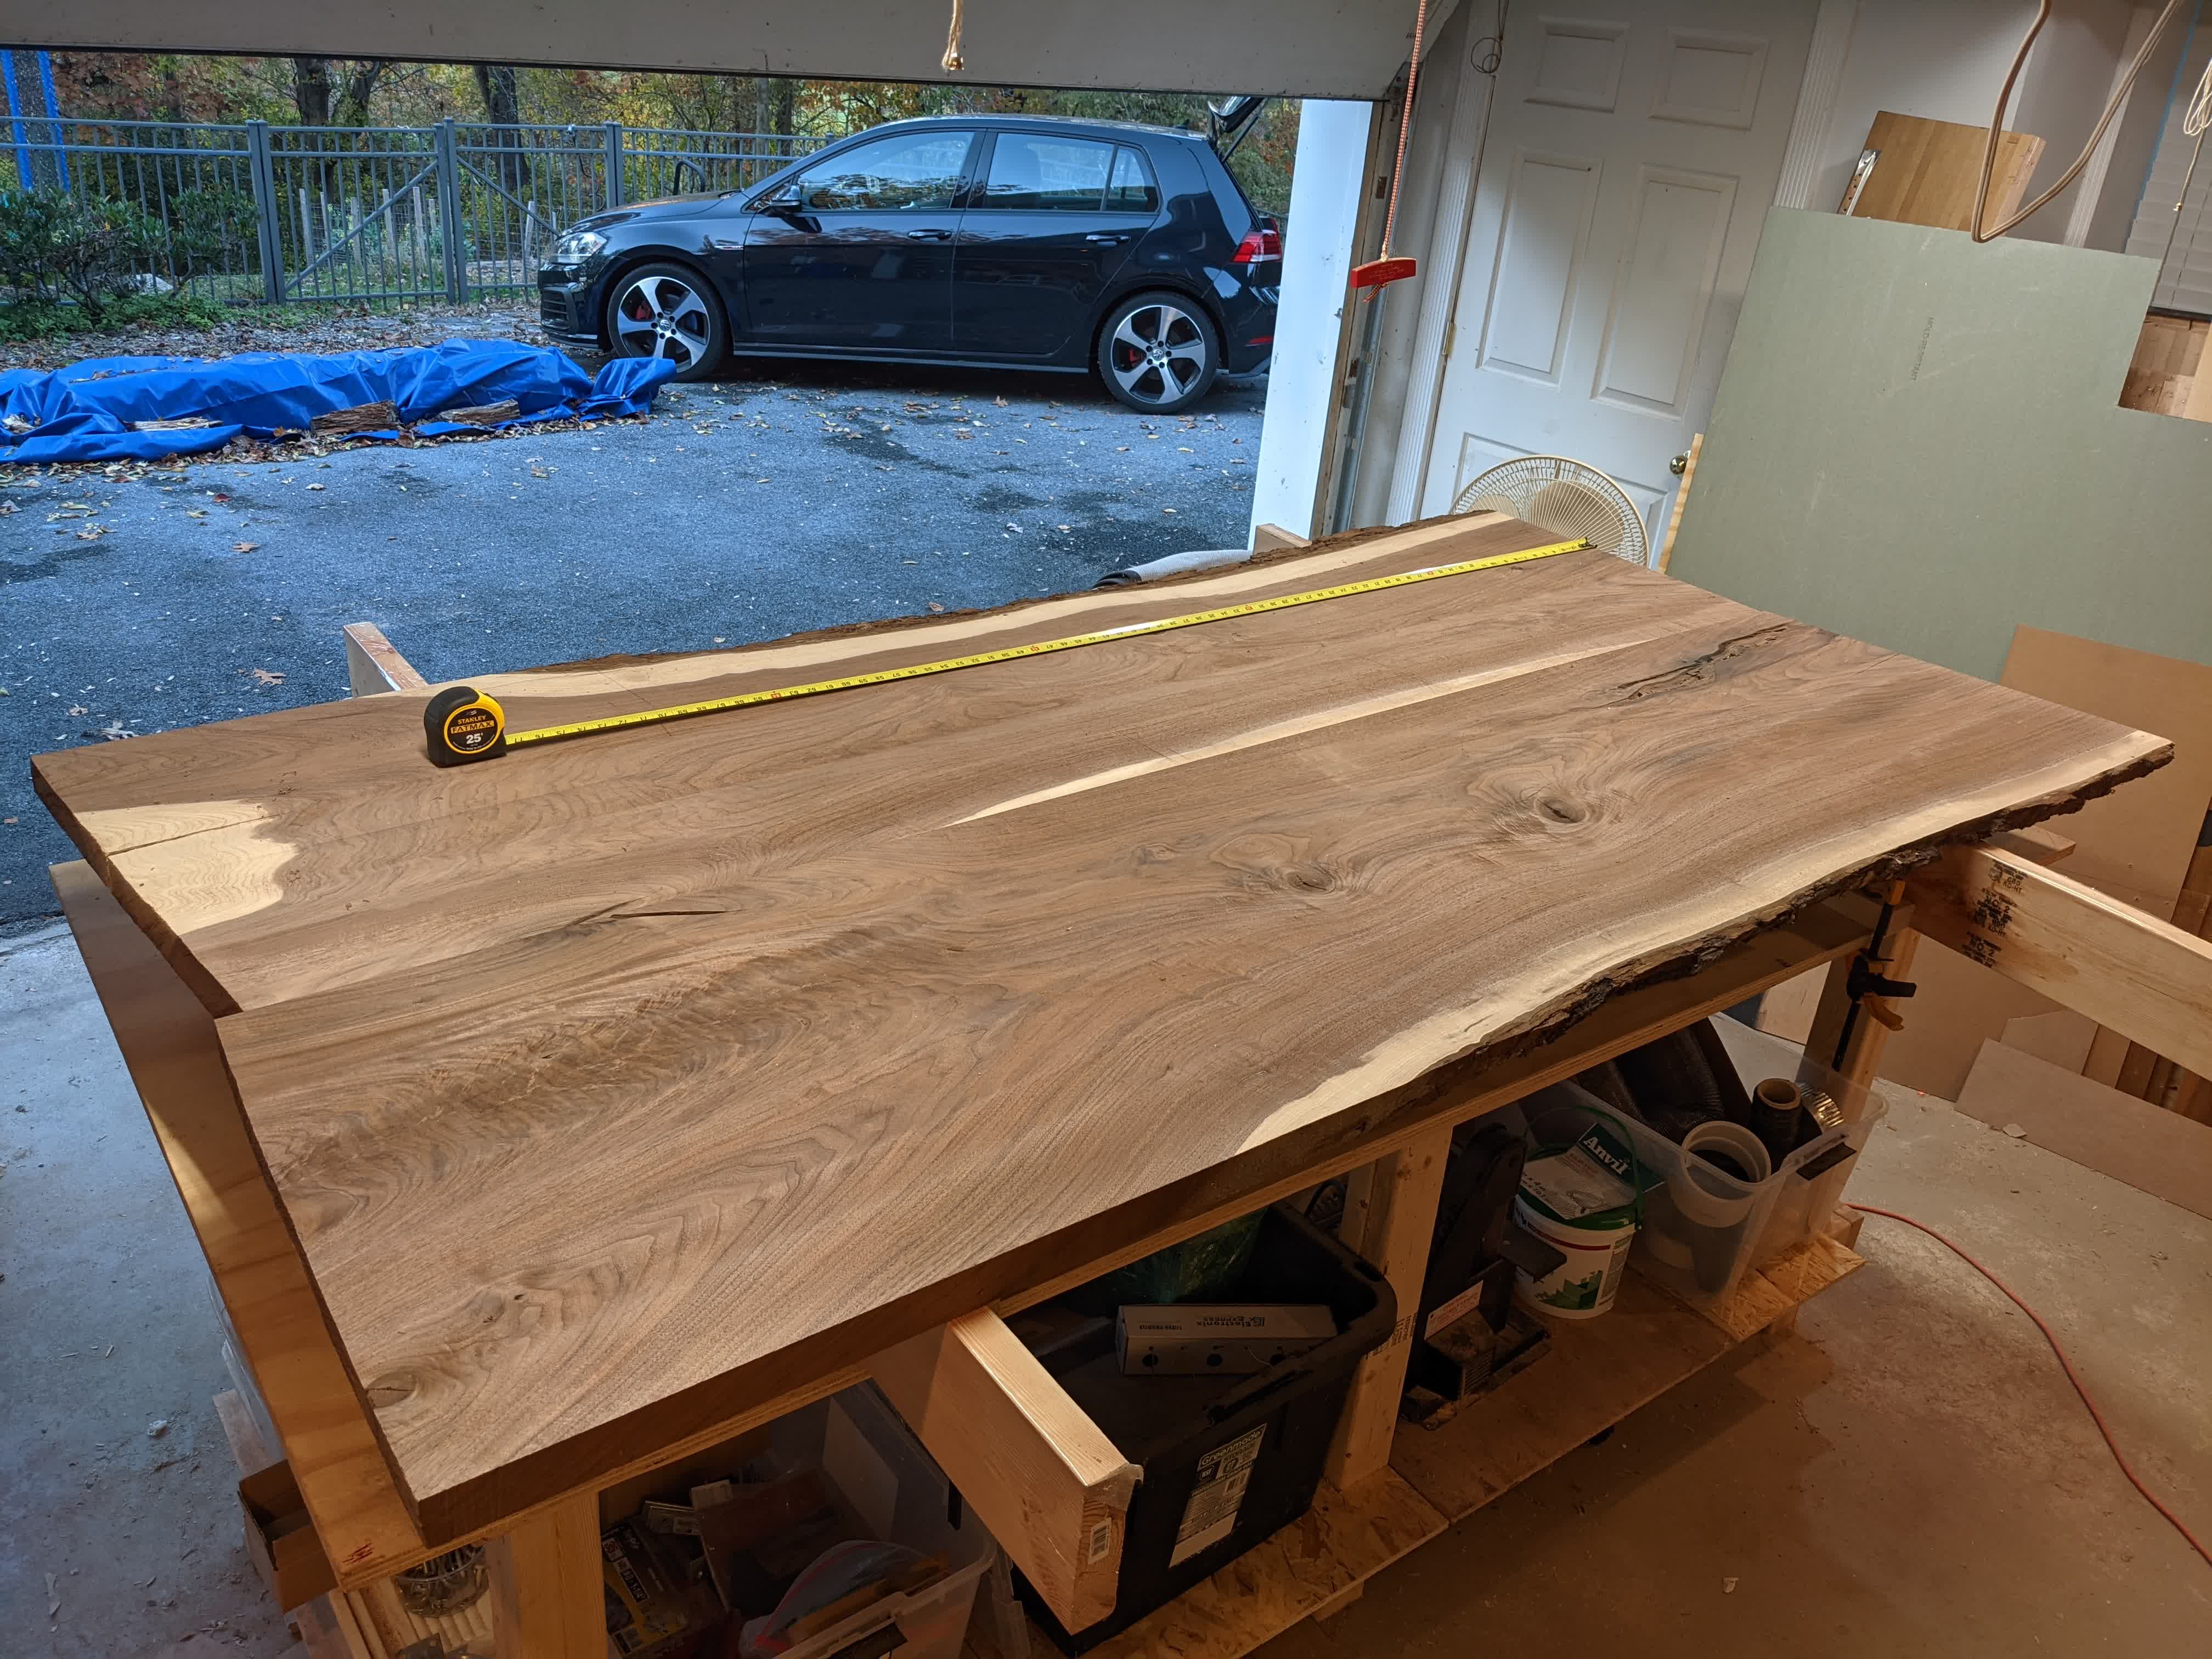
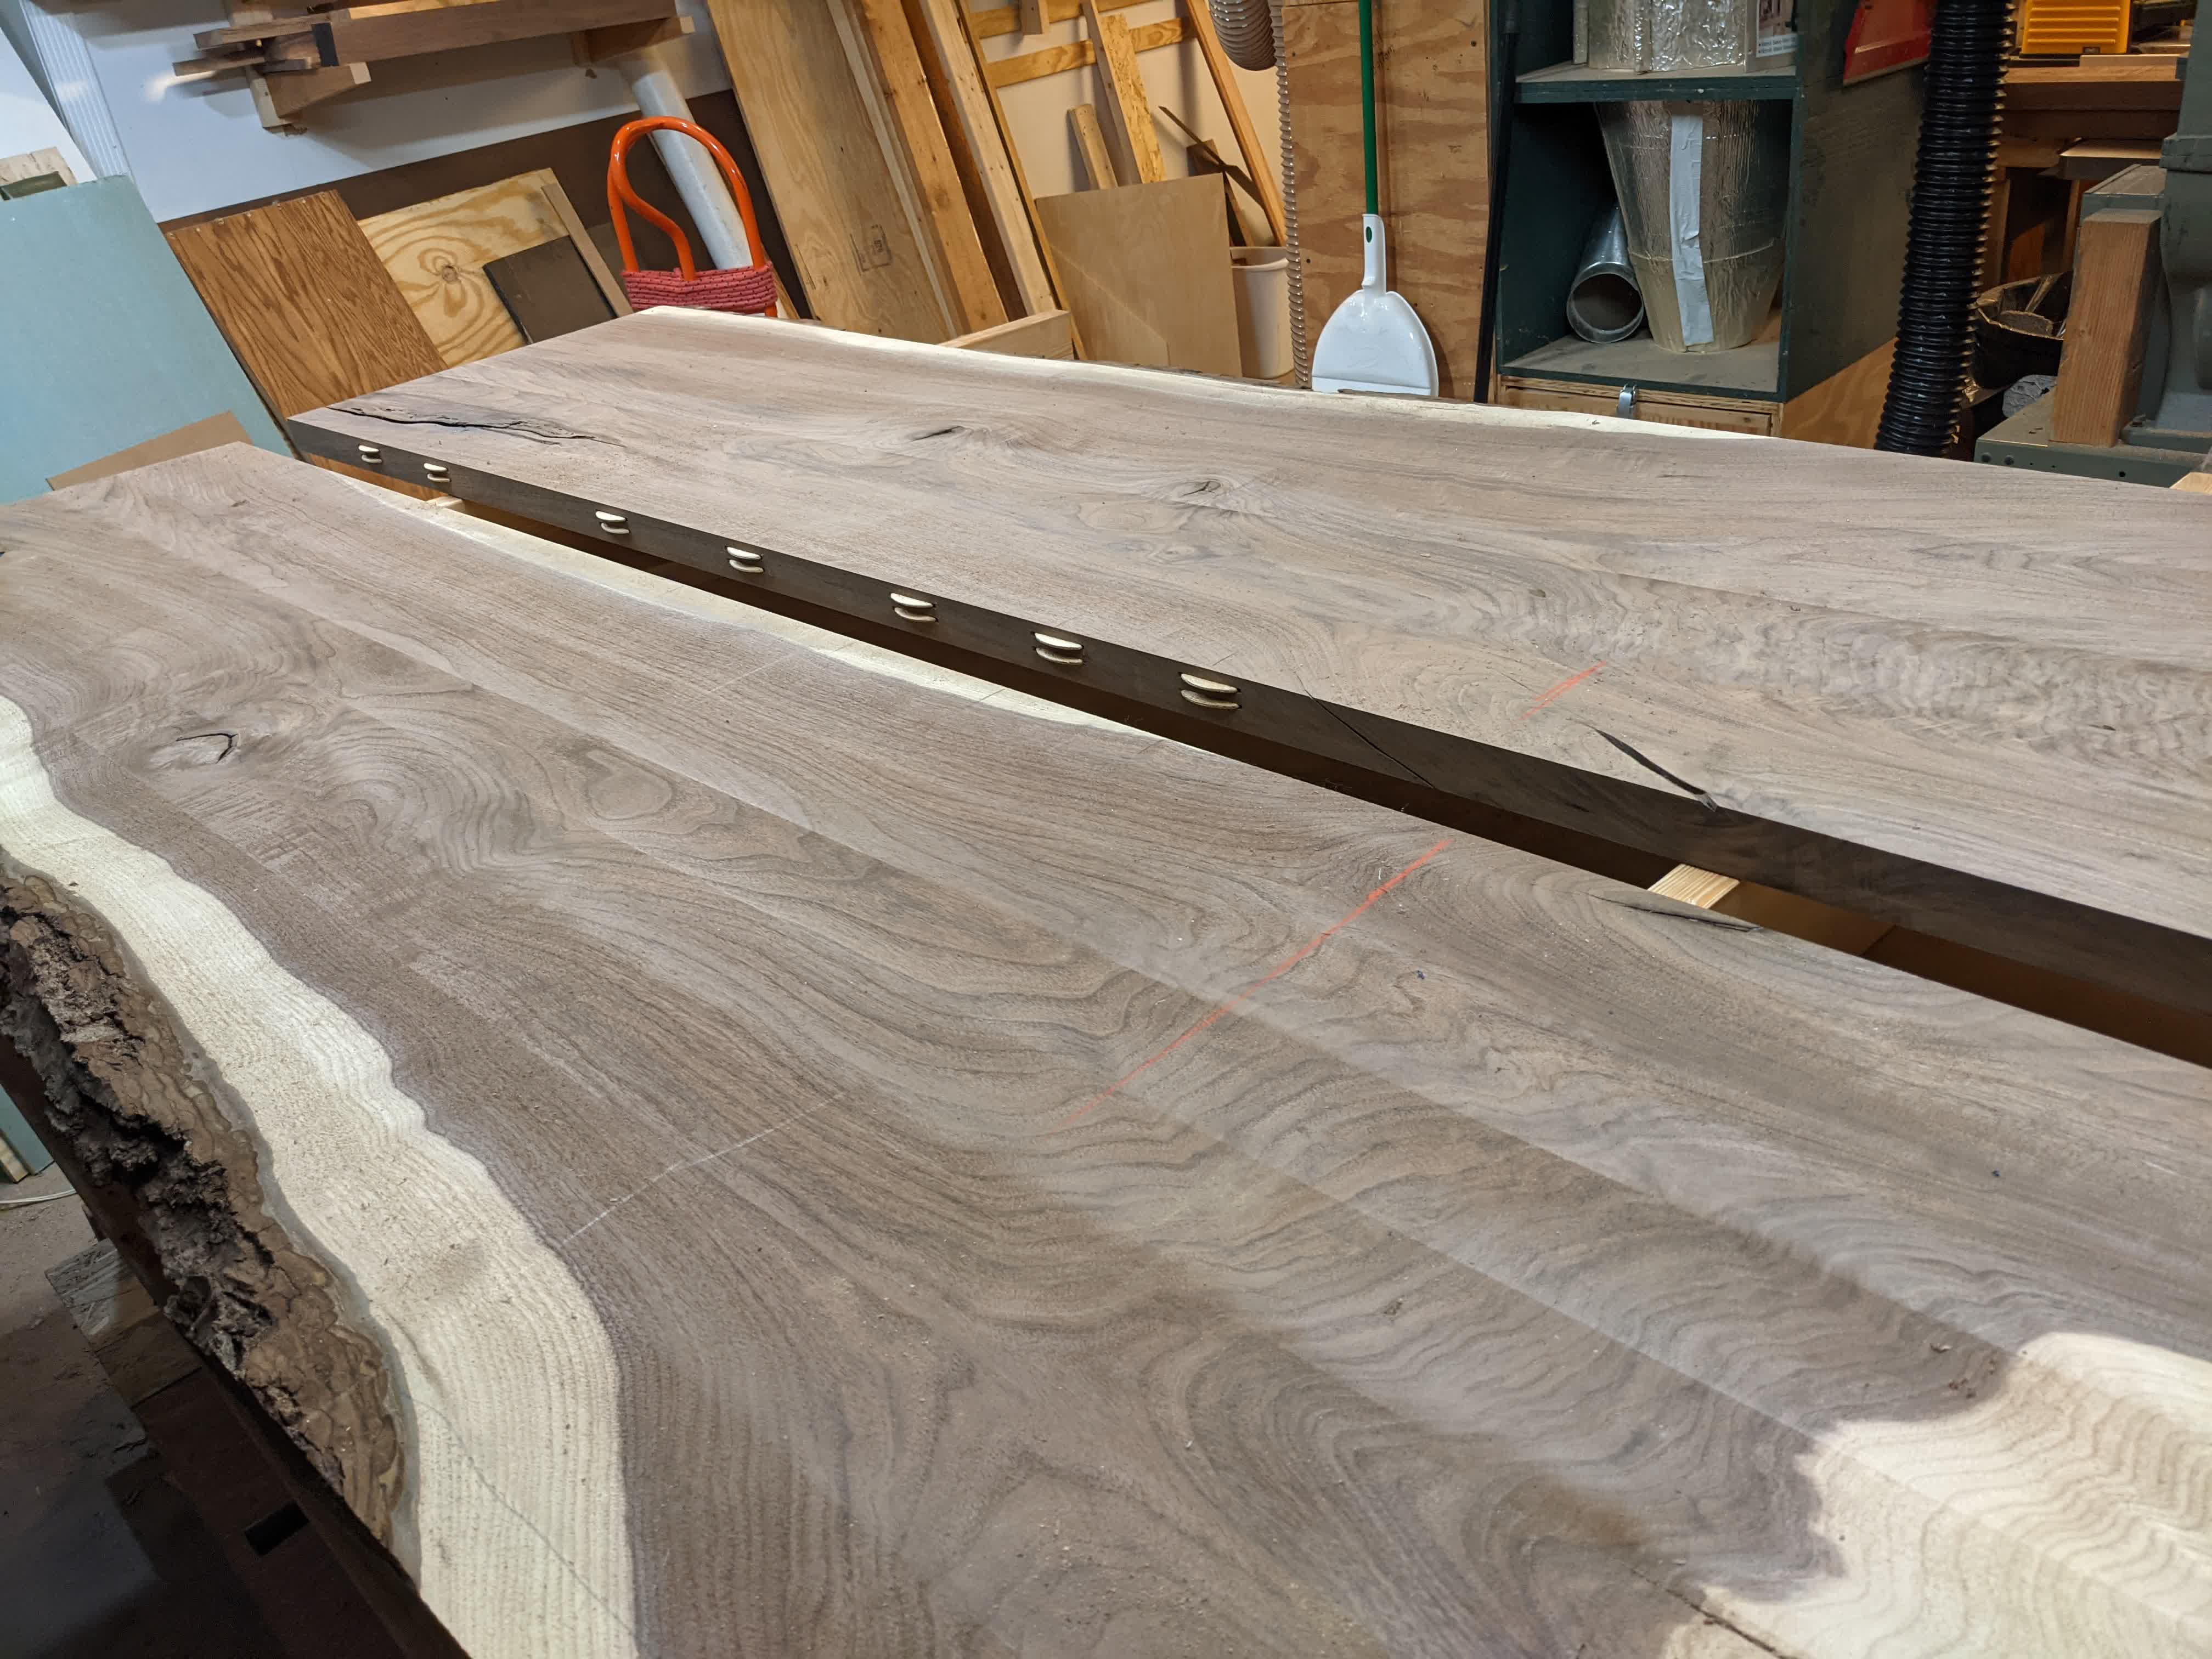
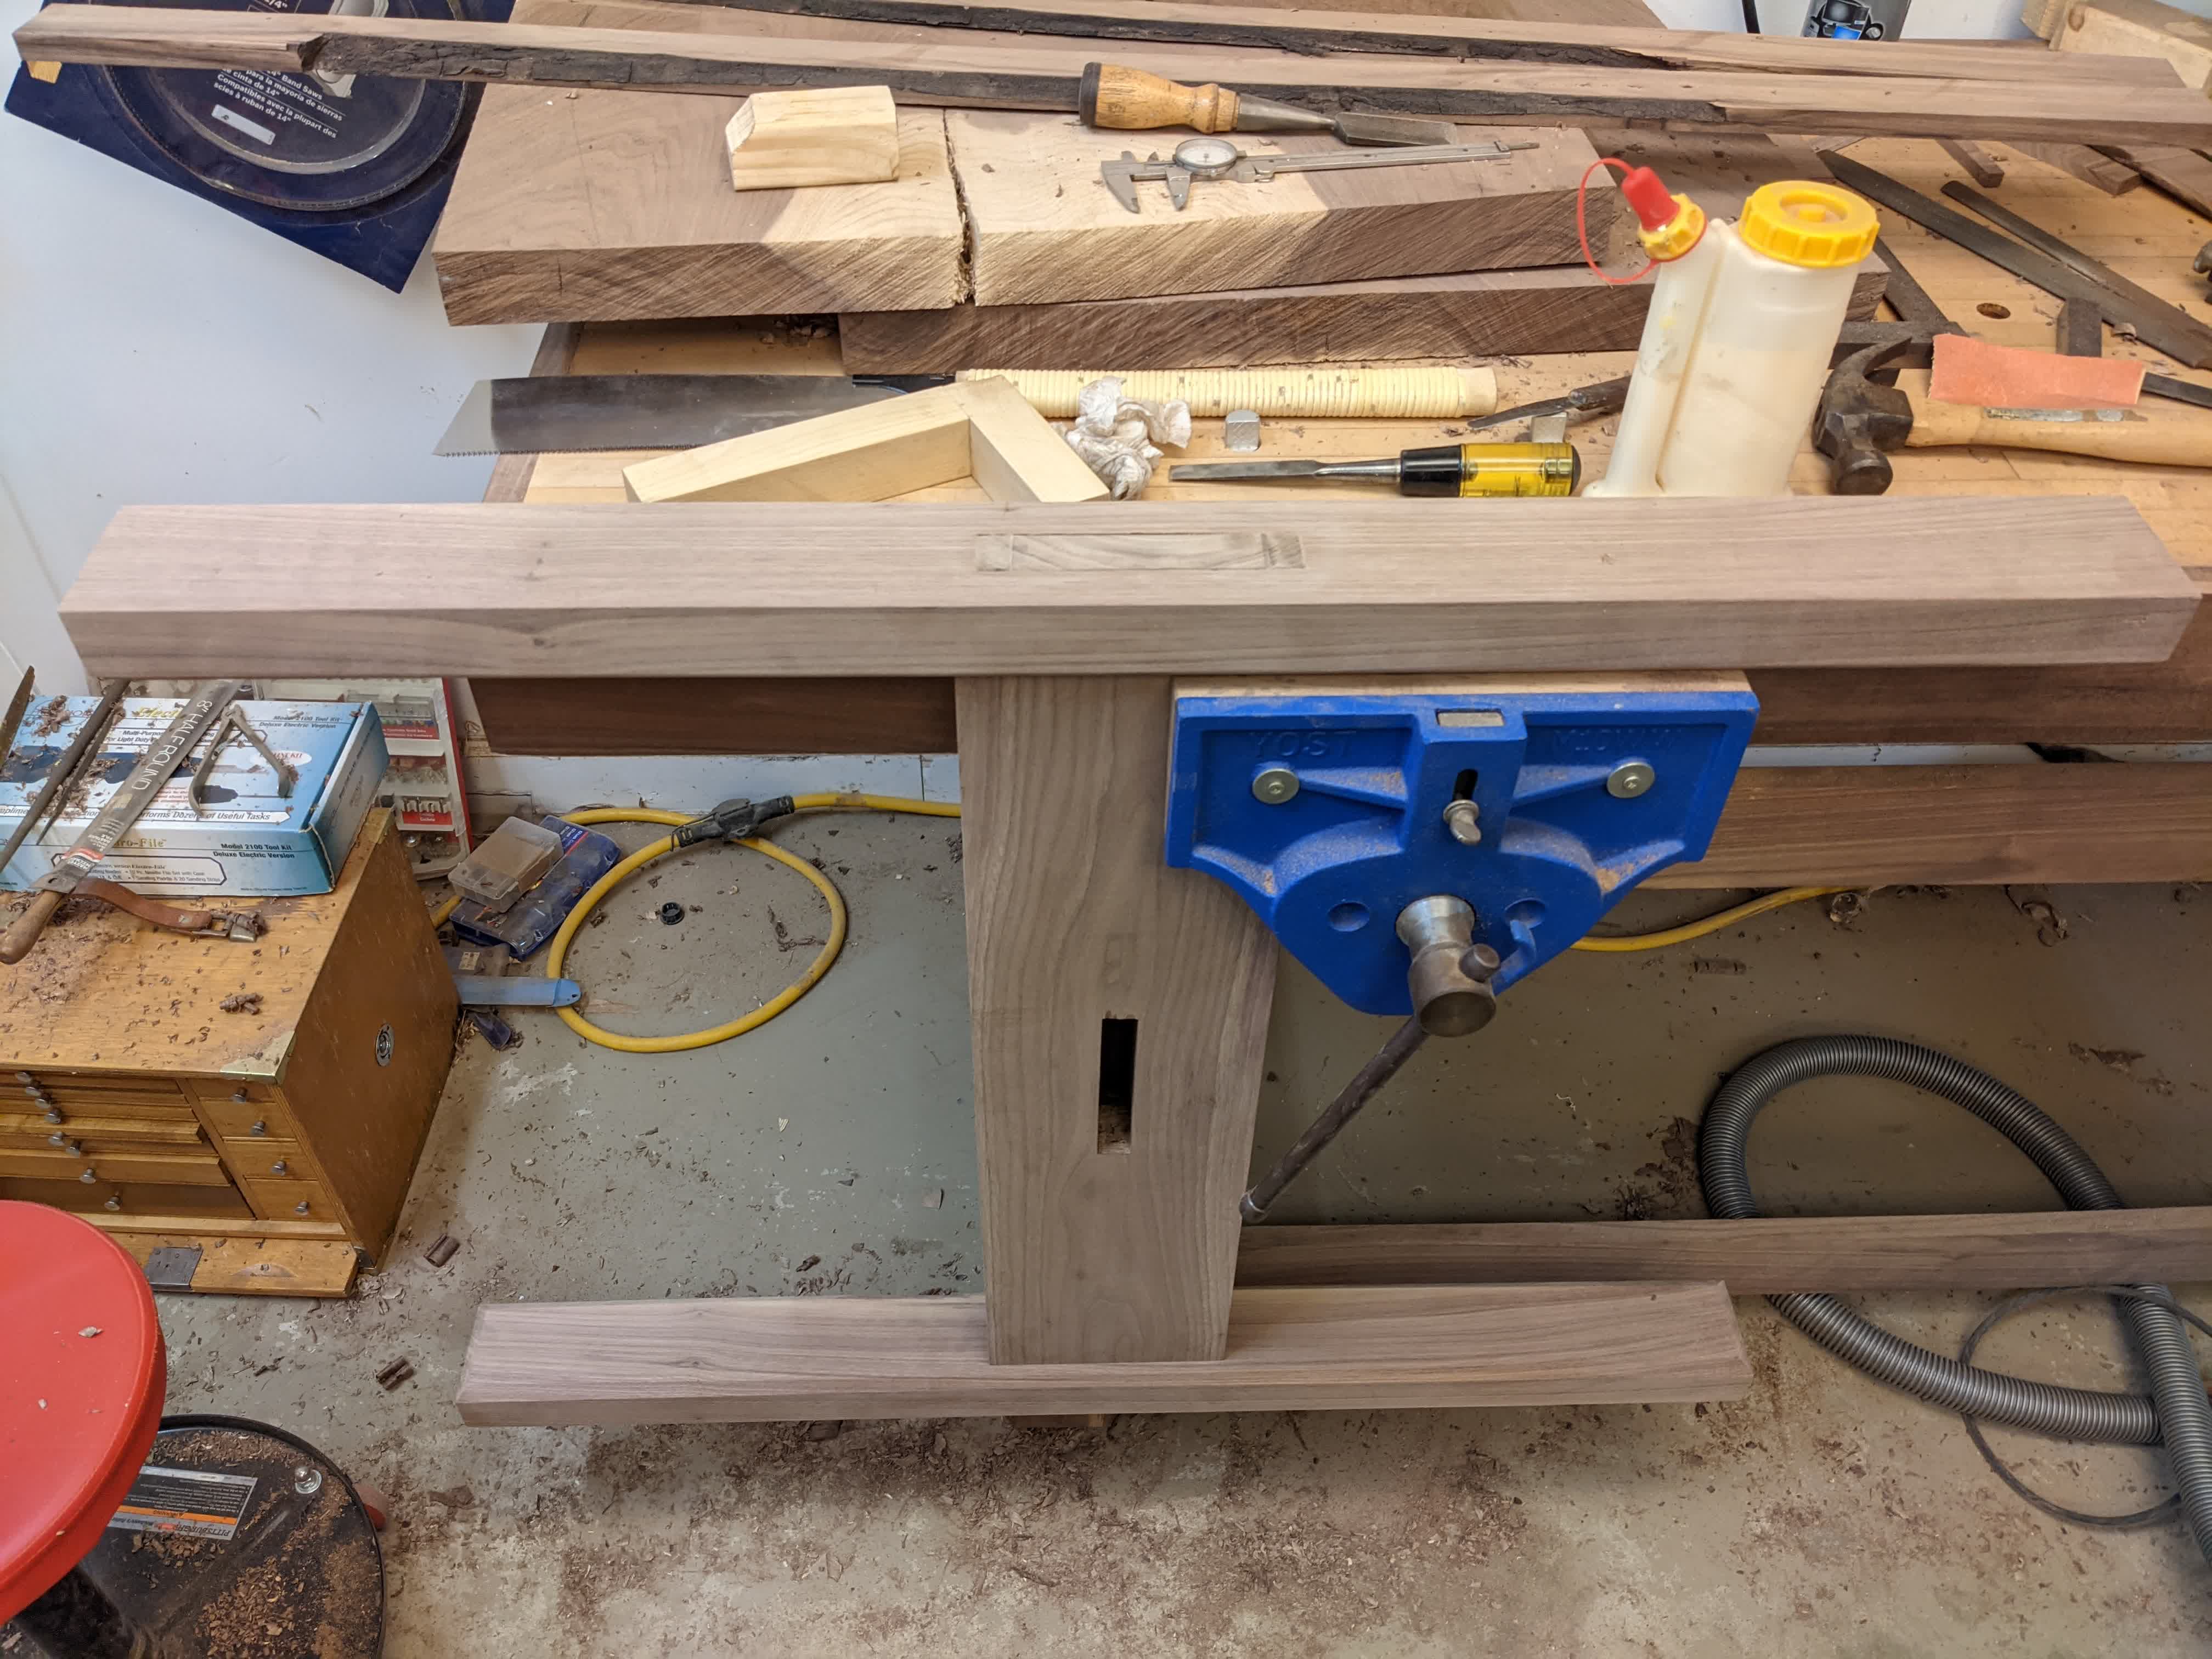
The top still had a number of voids in the surface, which I filled in using epoxy dyed black.
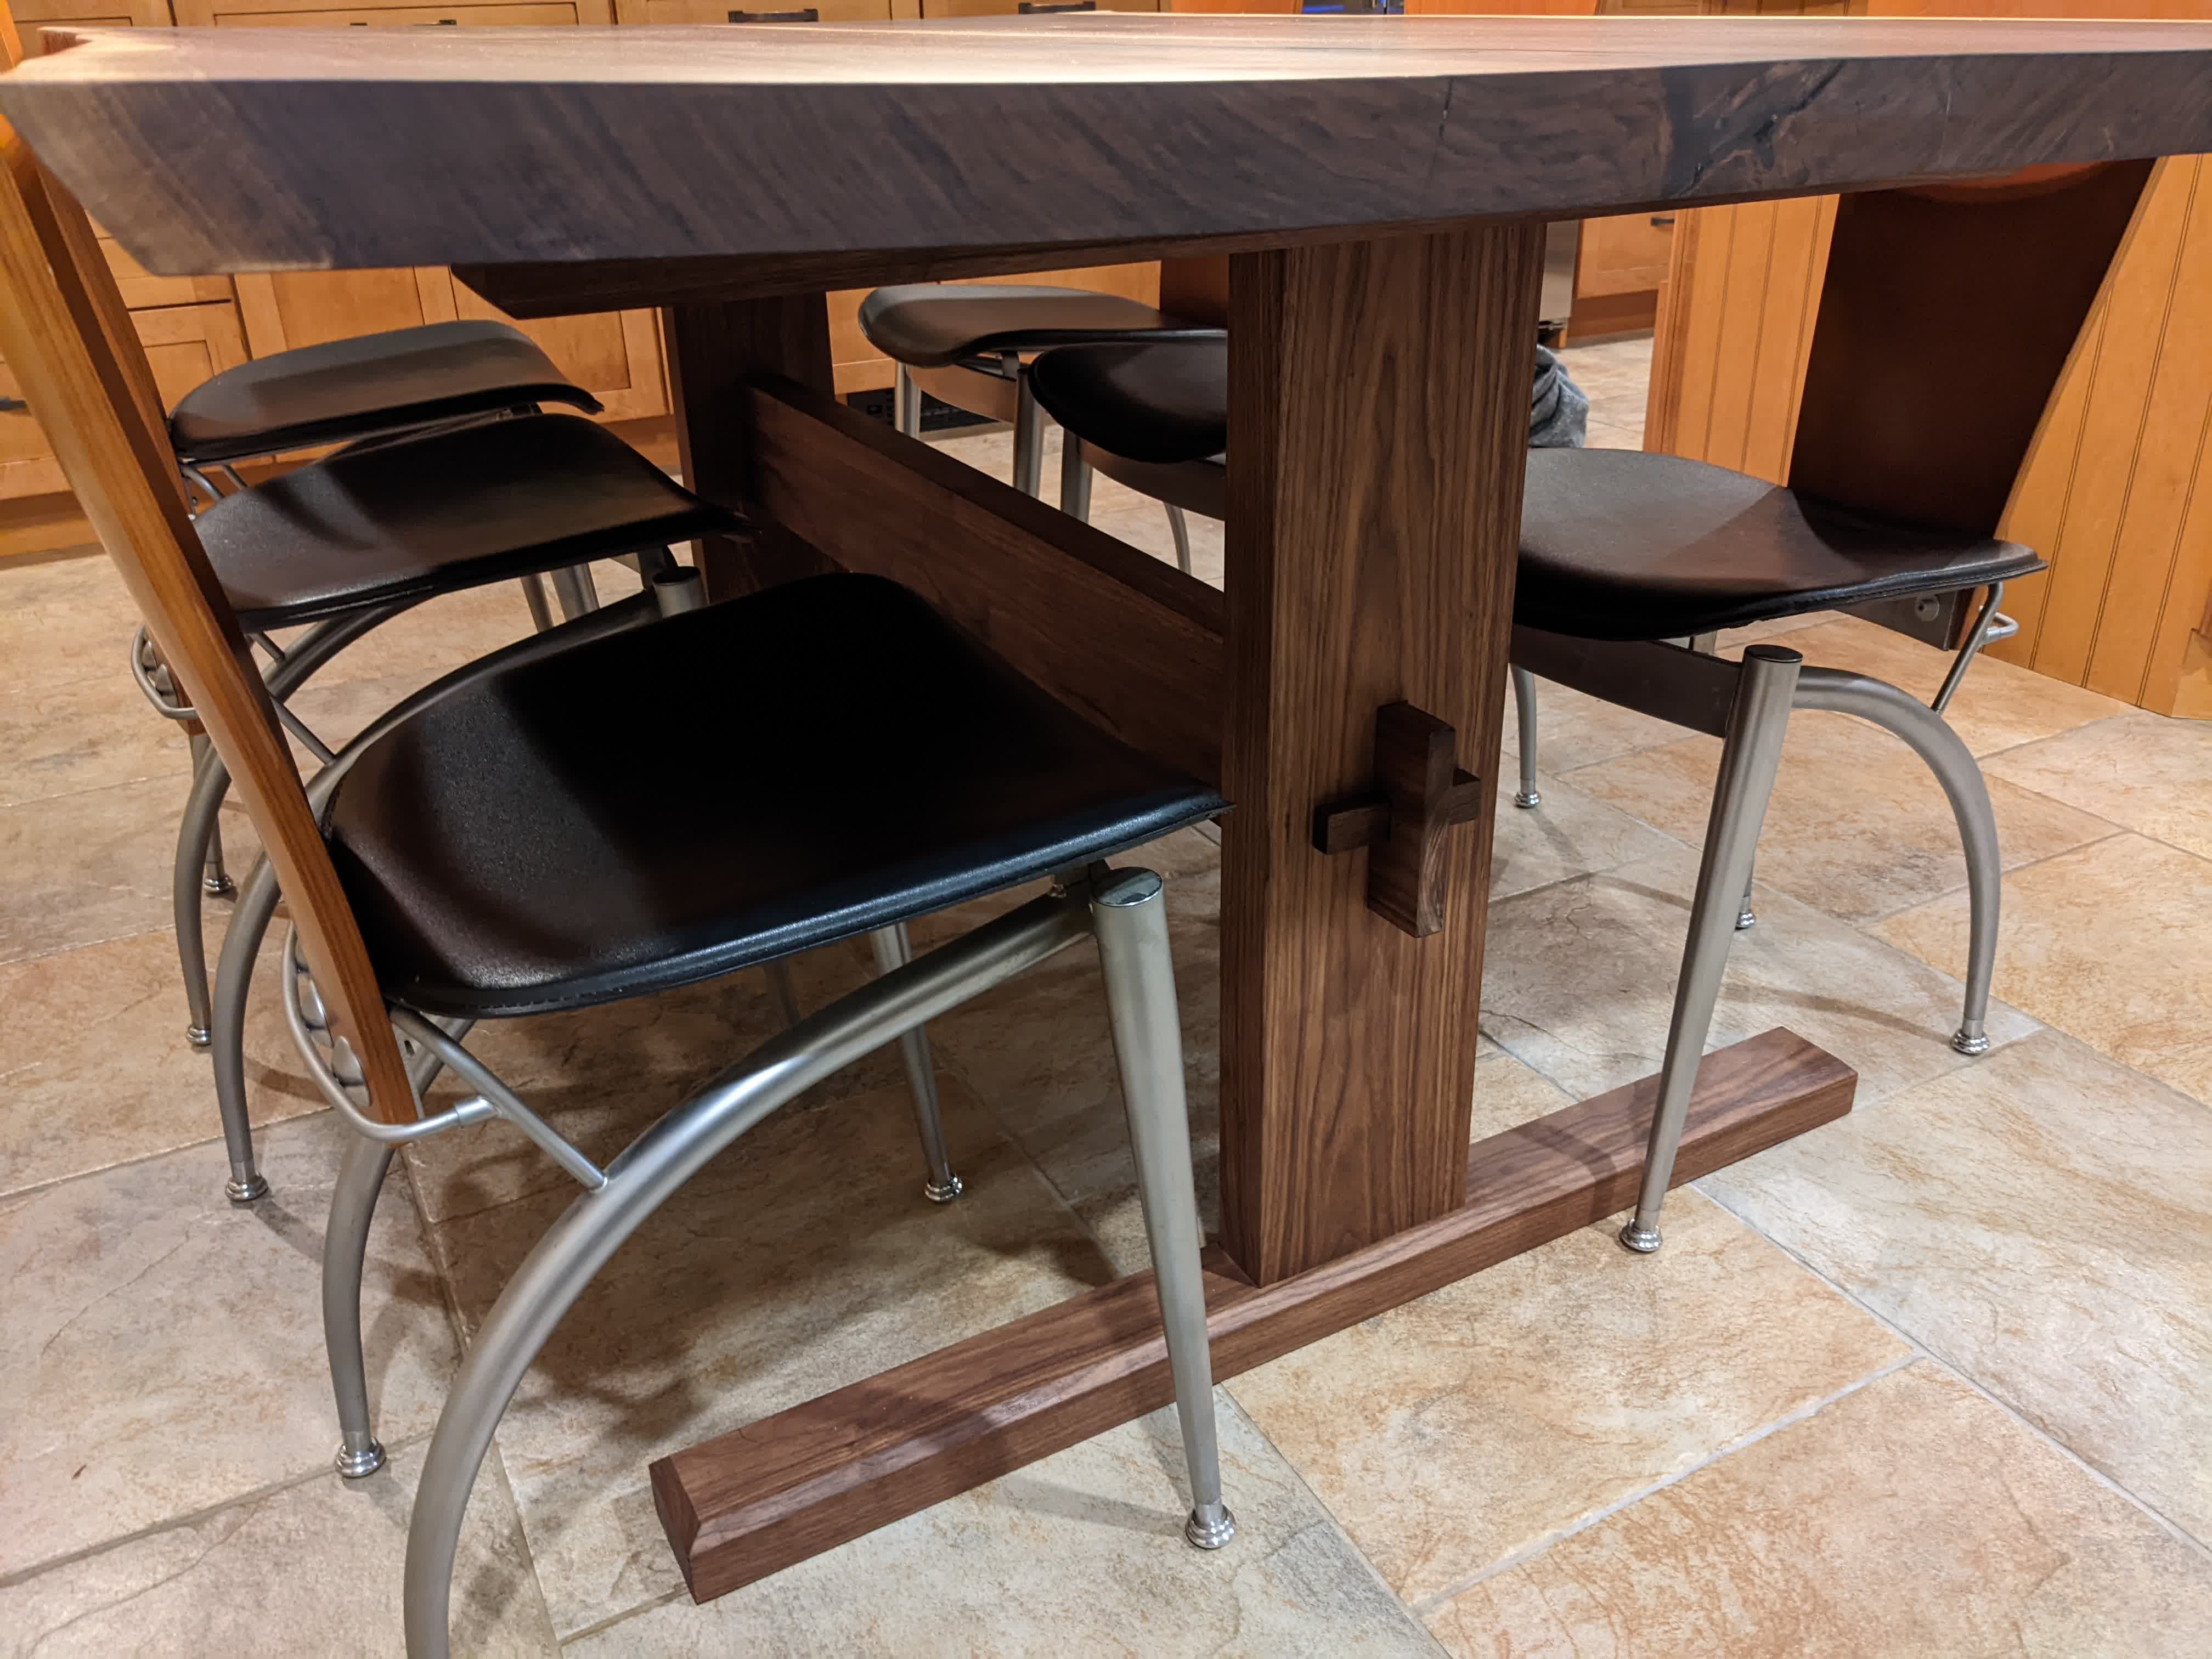
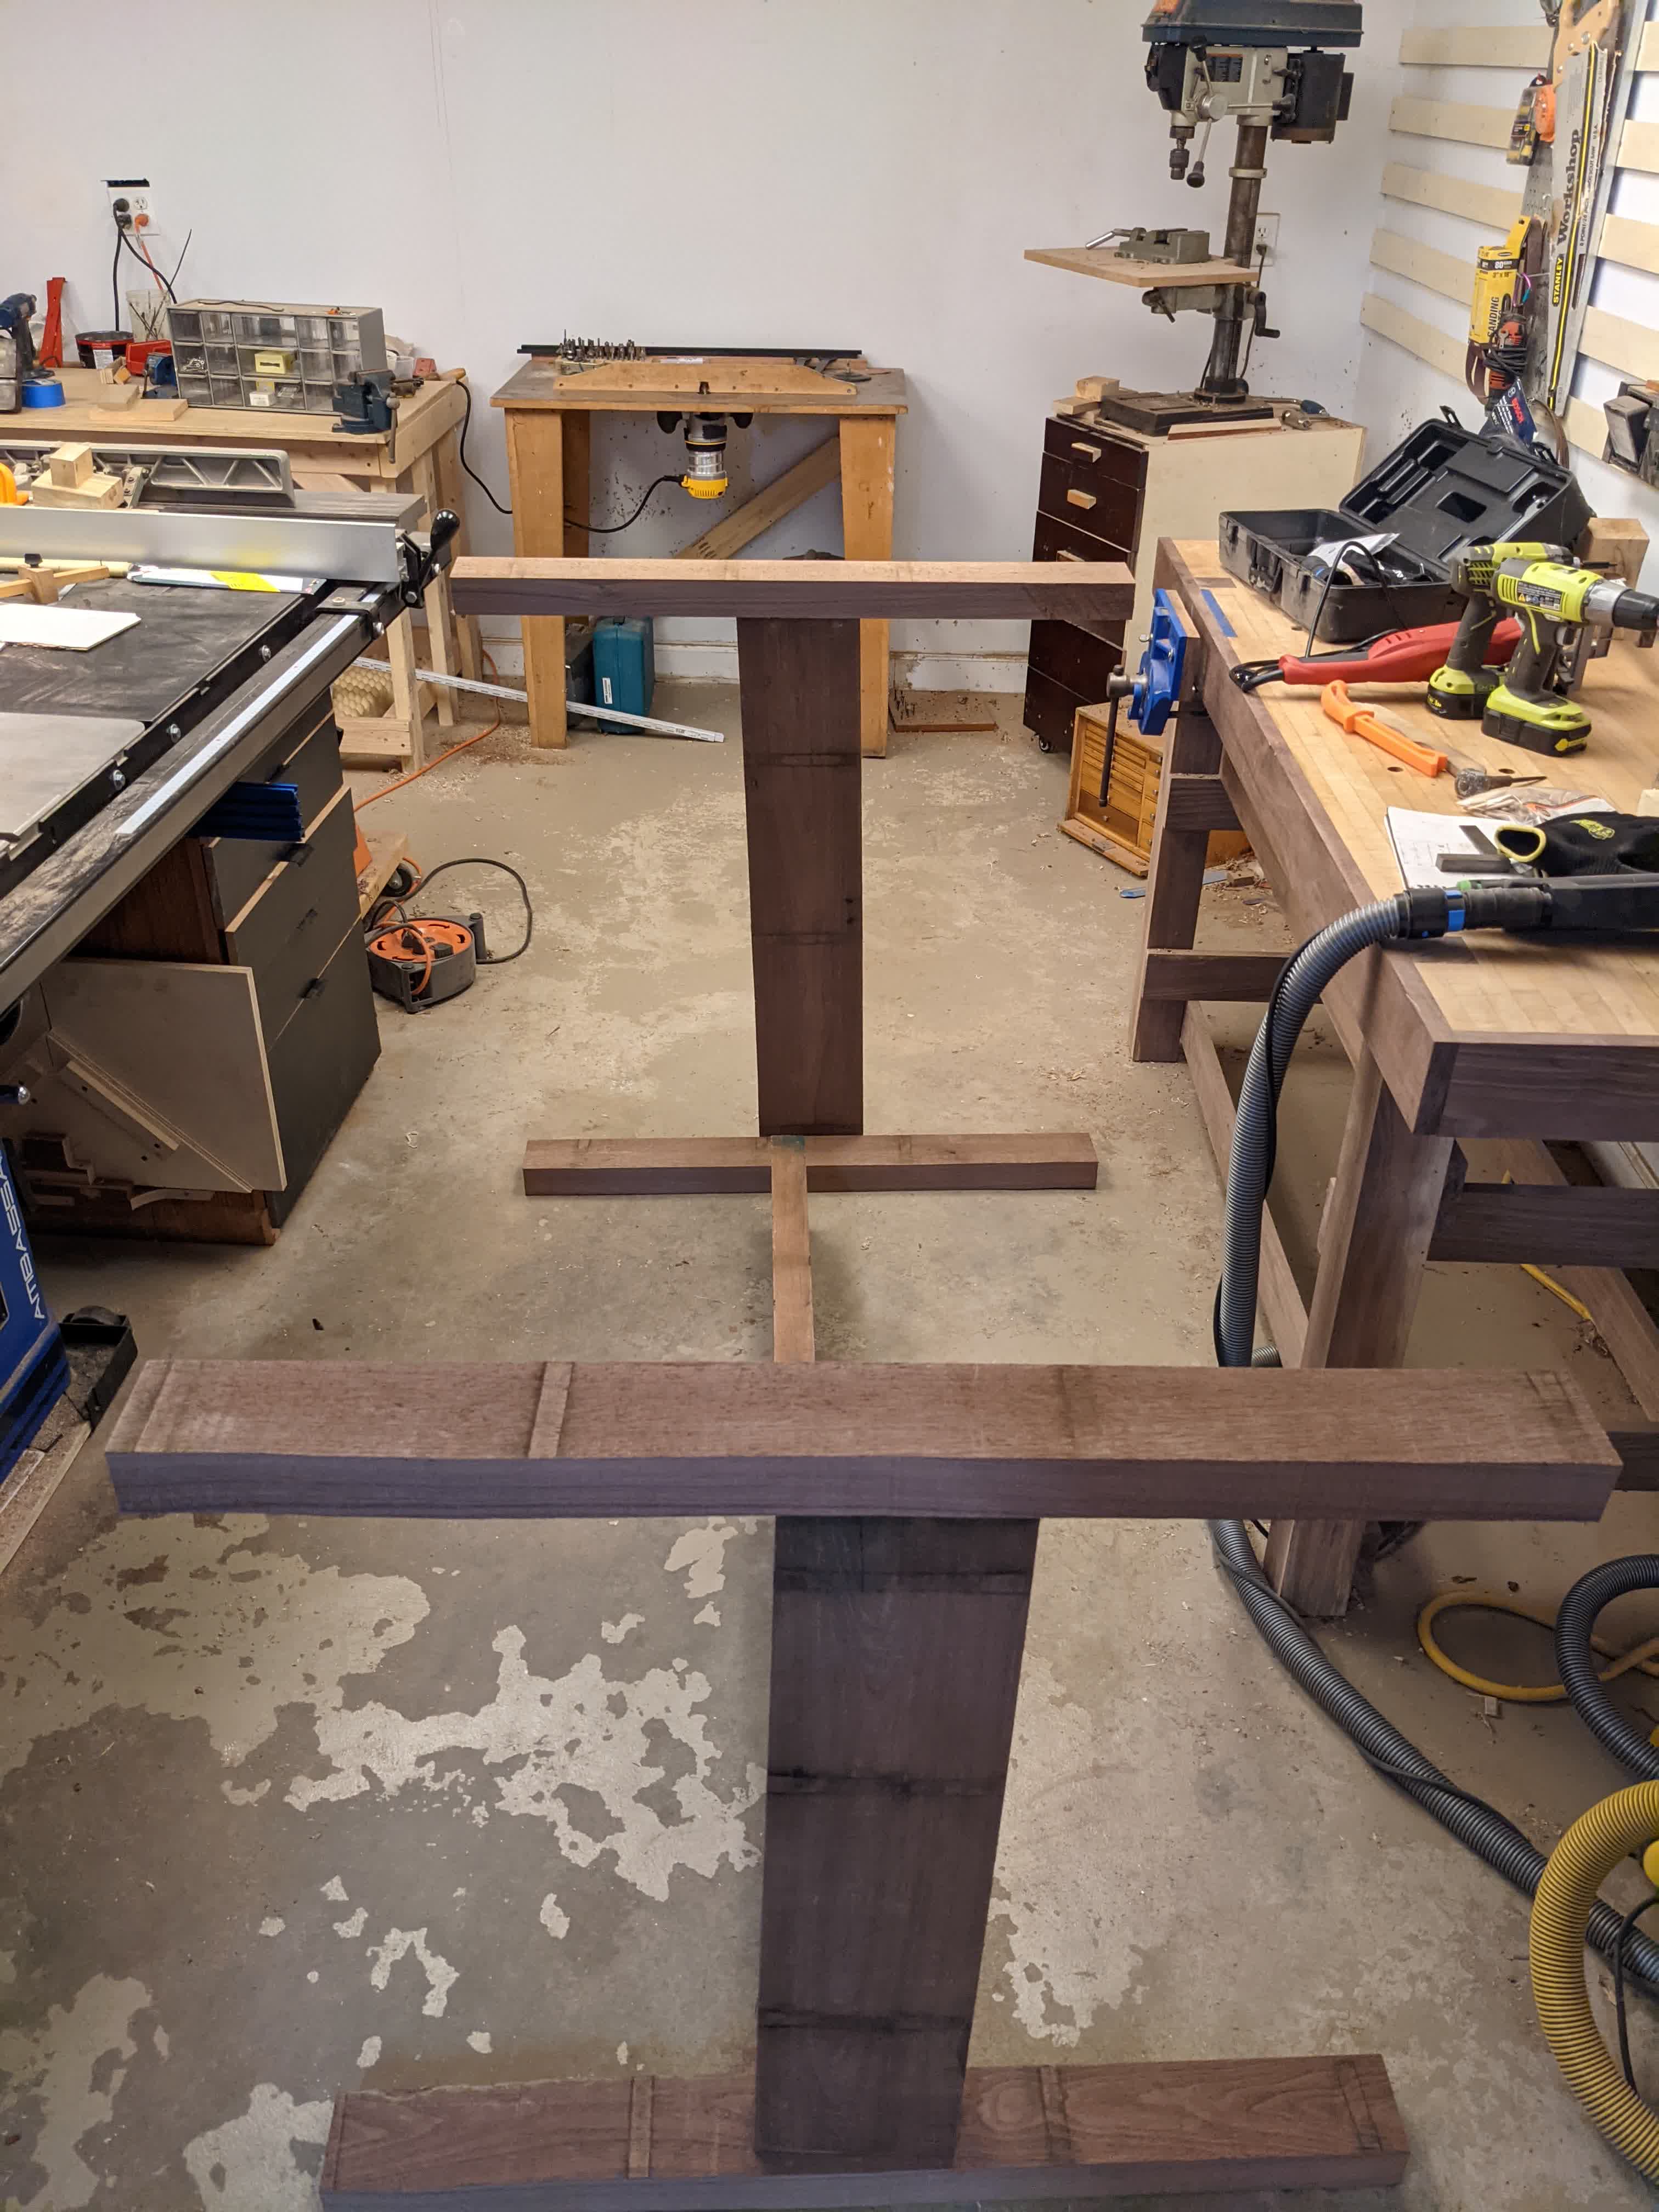
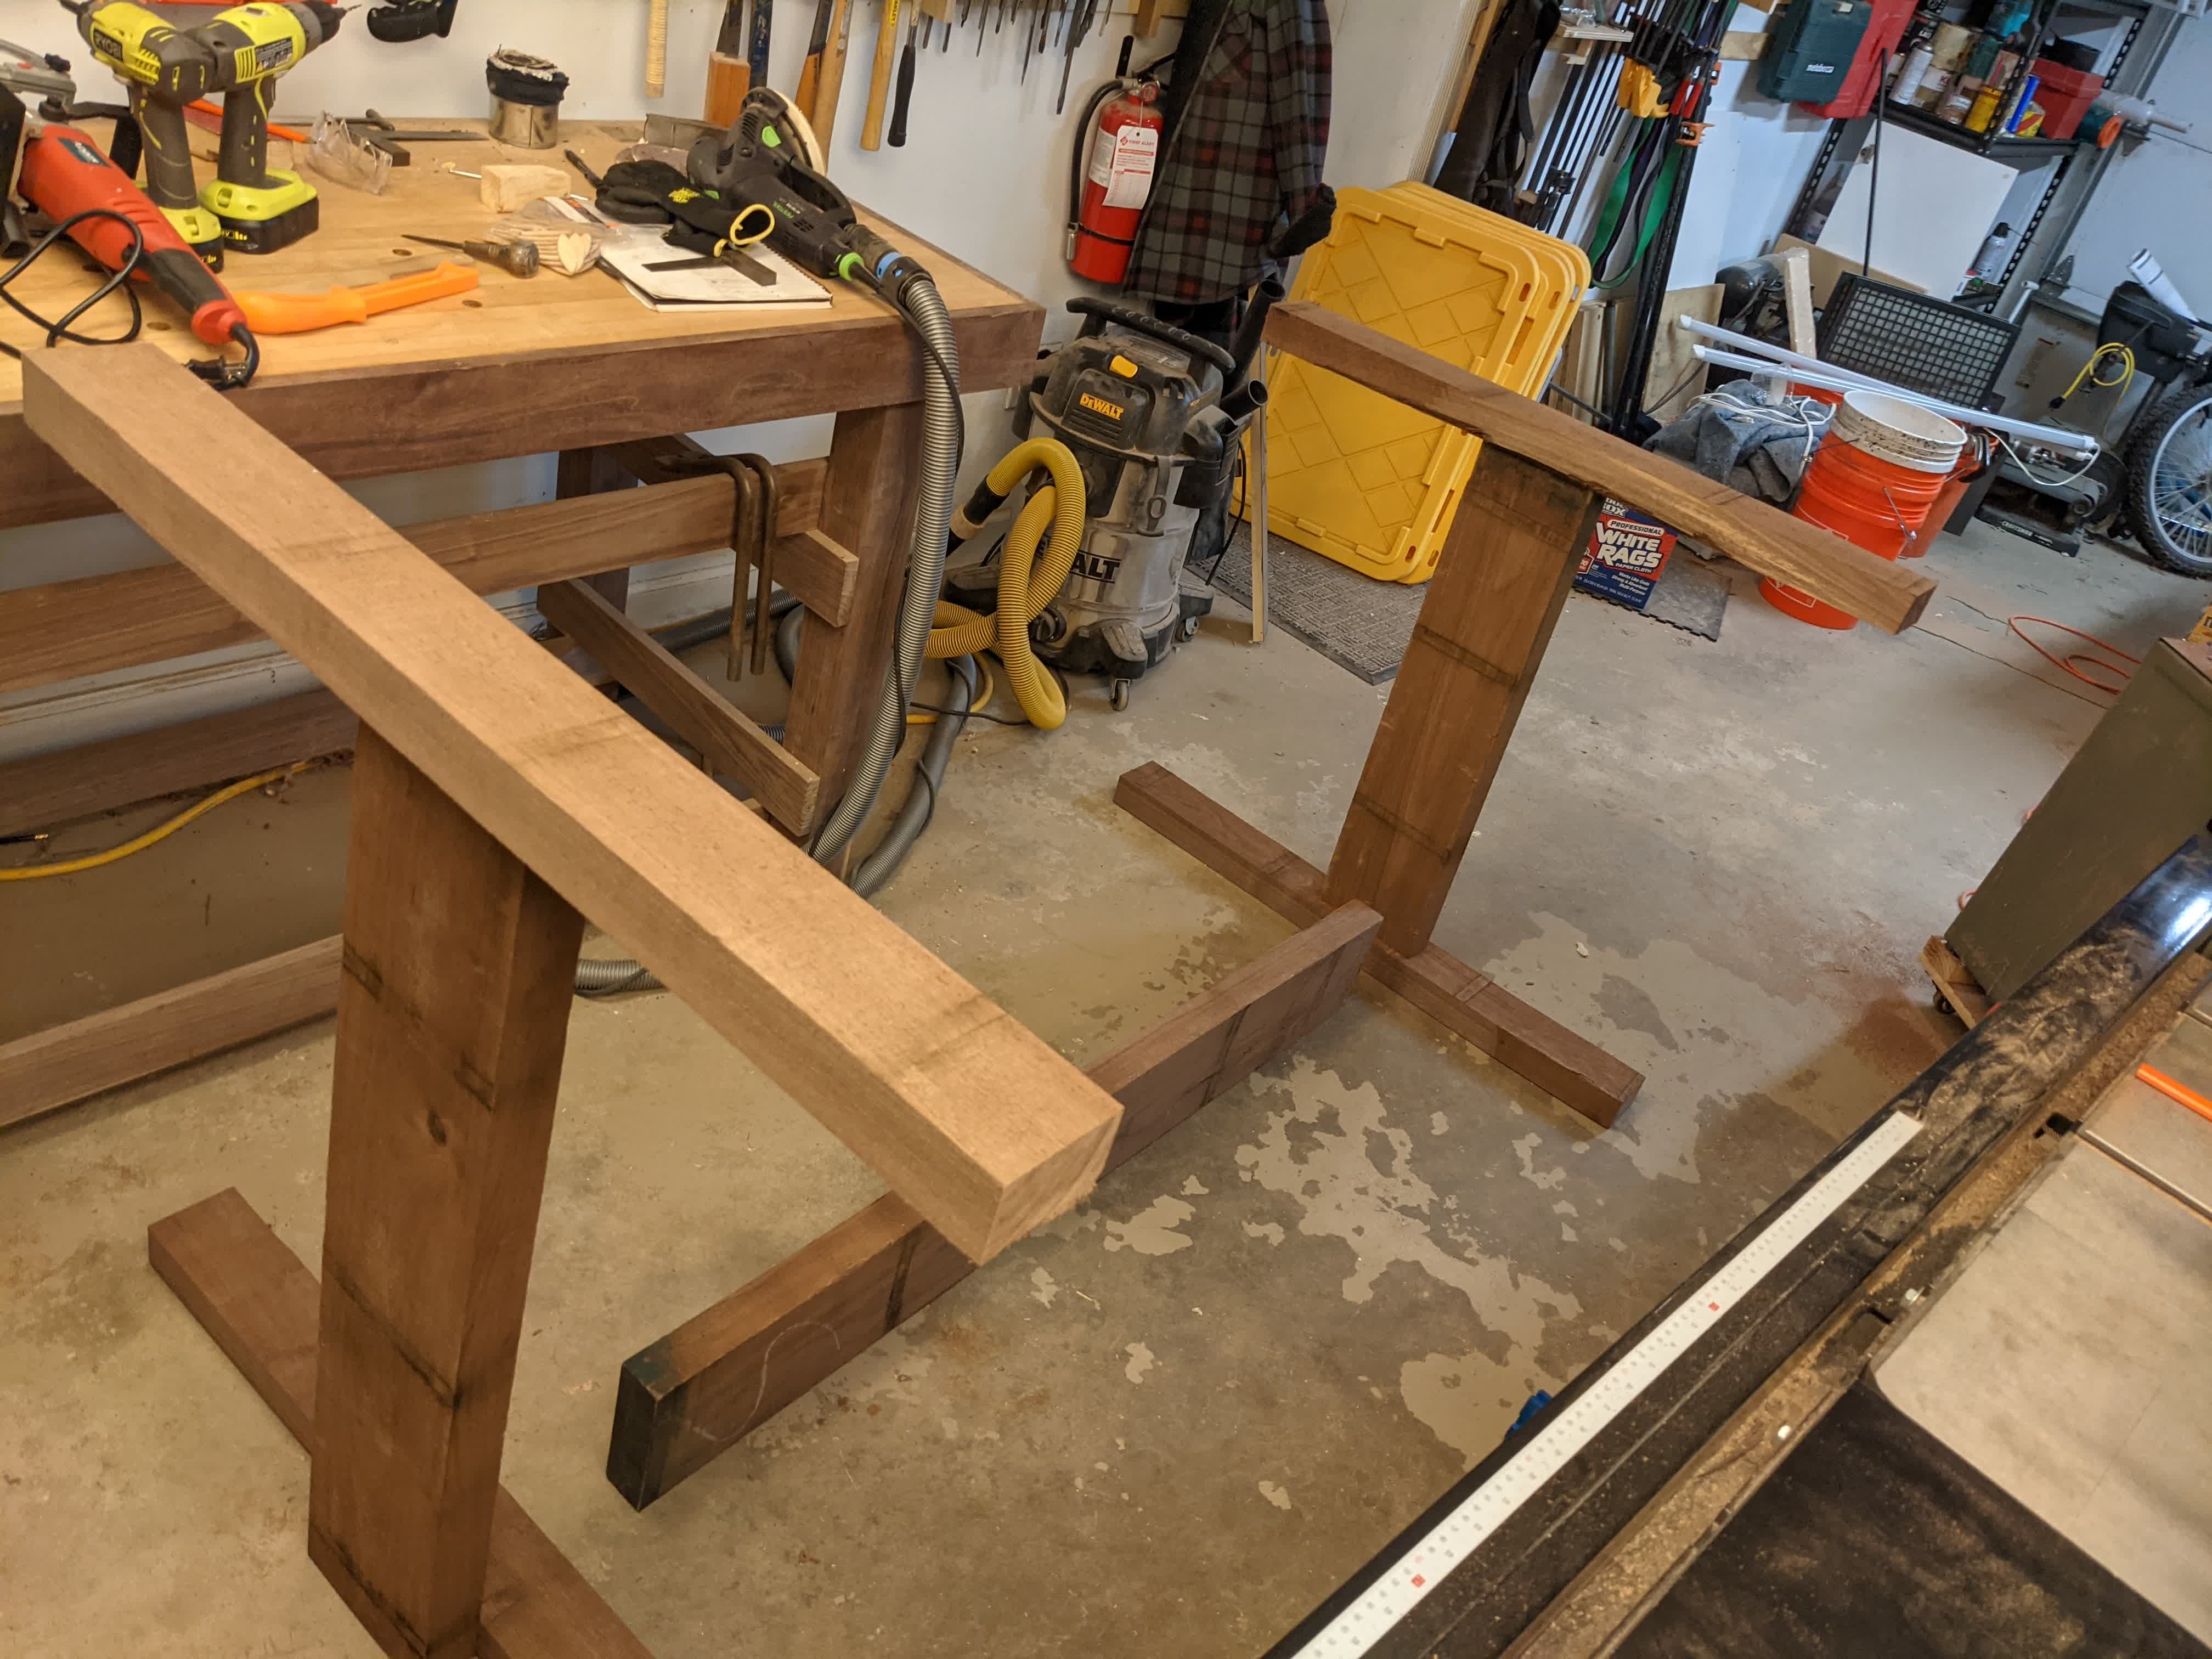
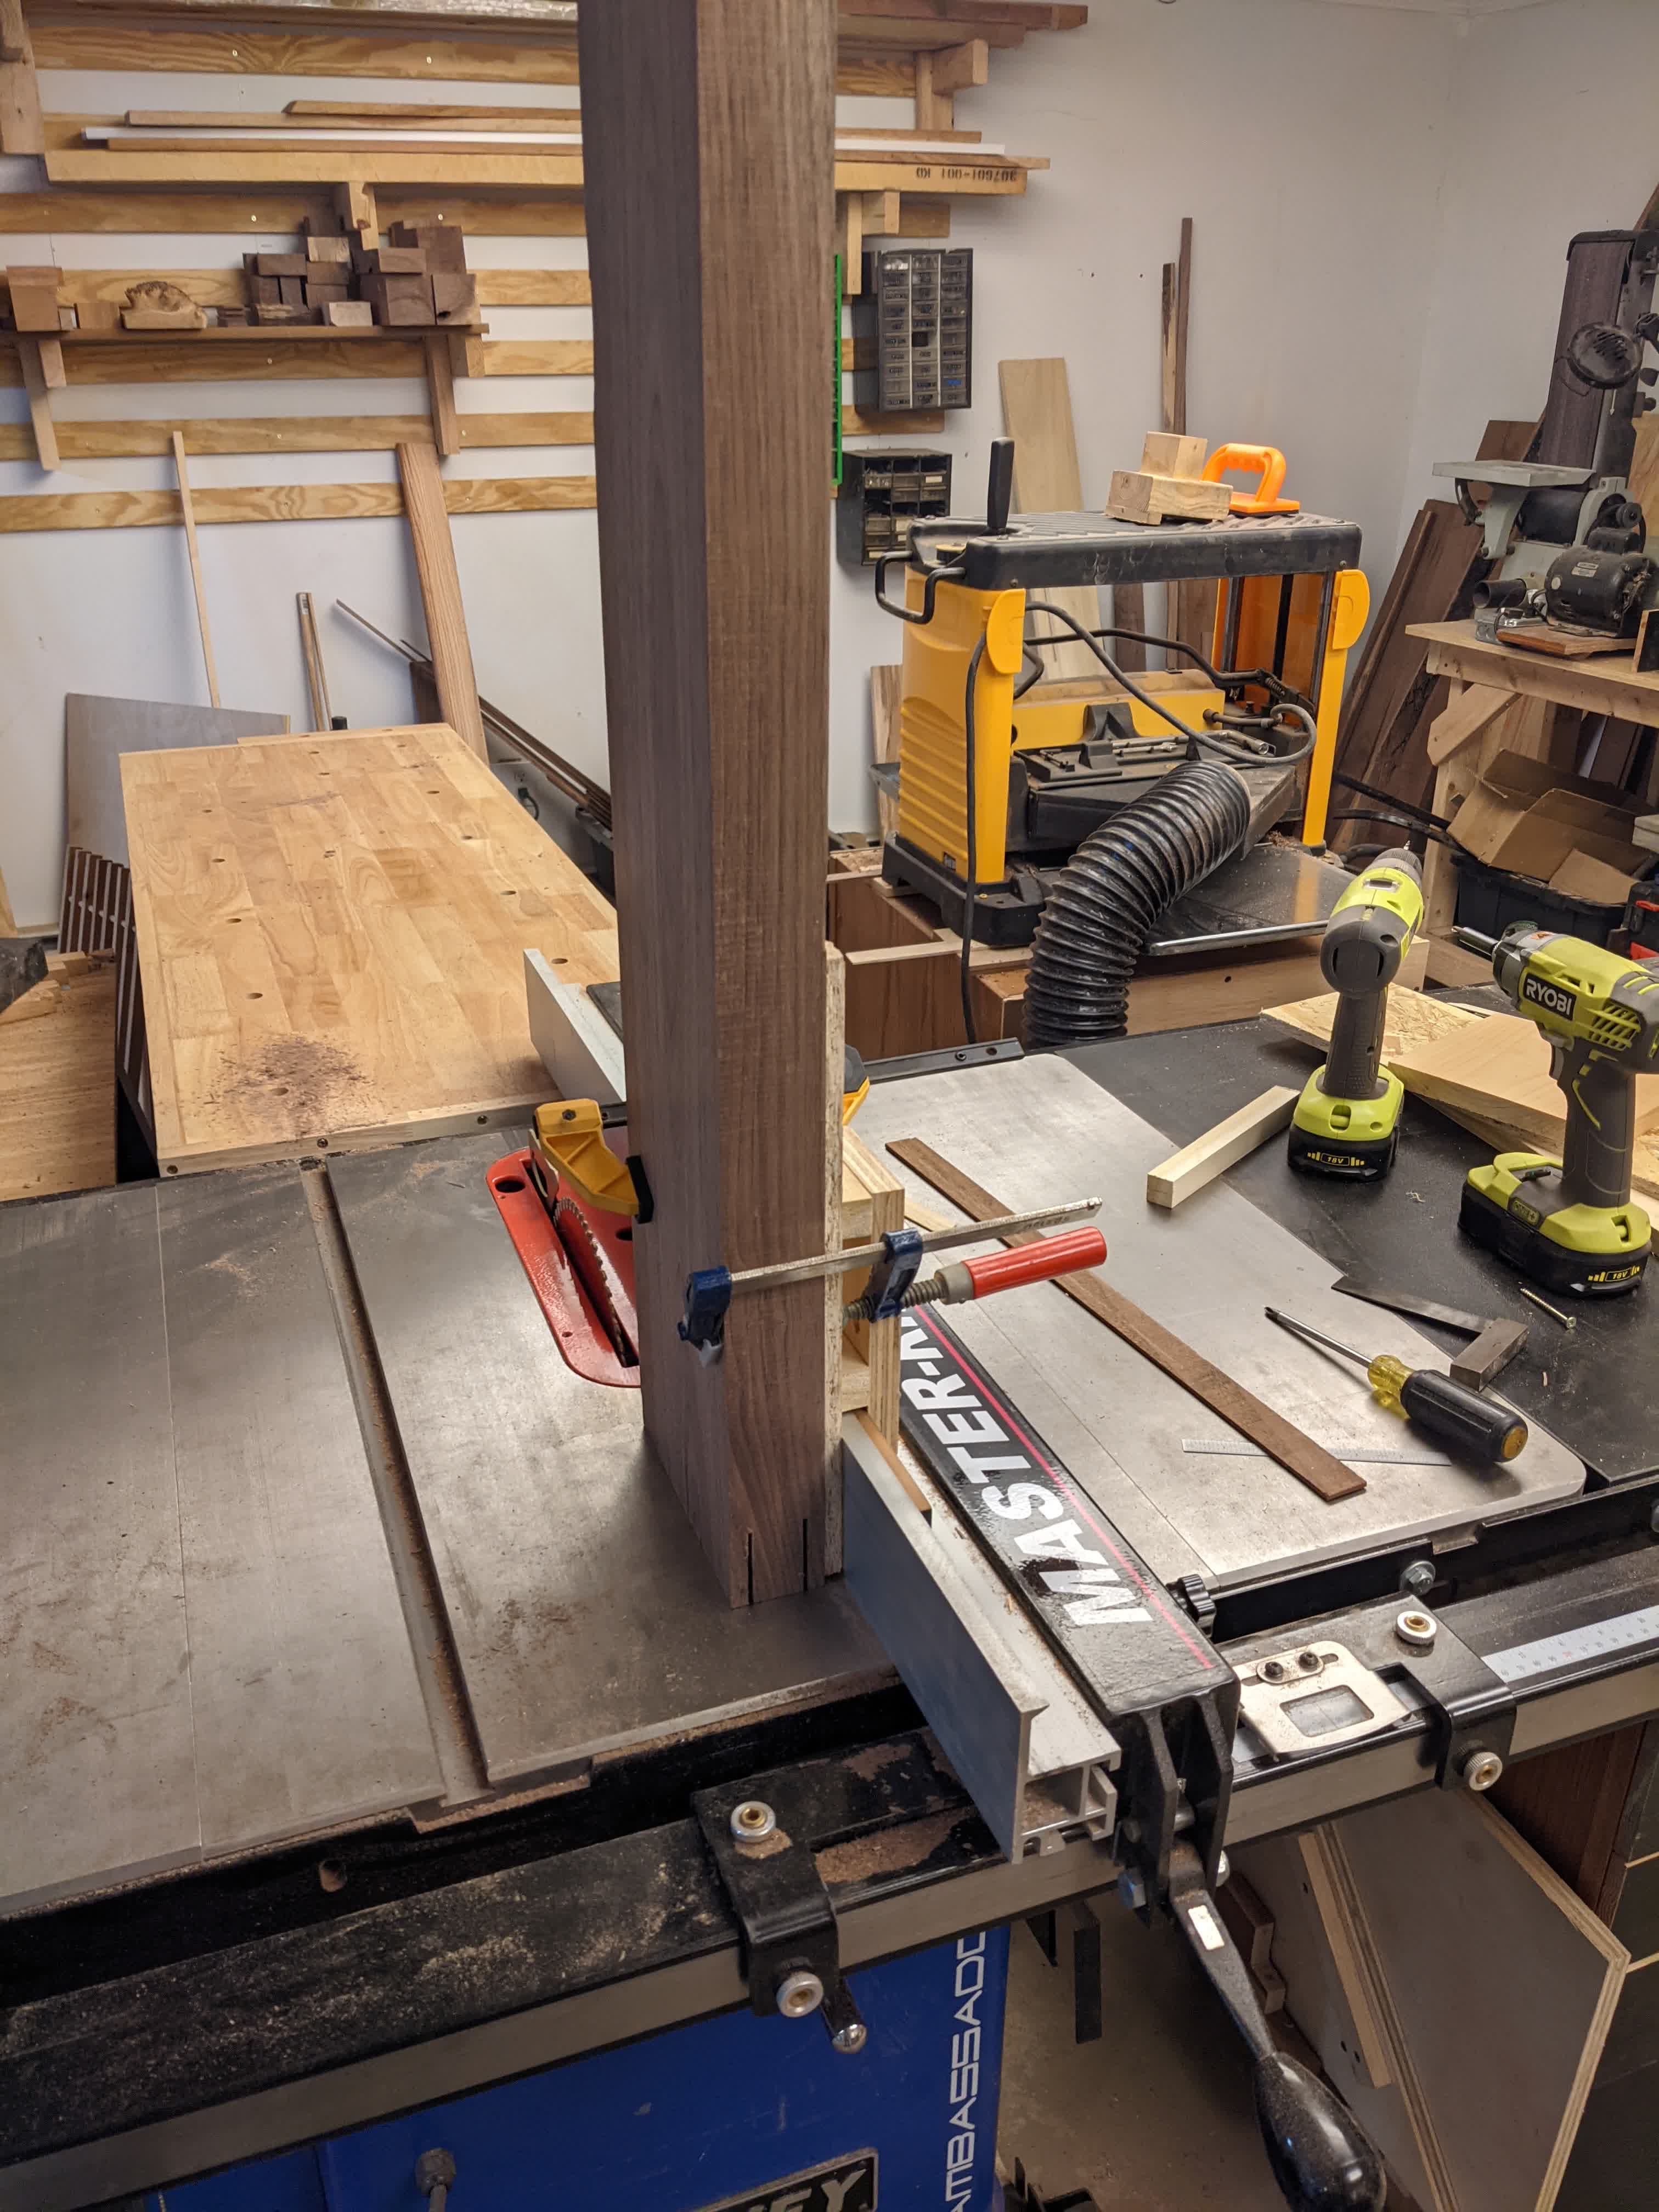
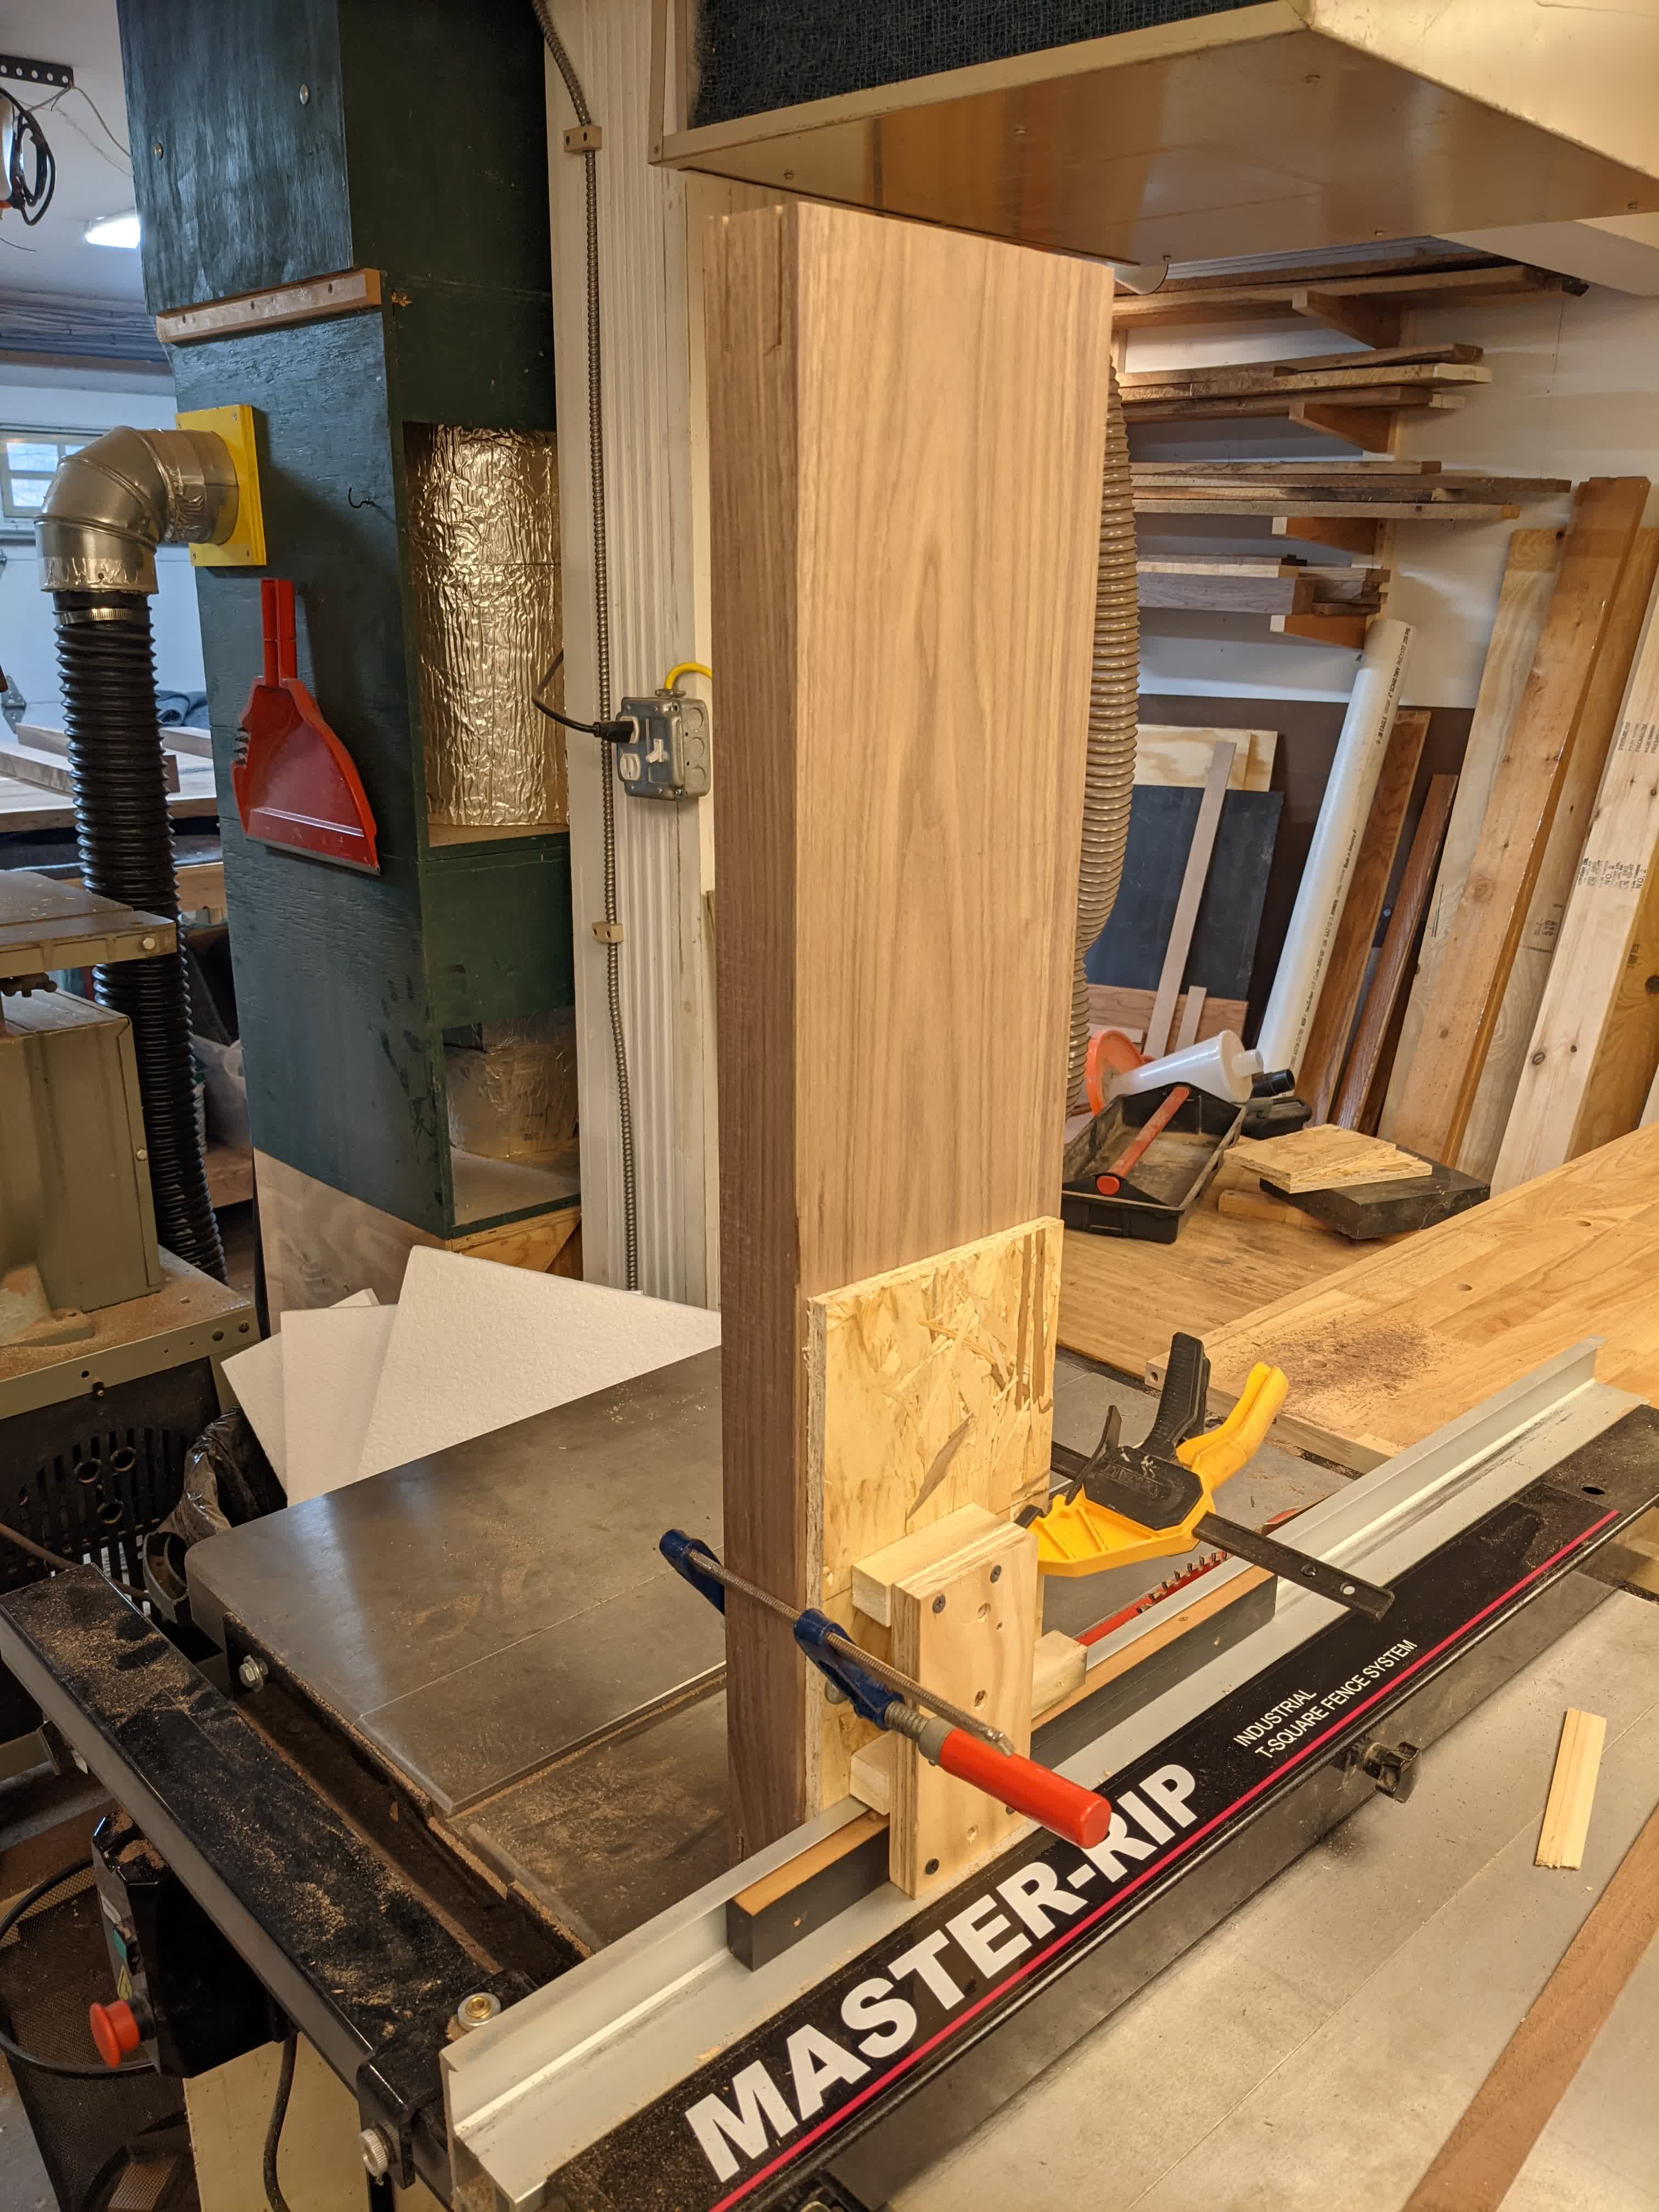
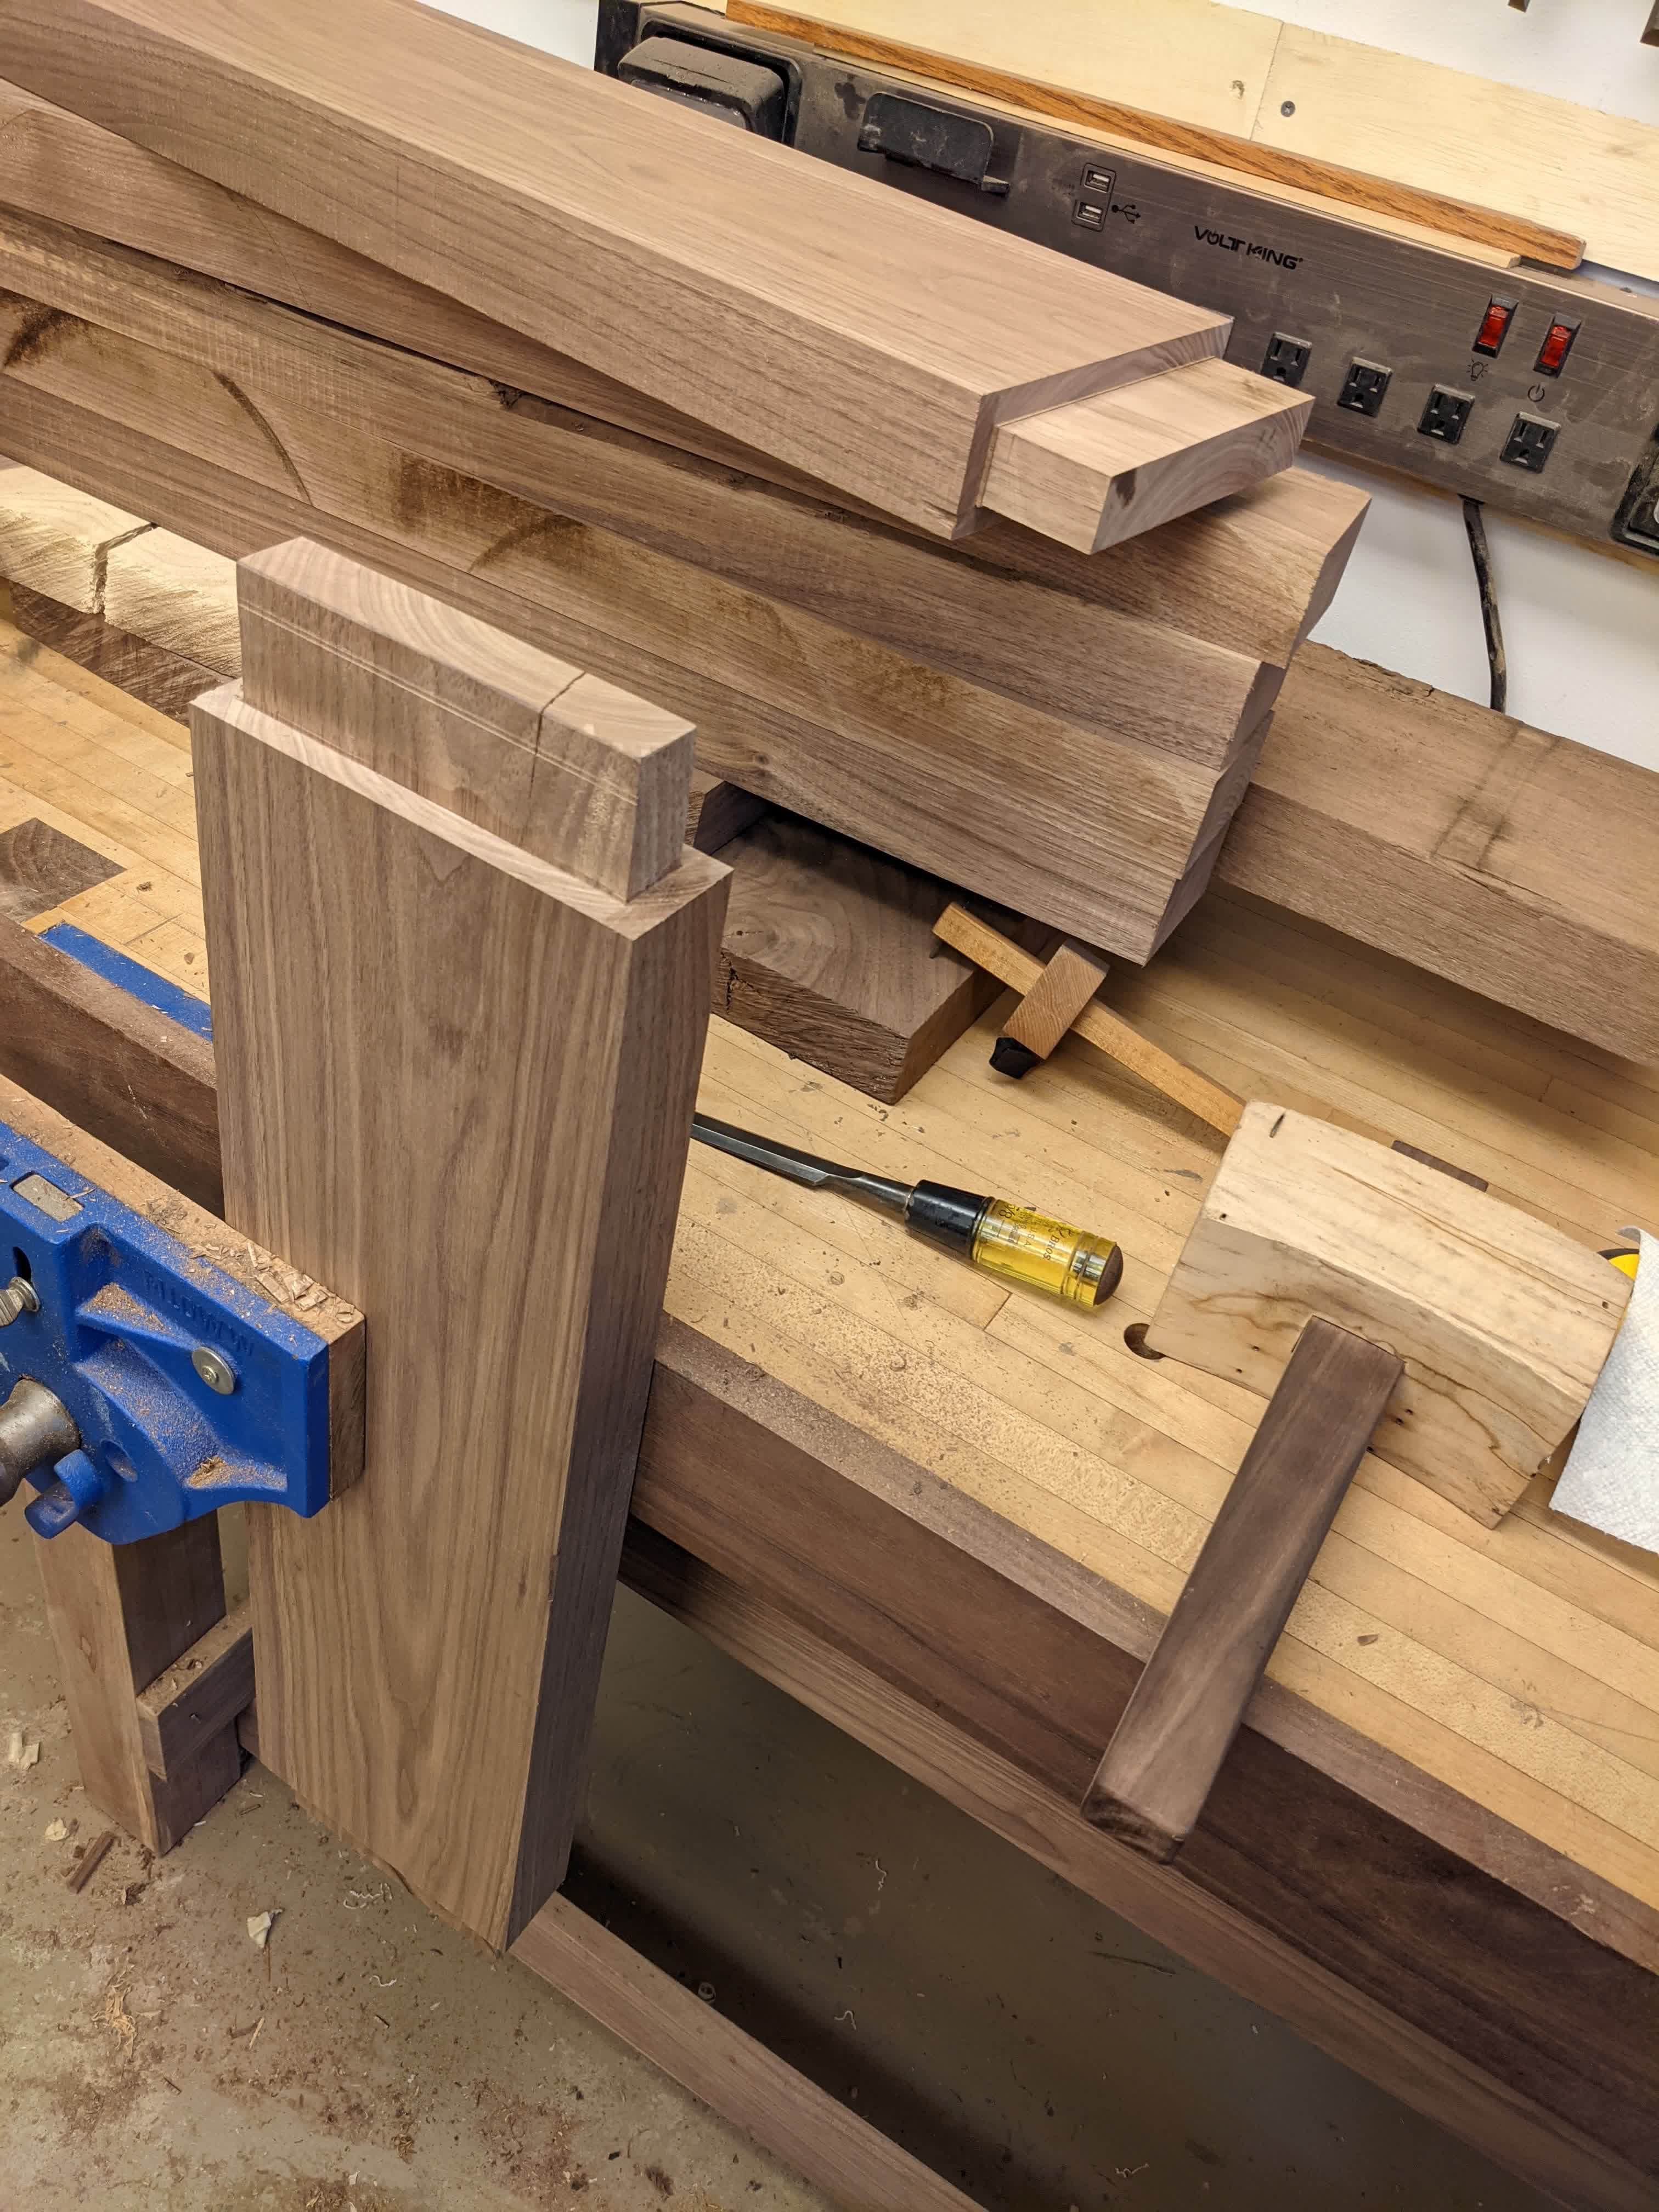
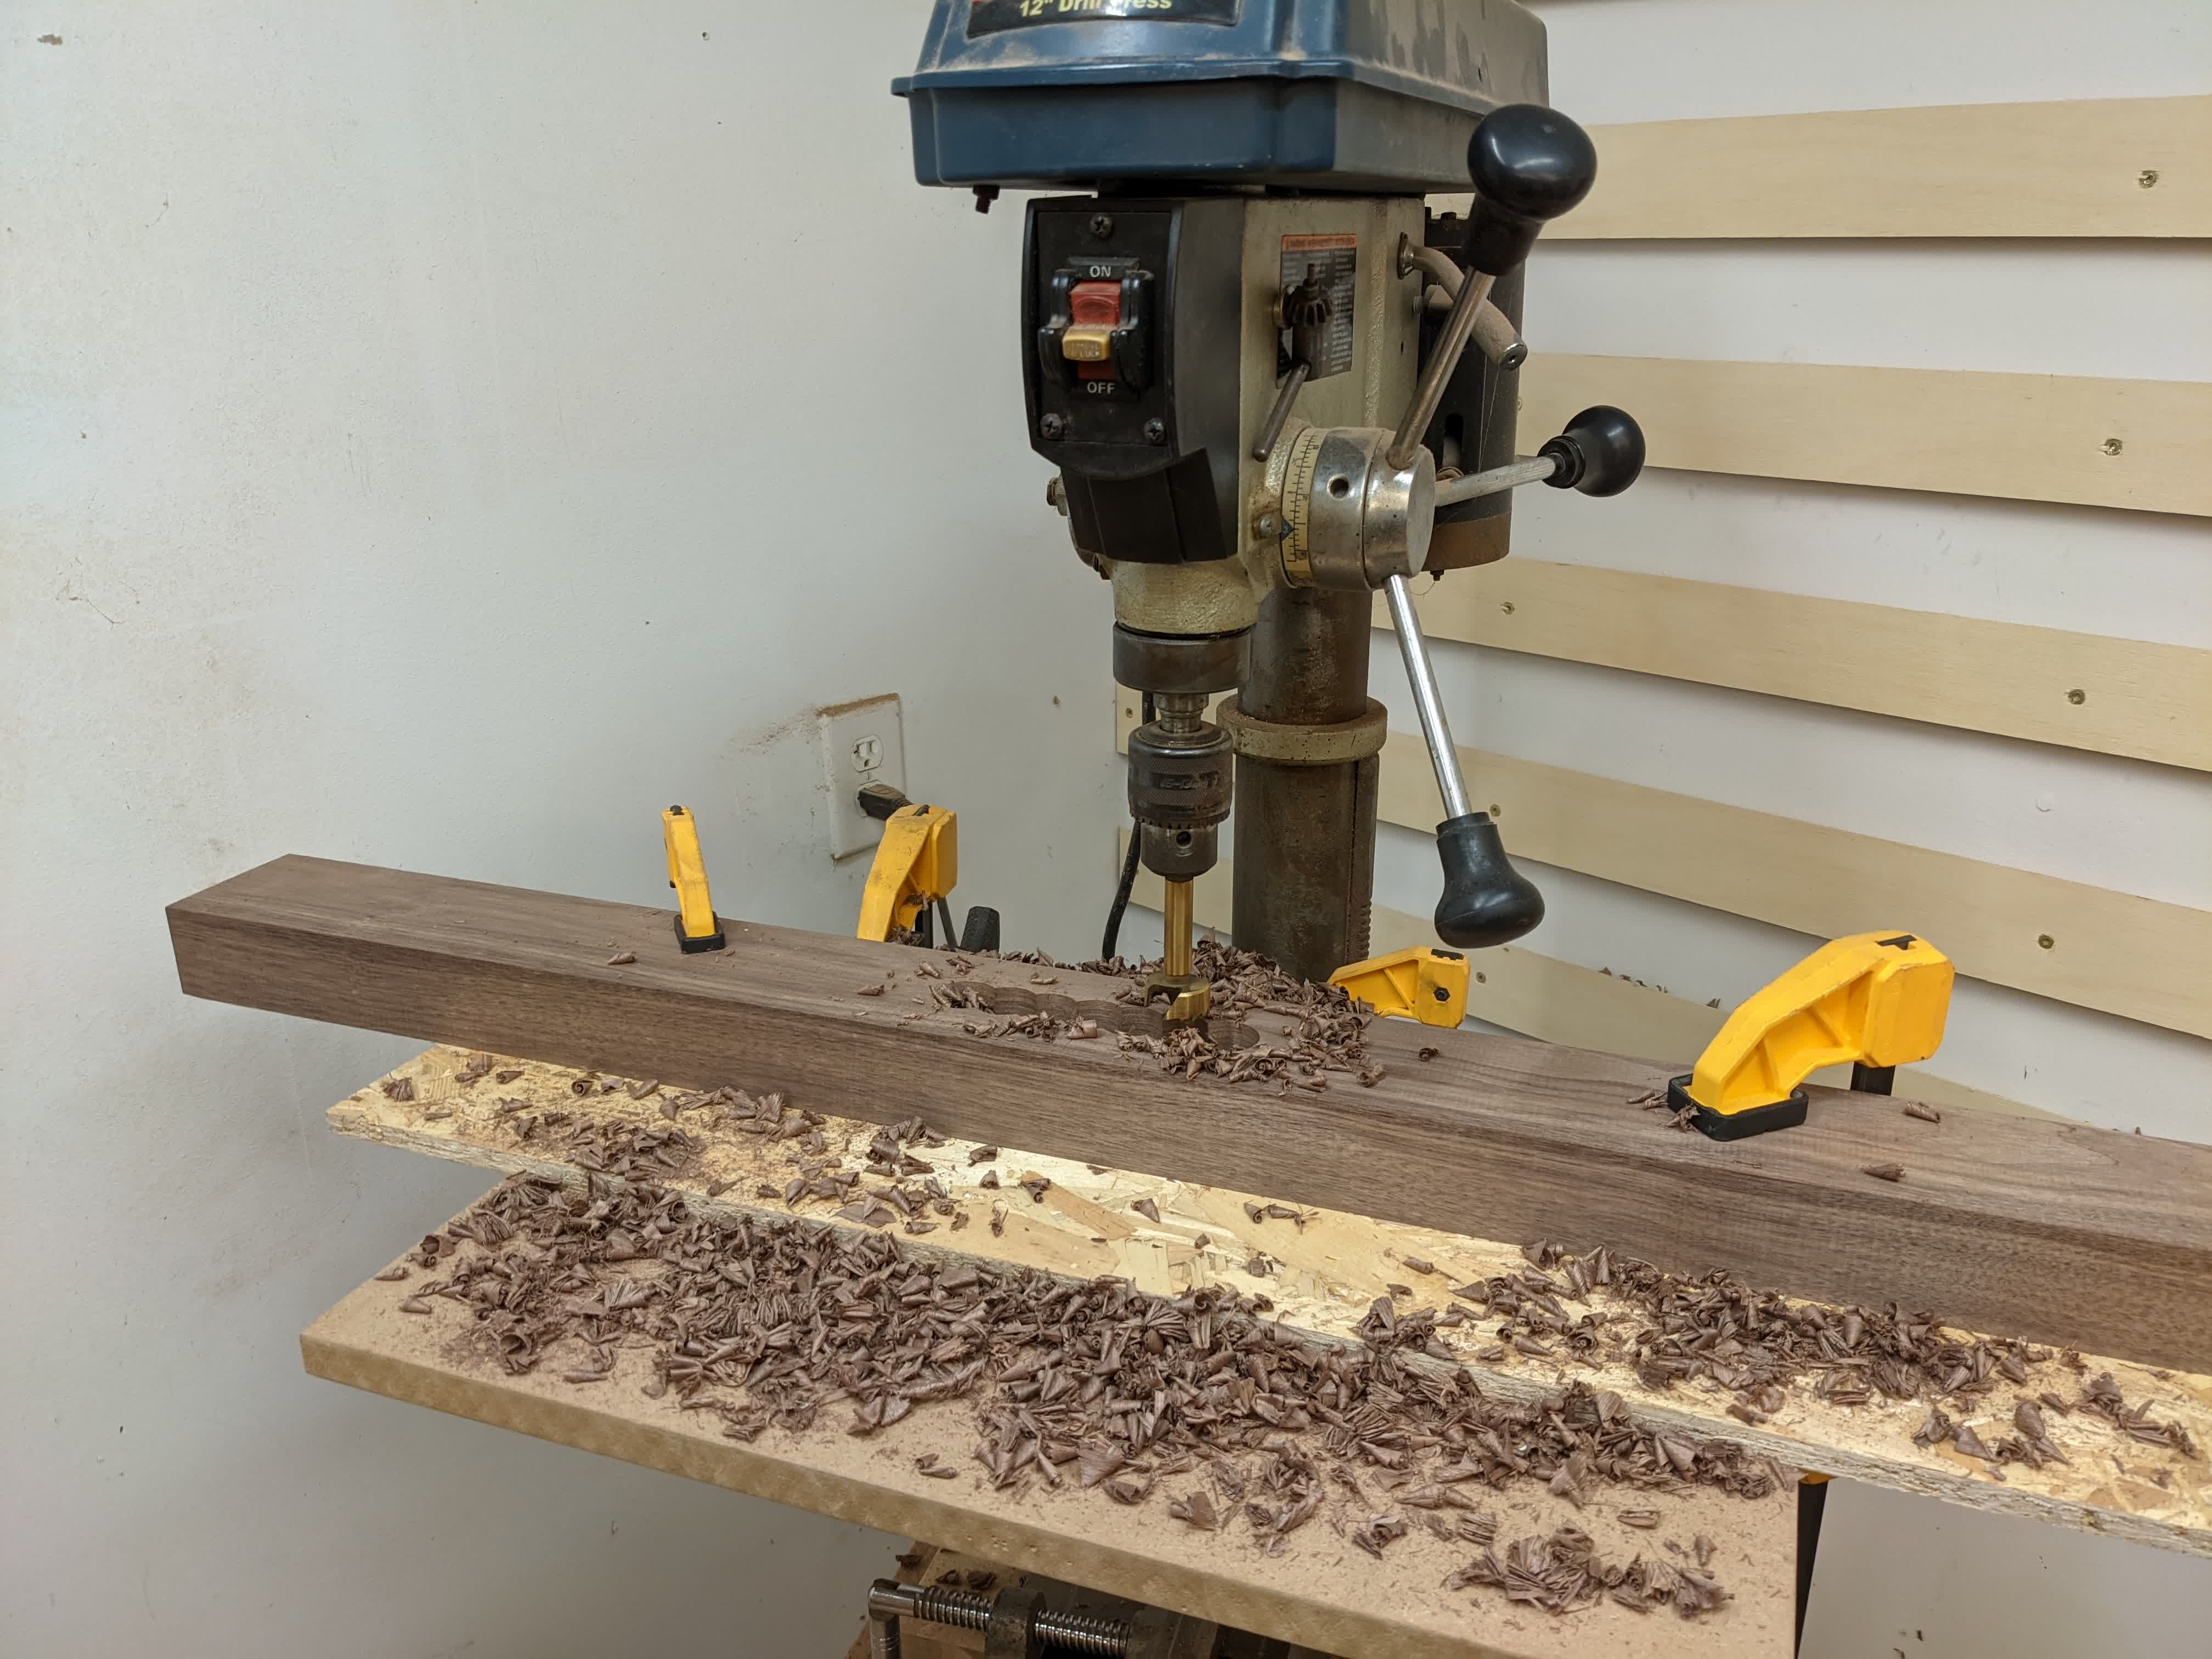
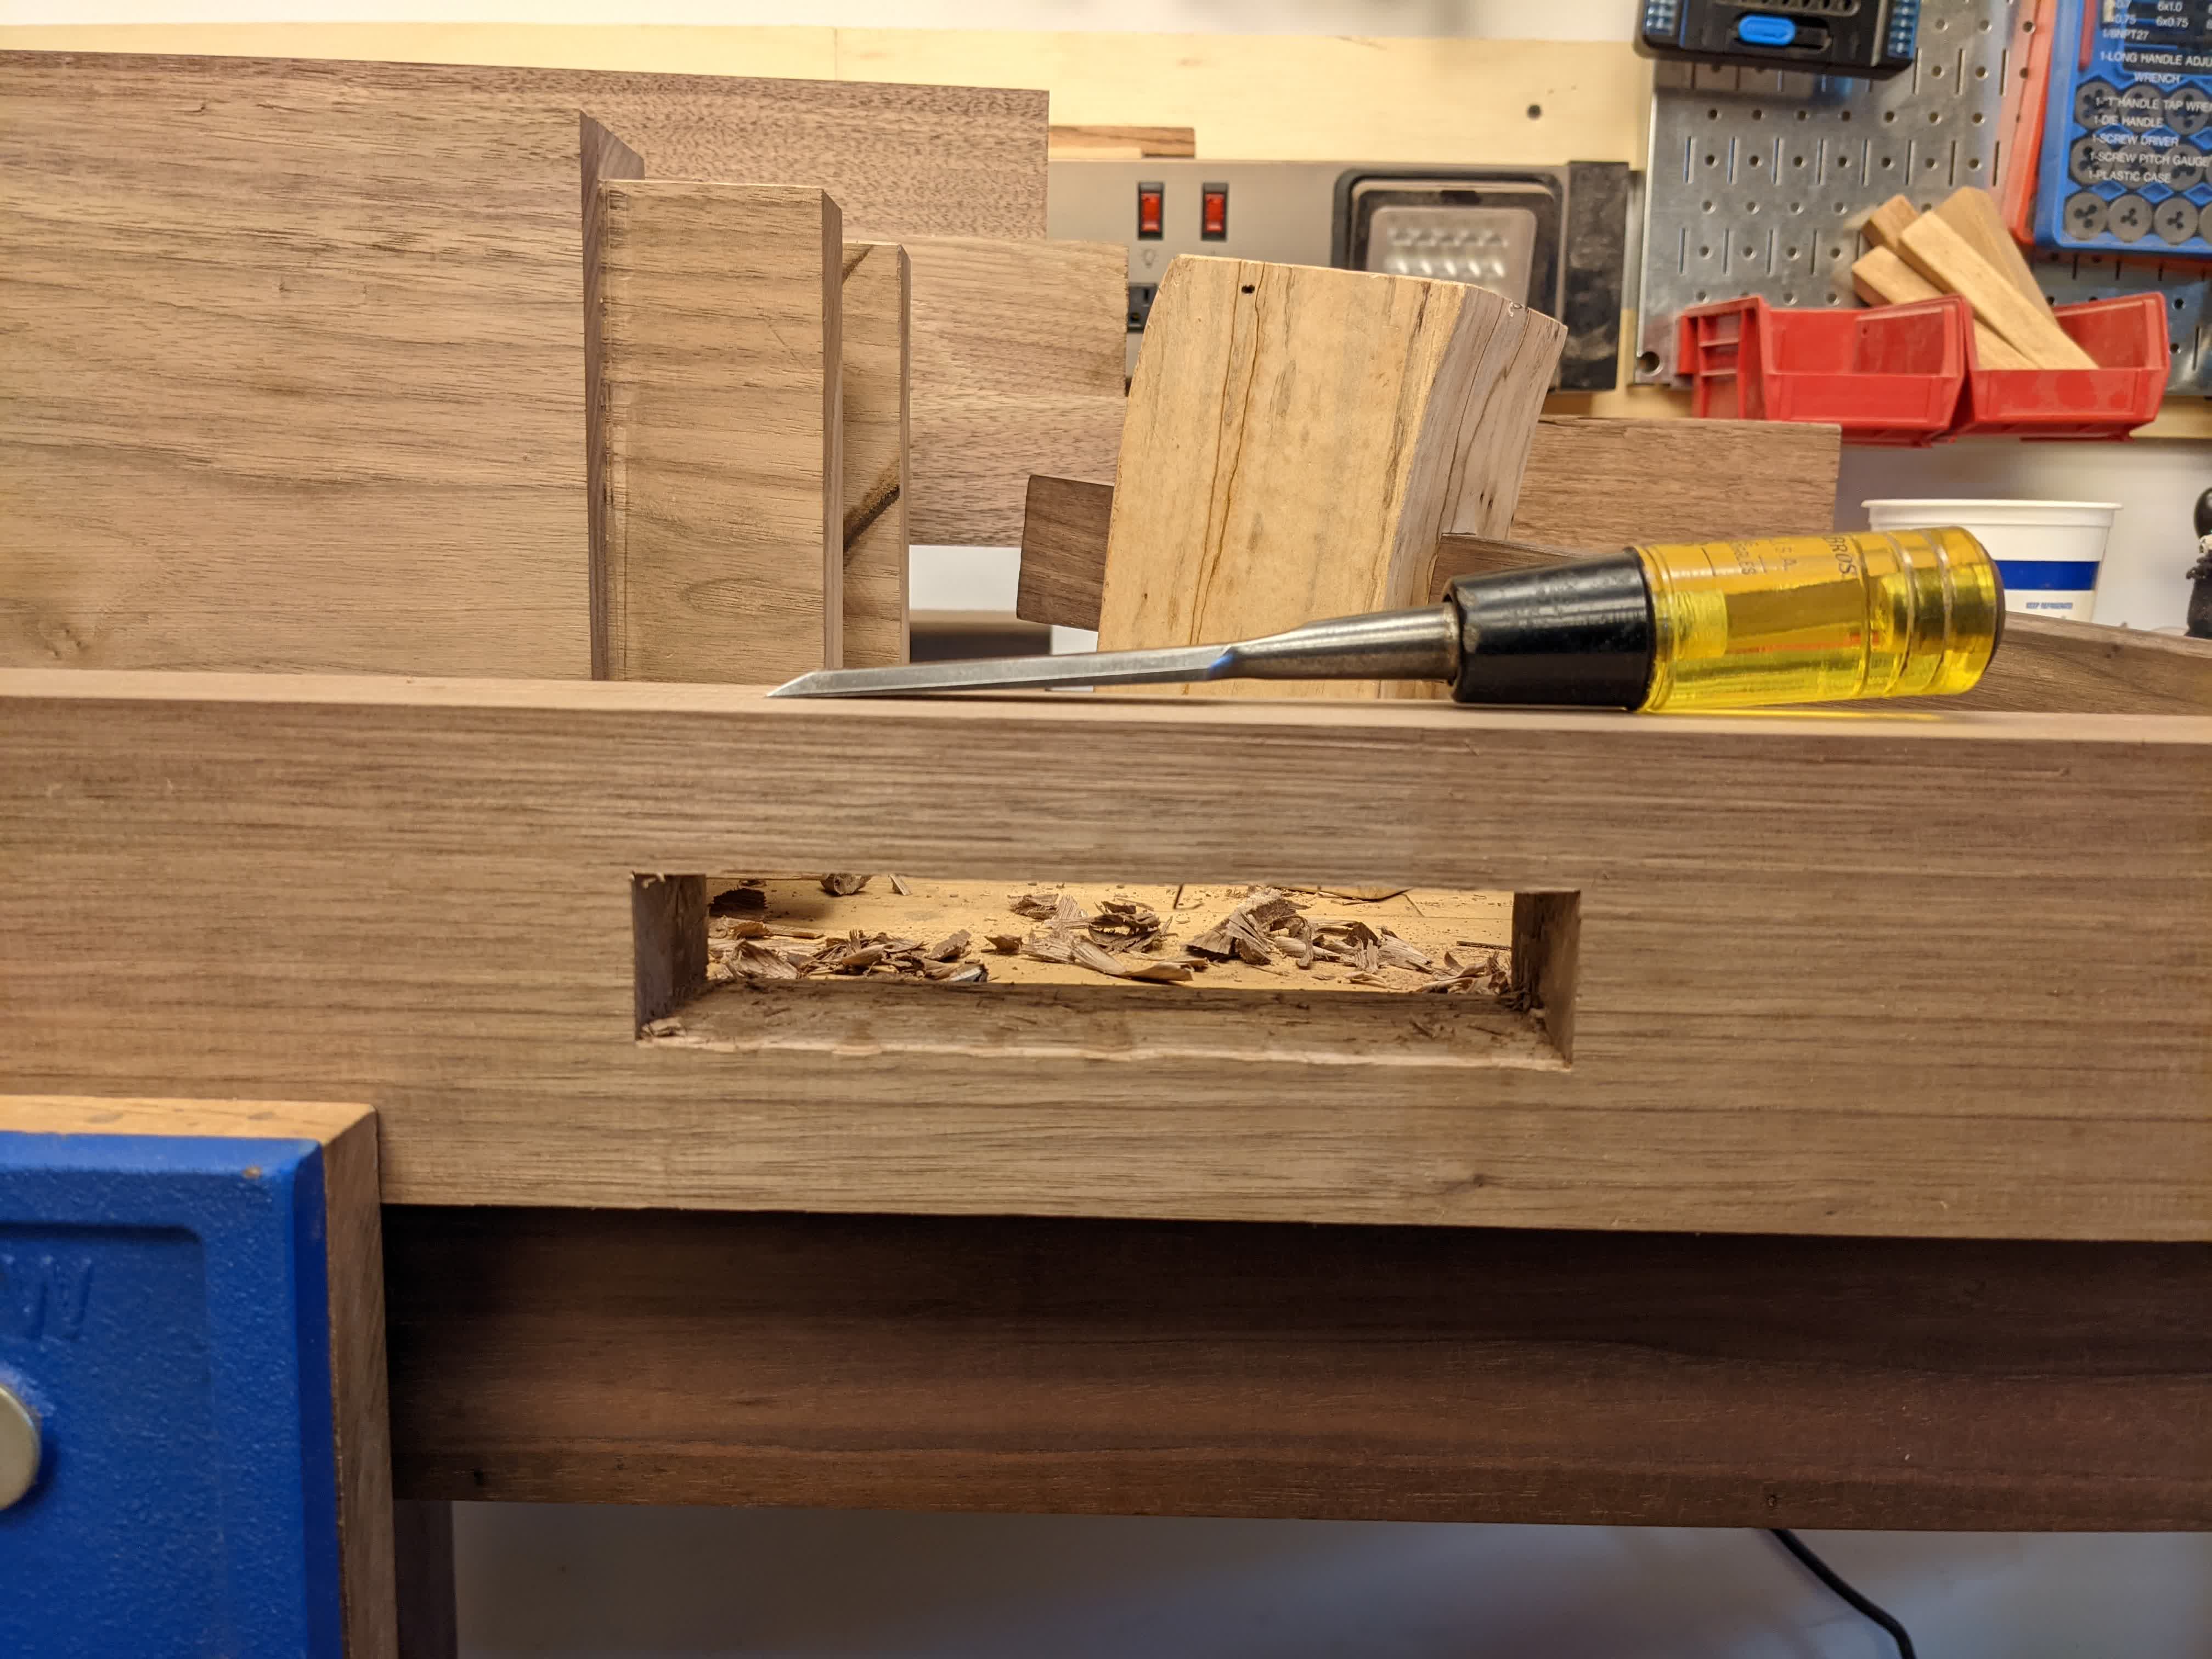
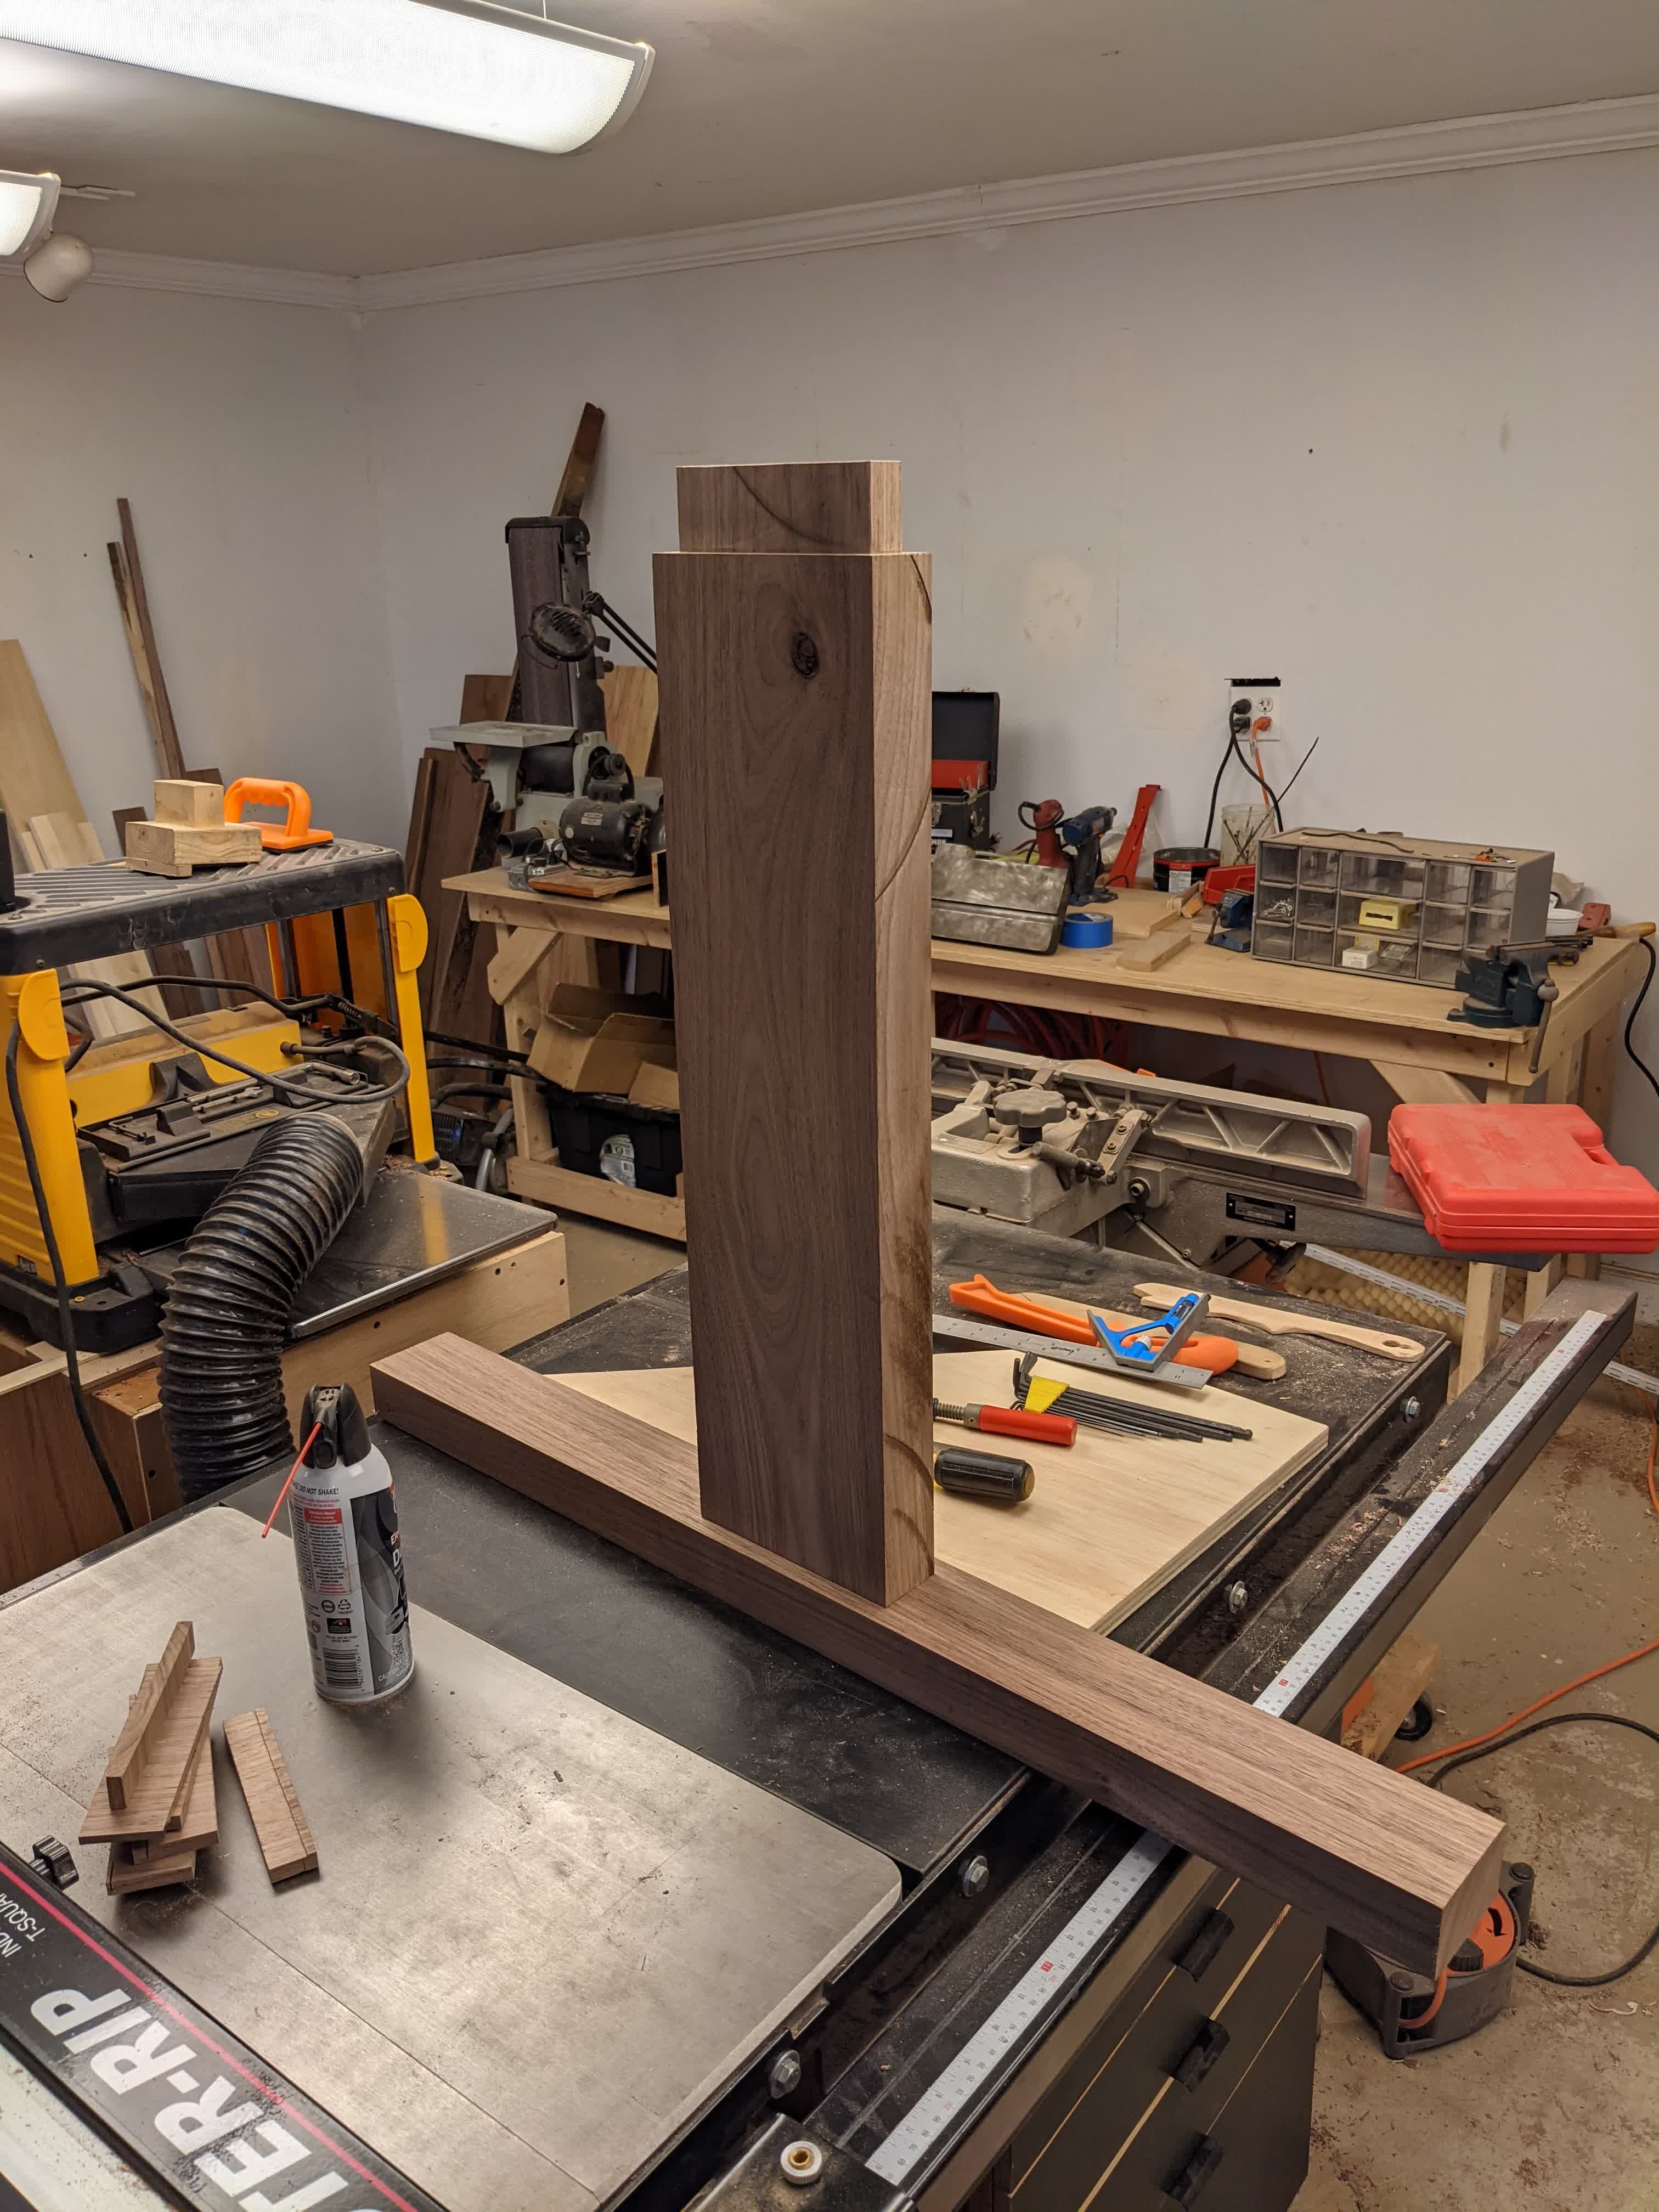
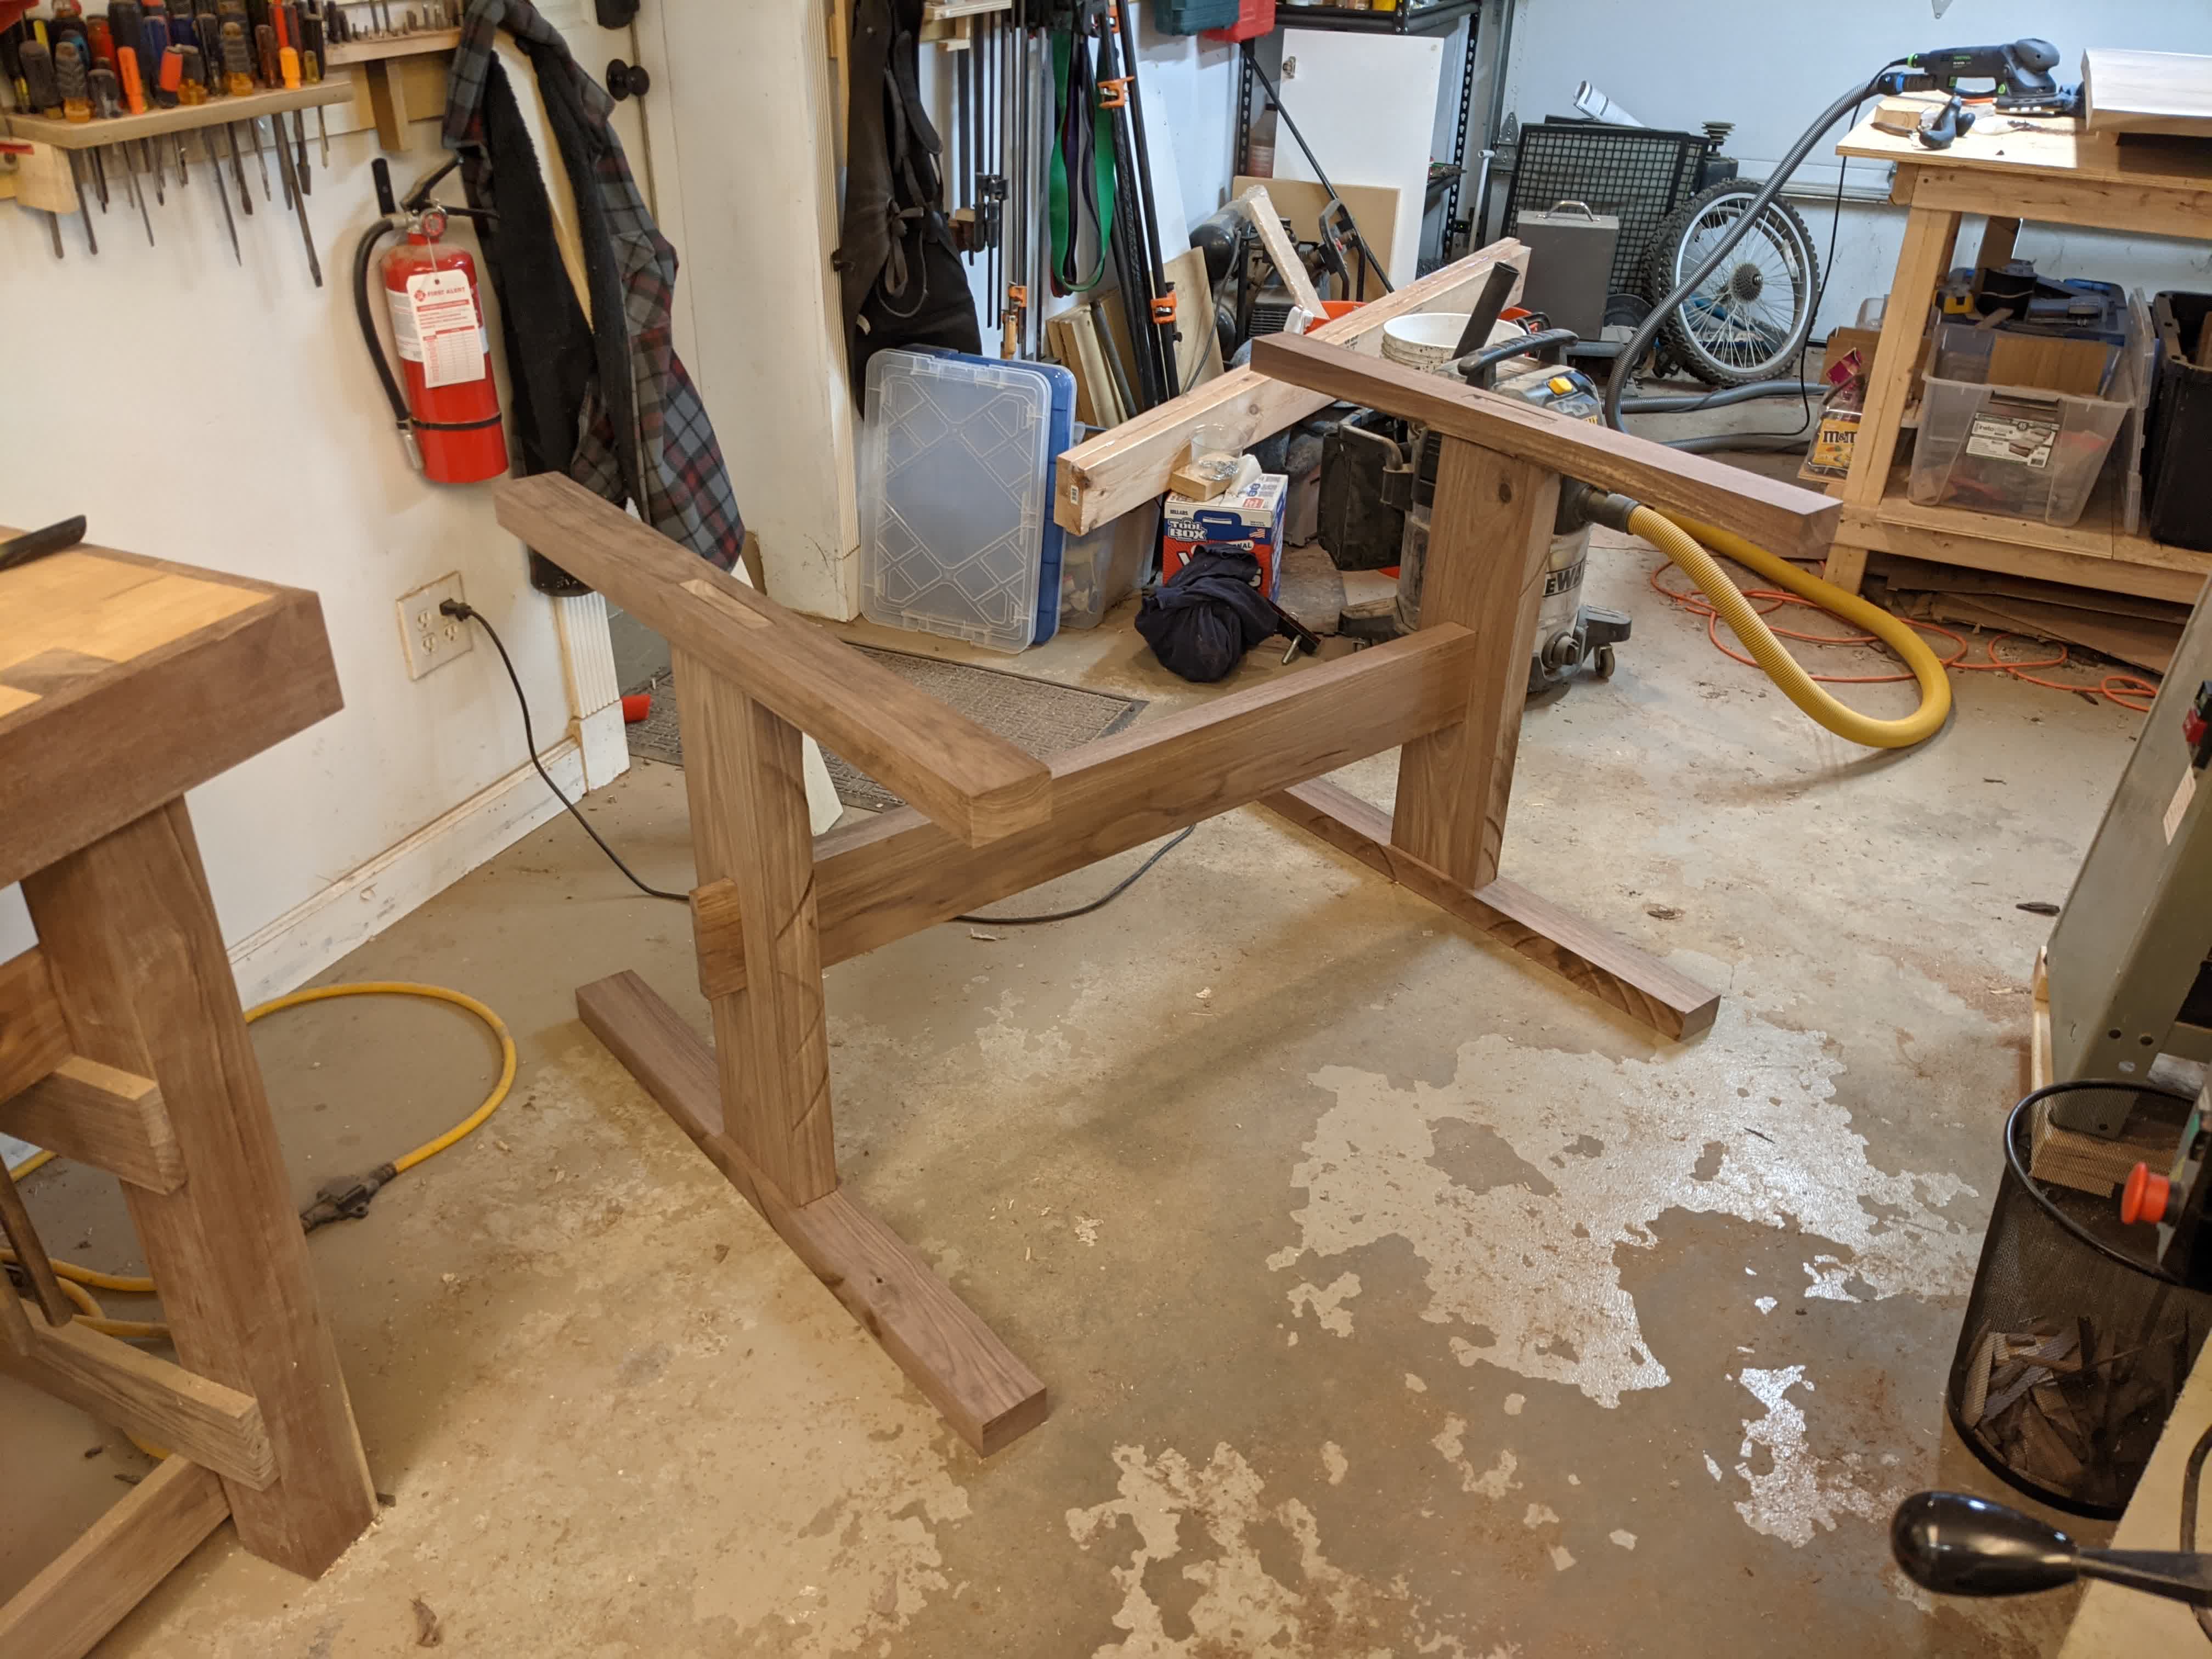
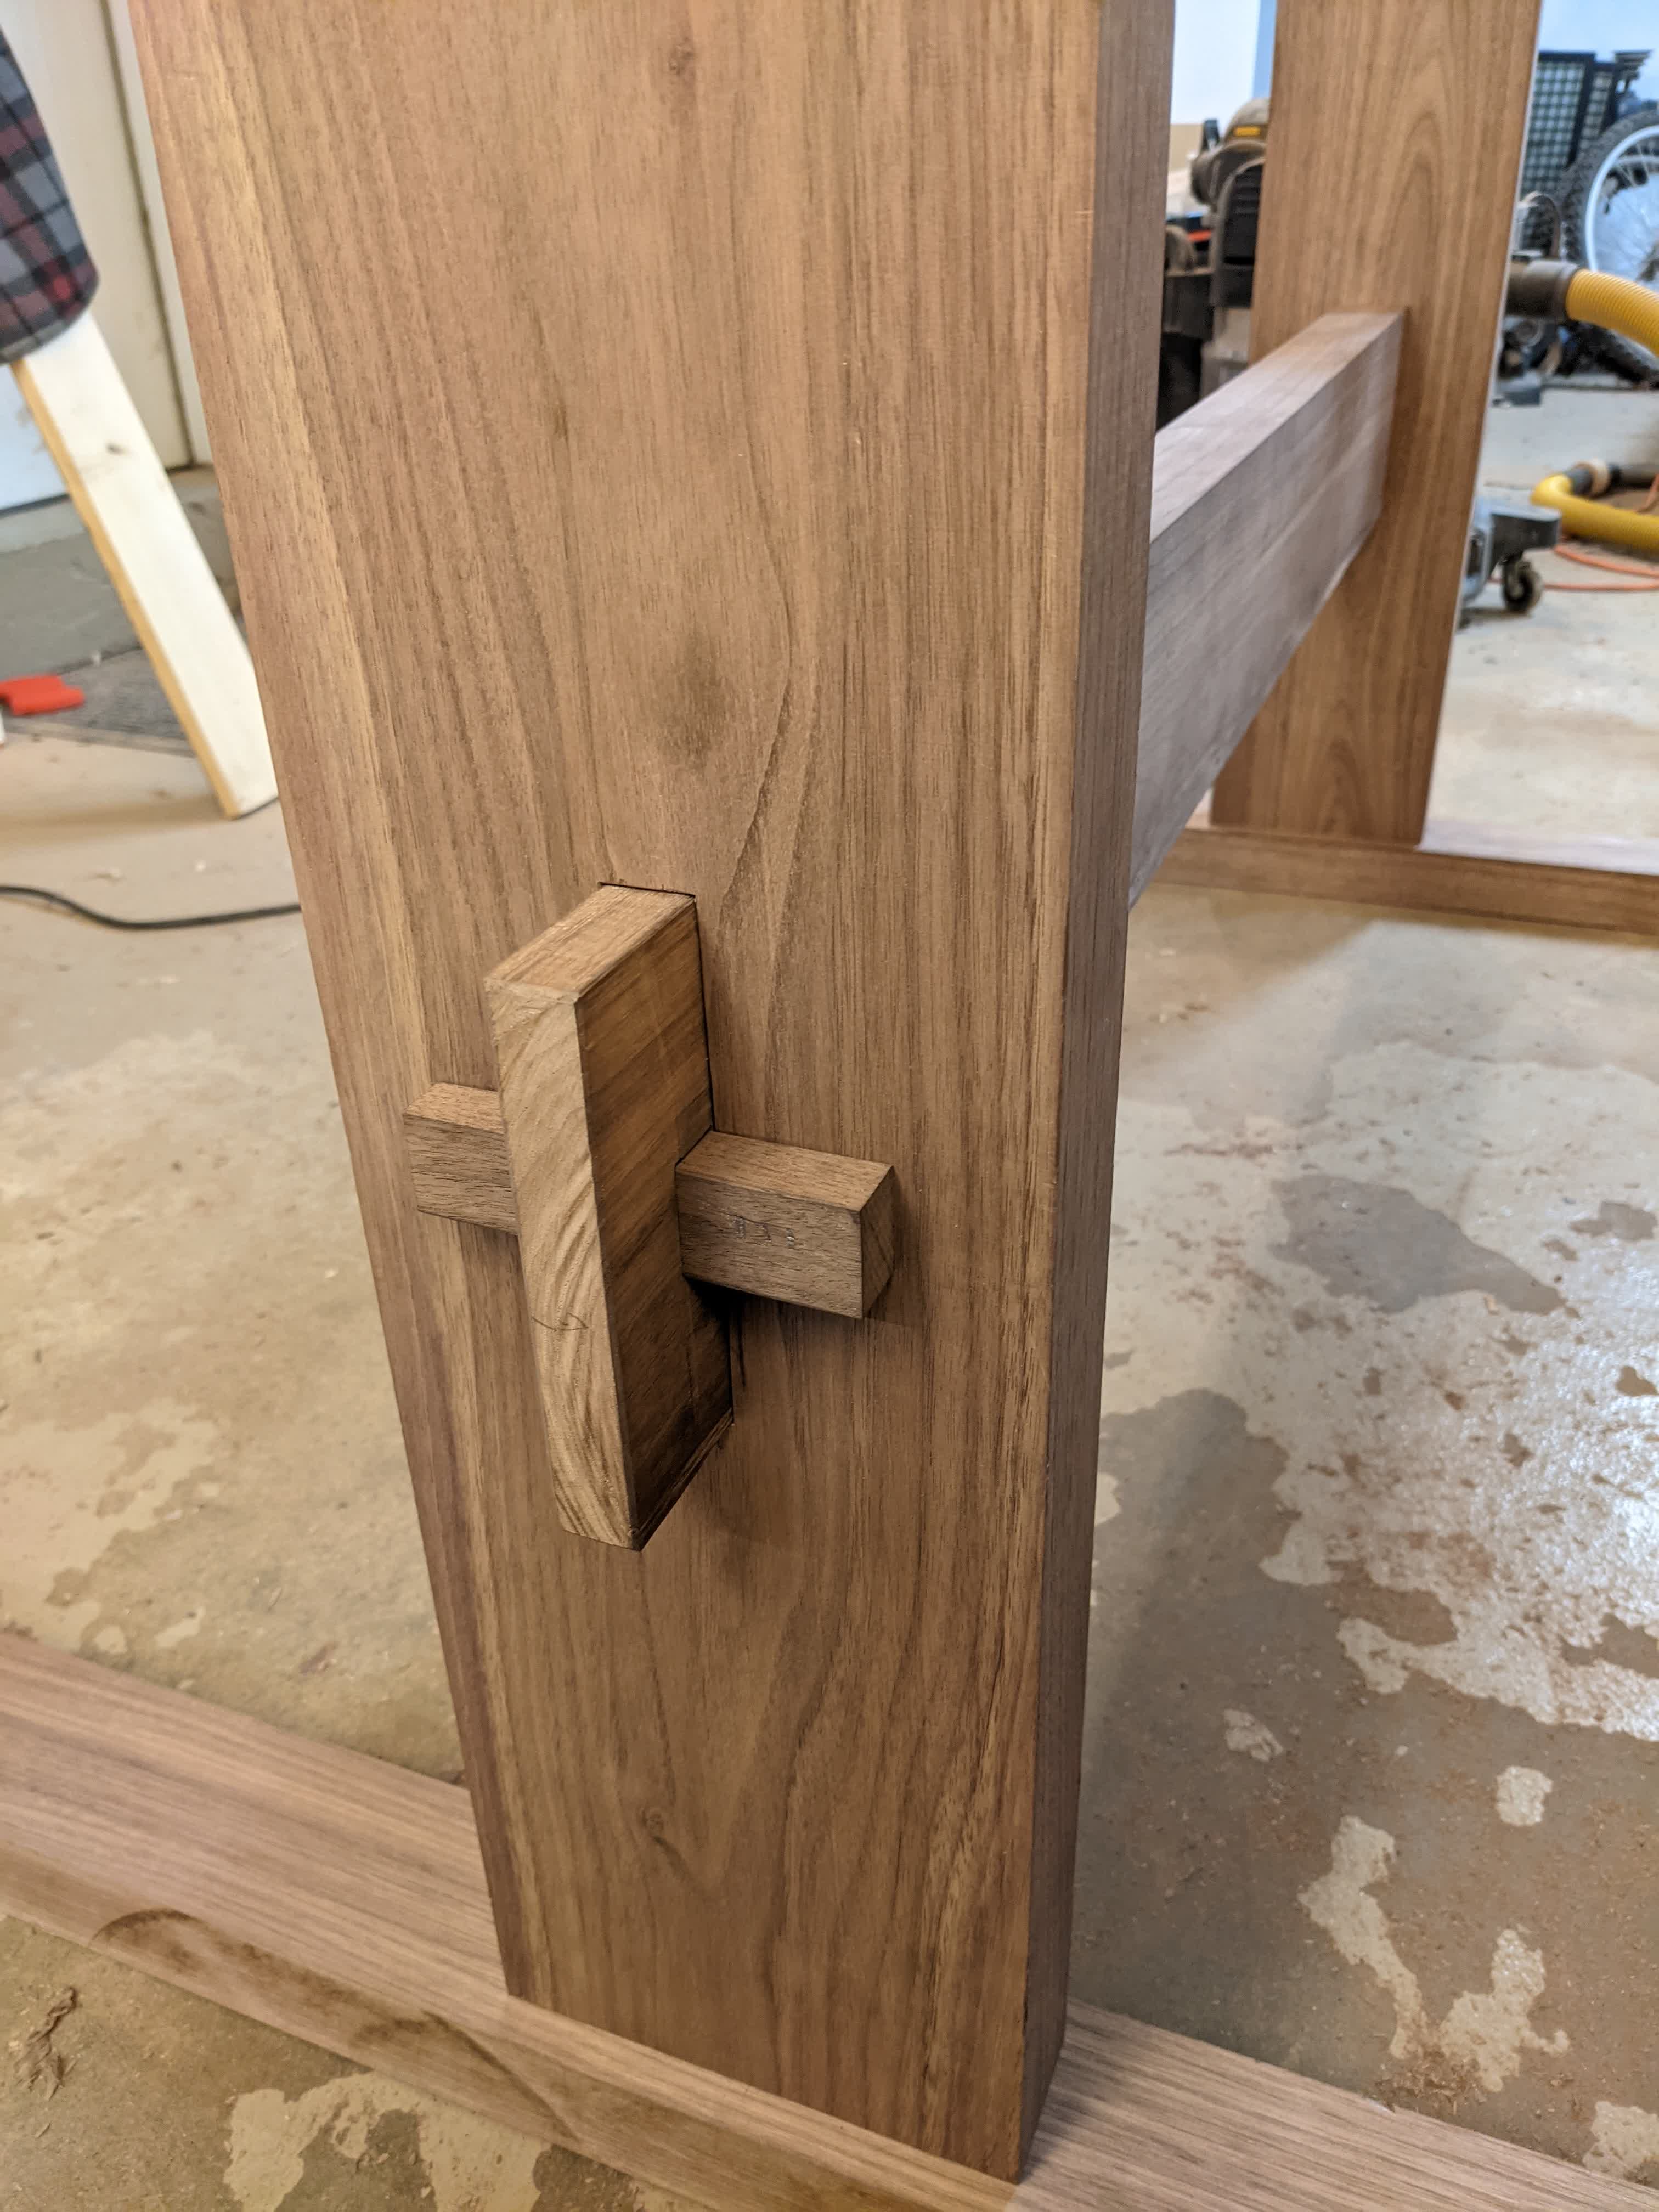
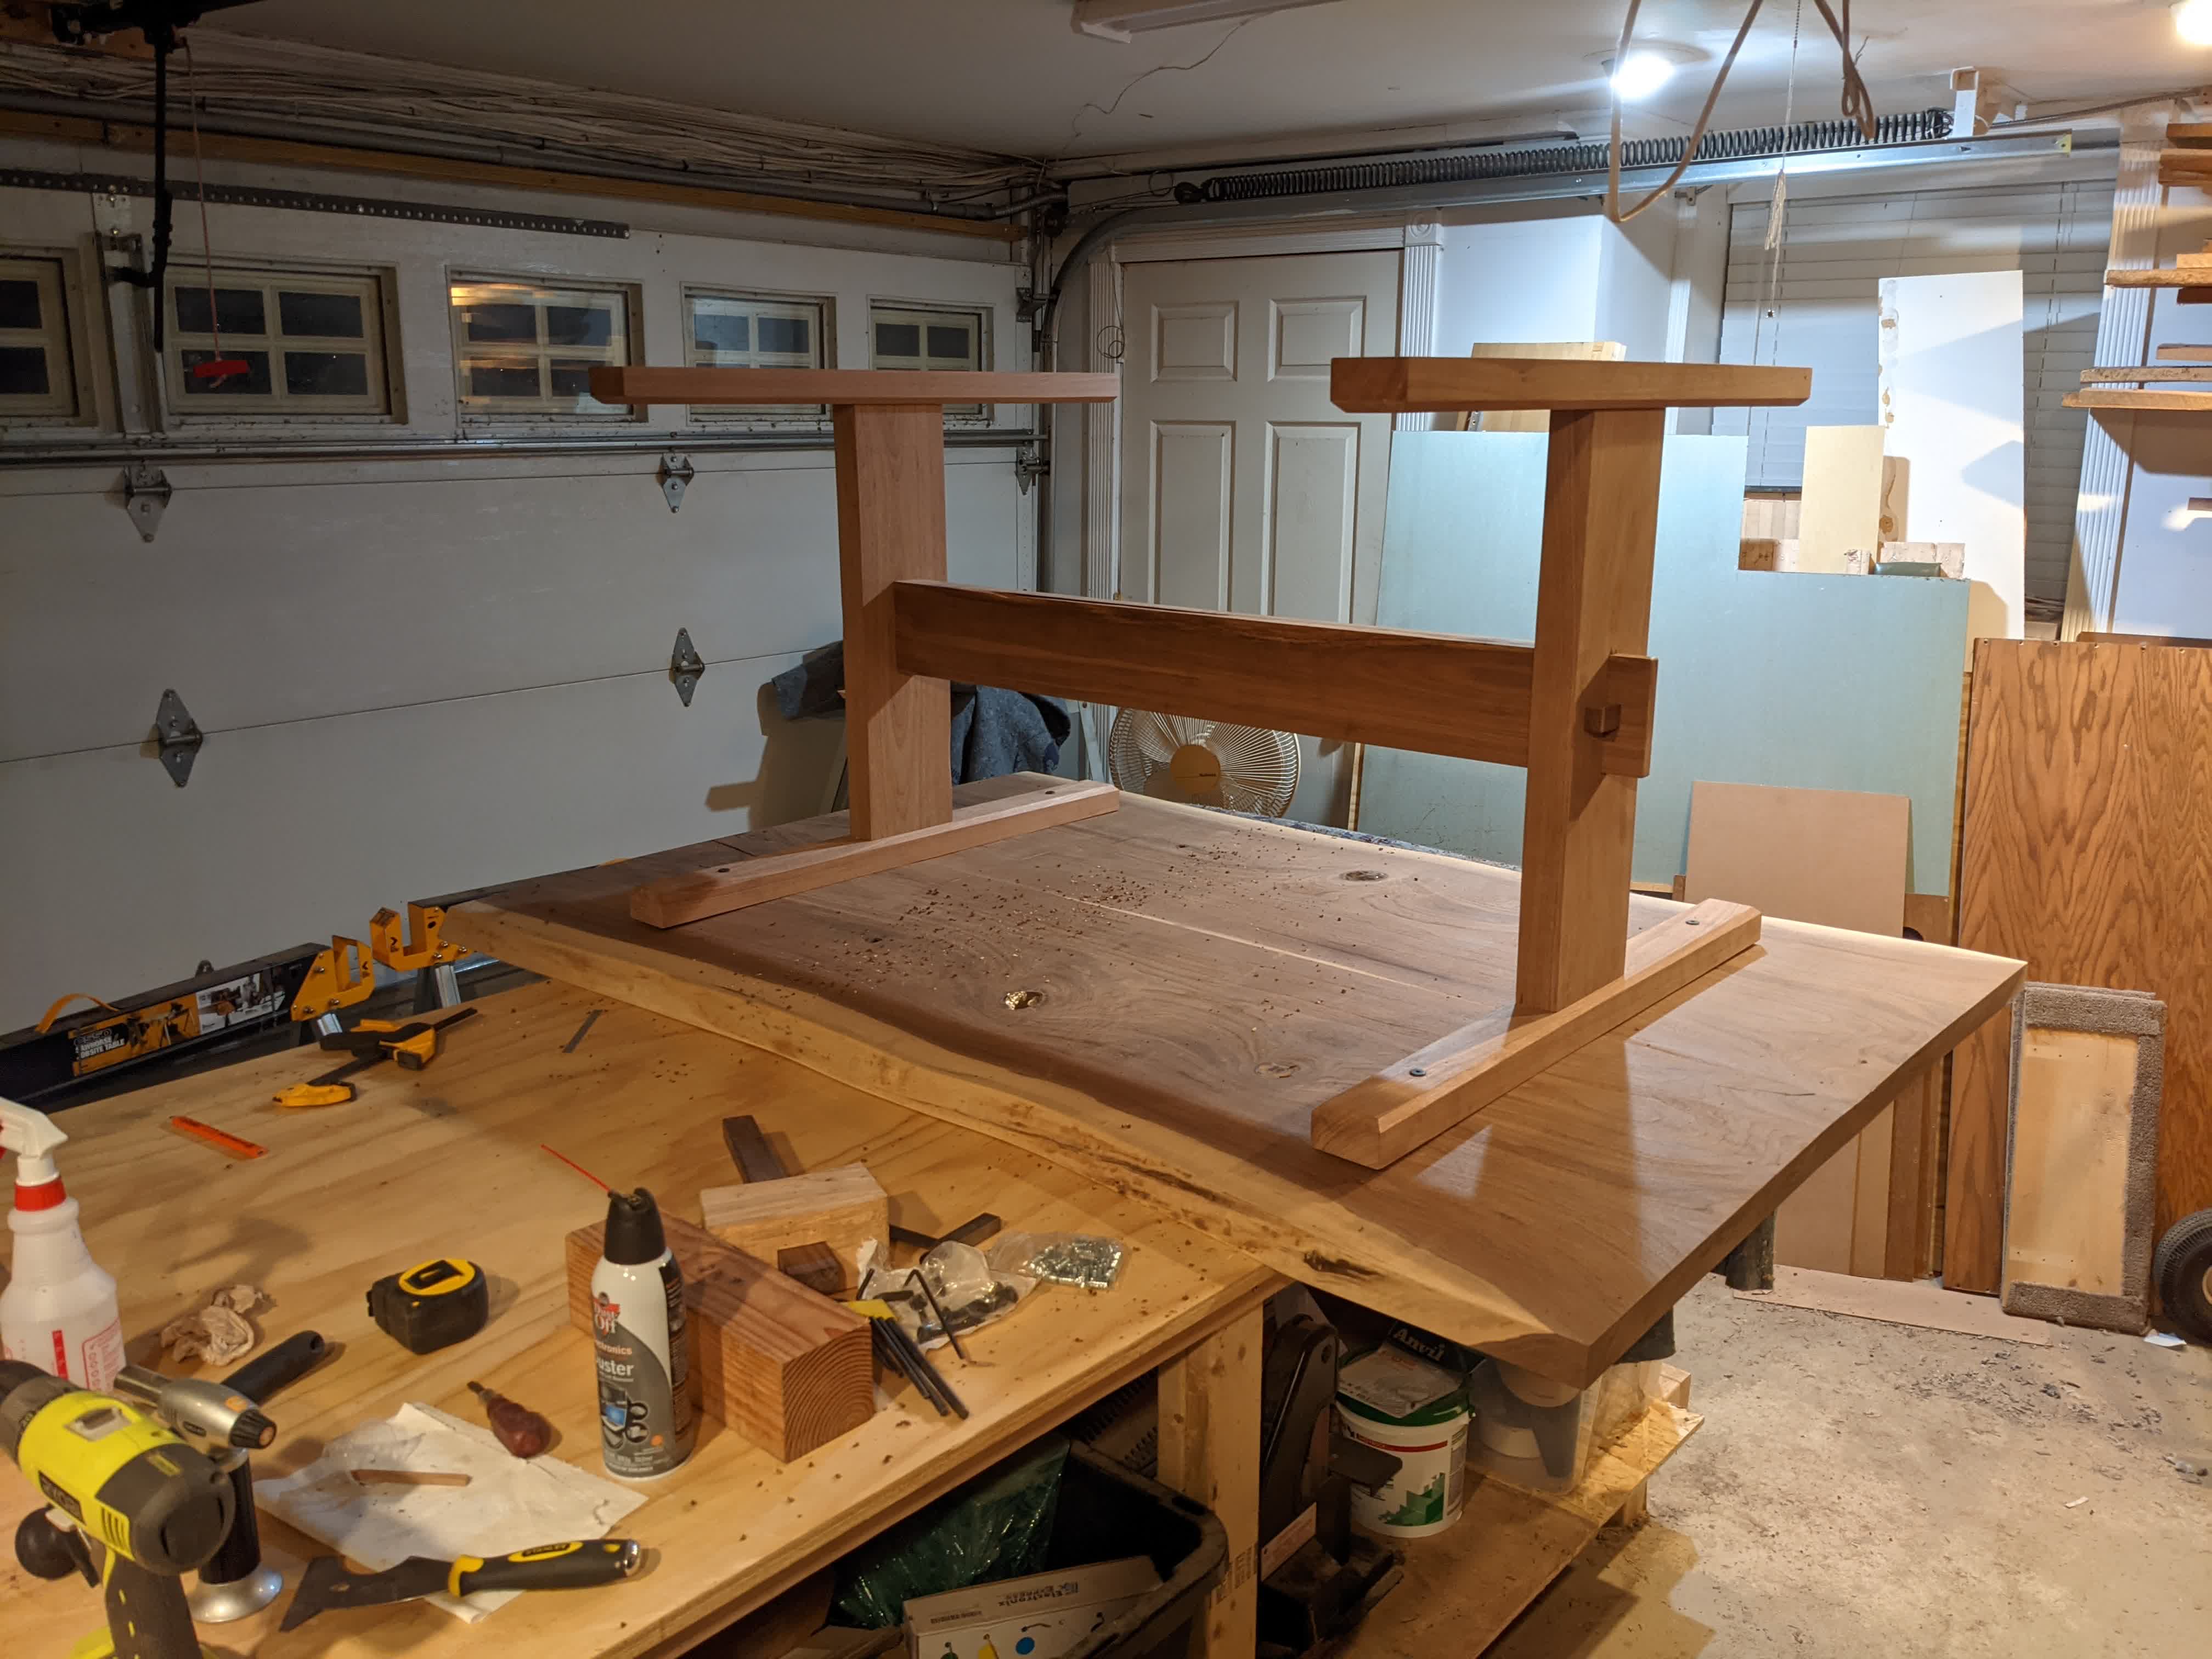
Then to start the base. Everything on the base is designed using huge mortise / tenon joints, and the stretcher in the middle will hold in place just using friction + a wedge on either end (“tusks”). That way, if (when) I need to move it, the entire base will flatten without even needing screws to come out.

 |
| 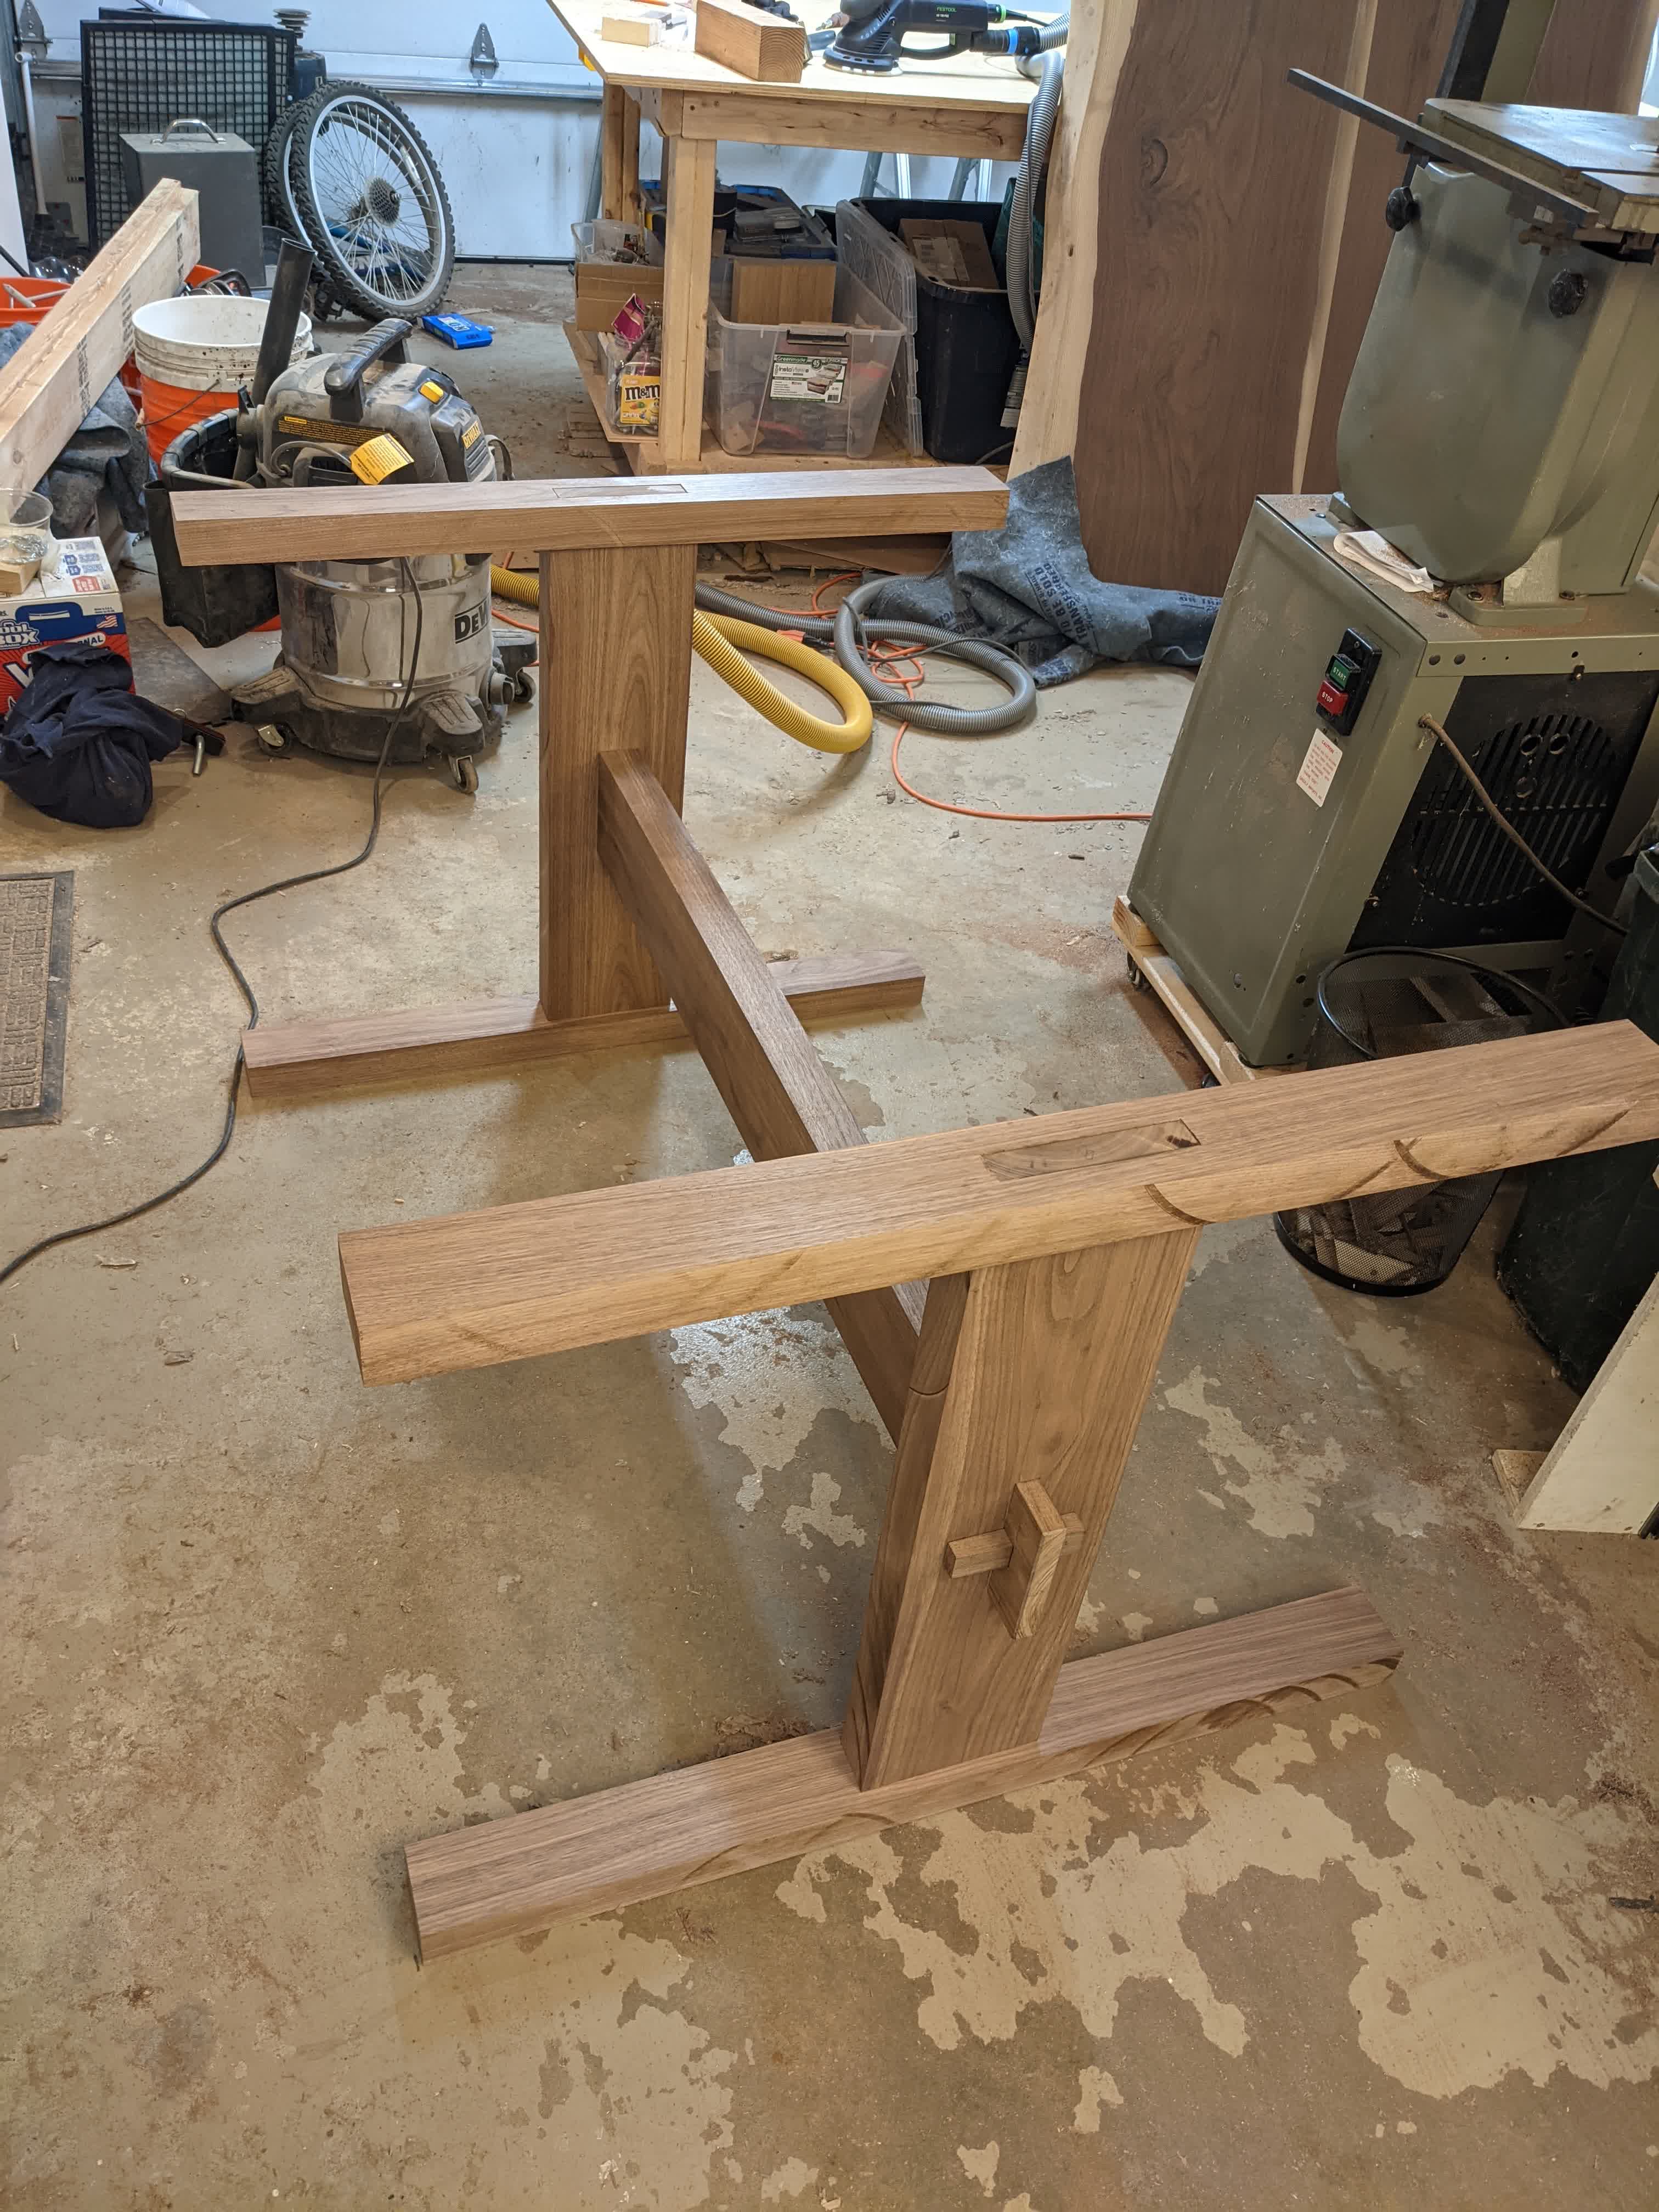
The plan is to hold the top on using machine screws + inserts. So basically drill a hole, then screw in threaded inserts which then work with machine screws.
 |
 |
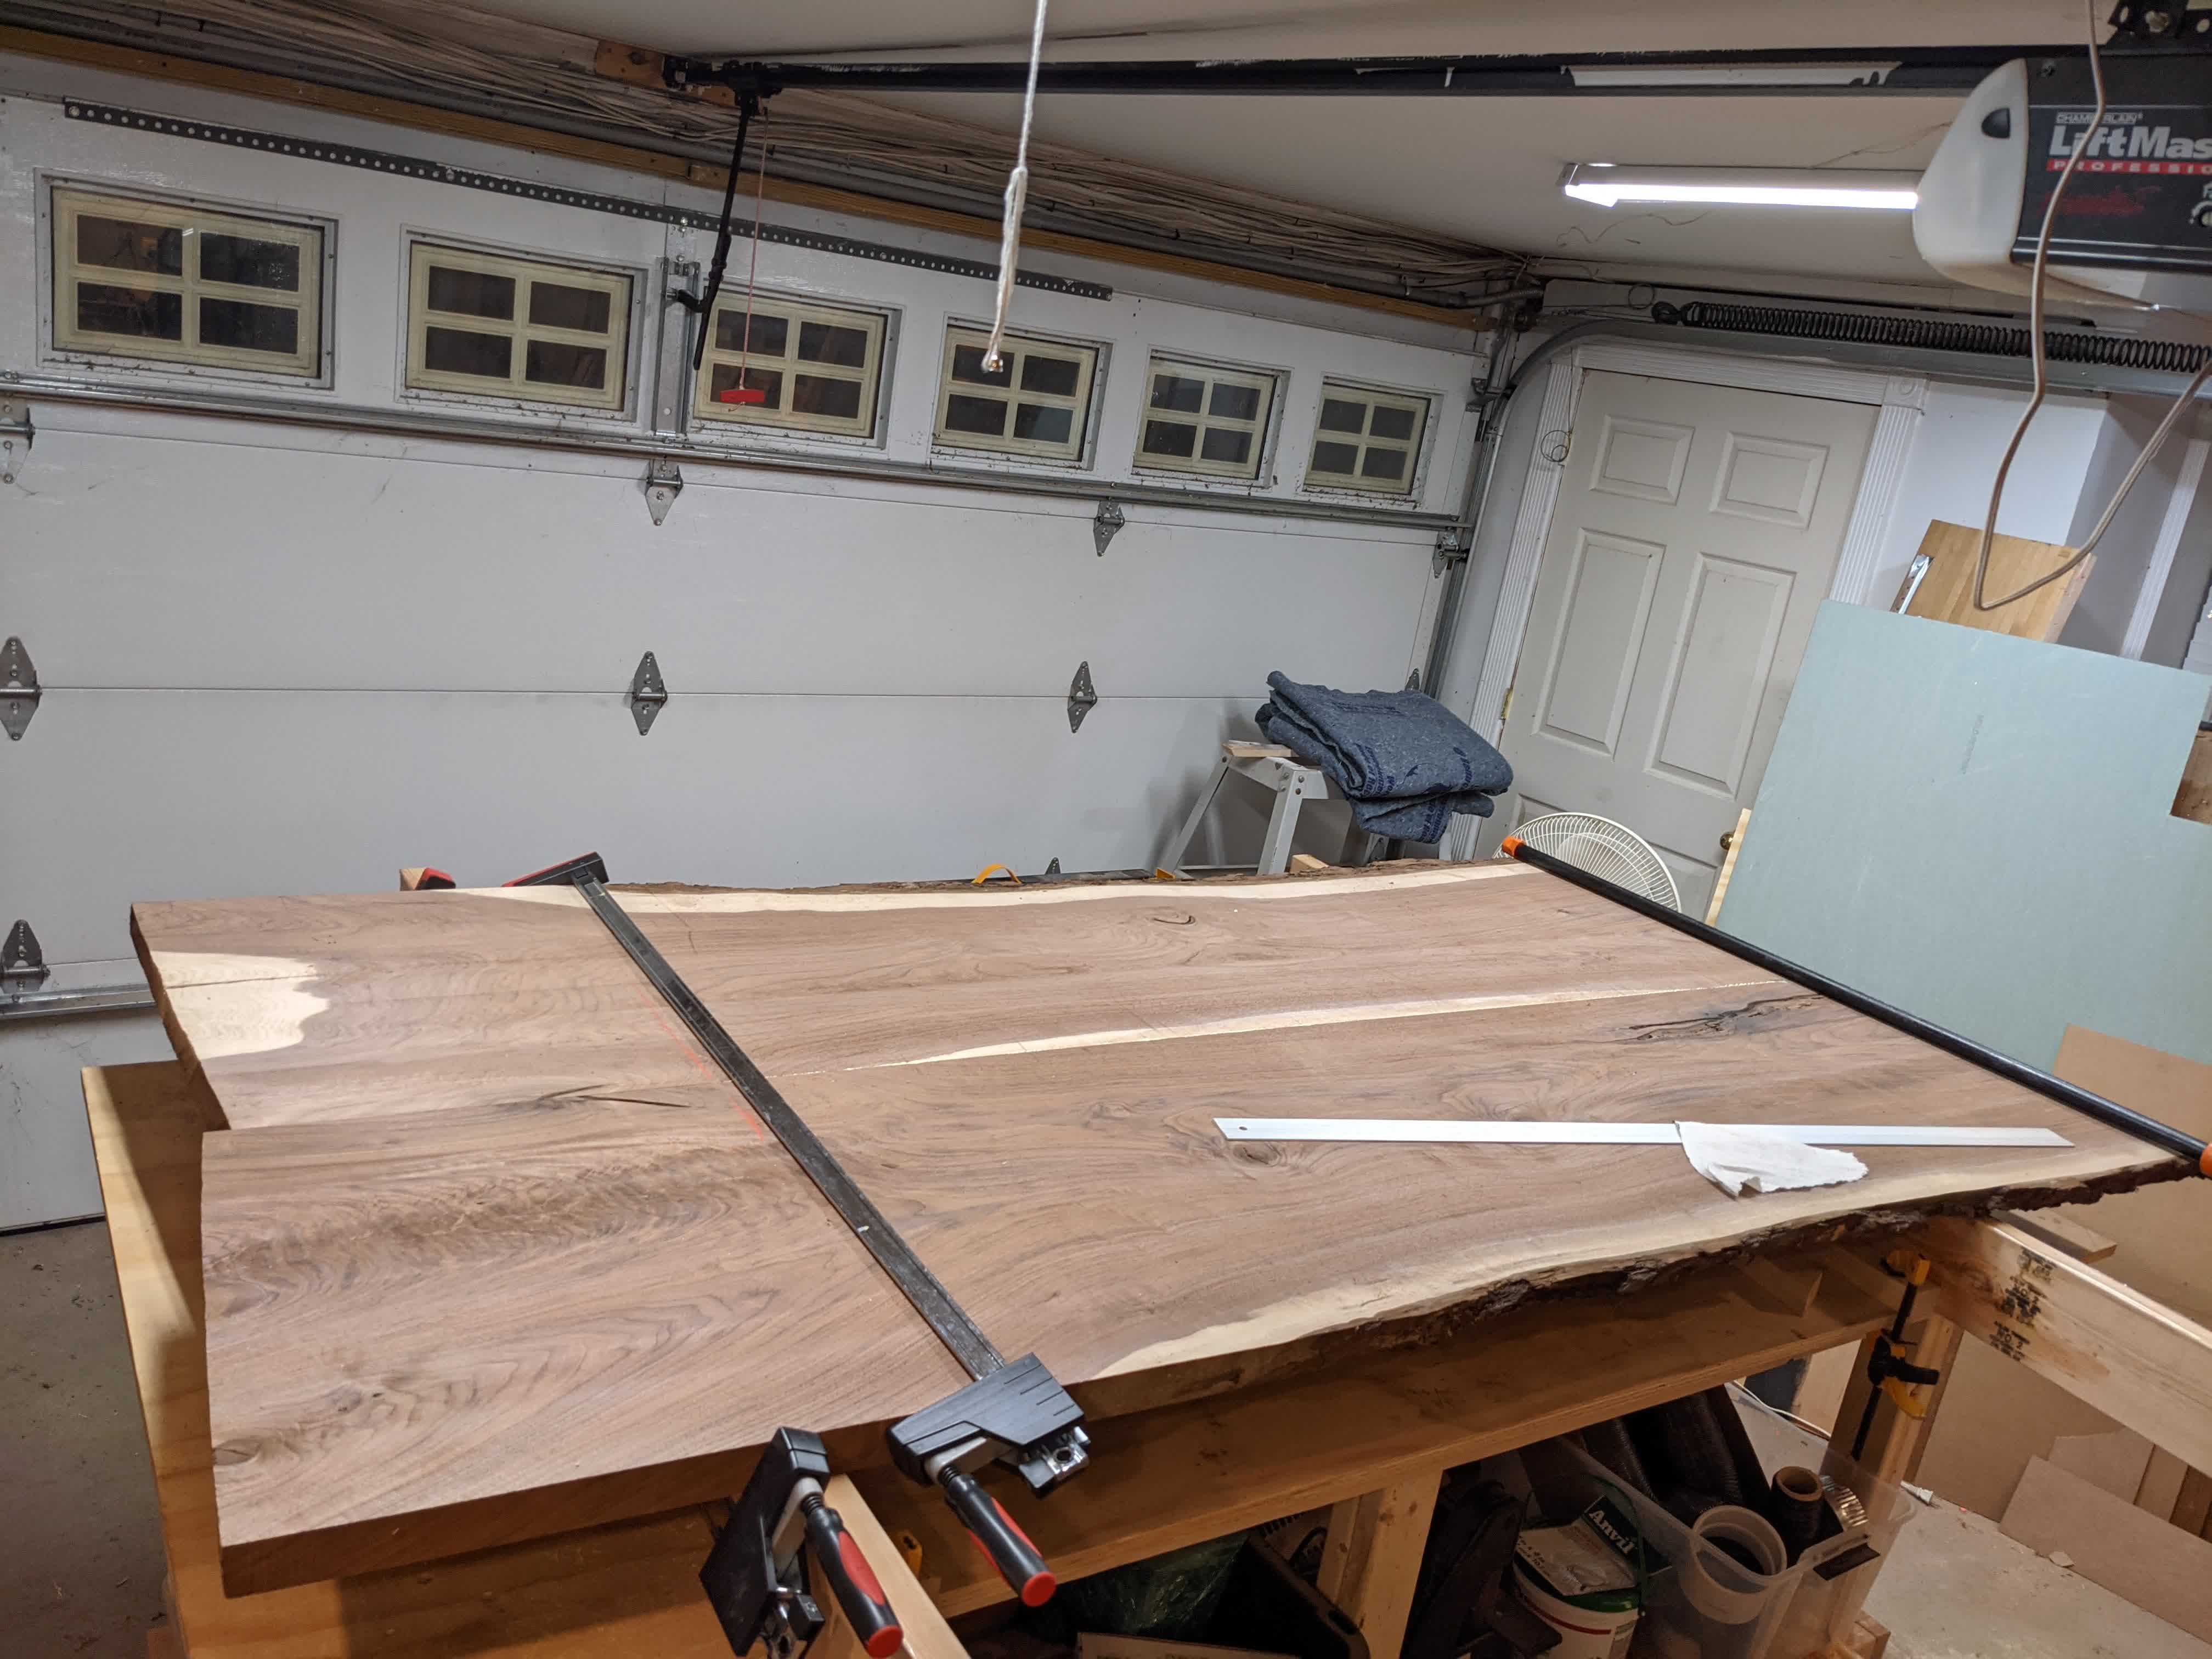
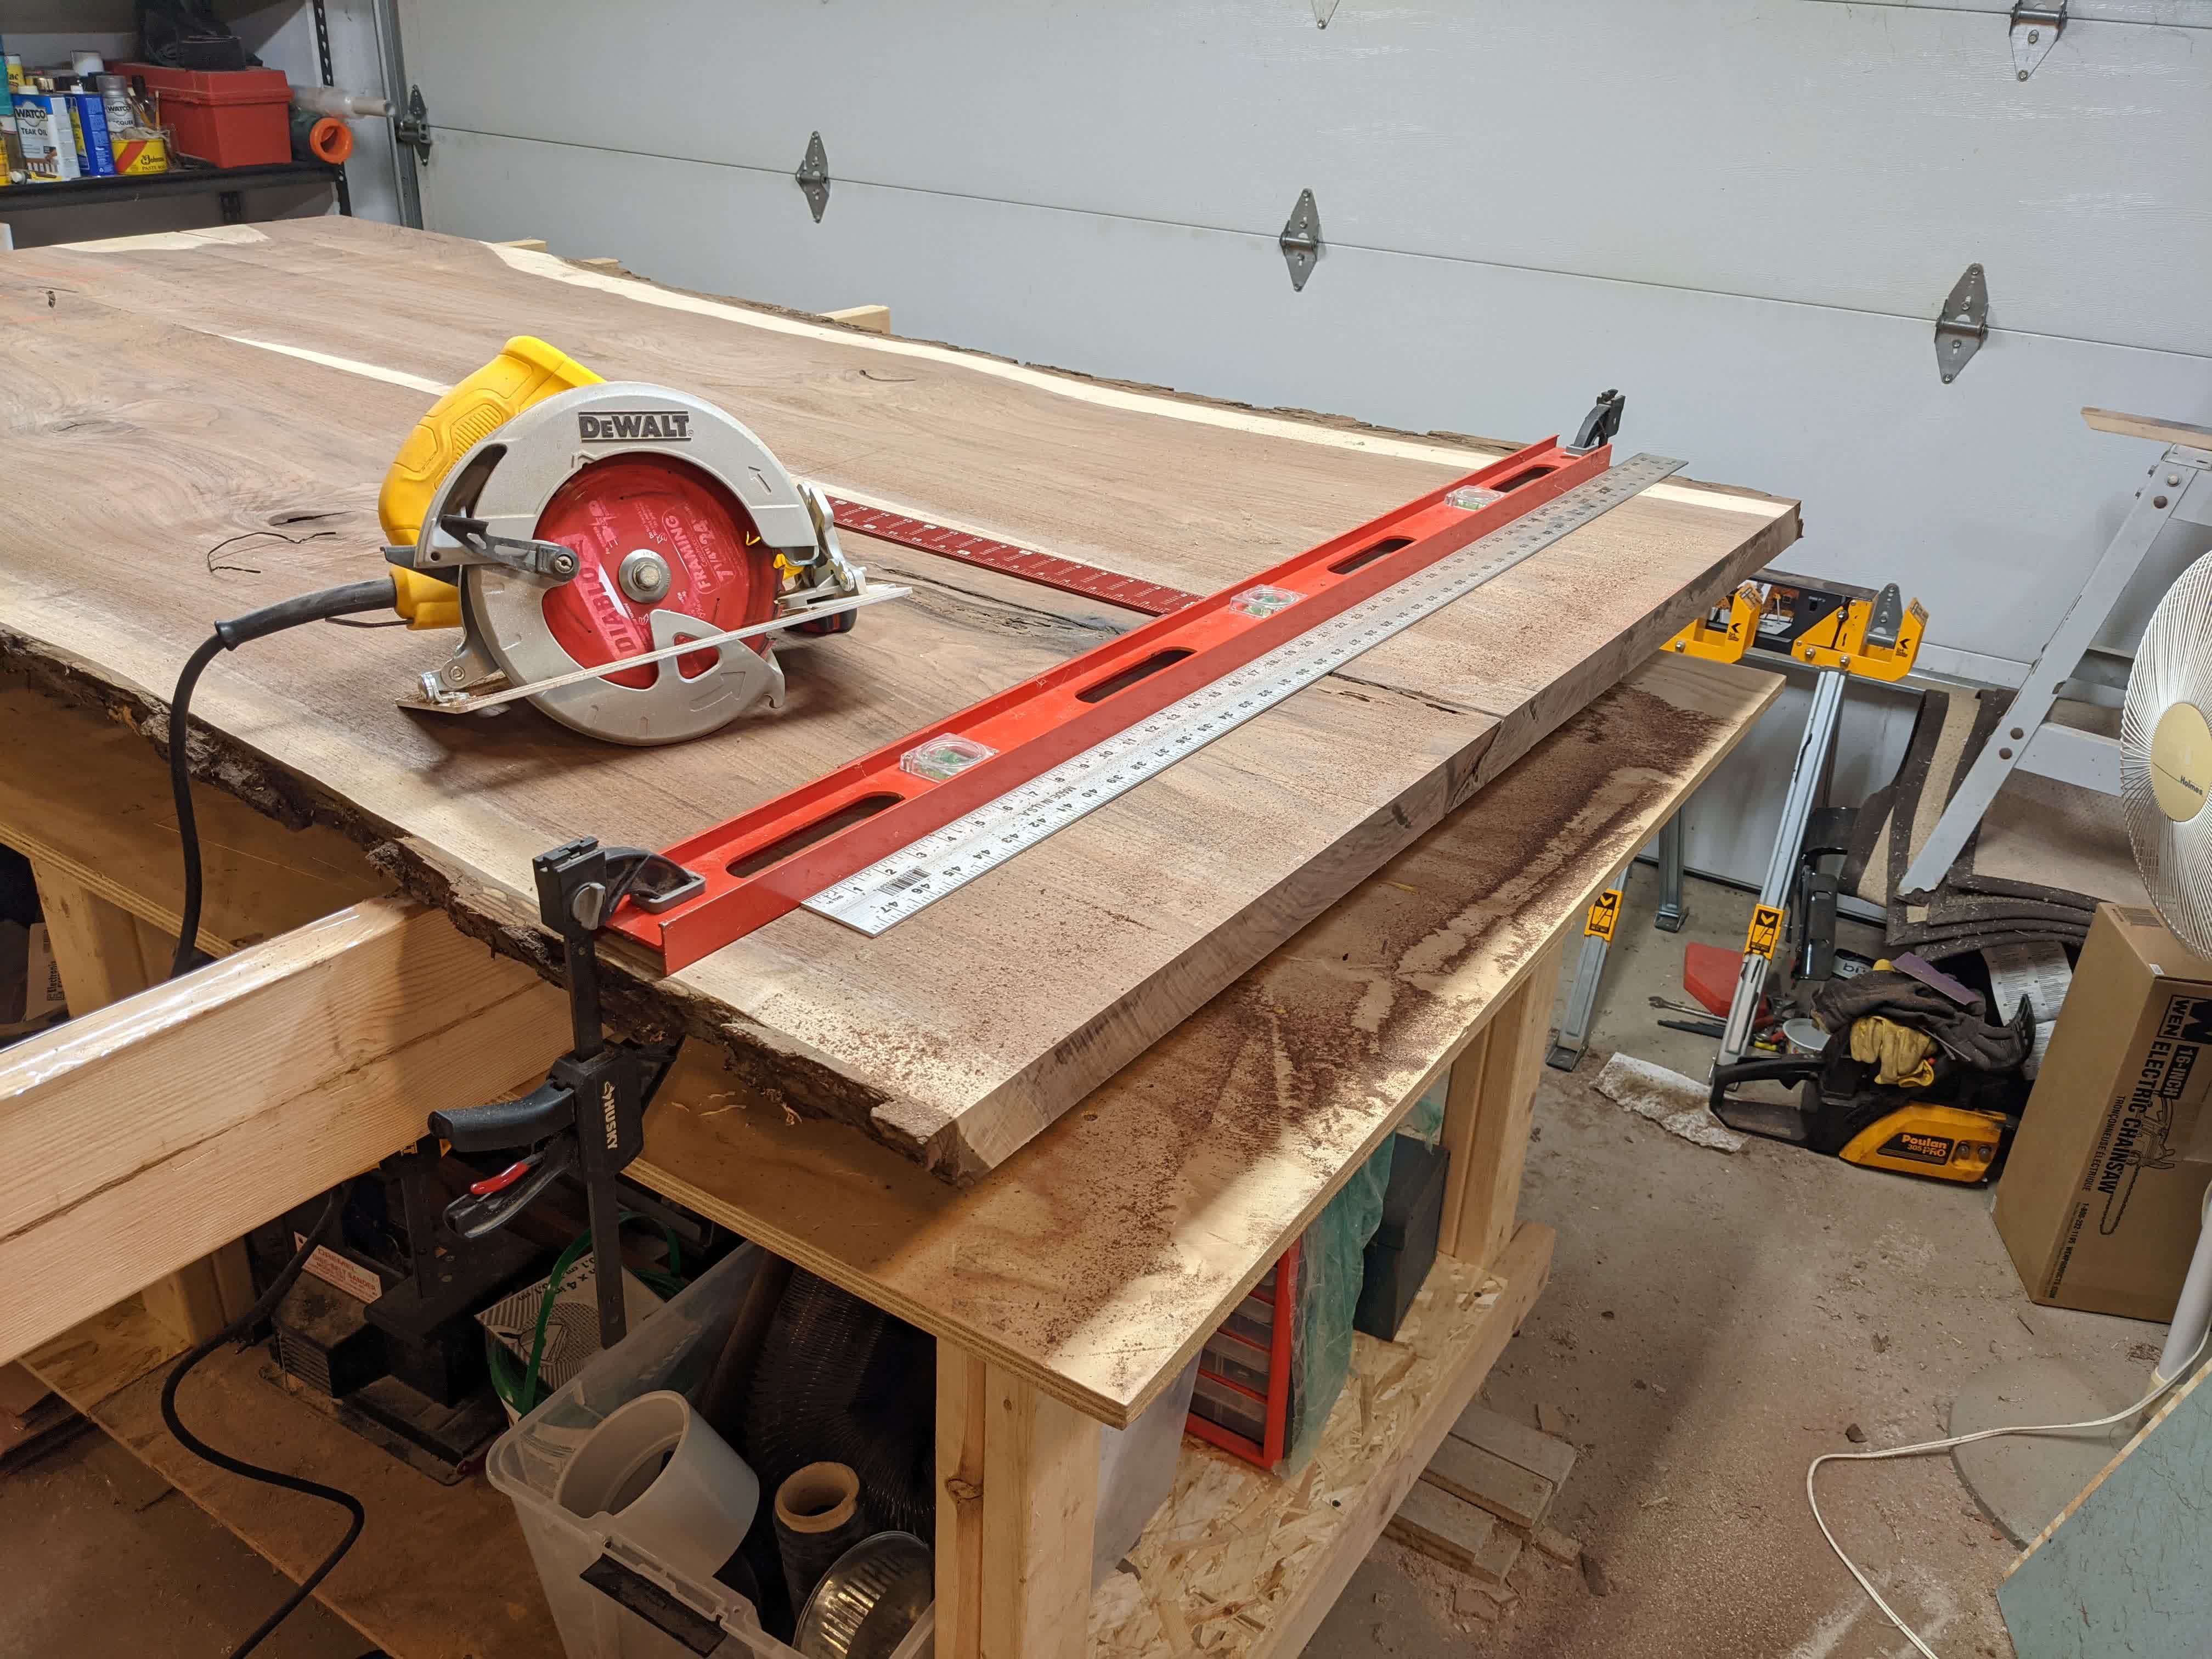
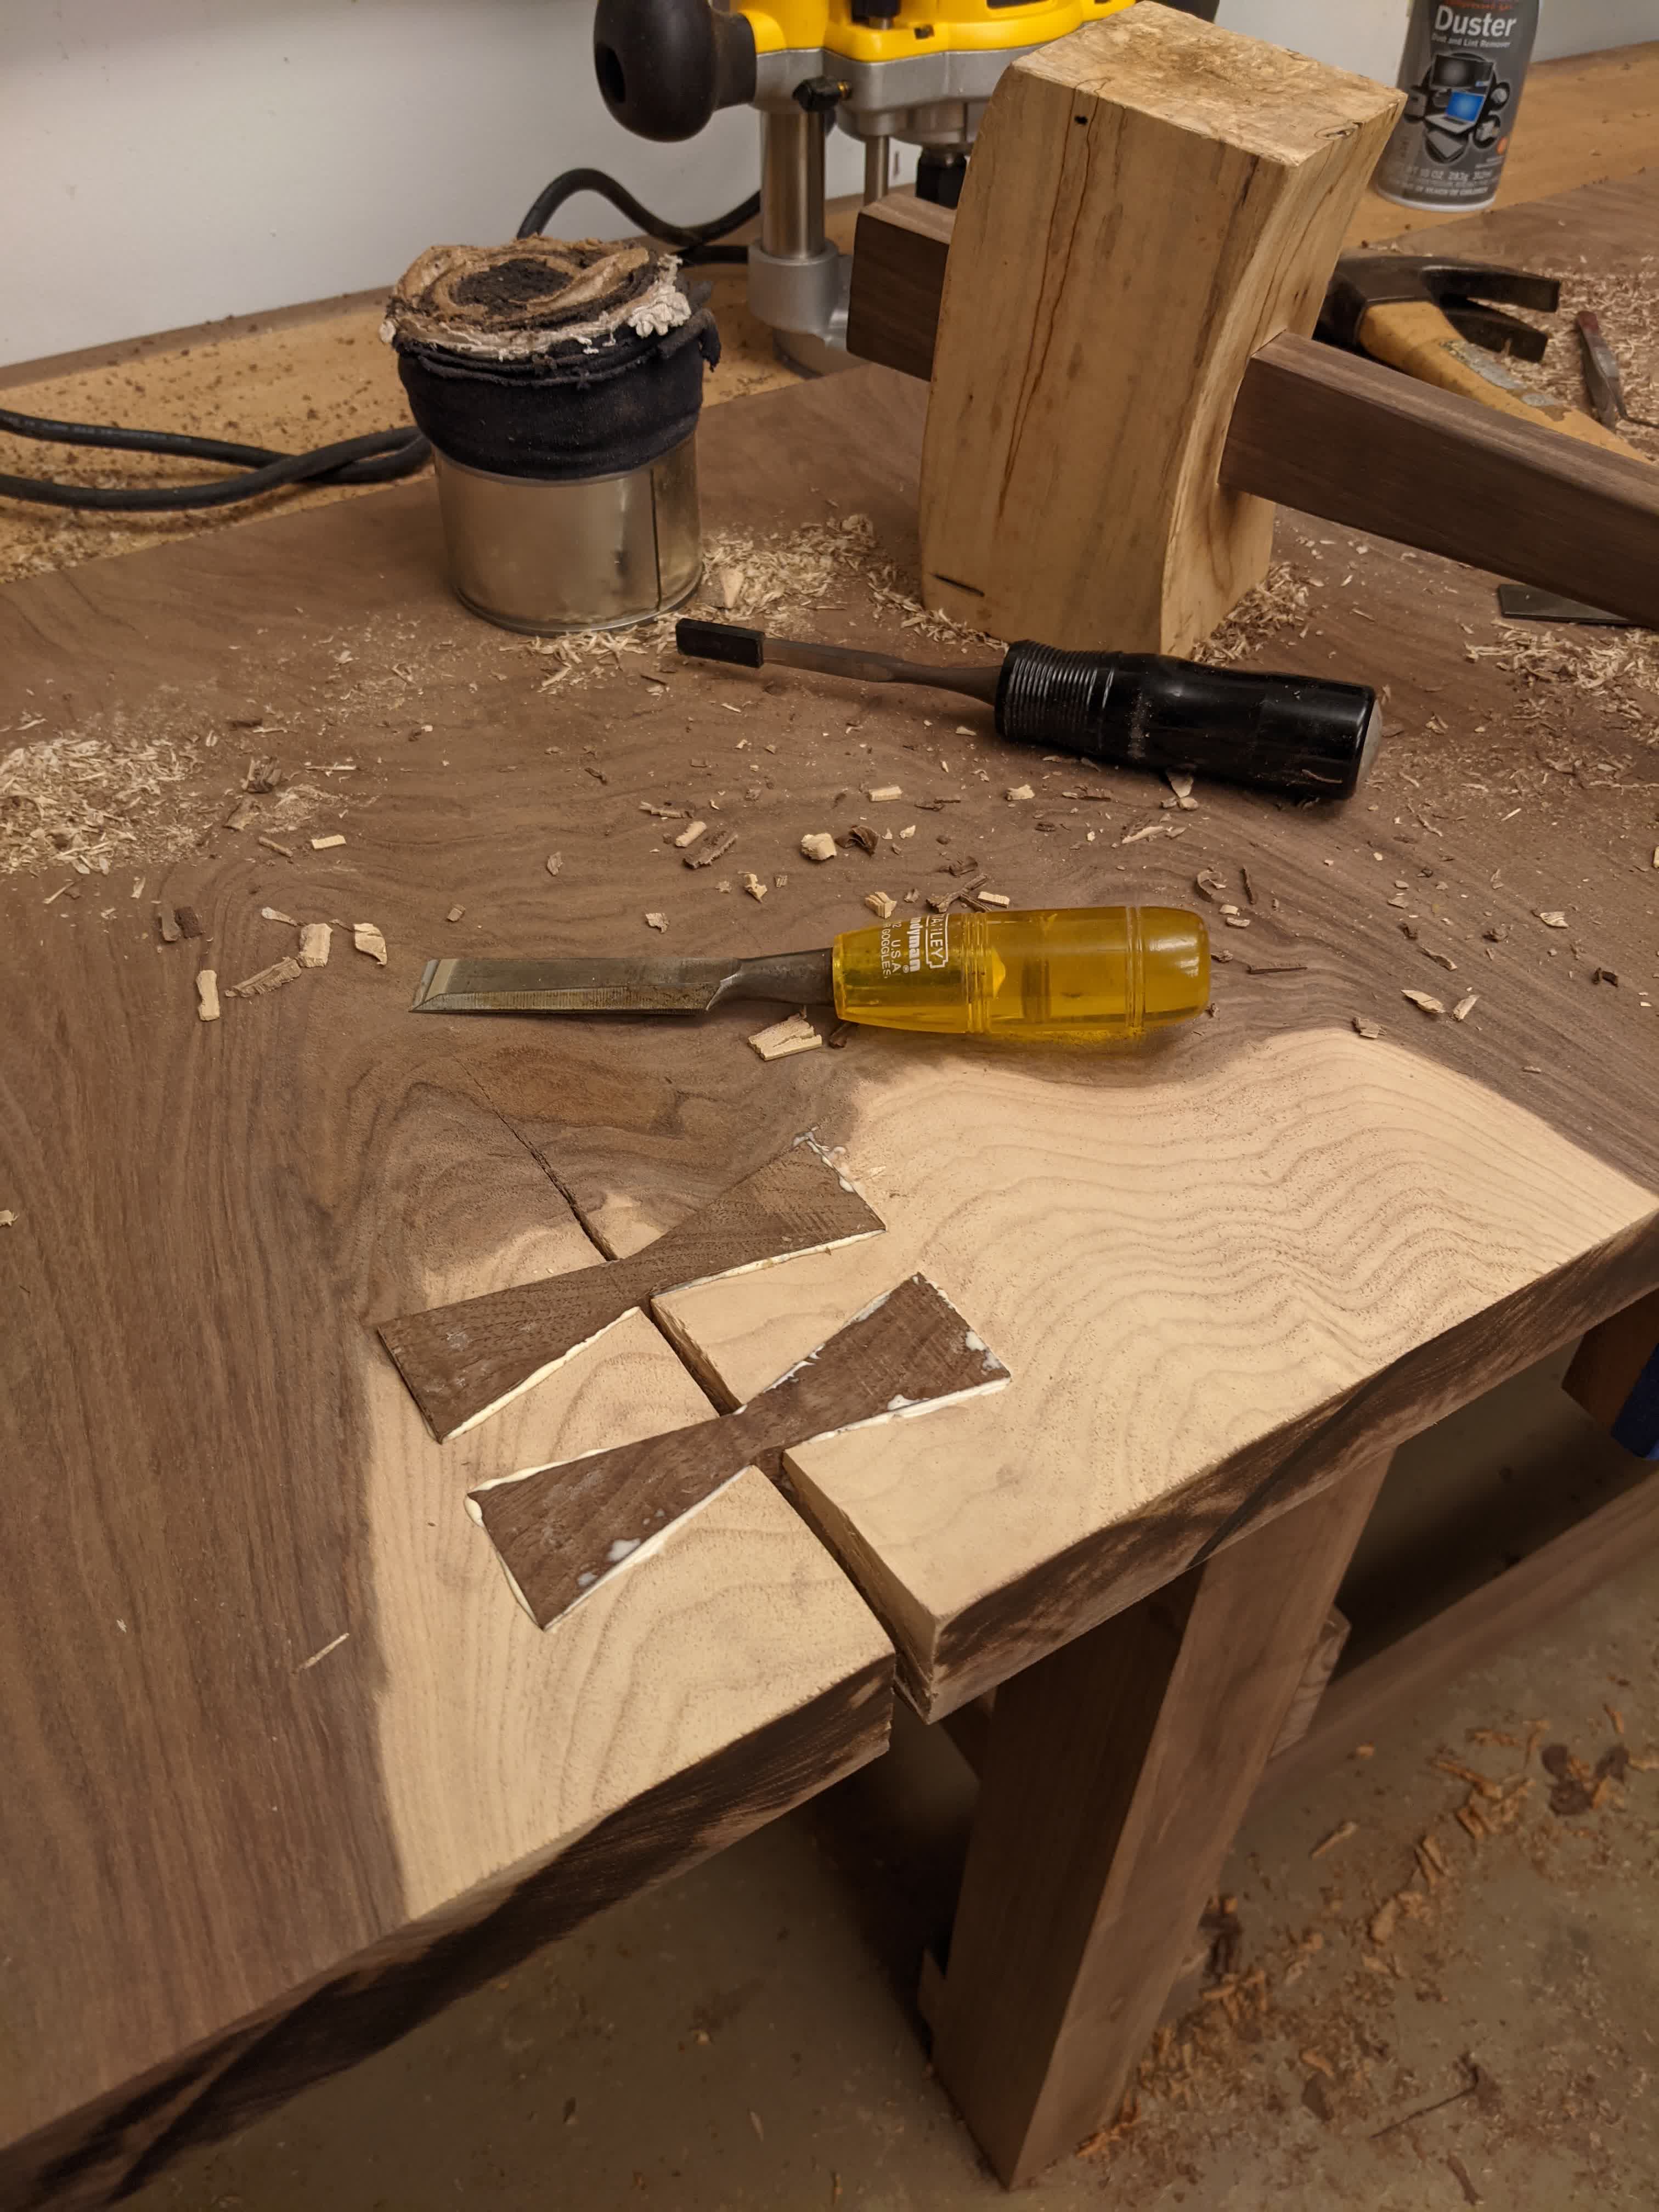
I haven’t yet finished the extension, but it has a big crack in it and needed some butterflies.
I finished it with rubio monocoat (which beyond being expensive and needing gloves was awesome and has held up great!).
And some finshed shots:
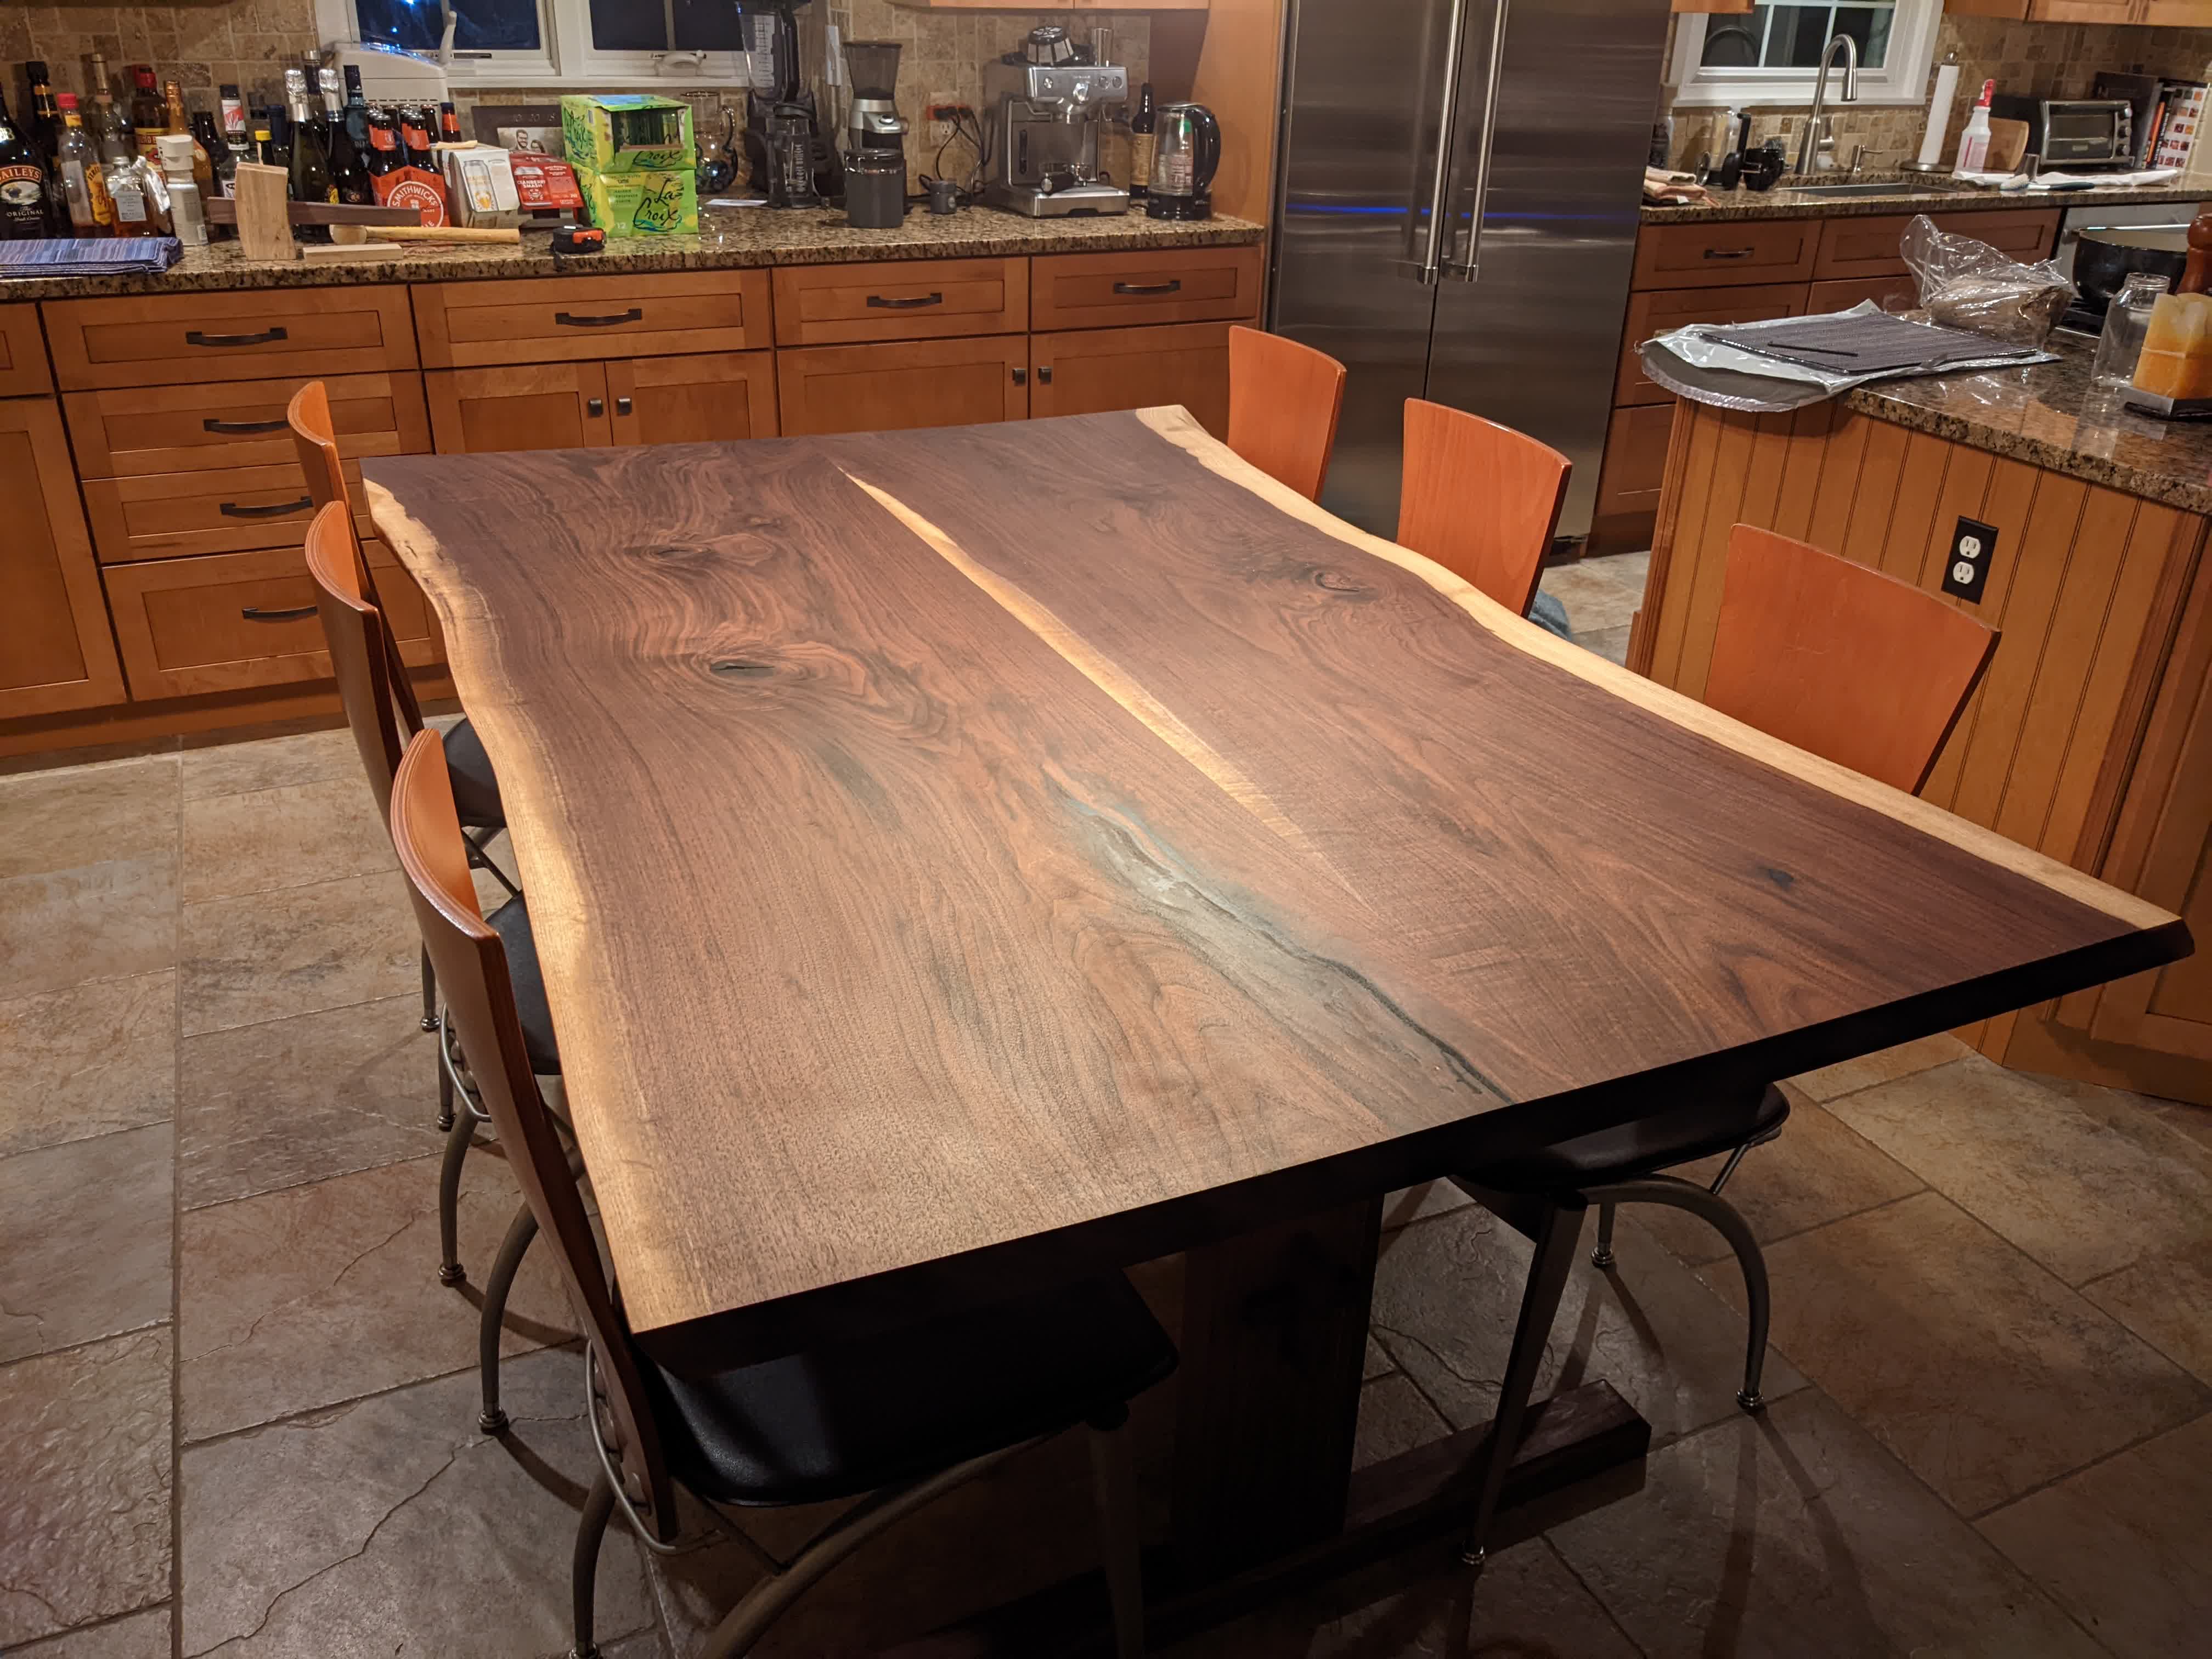
Finished
The top is about 4’ x 6’, and there’s another 1.5’ extension that’s still WIP. Without the extension it easily seats 8 (3 on each long side + 1 on each end). The extension should add another 2 (1 on each side).