Maple Kitchen Island
 |
 |
In 2021 a nearby bowling alley was being demolished and they gave away sections of old bolwing lanes. They were maple, so I took a few without any projects in mind. Fast foward to 2023 and they’ve been in my garage for a while and are quite a pain to move around, so I asked some friends if they wanted anything made from it. They wanted a kitchen island, so off to the races I went.
 |
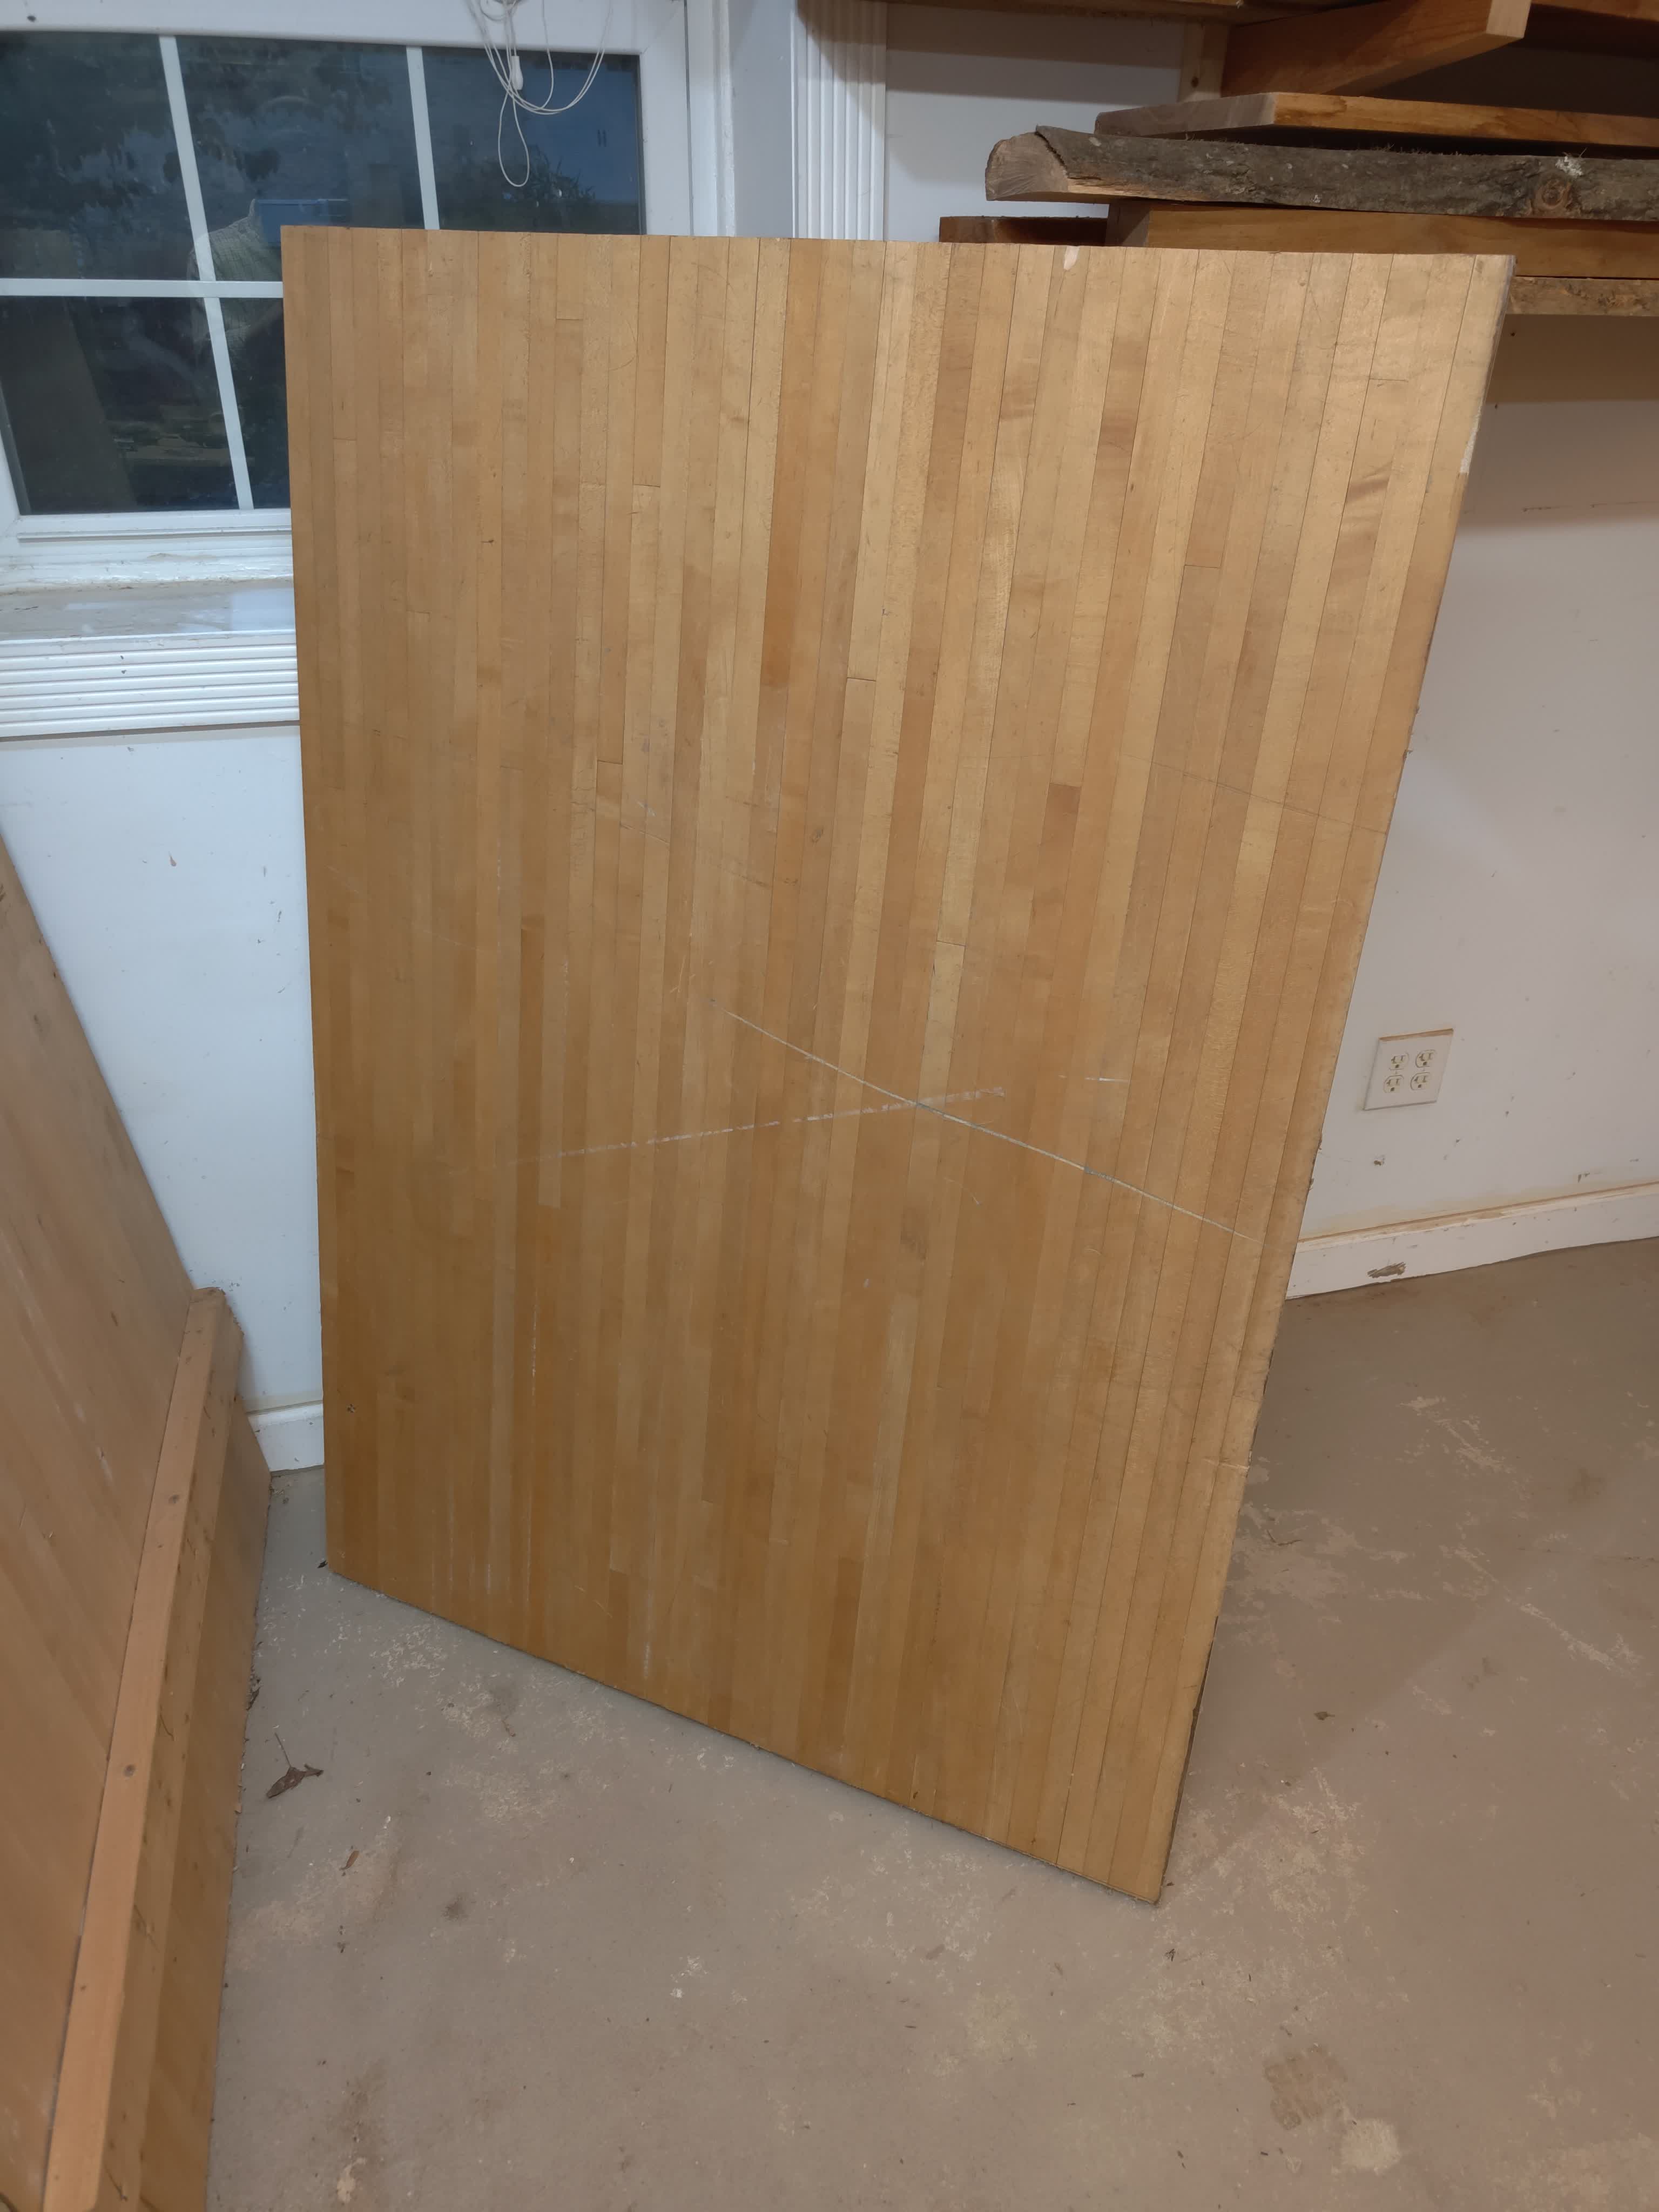 |
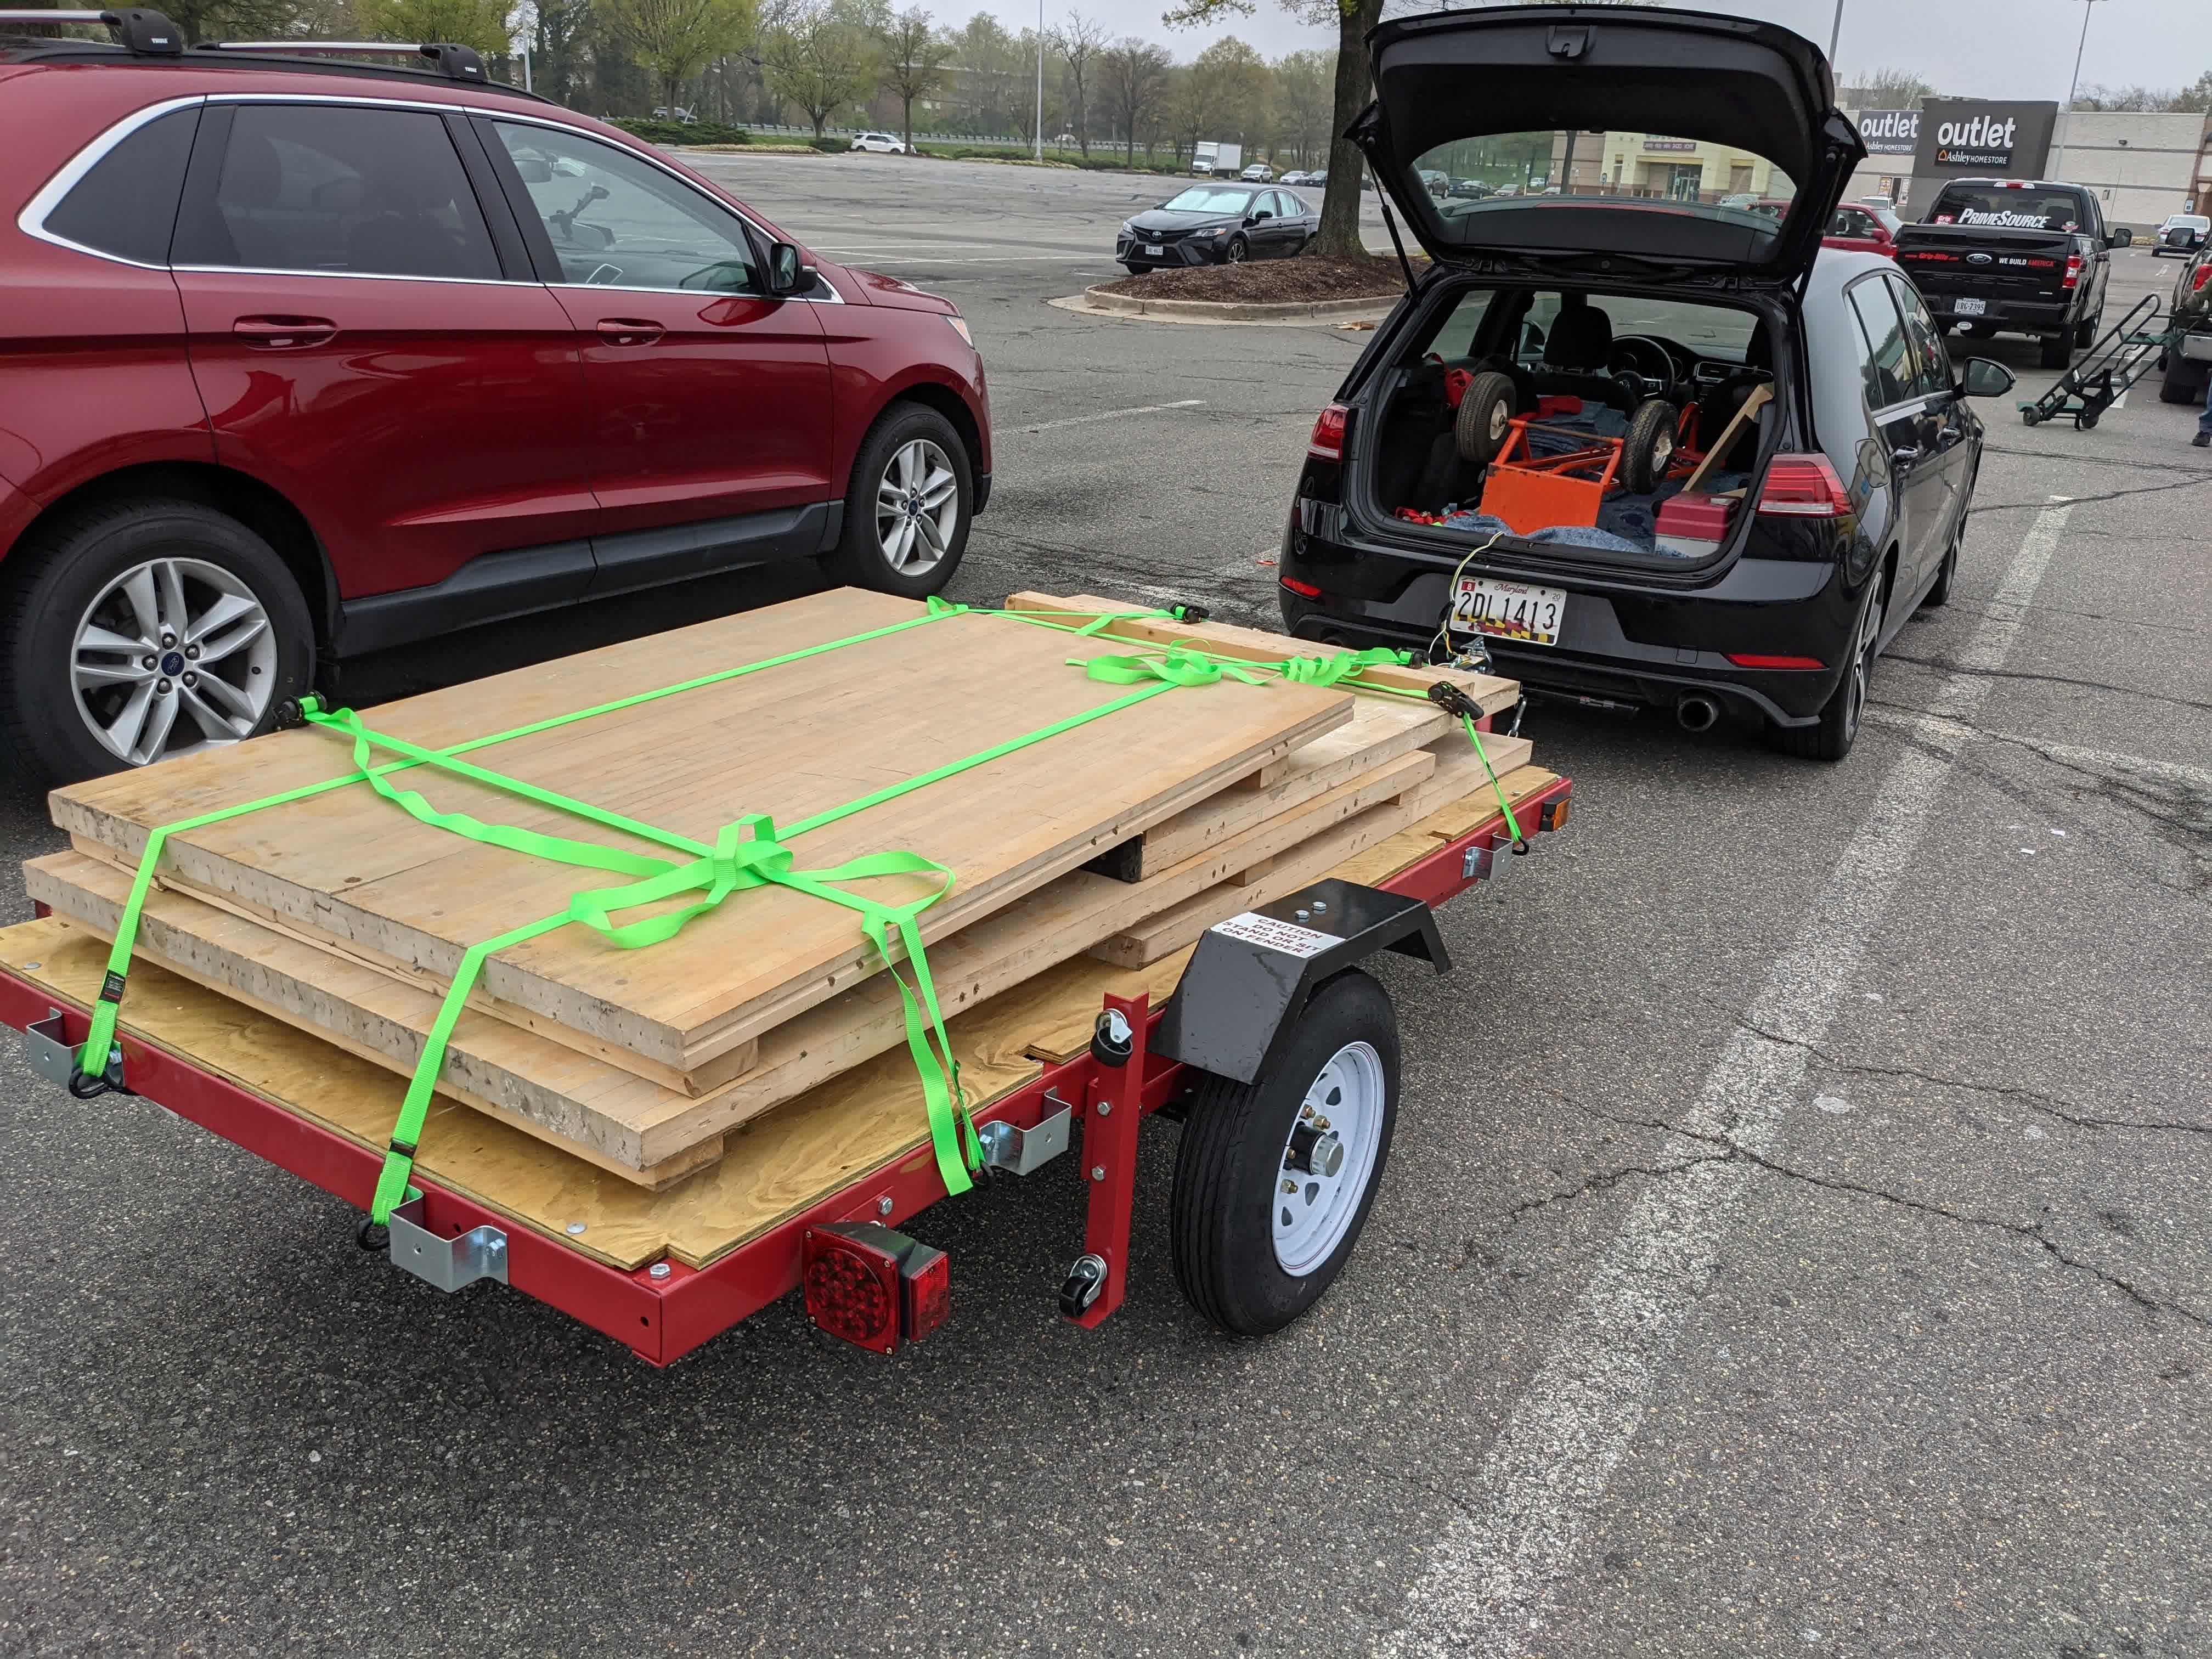
Alley loaded on a trailed behind my then car, a GTI clearly fit for hauling. Then then what each section looked like when I started
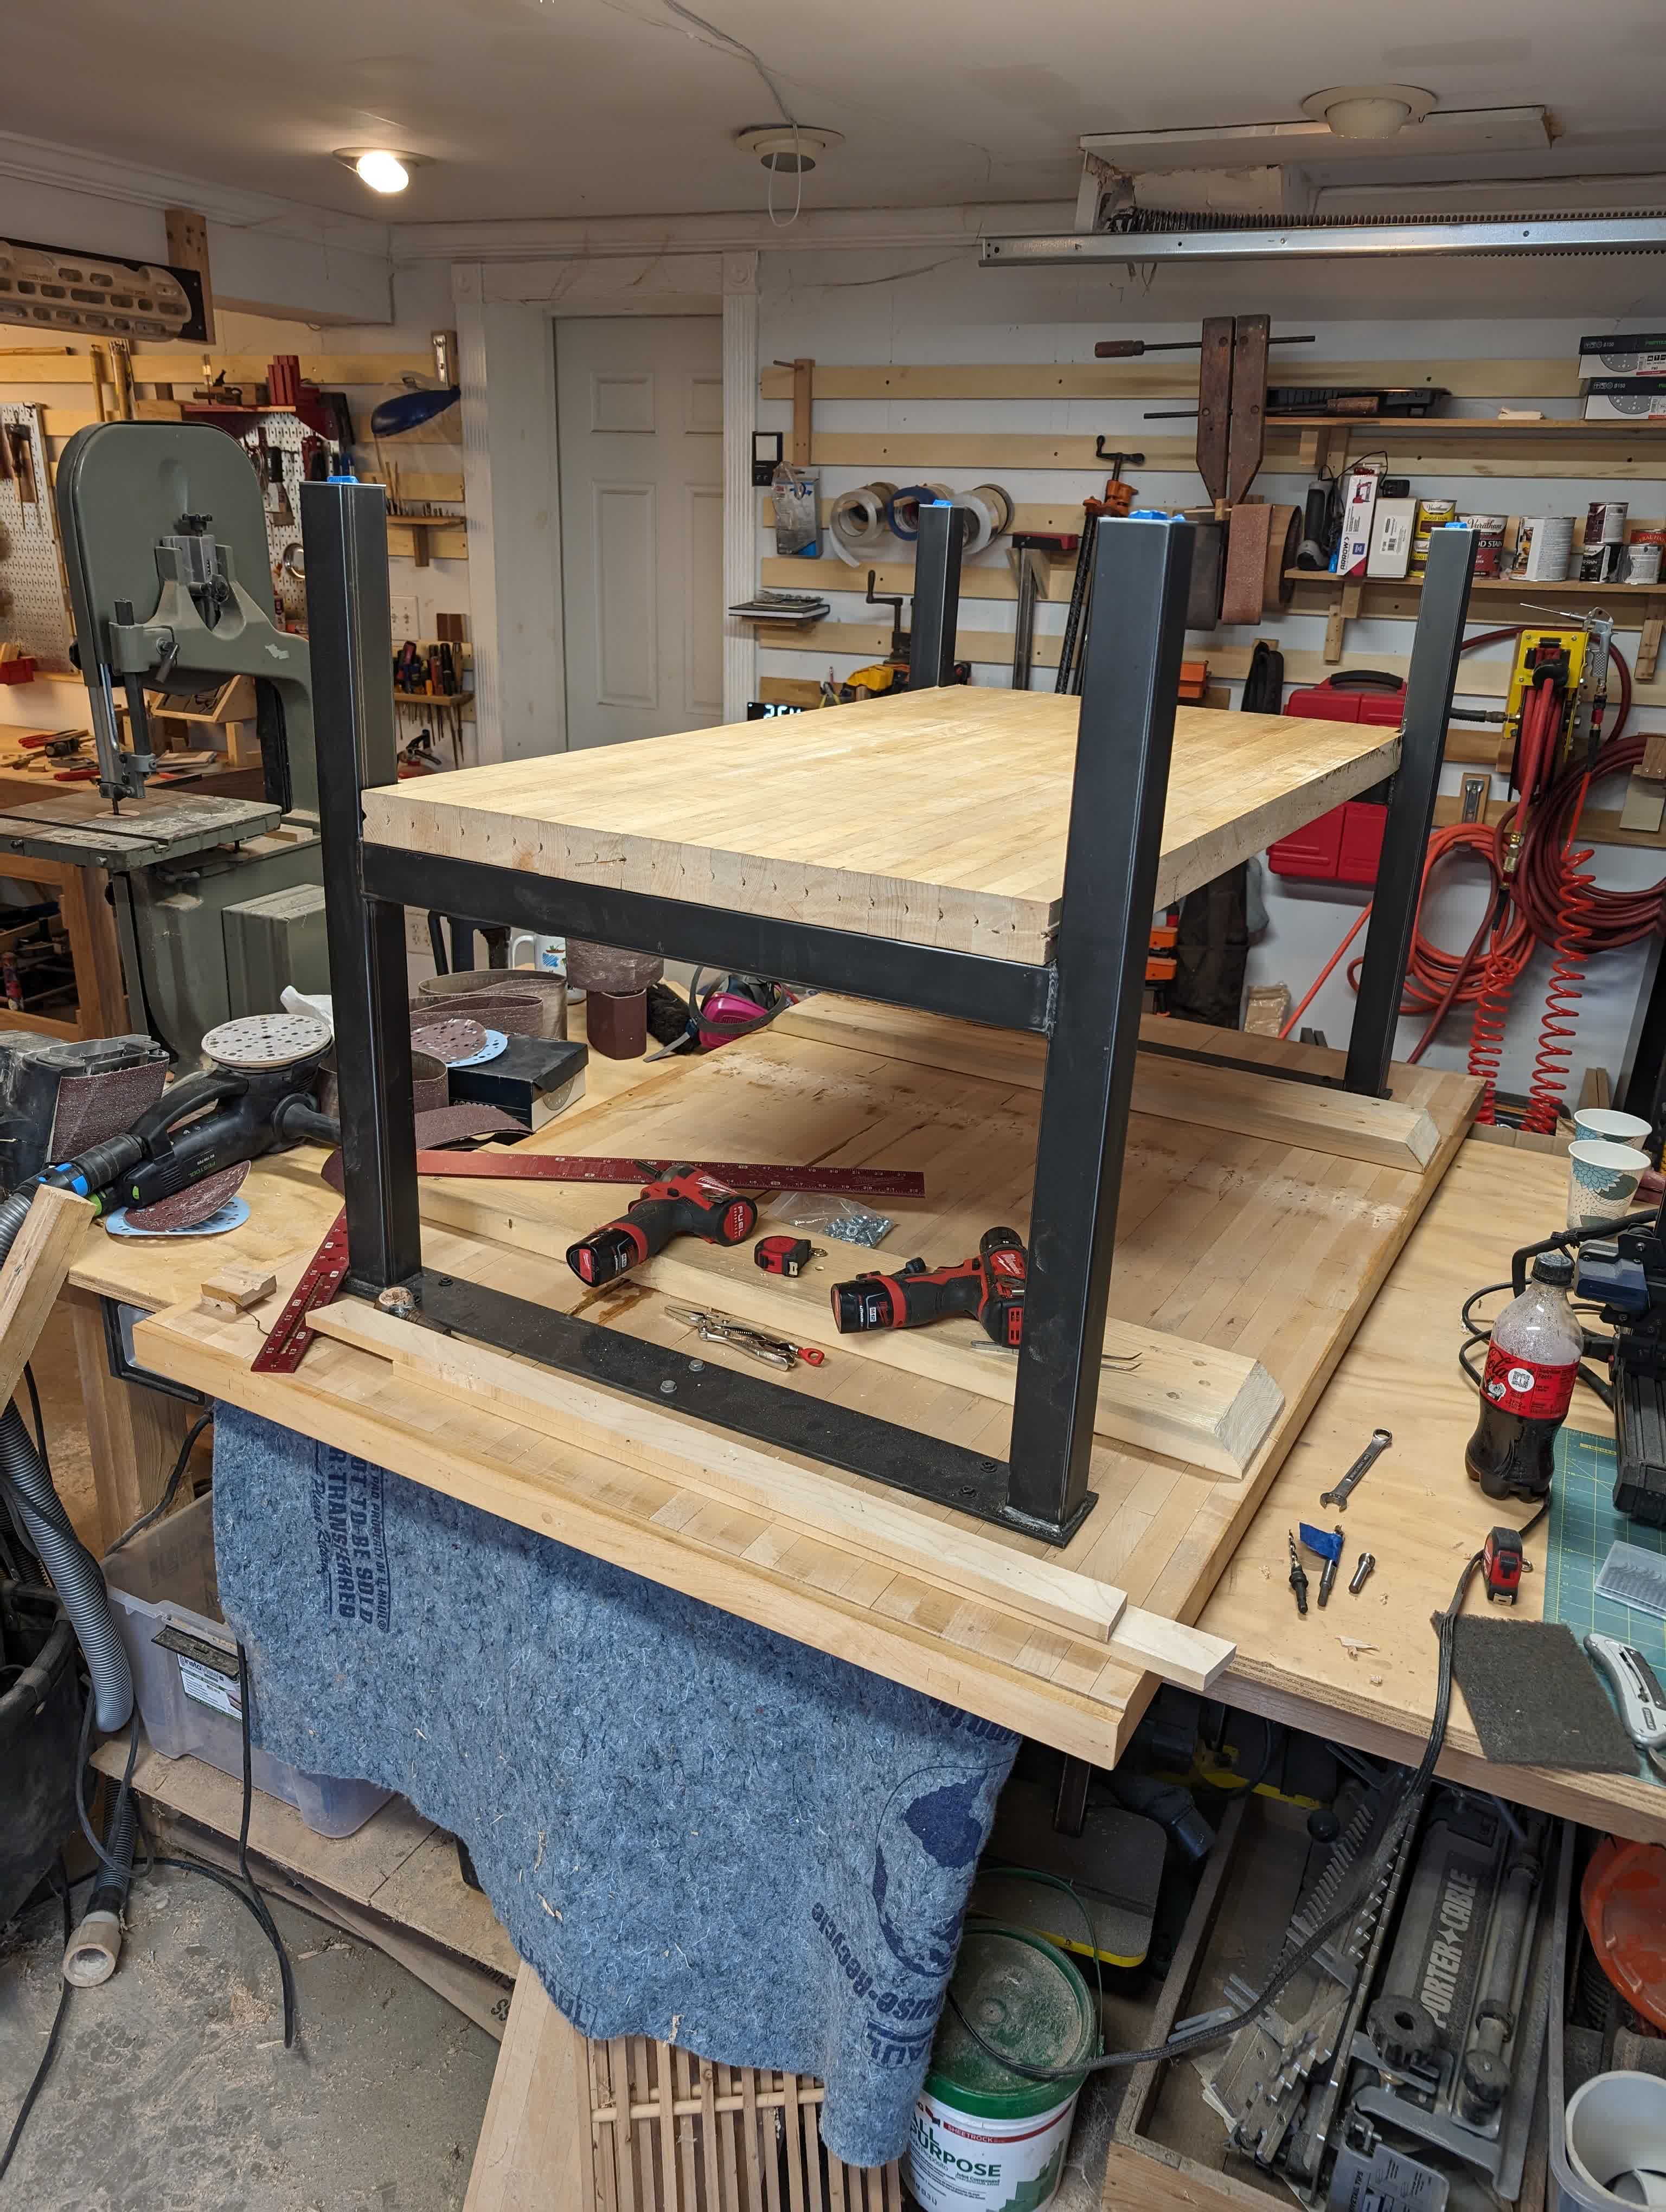
I got a base on etsy made of square tubing, delivered to my house. It was just raw metal. But it looked really good so I just put a coat of clear laquer on it to prevent rust.
 |
 |
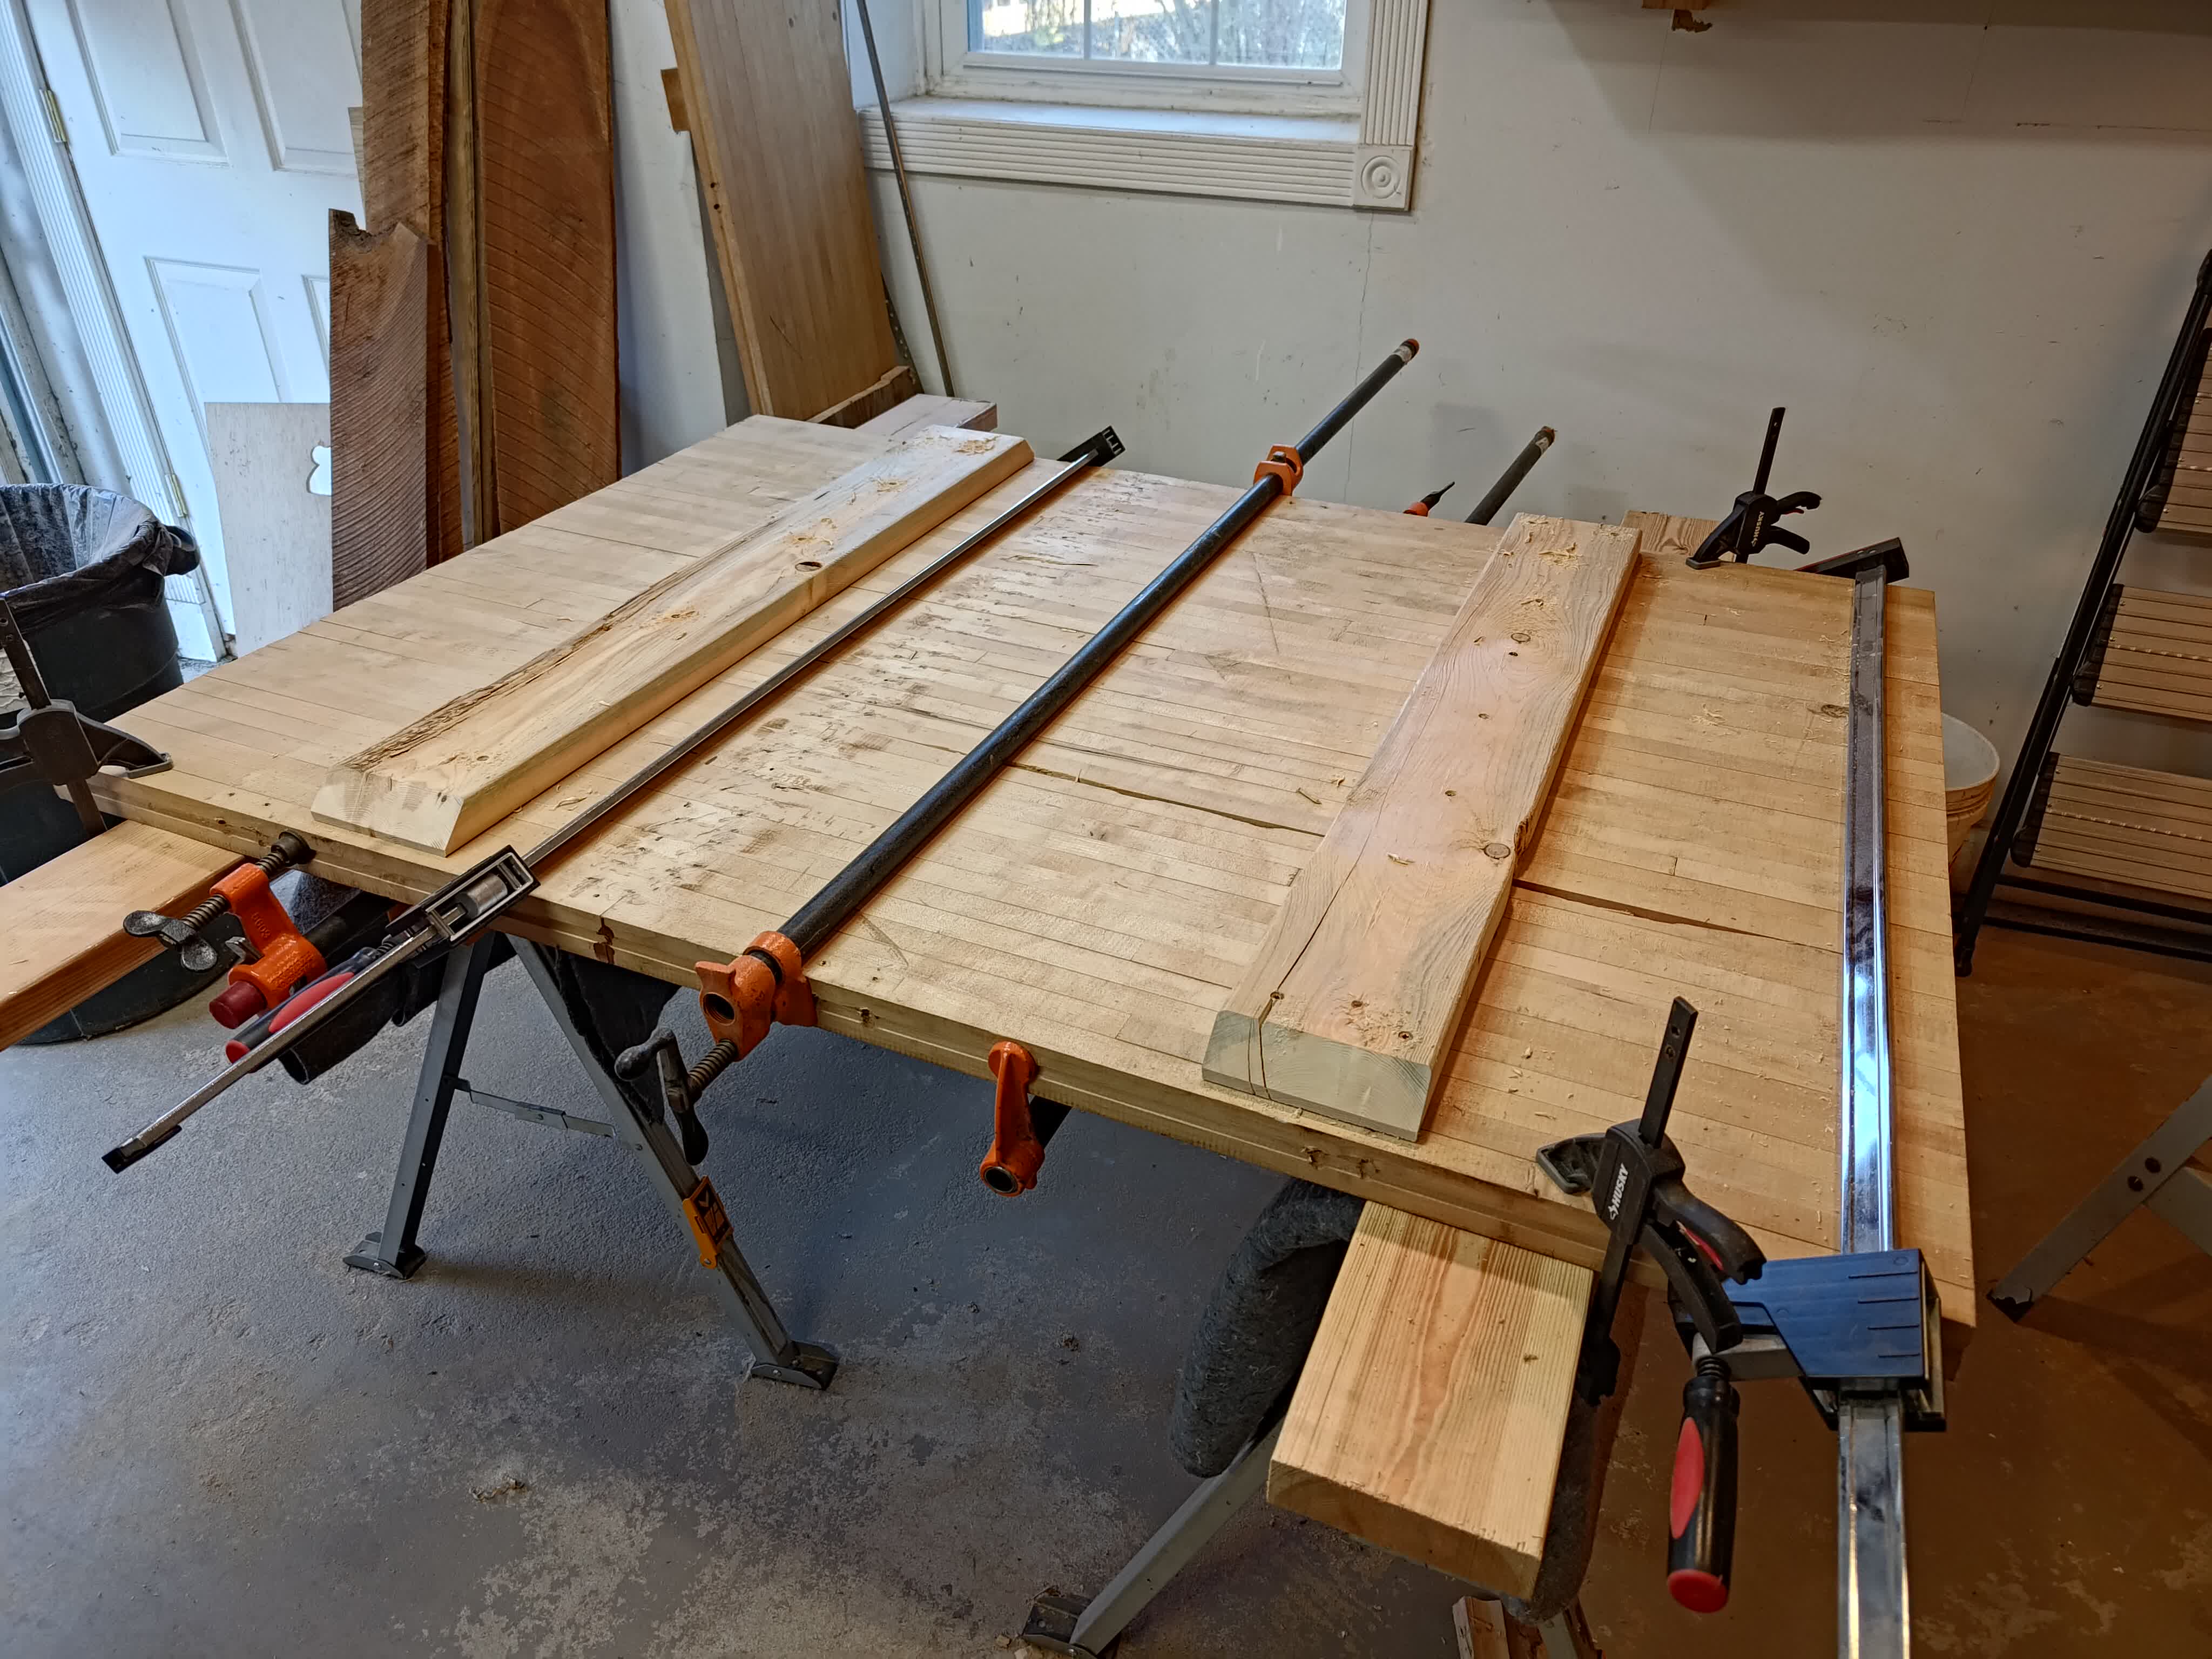
Part of why I haven’t used these lanes is because the material is very dfficult to work with. The strips of maple are stapled together, with enormous 2 inch long staples. Then there’s a 2x4 stapled + glued to the bottom. So taking them apart and reusing wasn’t really doable, and the 2x4 holds a very specific curve along the top (so that when you bowl it nudges the ball towards the gutters).
To get something usable for a flat surface, I ripped off the 2x4. The top then still held together, but would flex significantly and was not structurally sound. This meant I could take some actually straight boards and re-join them to the top to make it both flat and structurally stable.
 |
 |
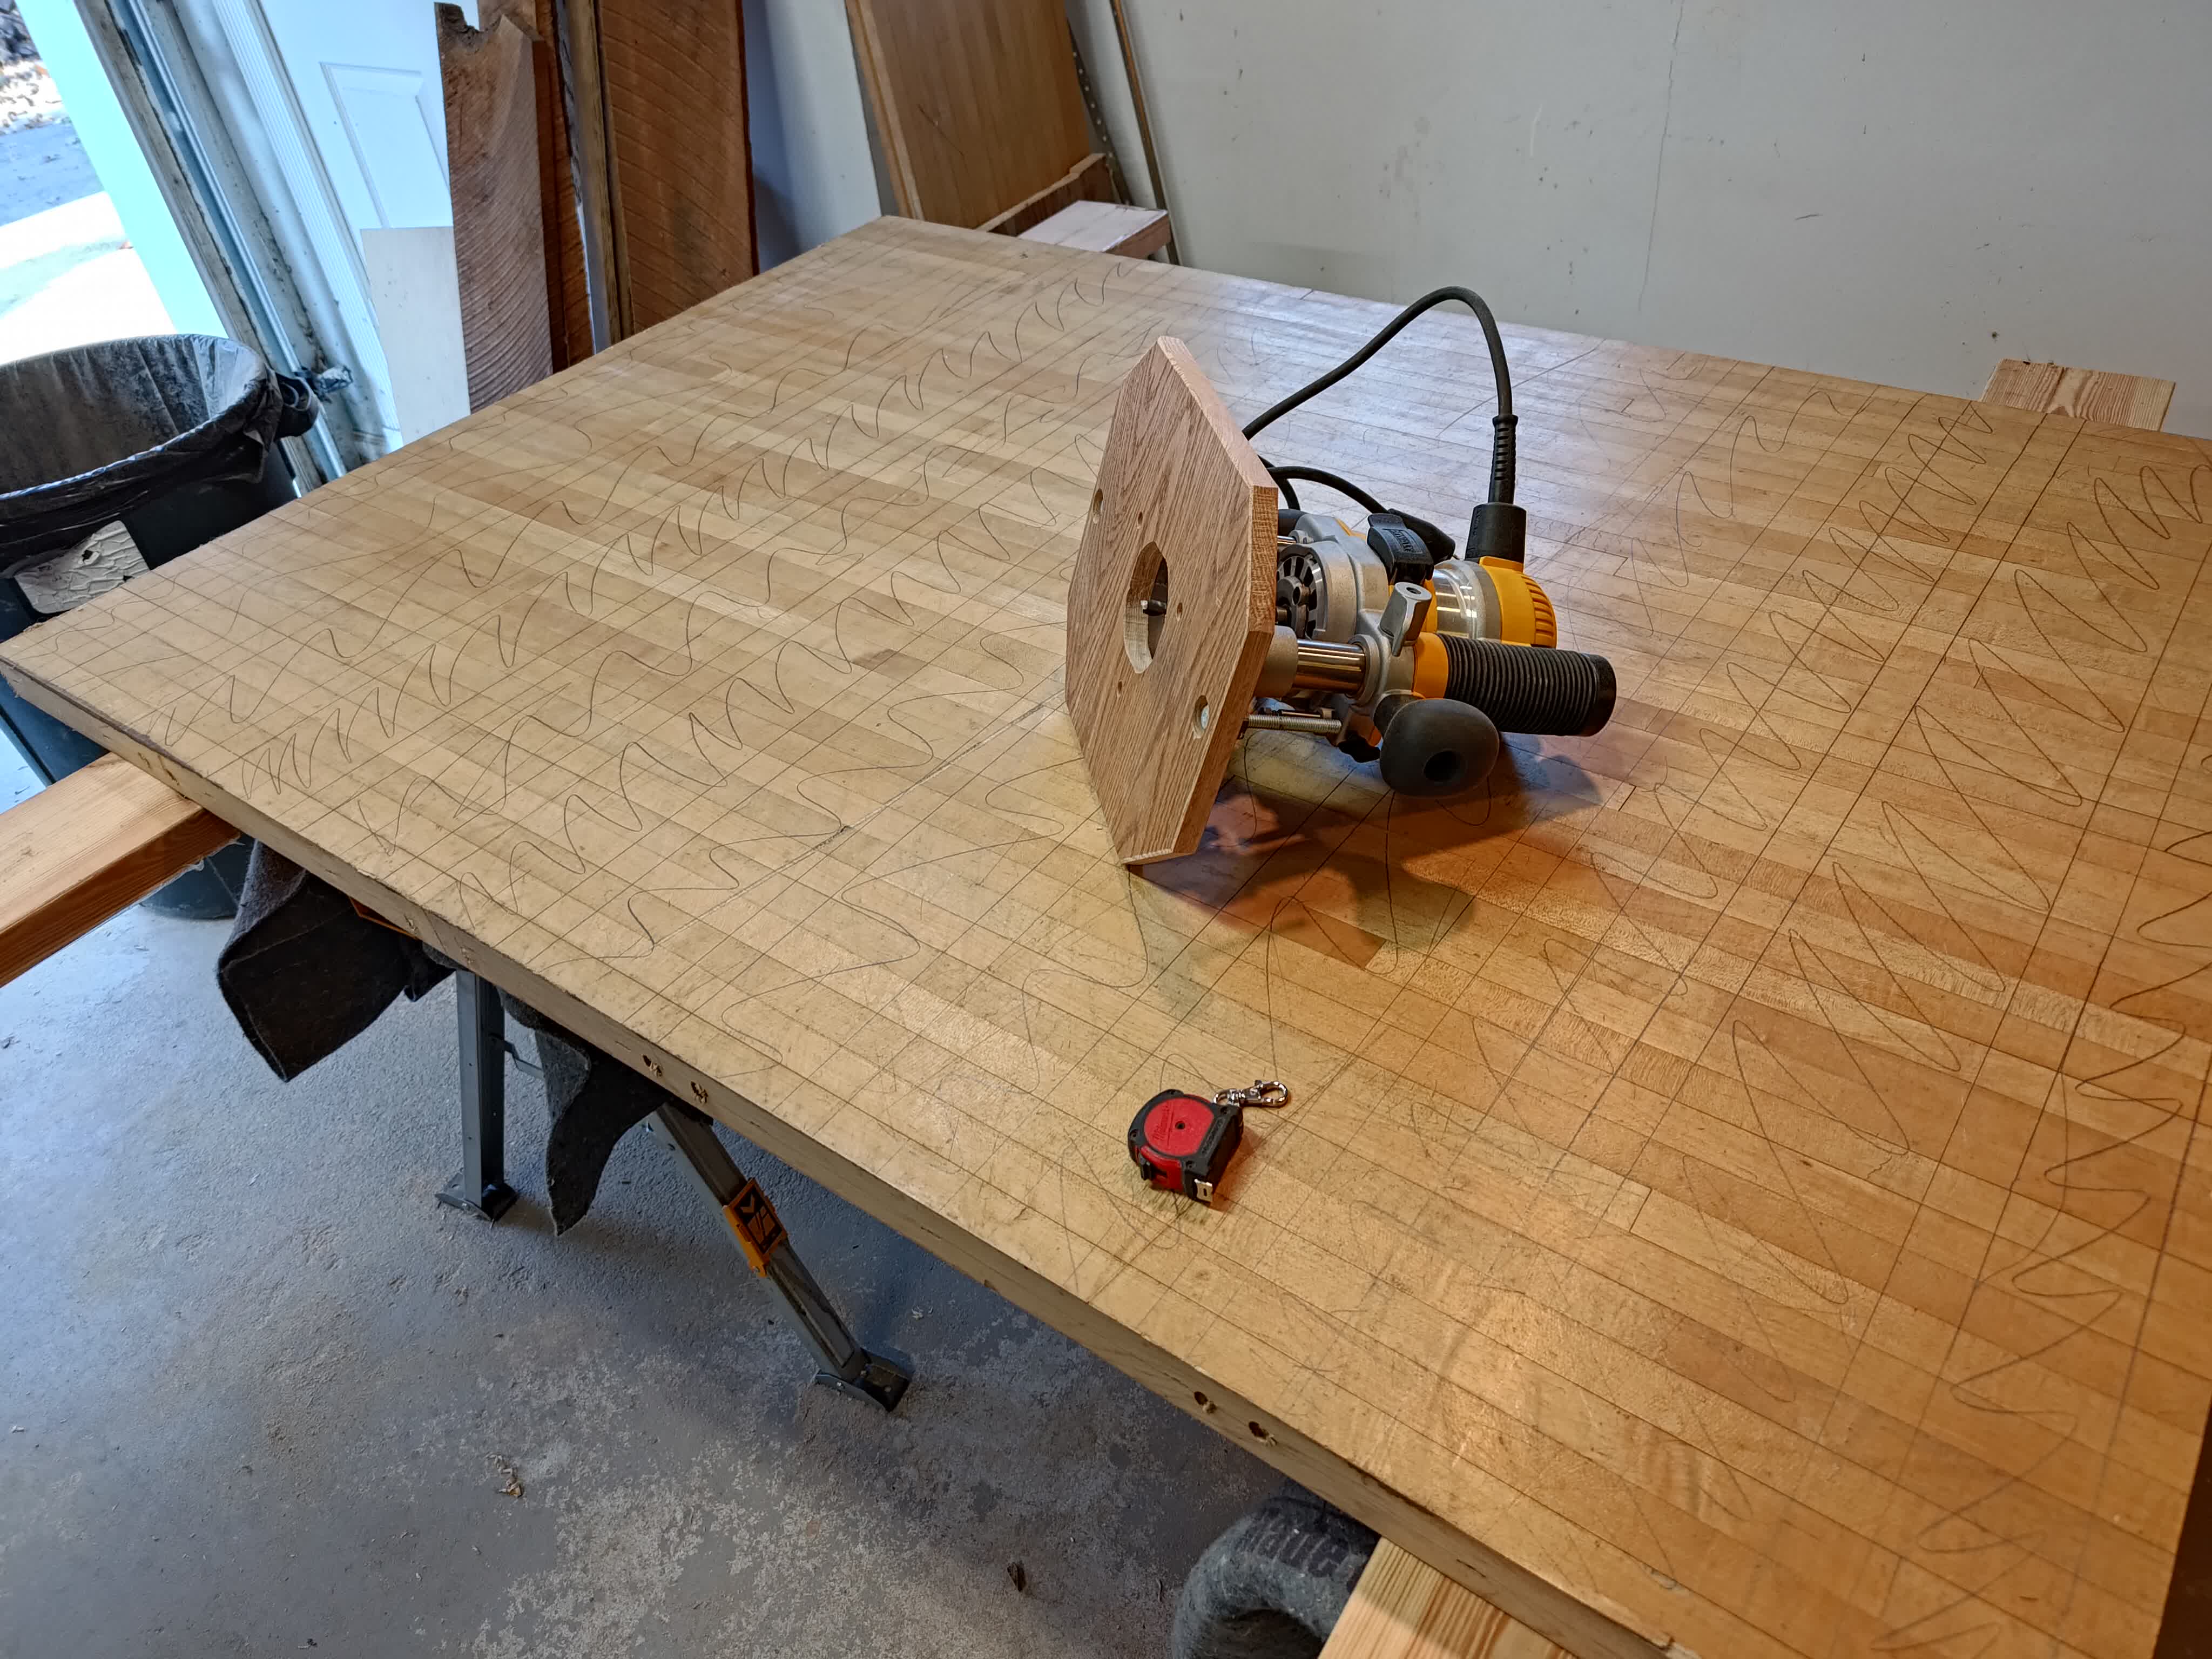
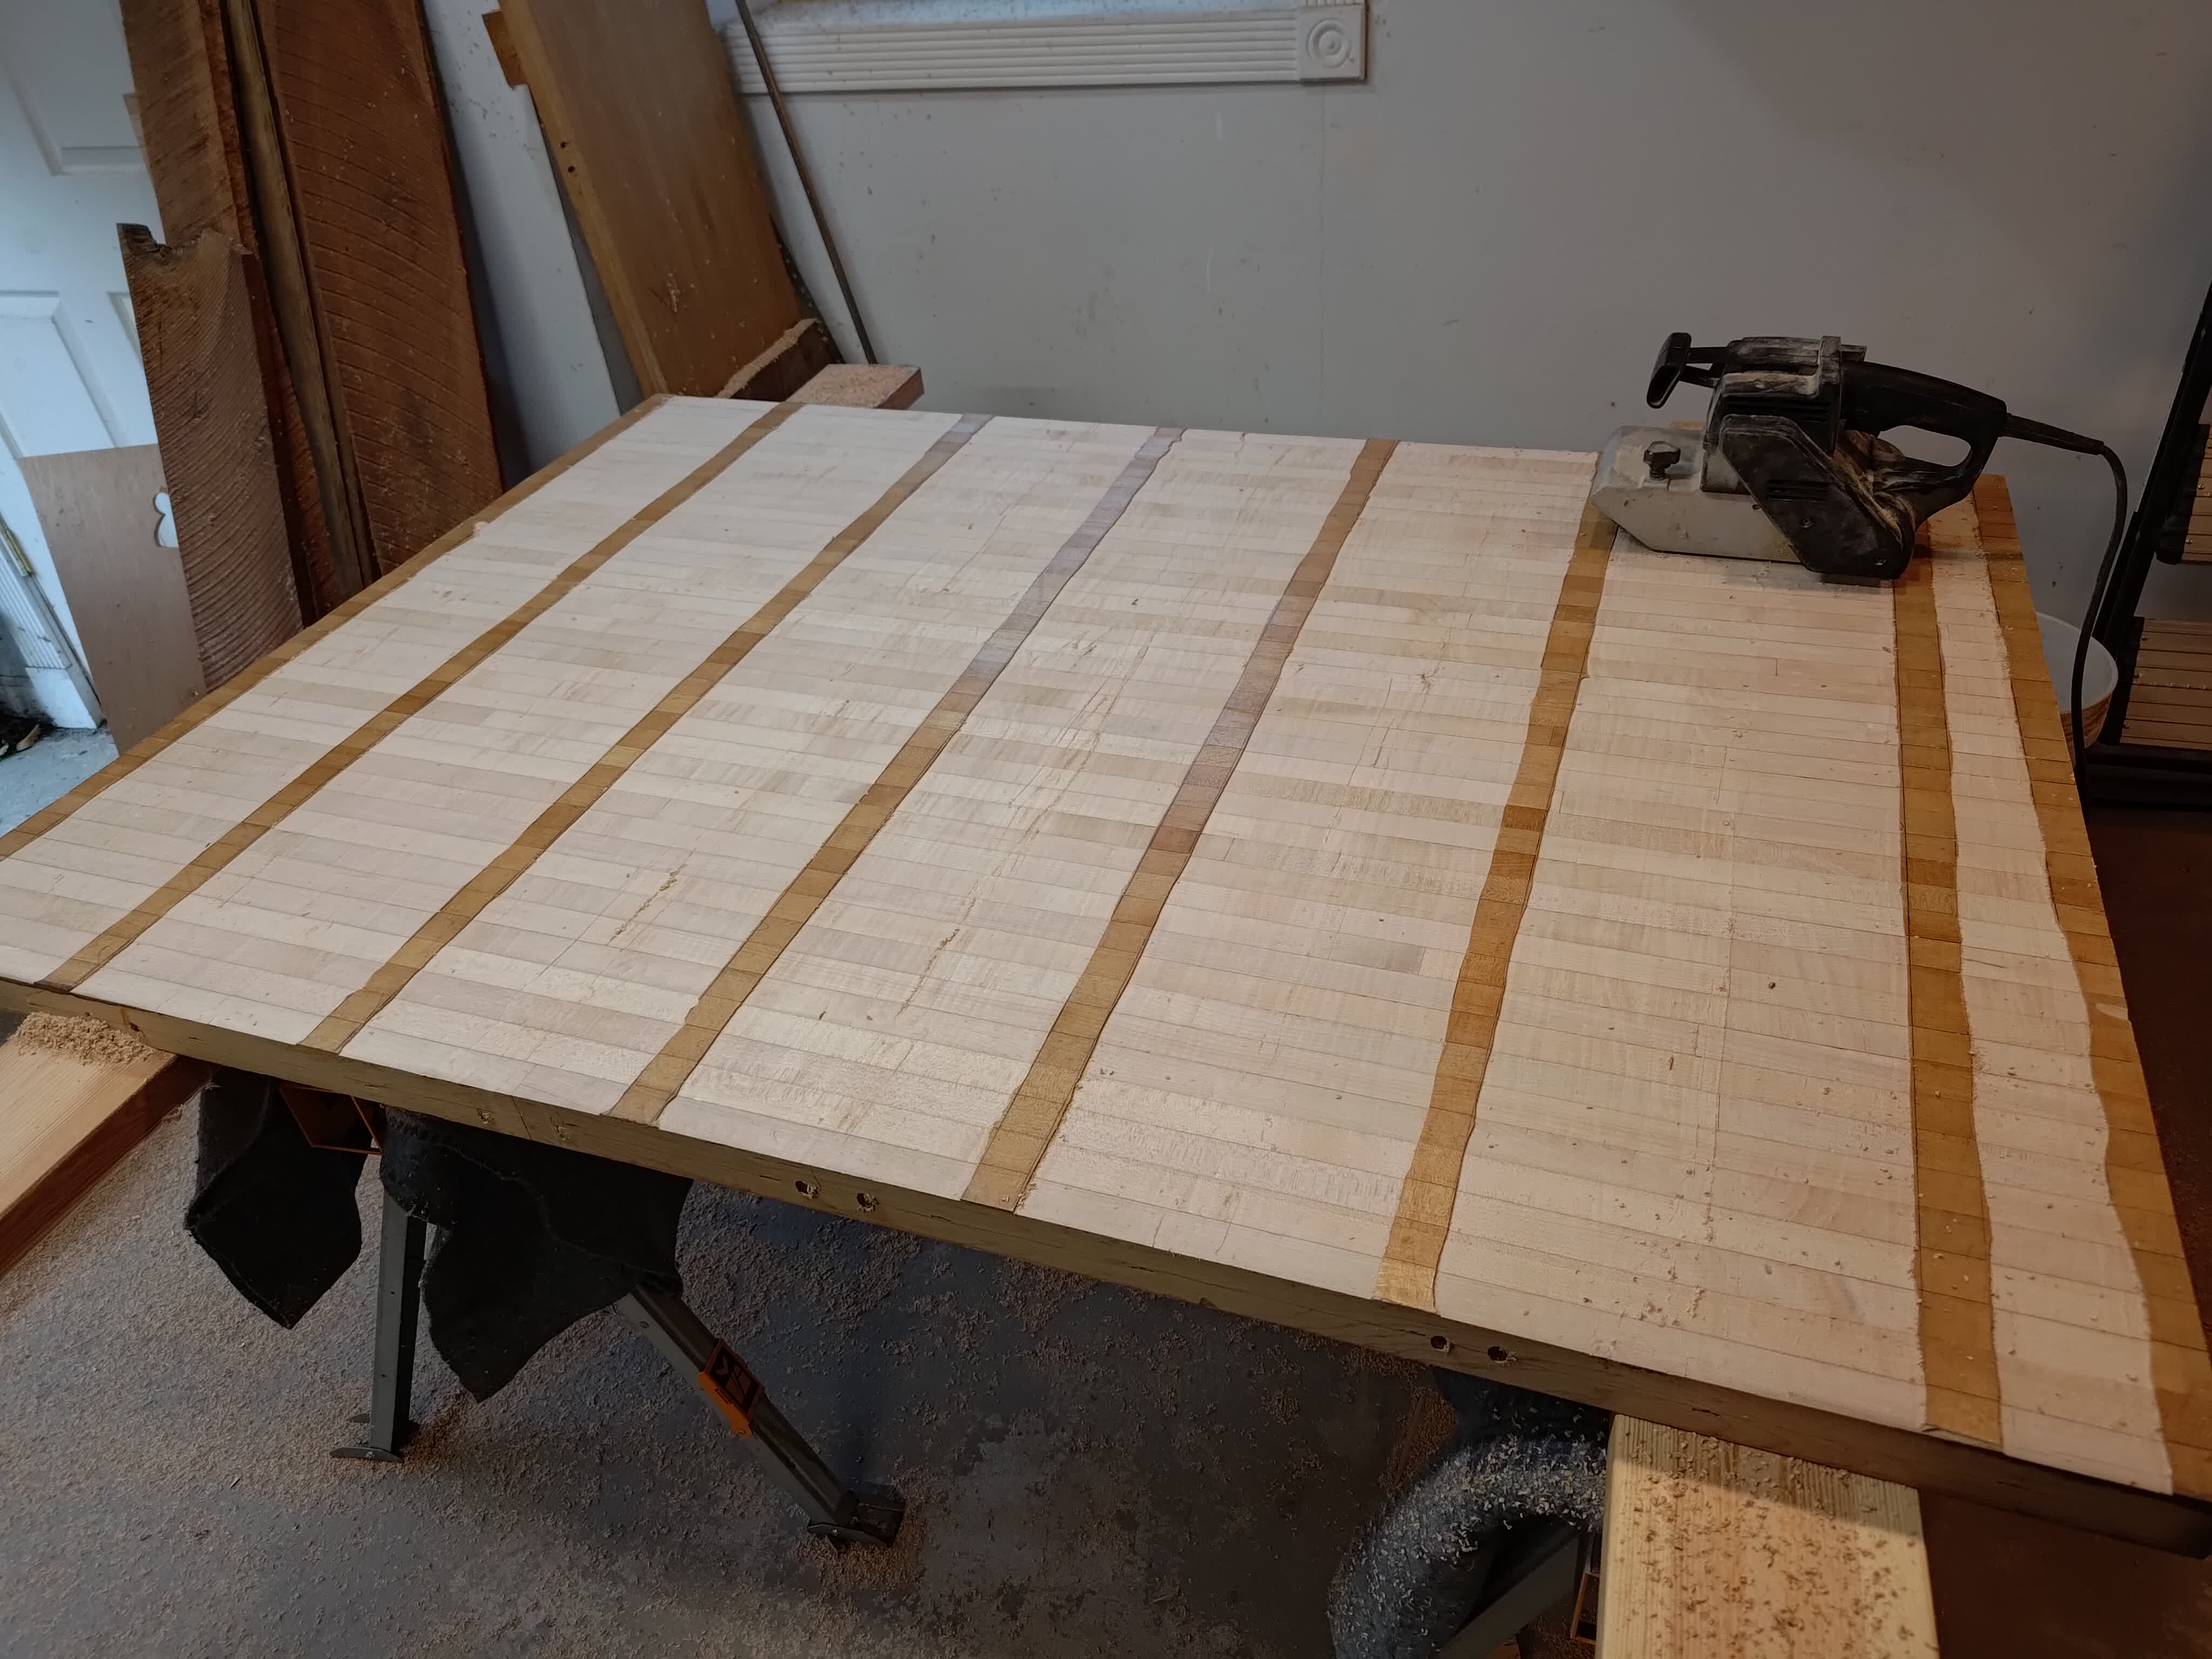
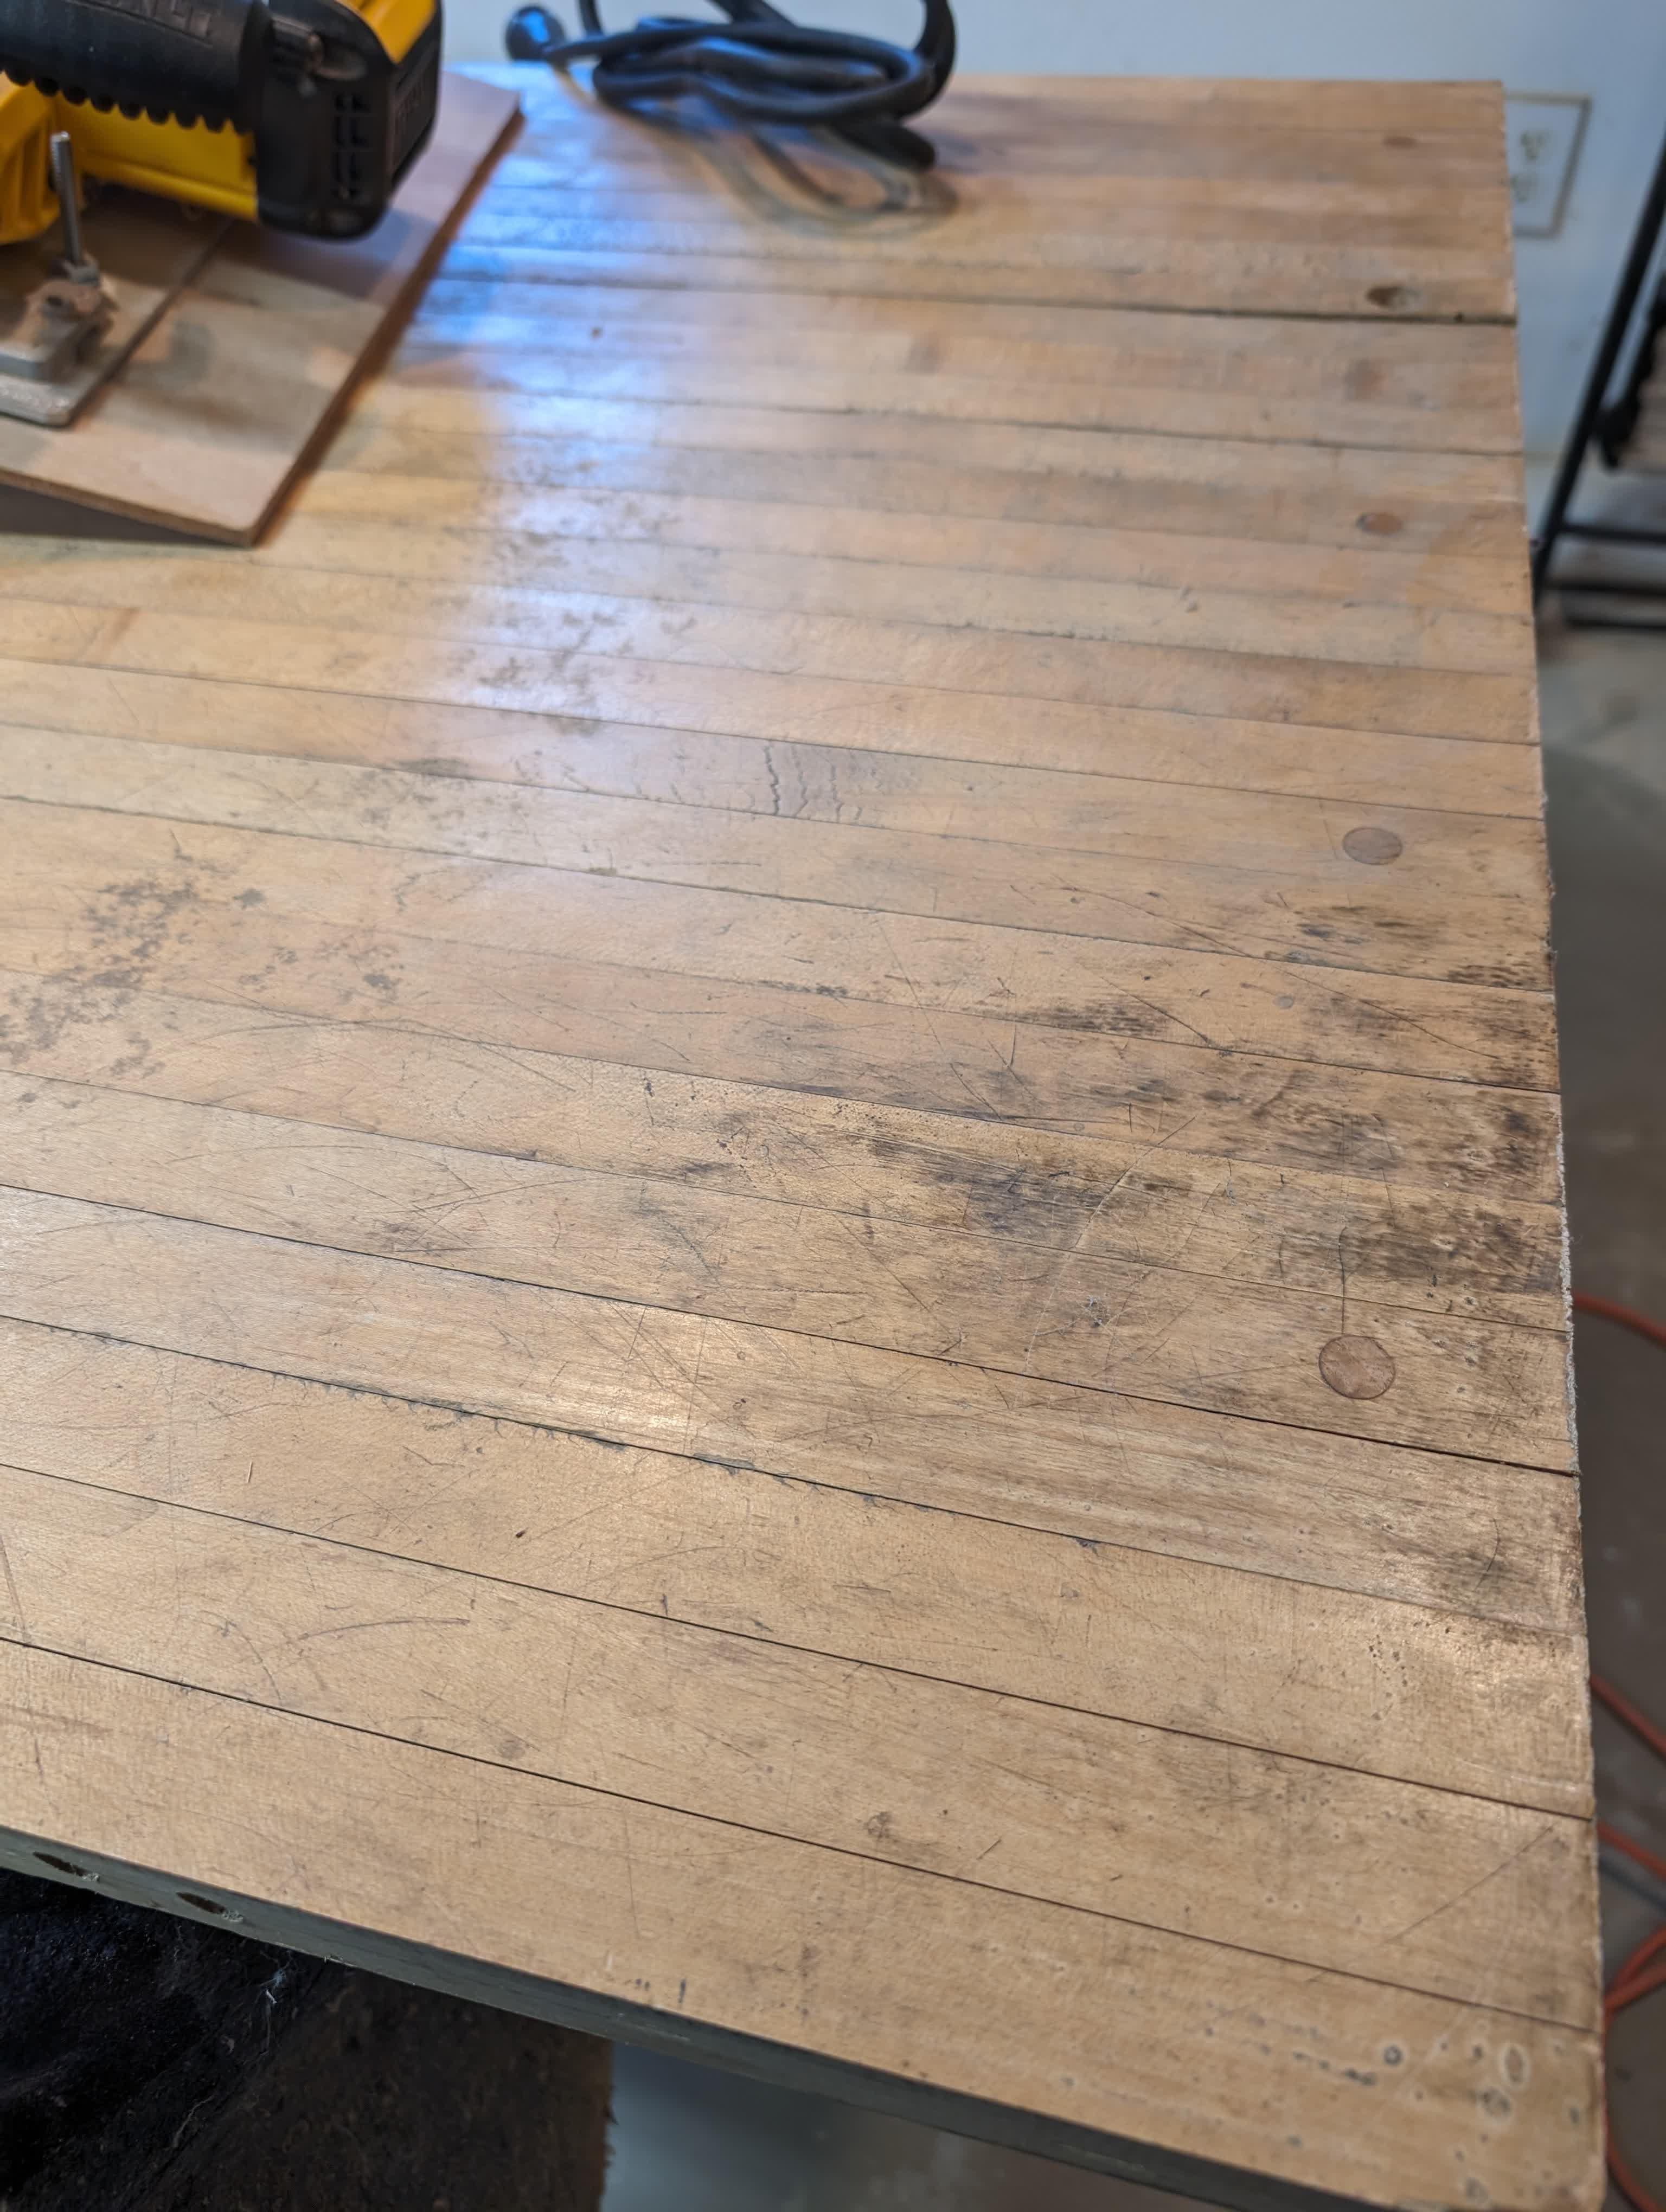
Even after this, the top was still in very rough shape though. It came from a demolition construction site, so there were many deep grooves in the top’s surface. Initially I thought about sanding it all down, but I’d probably have to remove about an 1/8 of an inch from the entire top, while keeping everything completely level / even. That did not seem doable.
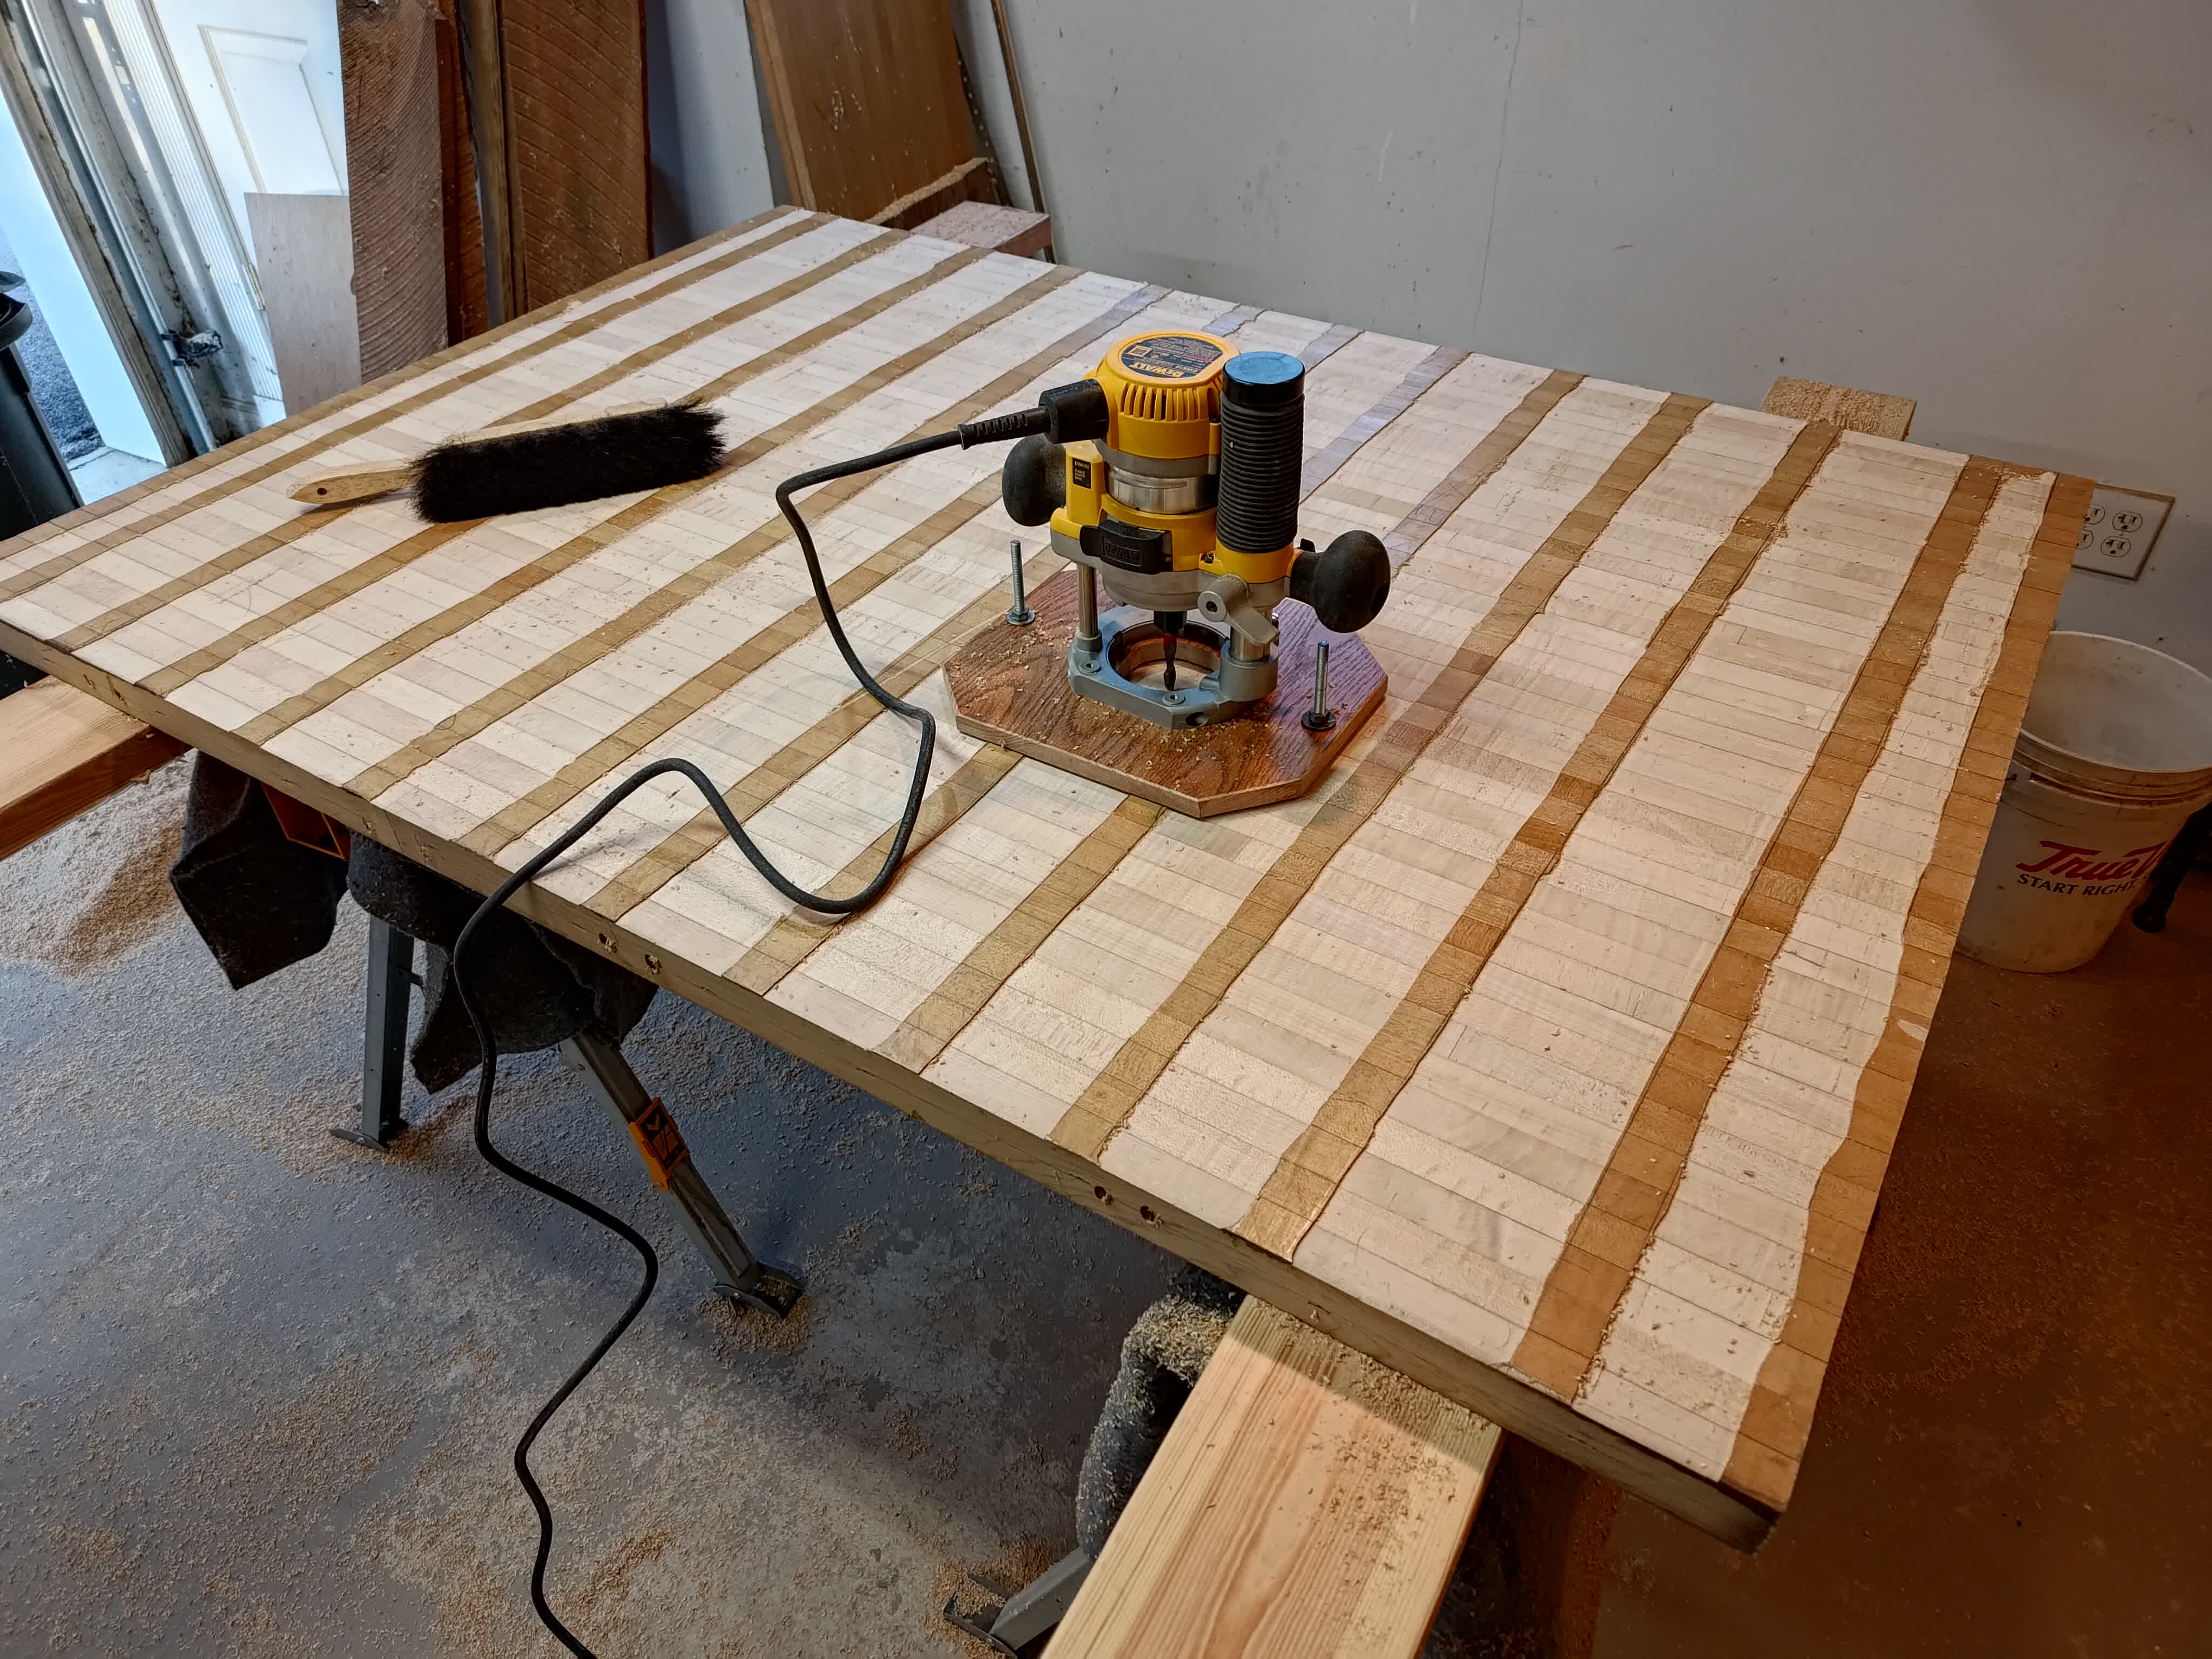
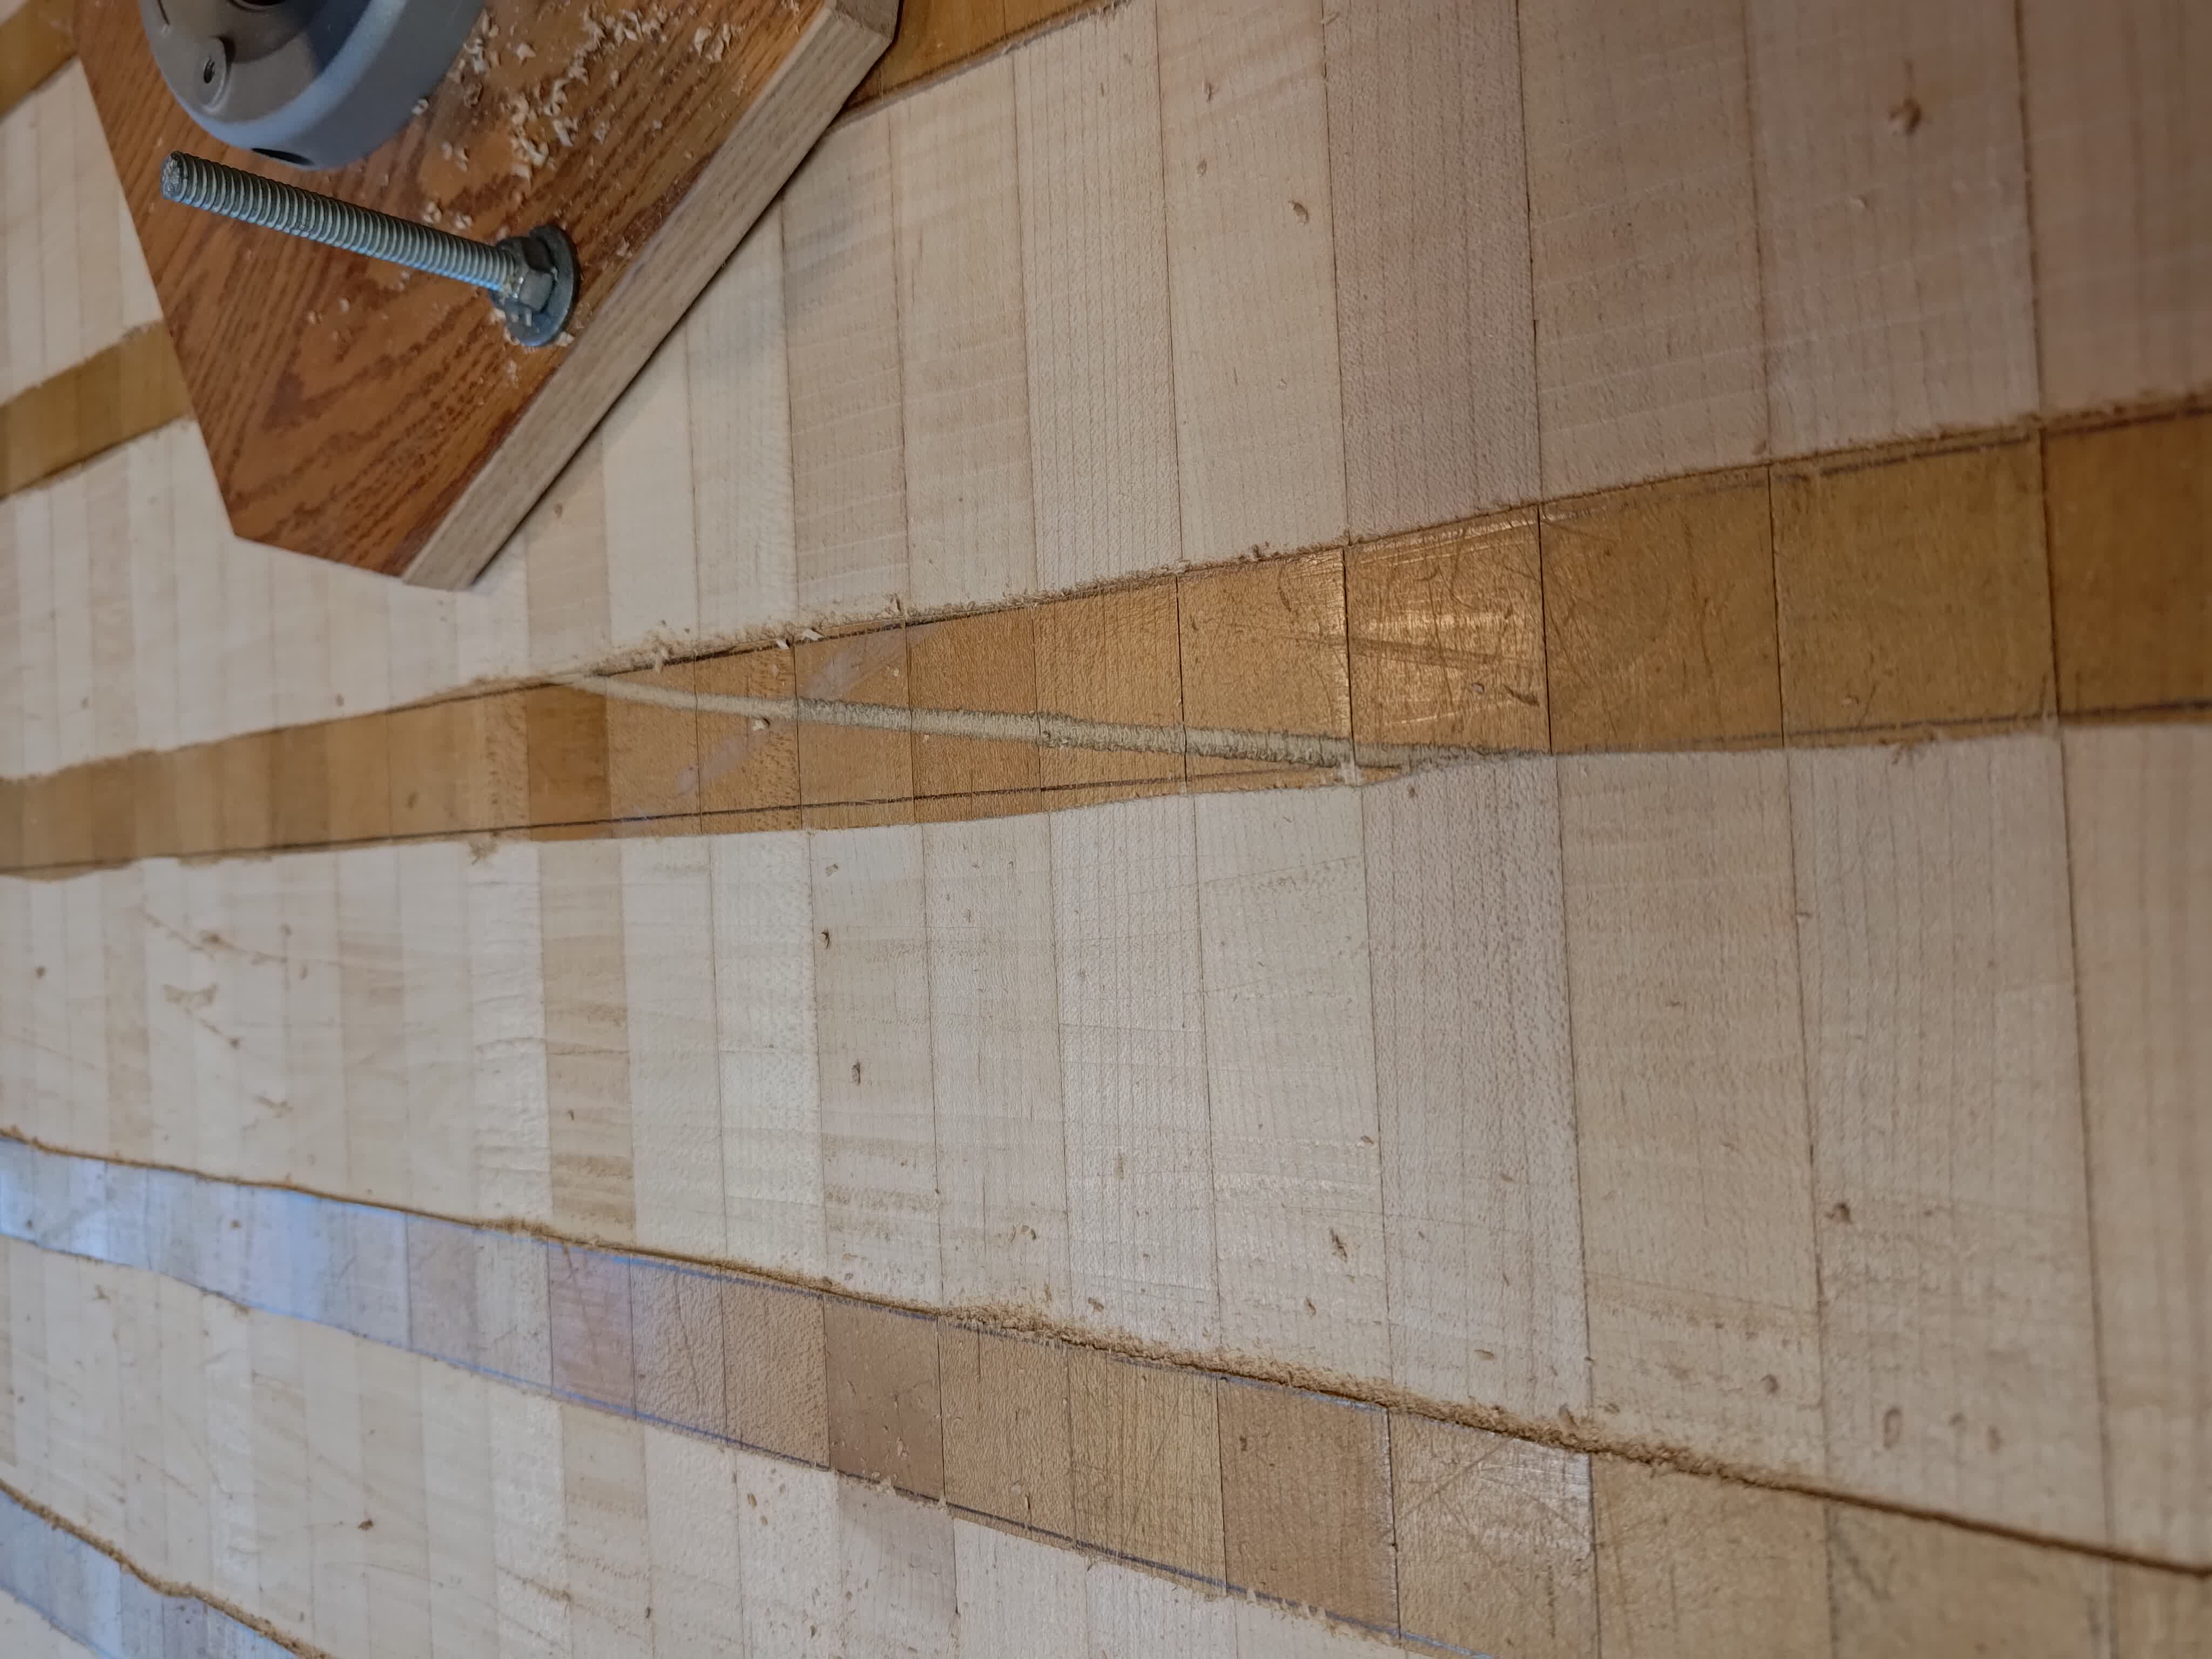
Instead, since the top was already flat, I used a handheld router with a sled and spiral bit to remove big sections down the length of the table. The columns left over kept a surface I could ride the router sled on, then once done I could swap the sled to ride the carved out sections and route the elevated sections instead. Afterwards I much less sanding to smooth it all out. I only did this for the top, since the shelf would mostly be hidden anyway.
 |
 |
 |
 |
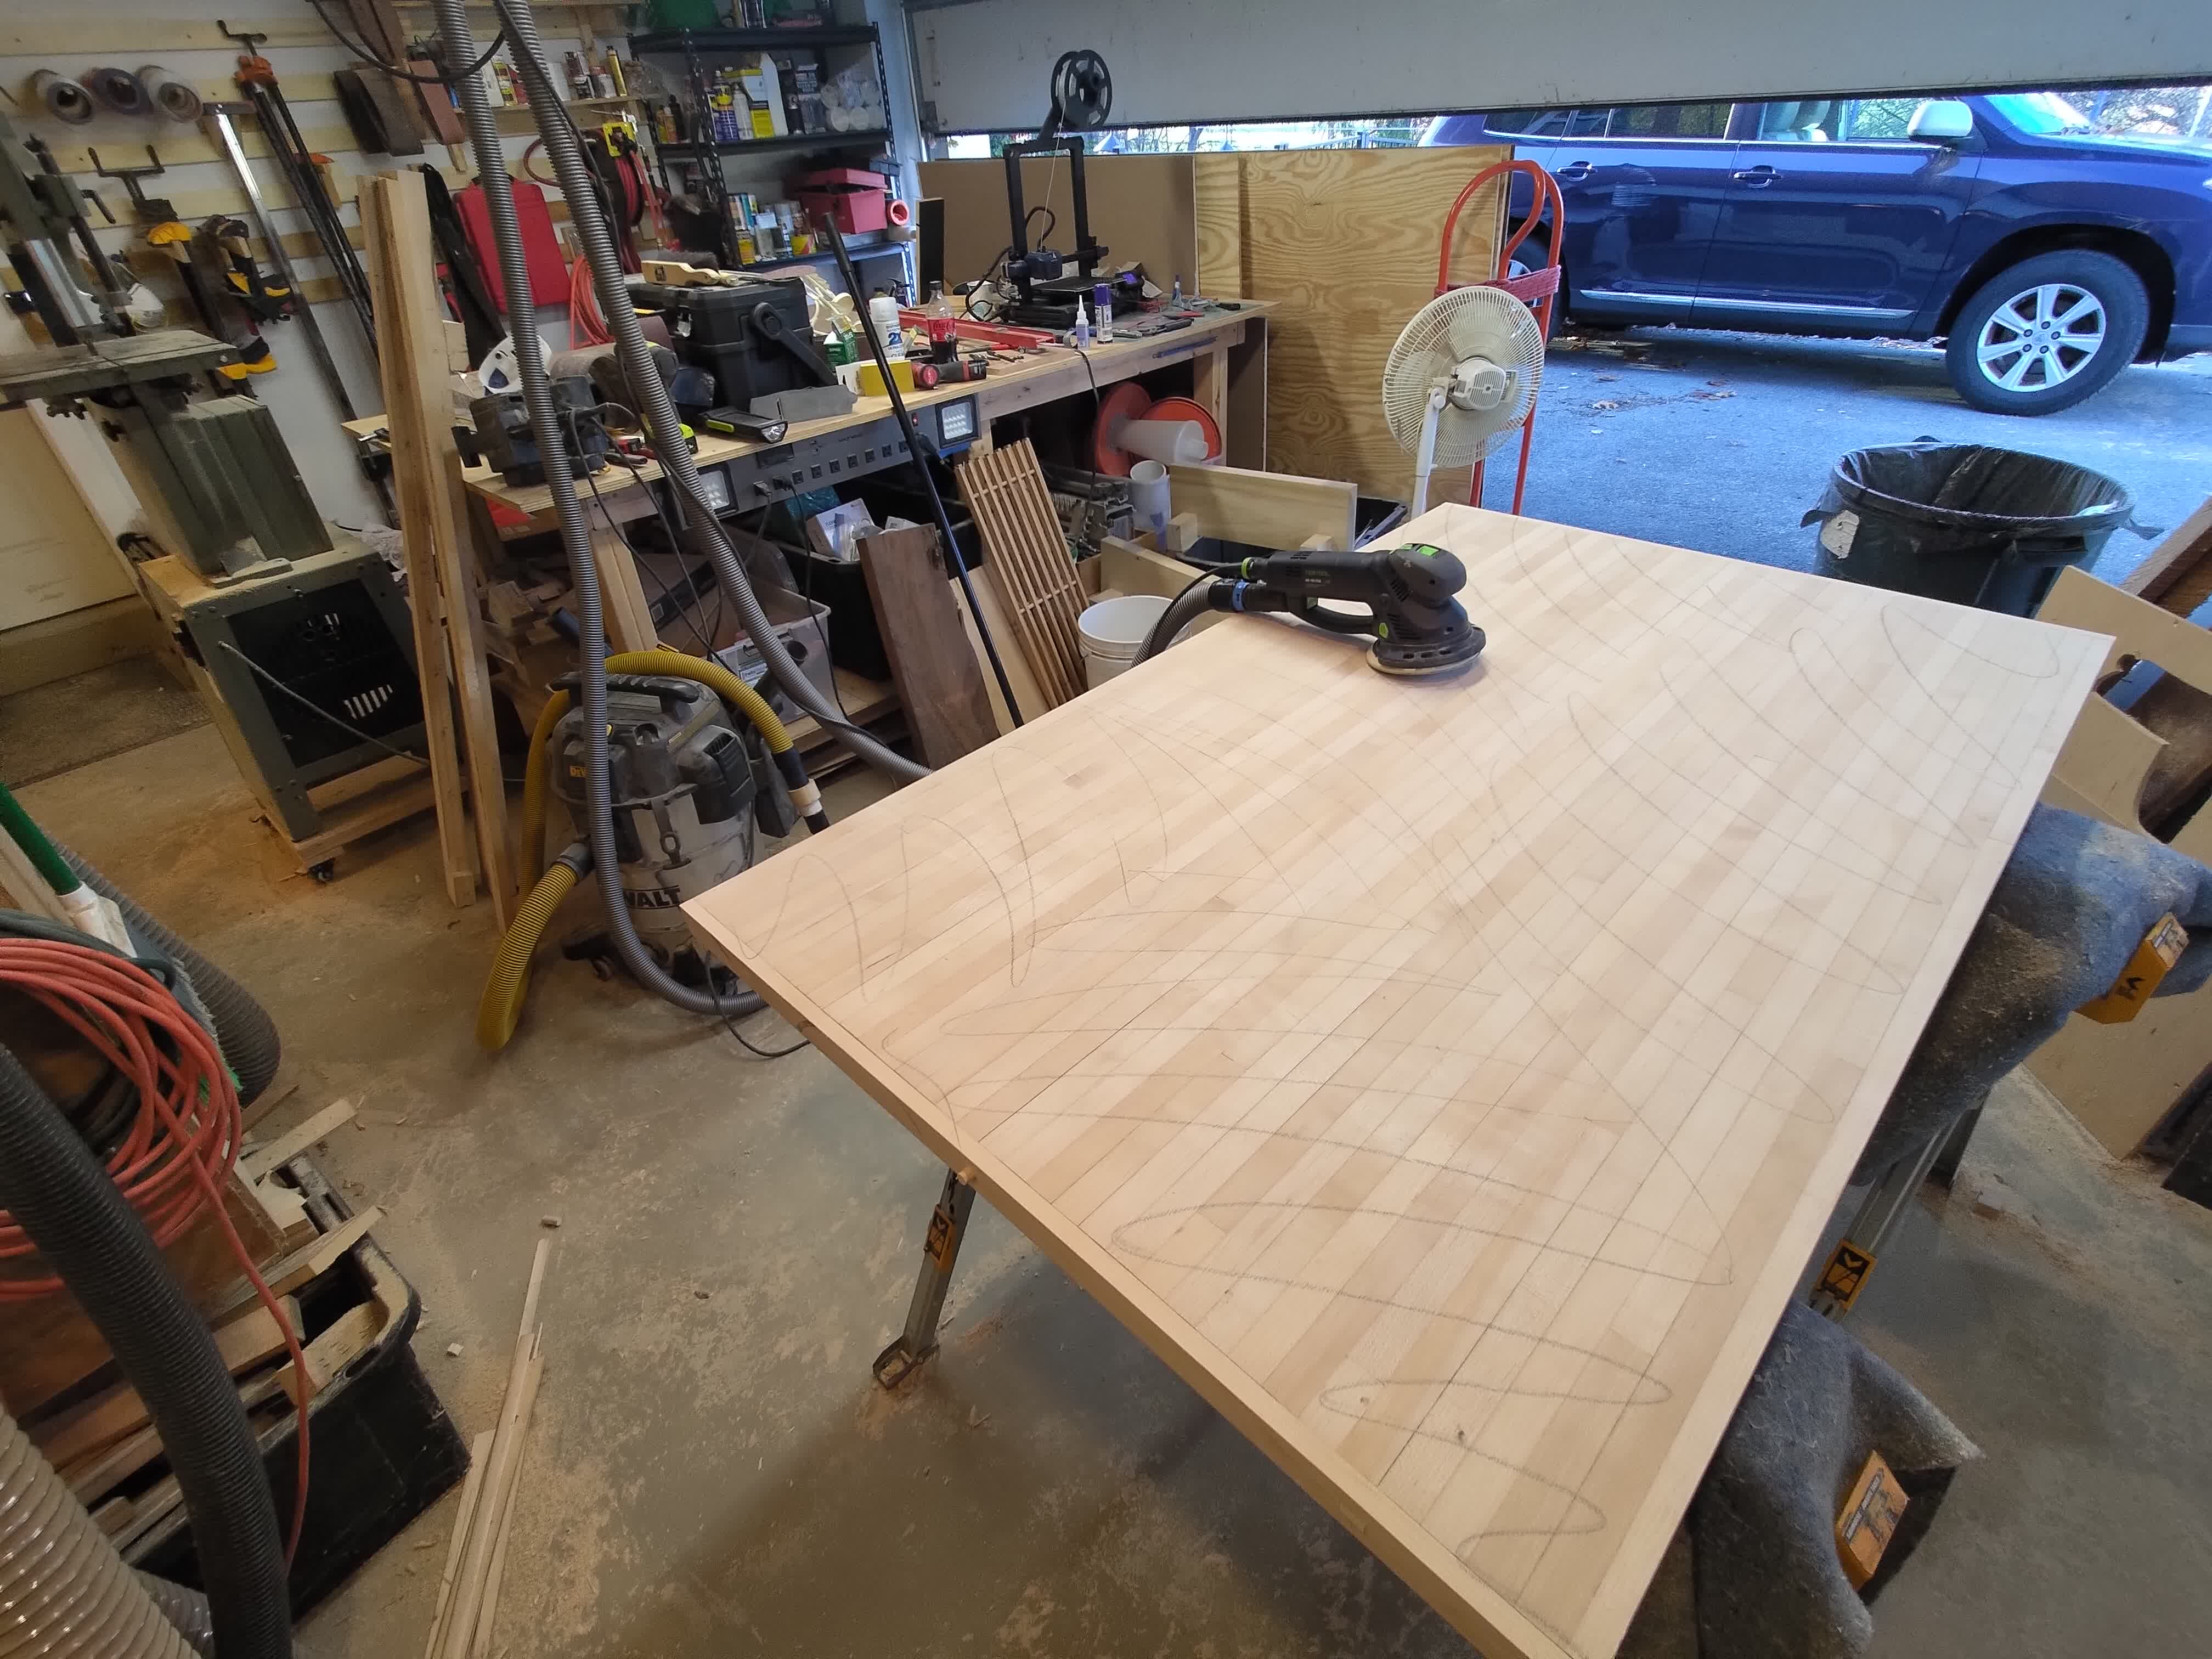
The top now mostly resurfaced, I could see what I was working with and decide where to remove extra to bring it down to dimension. I don’t have a track saw, so I extended the bottom of my circular saw out past the motor. Now I can use a weighted-down factory edge of 8 foot plywood as a guide. Even if I had a track saw I’m not sure I’d use it on this material. The staples are really hard and by the end of this project I had chipped off quite a few of the carbide teeth on my circular saw blade. After cutting to width I chamfered the structural 2x6’s underneath so they wouldn’t easily be visible from above.
 |
 |
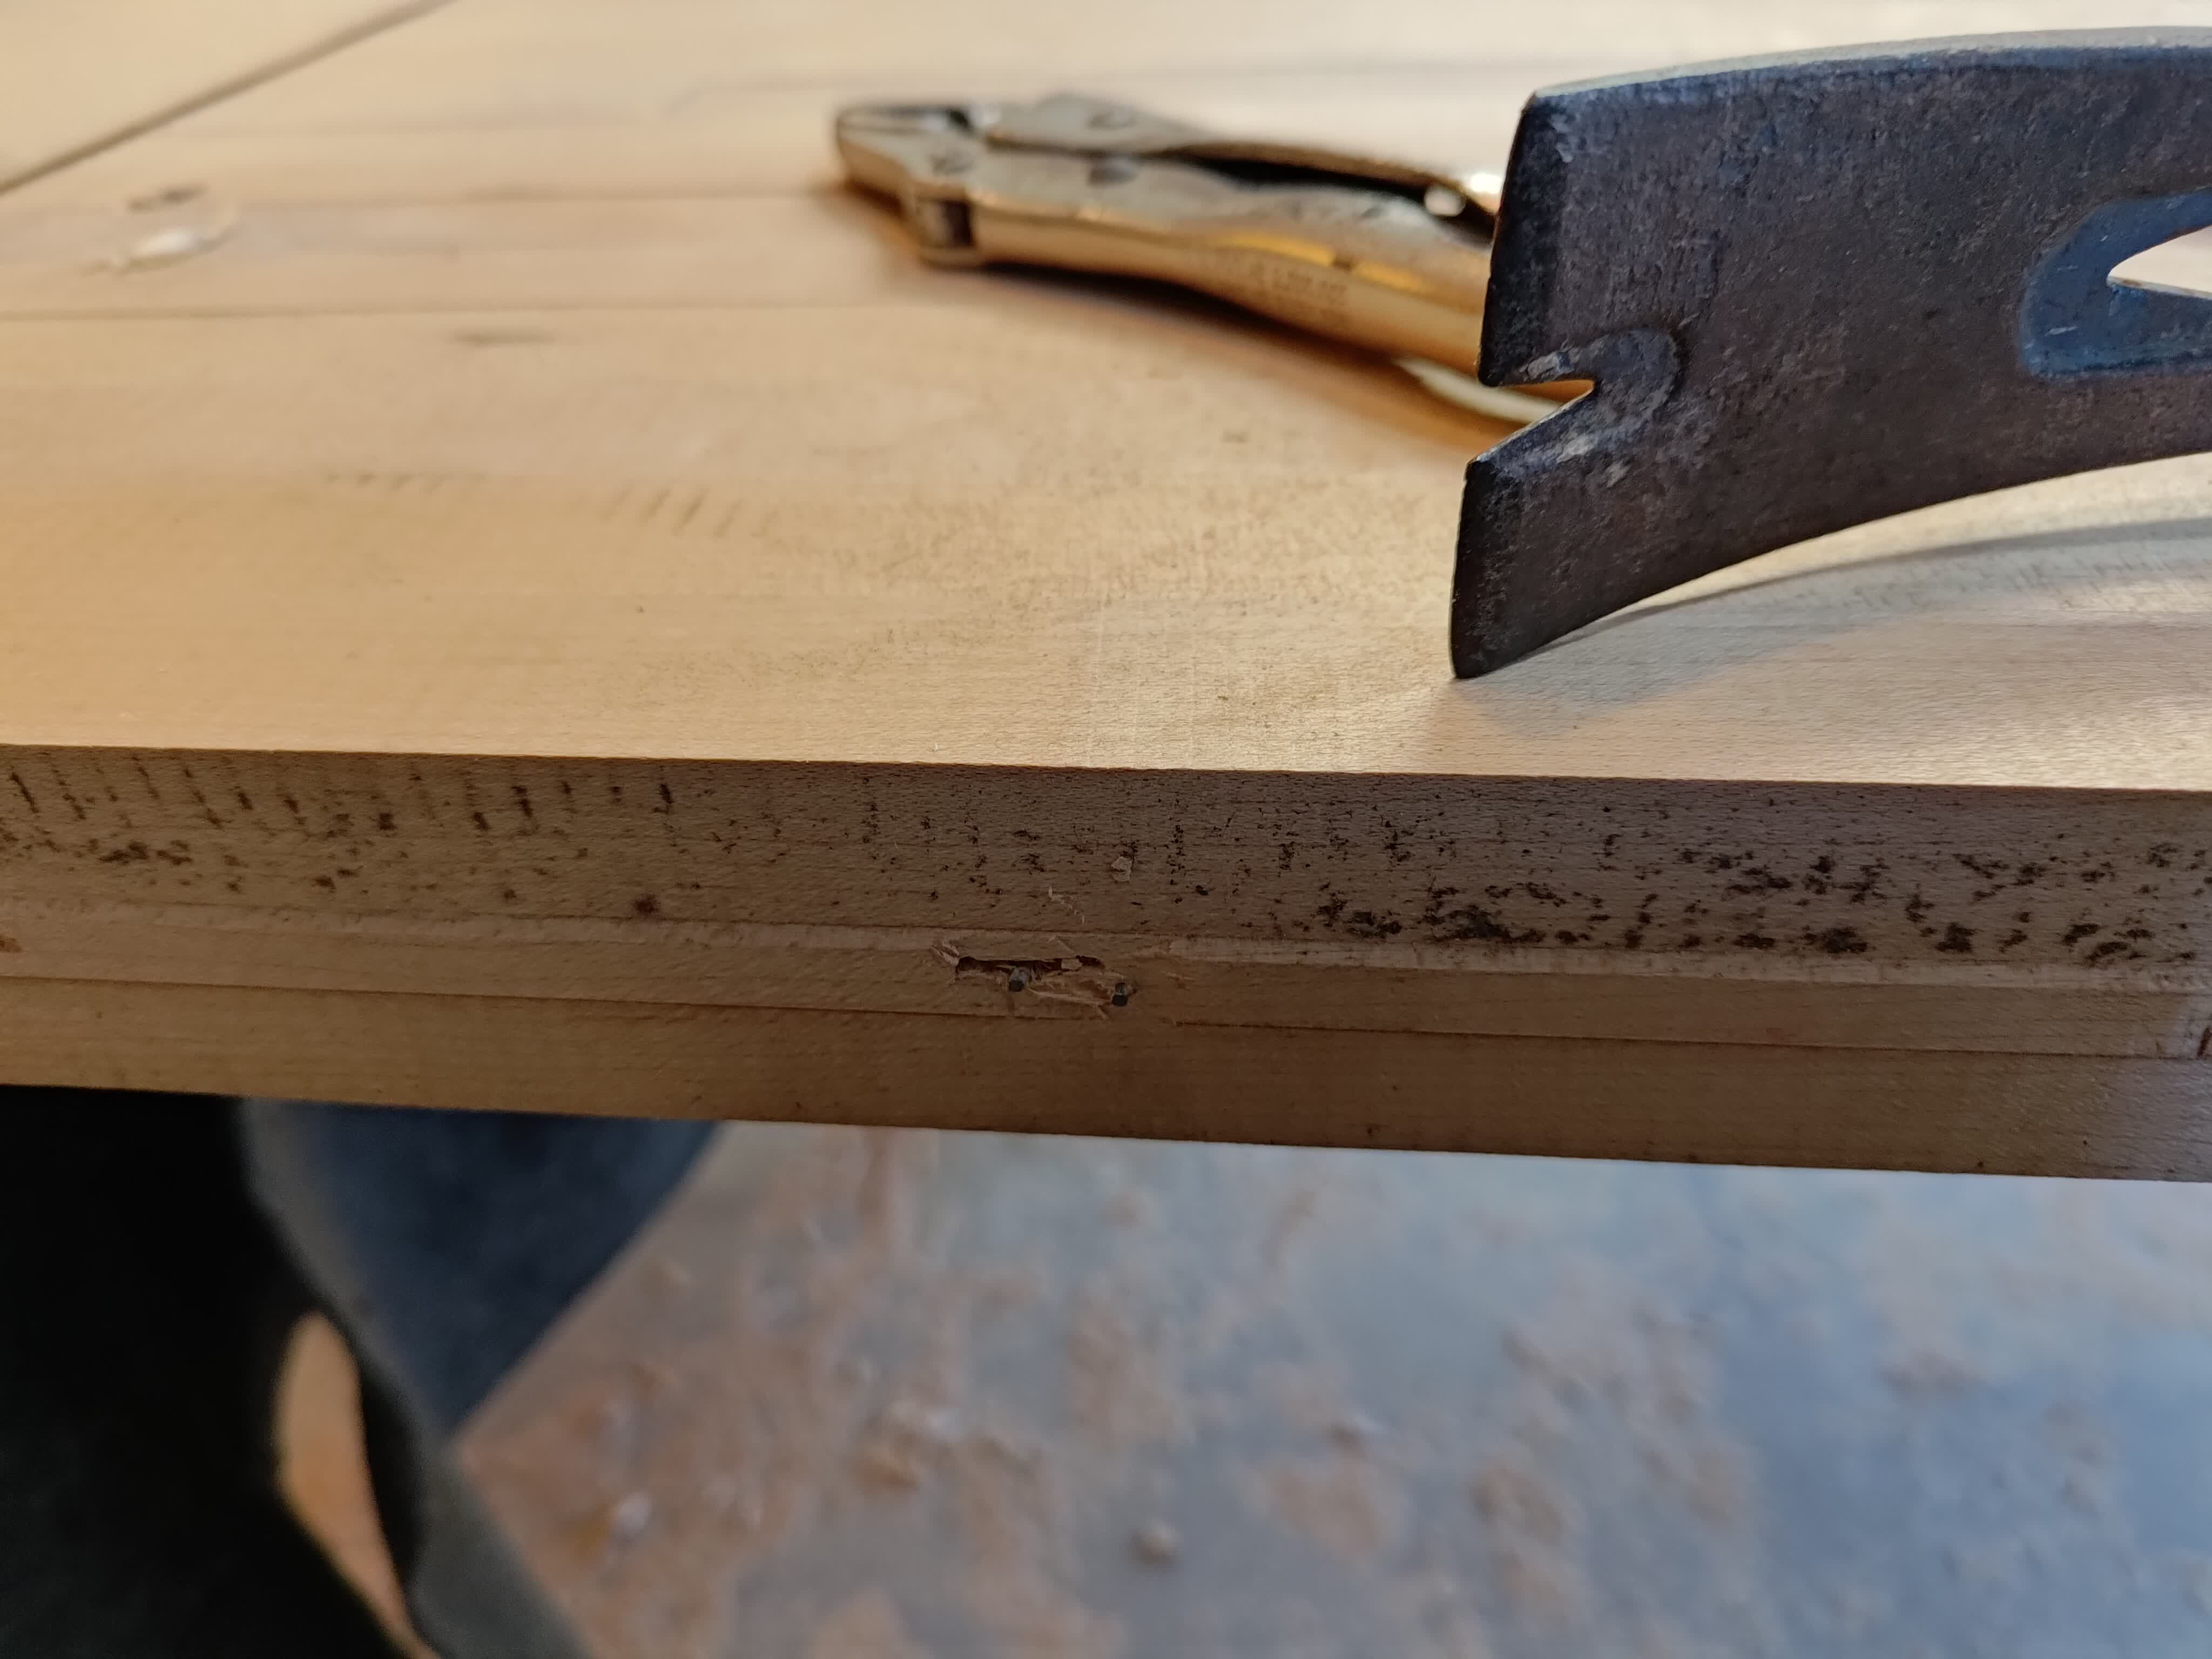
And of course cutting it to width left a bunch of staples on the edges to be pulled. I used vice grips to create a sort of head of the cut off ends, then a pry bar to get them out. Then I could put some wood filler in the holes and there at least woudn’t be shiny metal bits poking out.
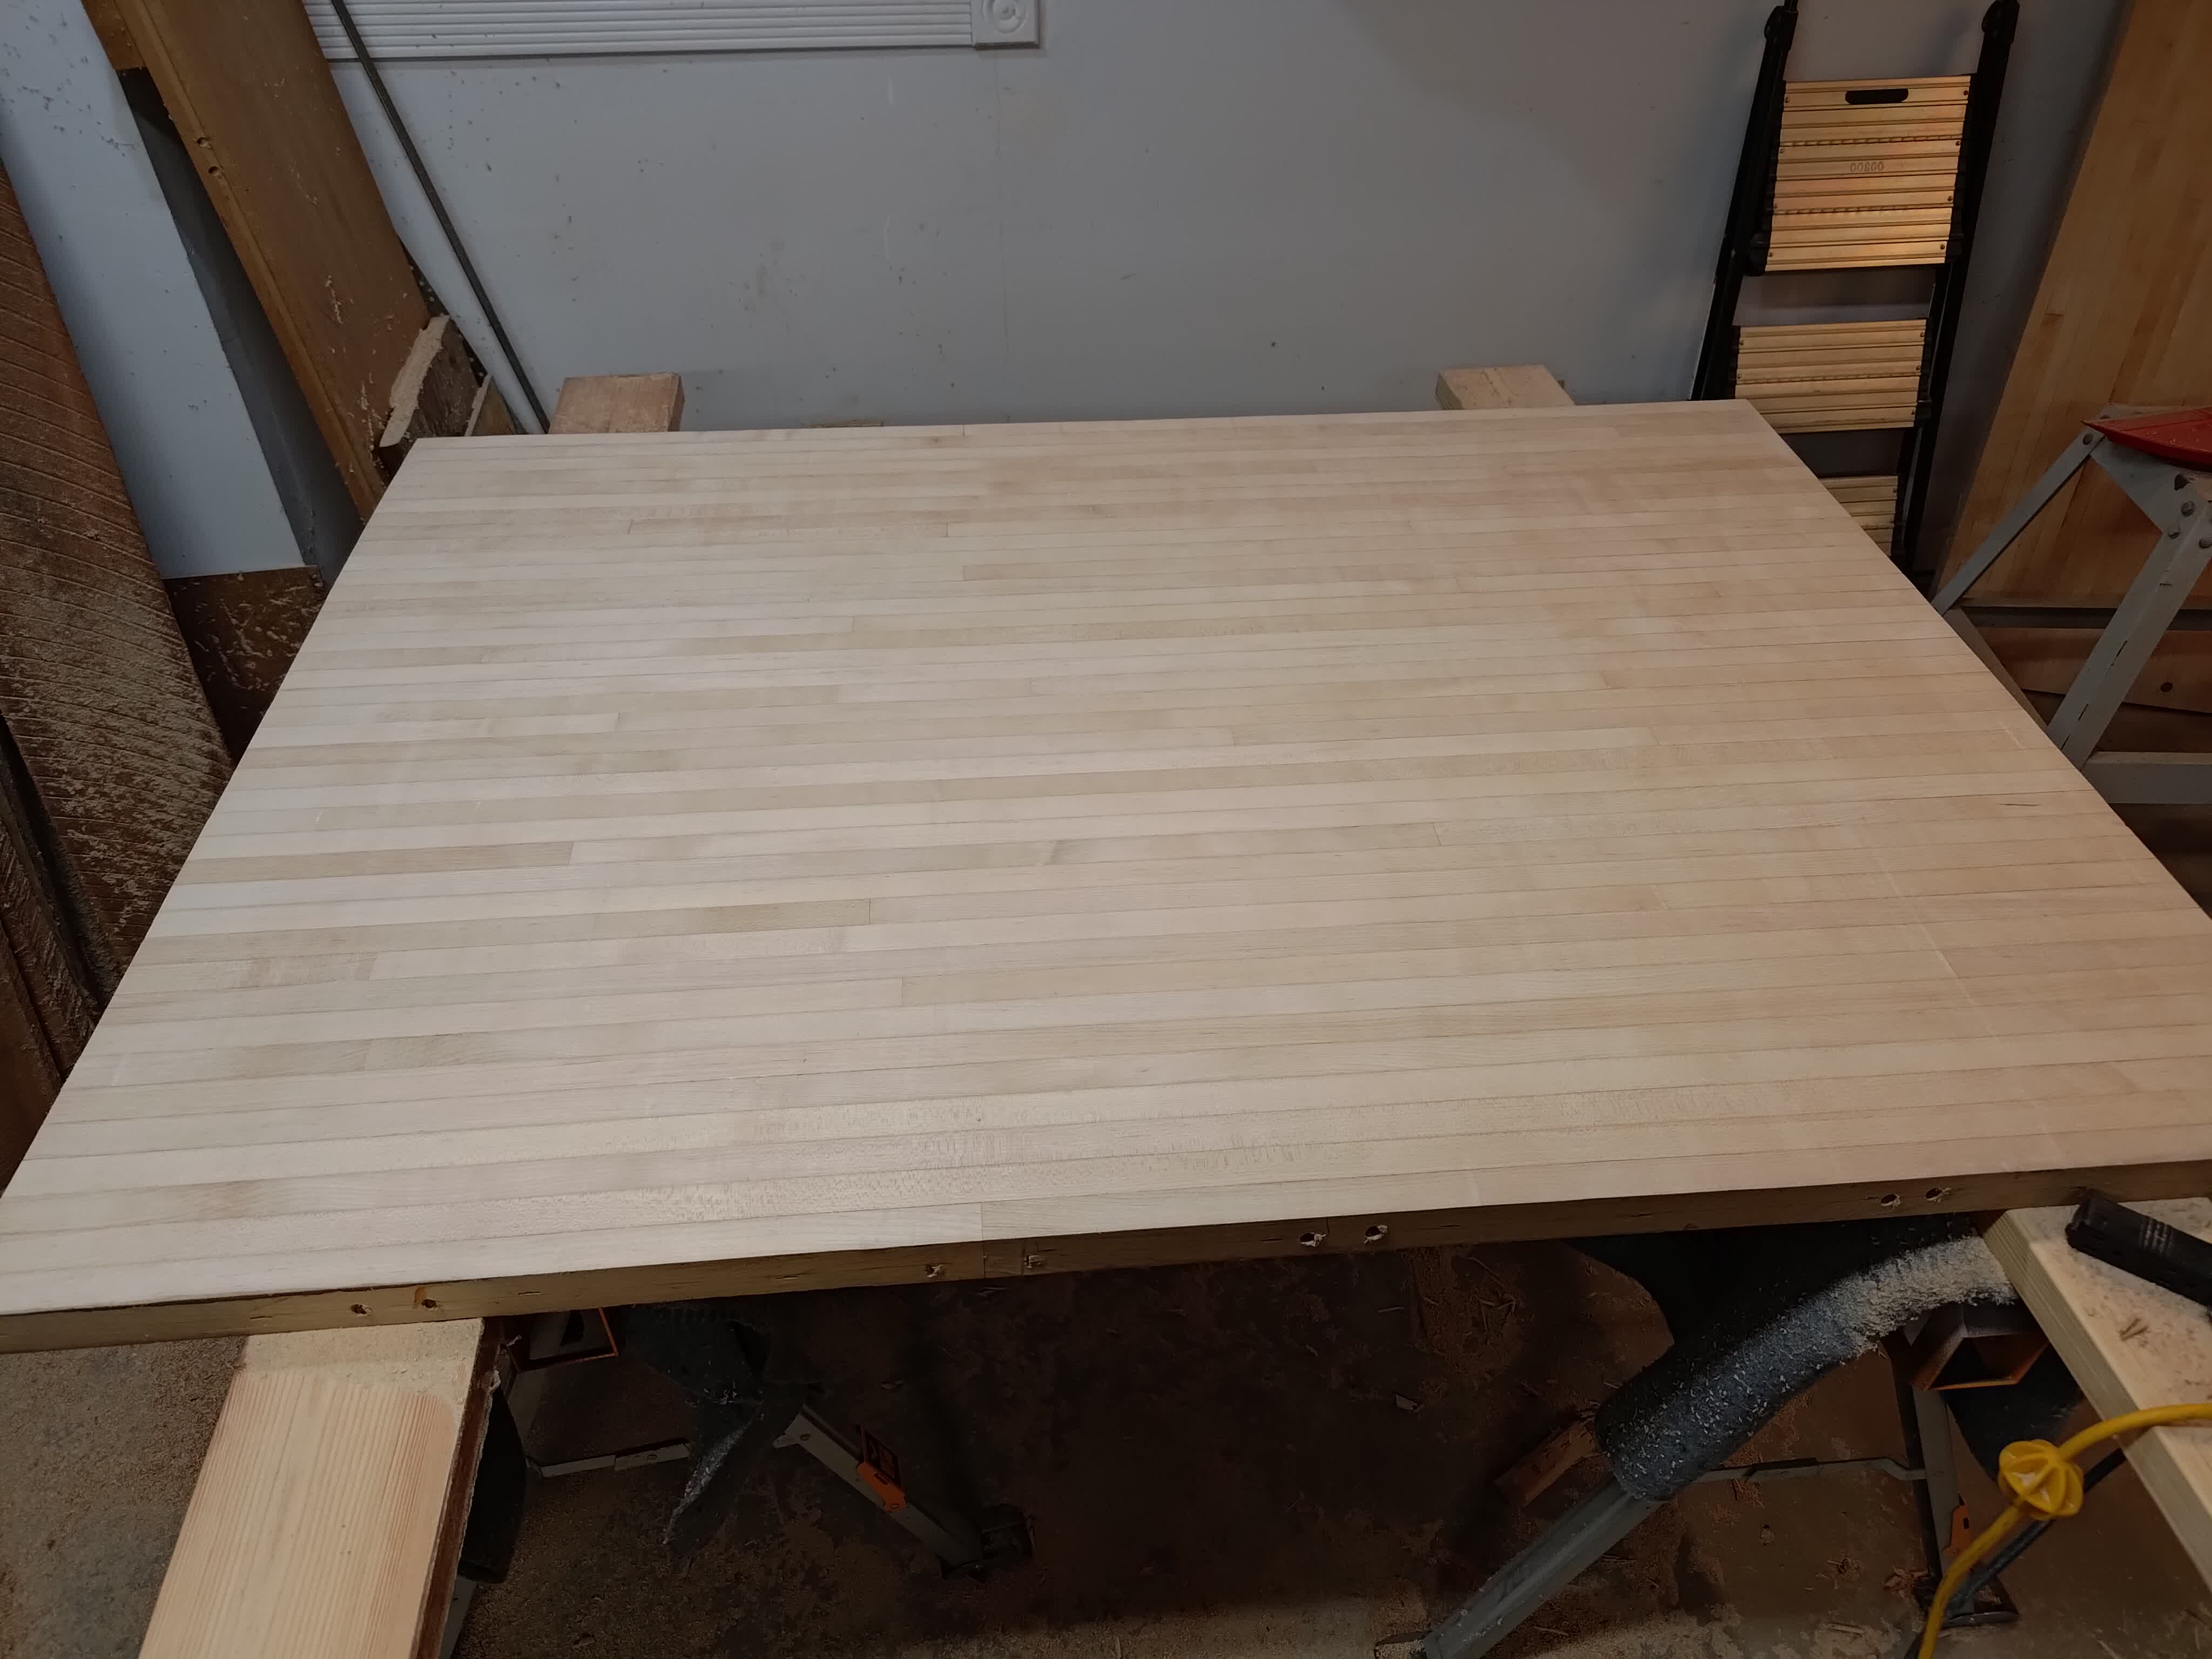
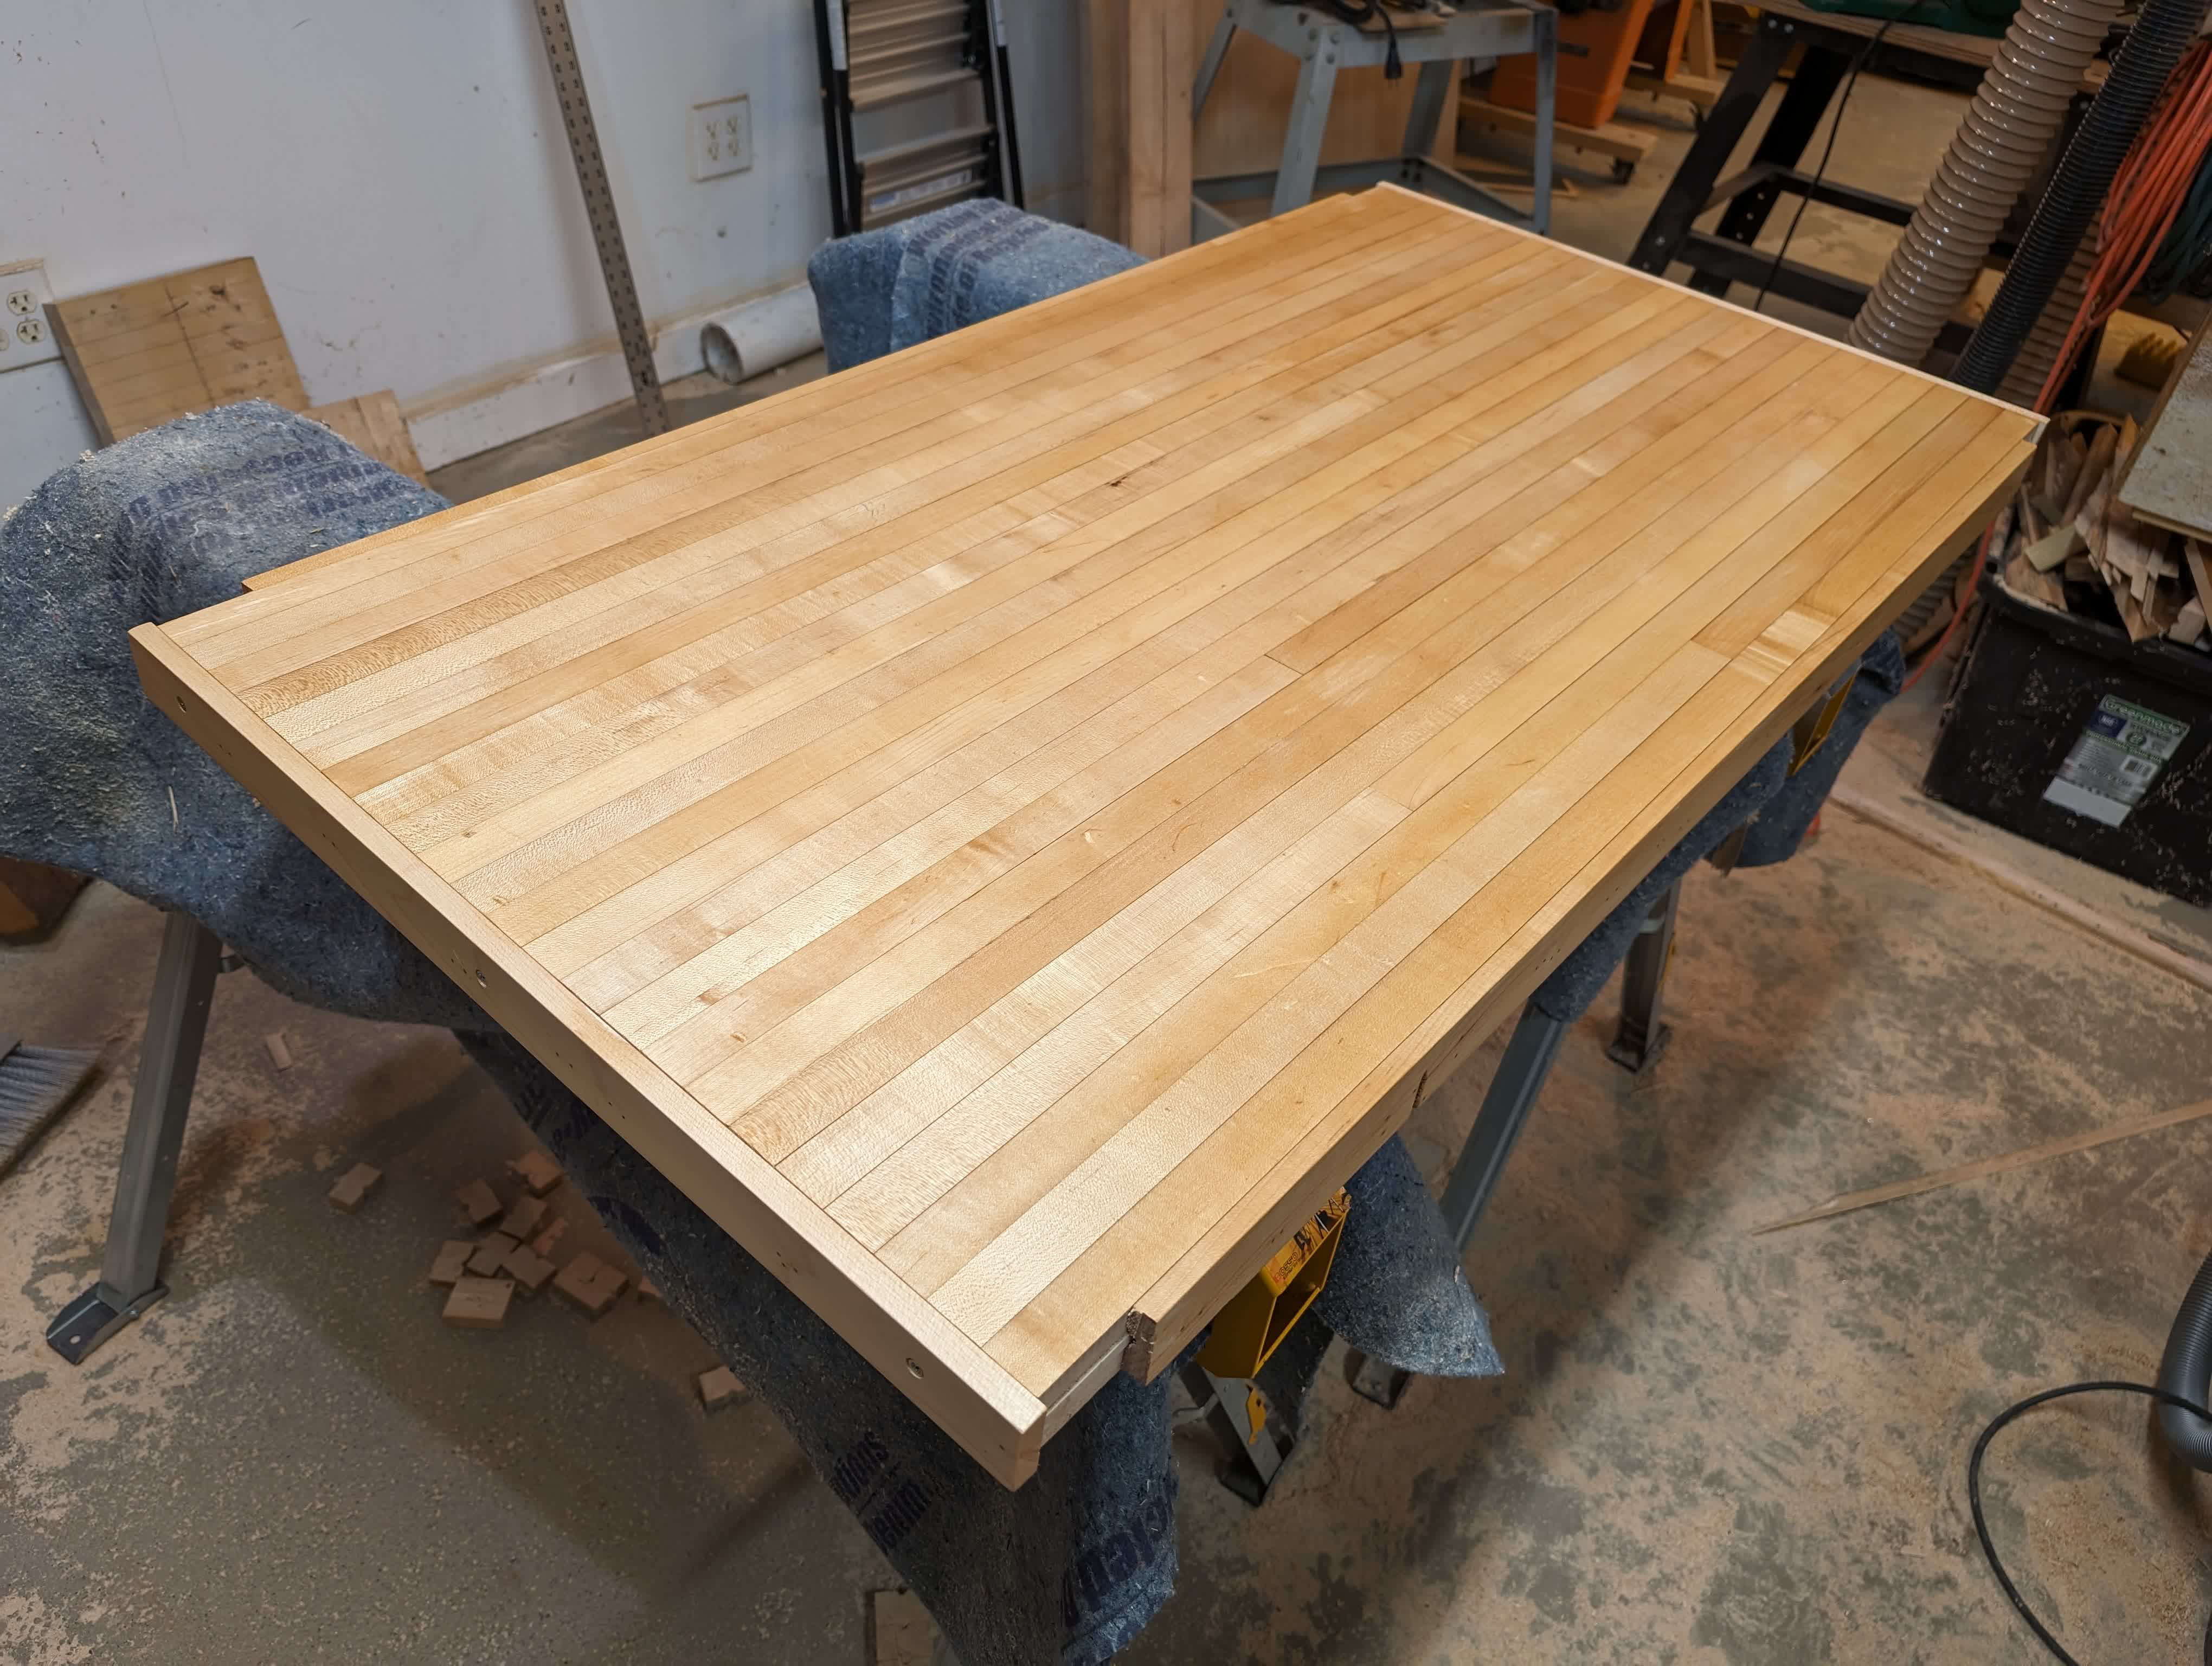
After a few rounds of finish sanding -> filler in staple holes I could be finished with the top.
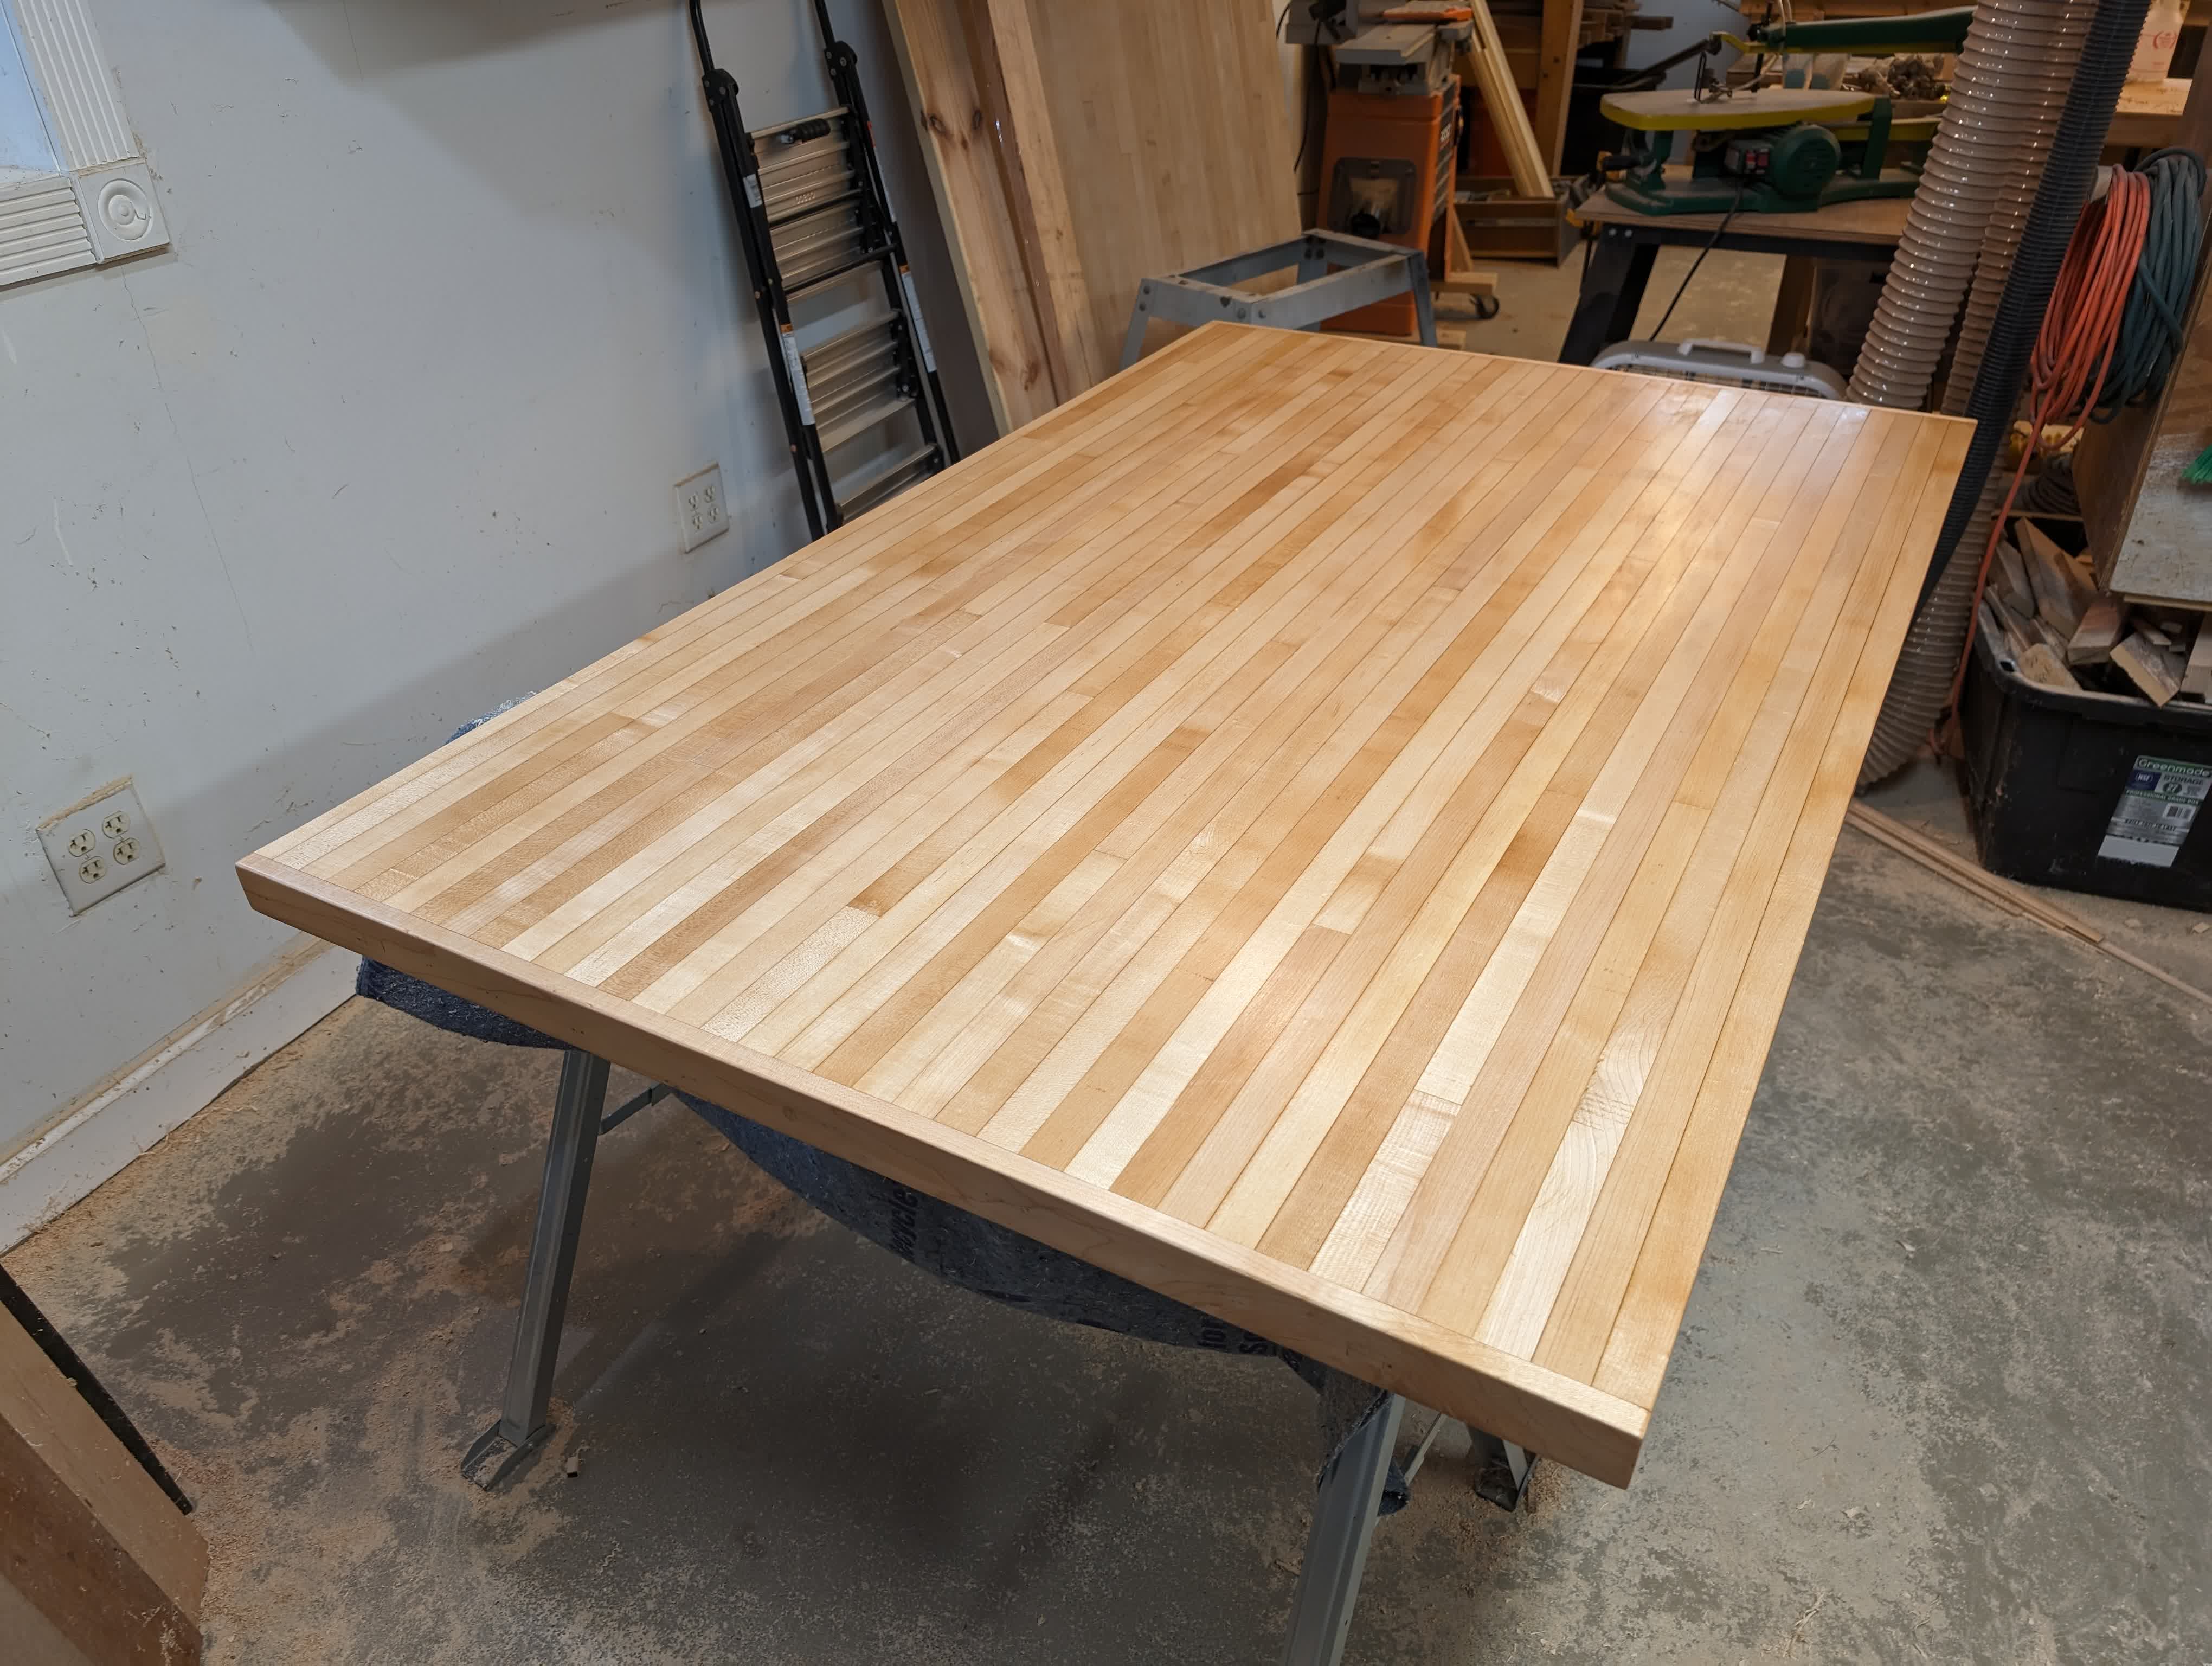
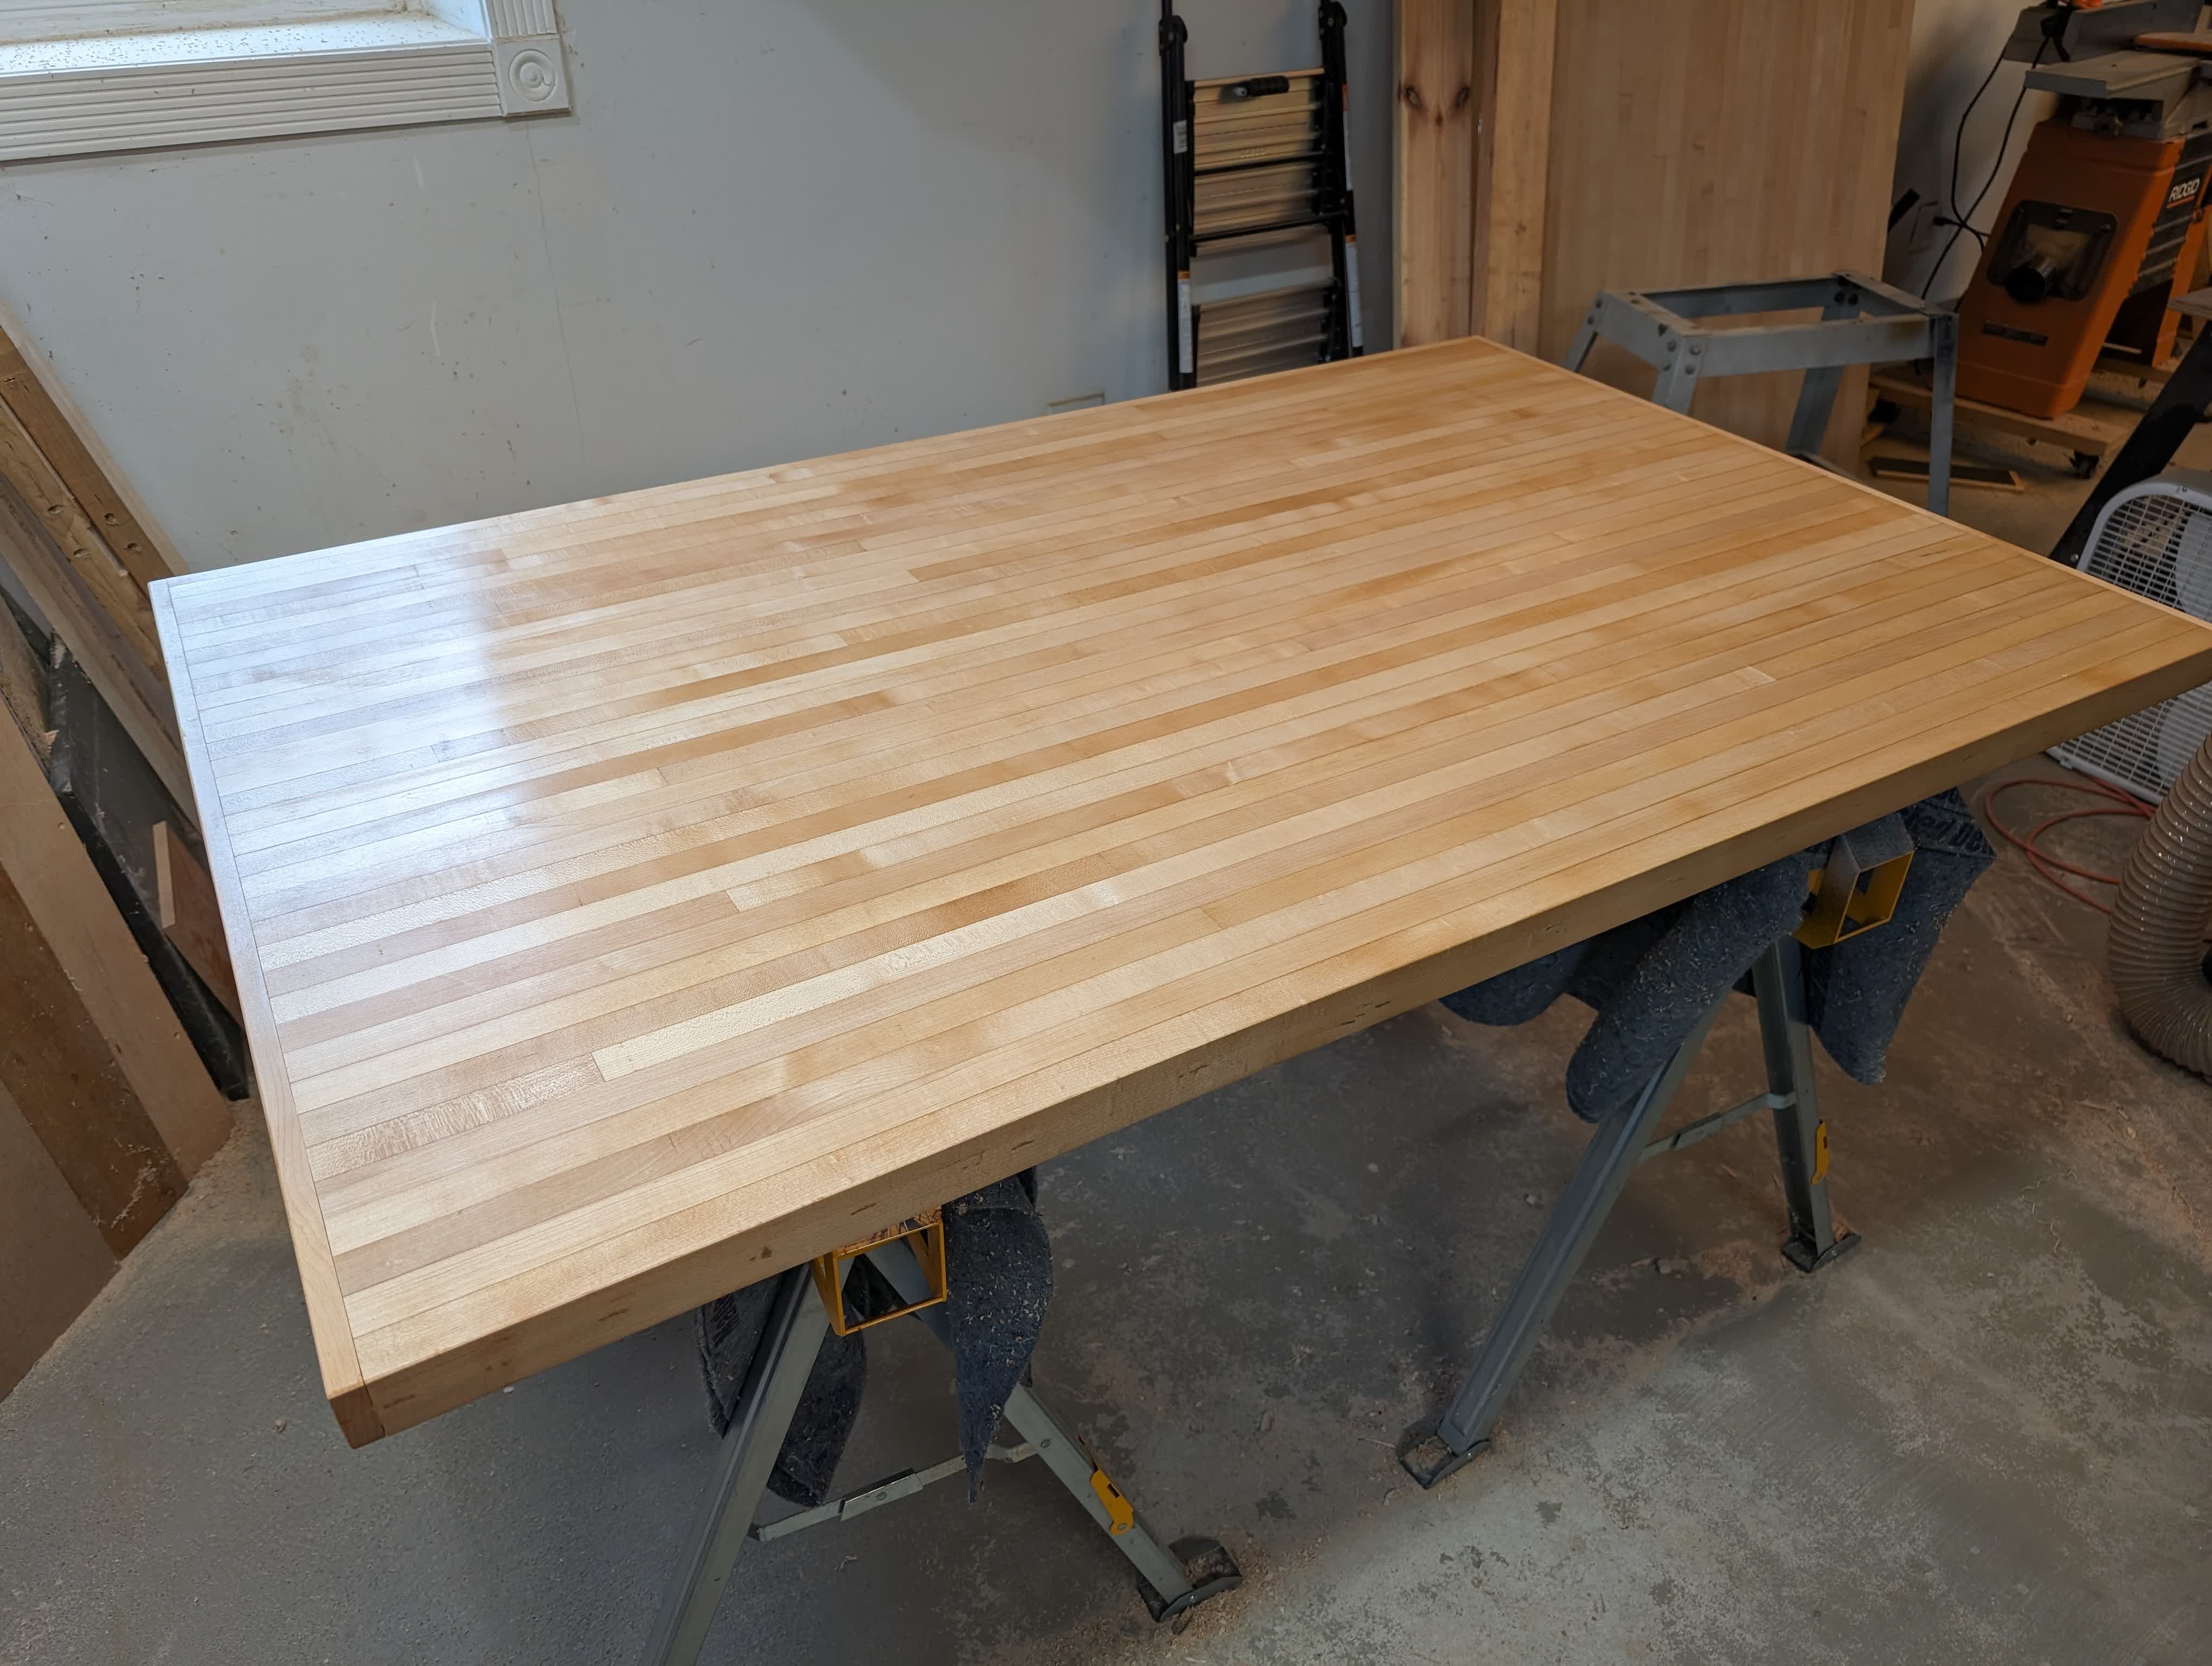
And that was just half! Then I had to repeat everything for the shelf.
First, rough cut to length.
 |
 |
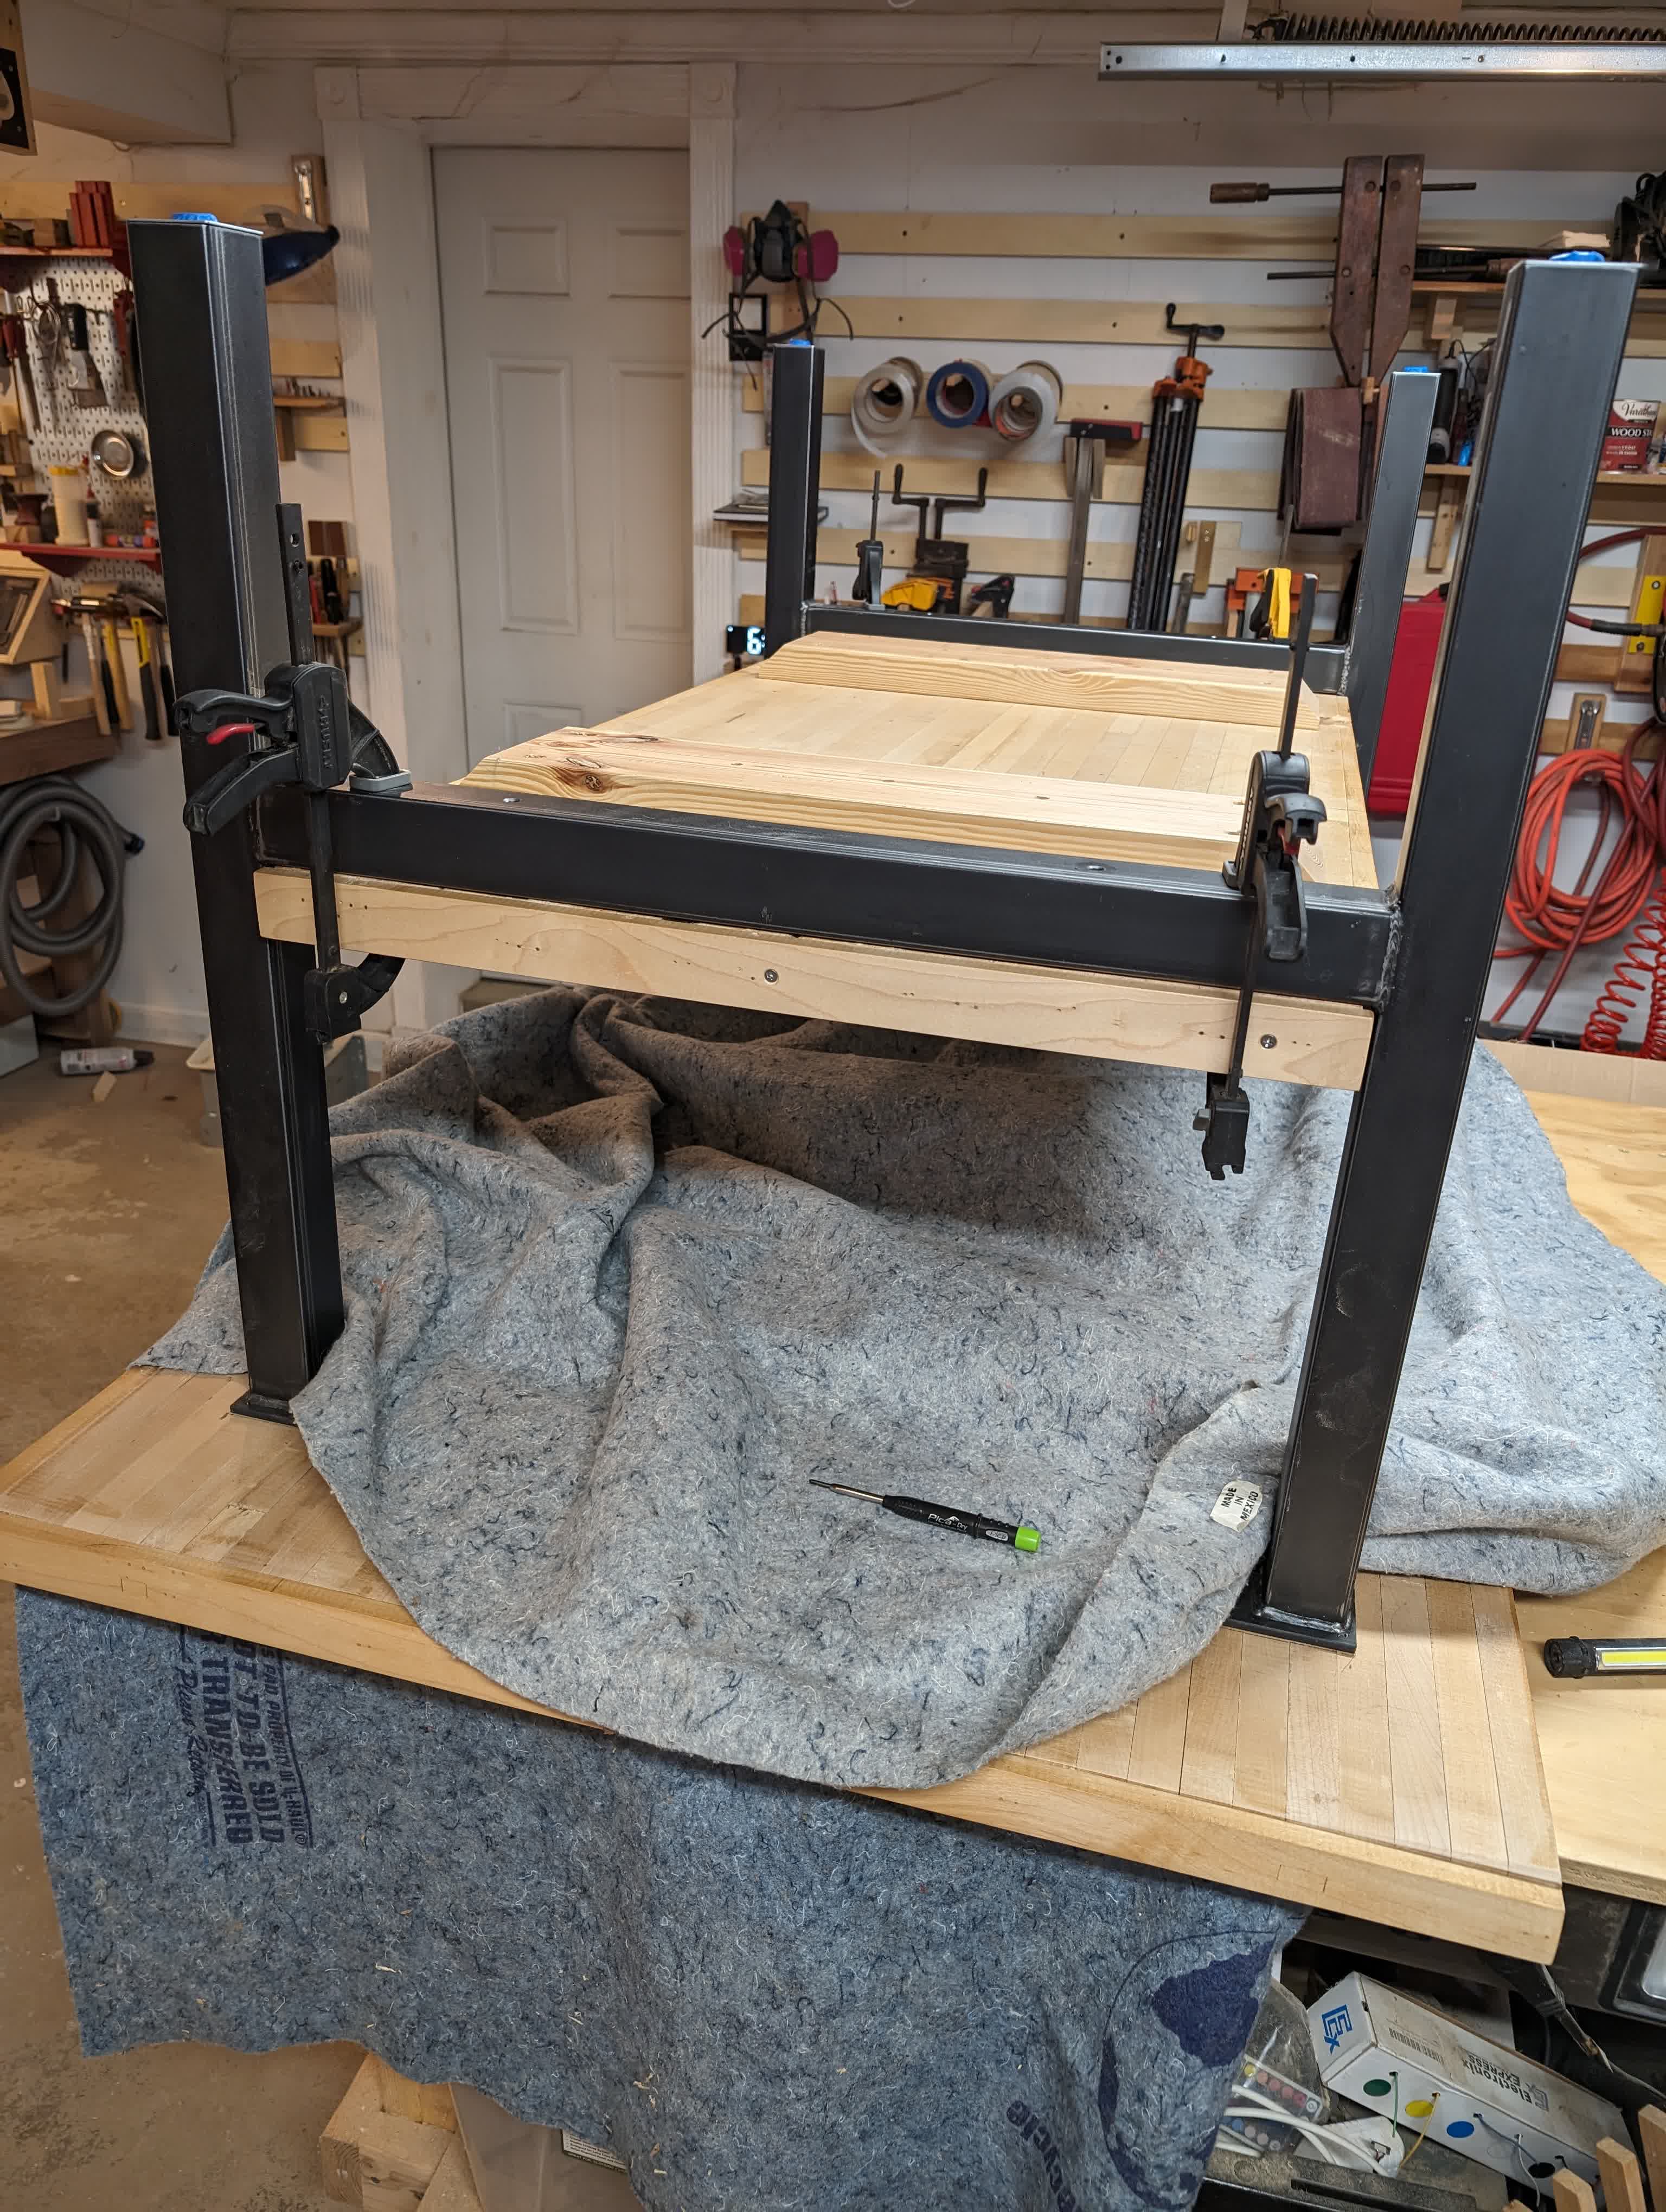
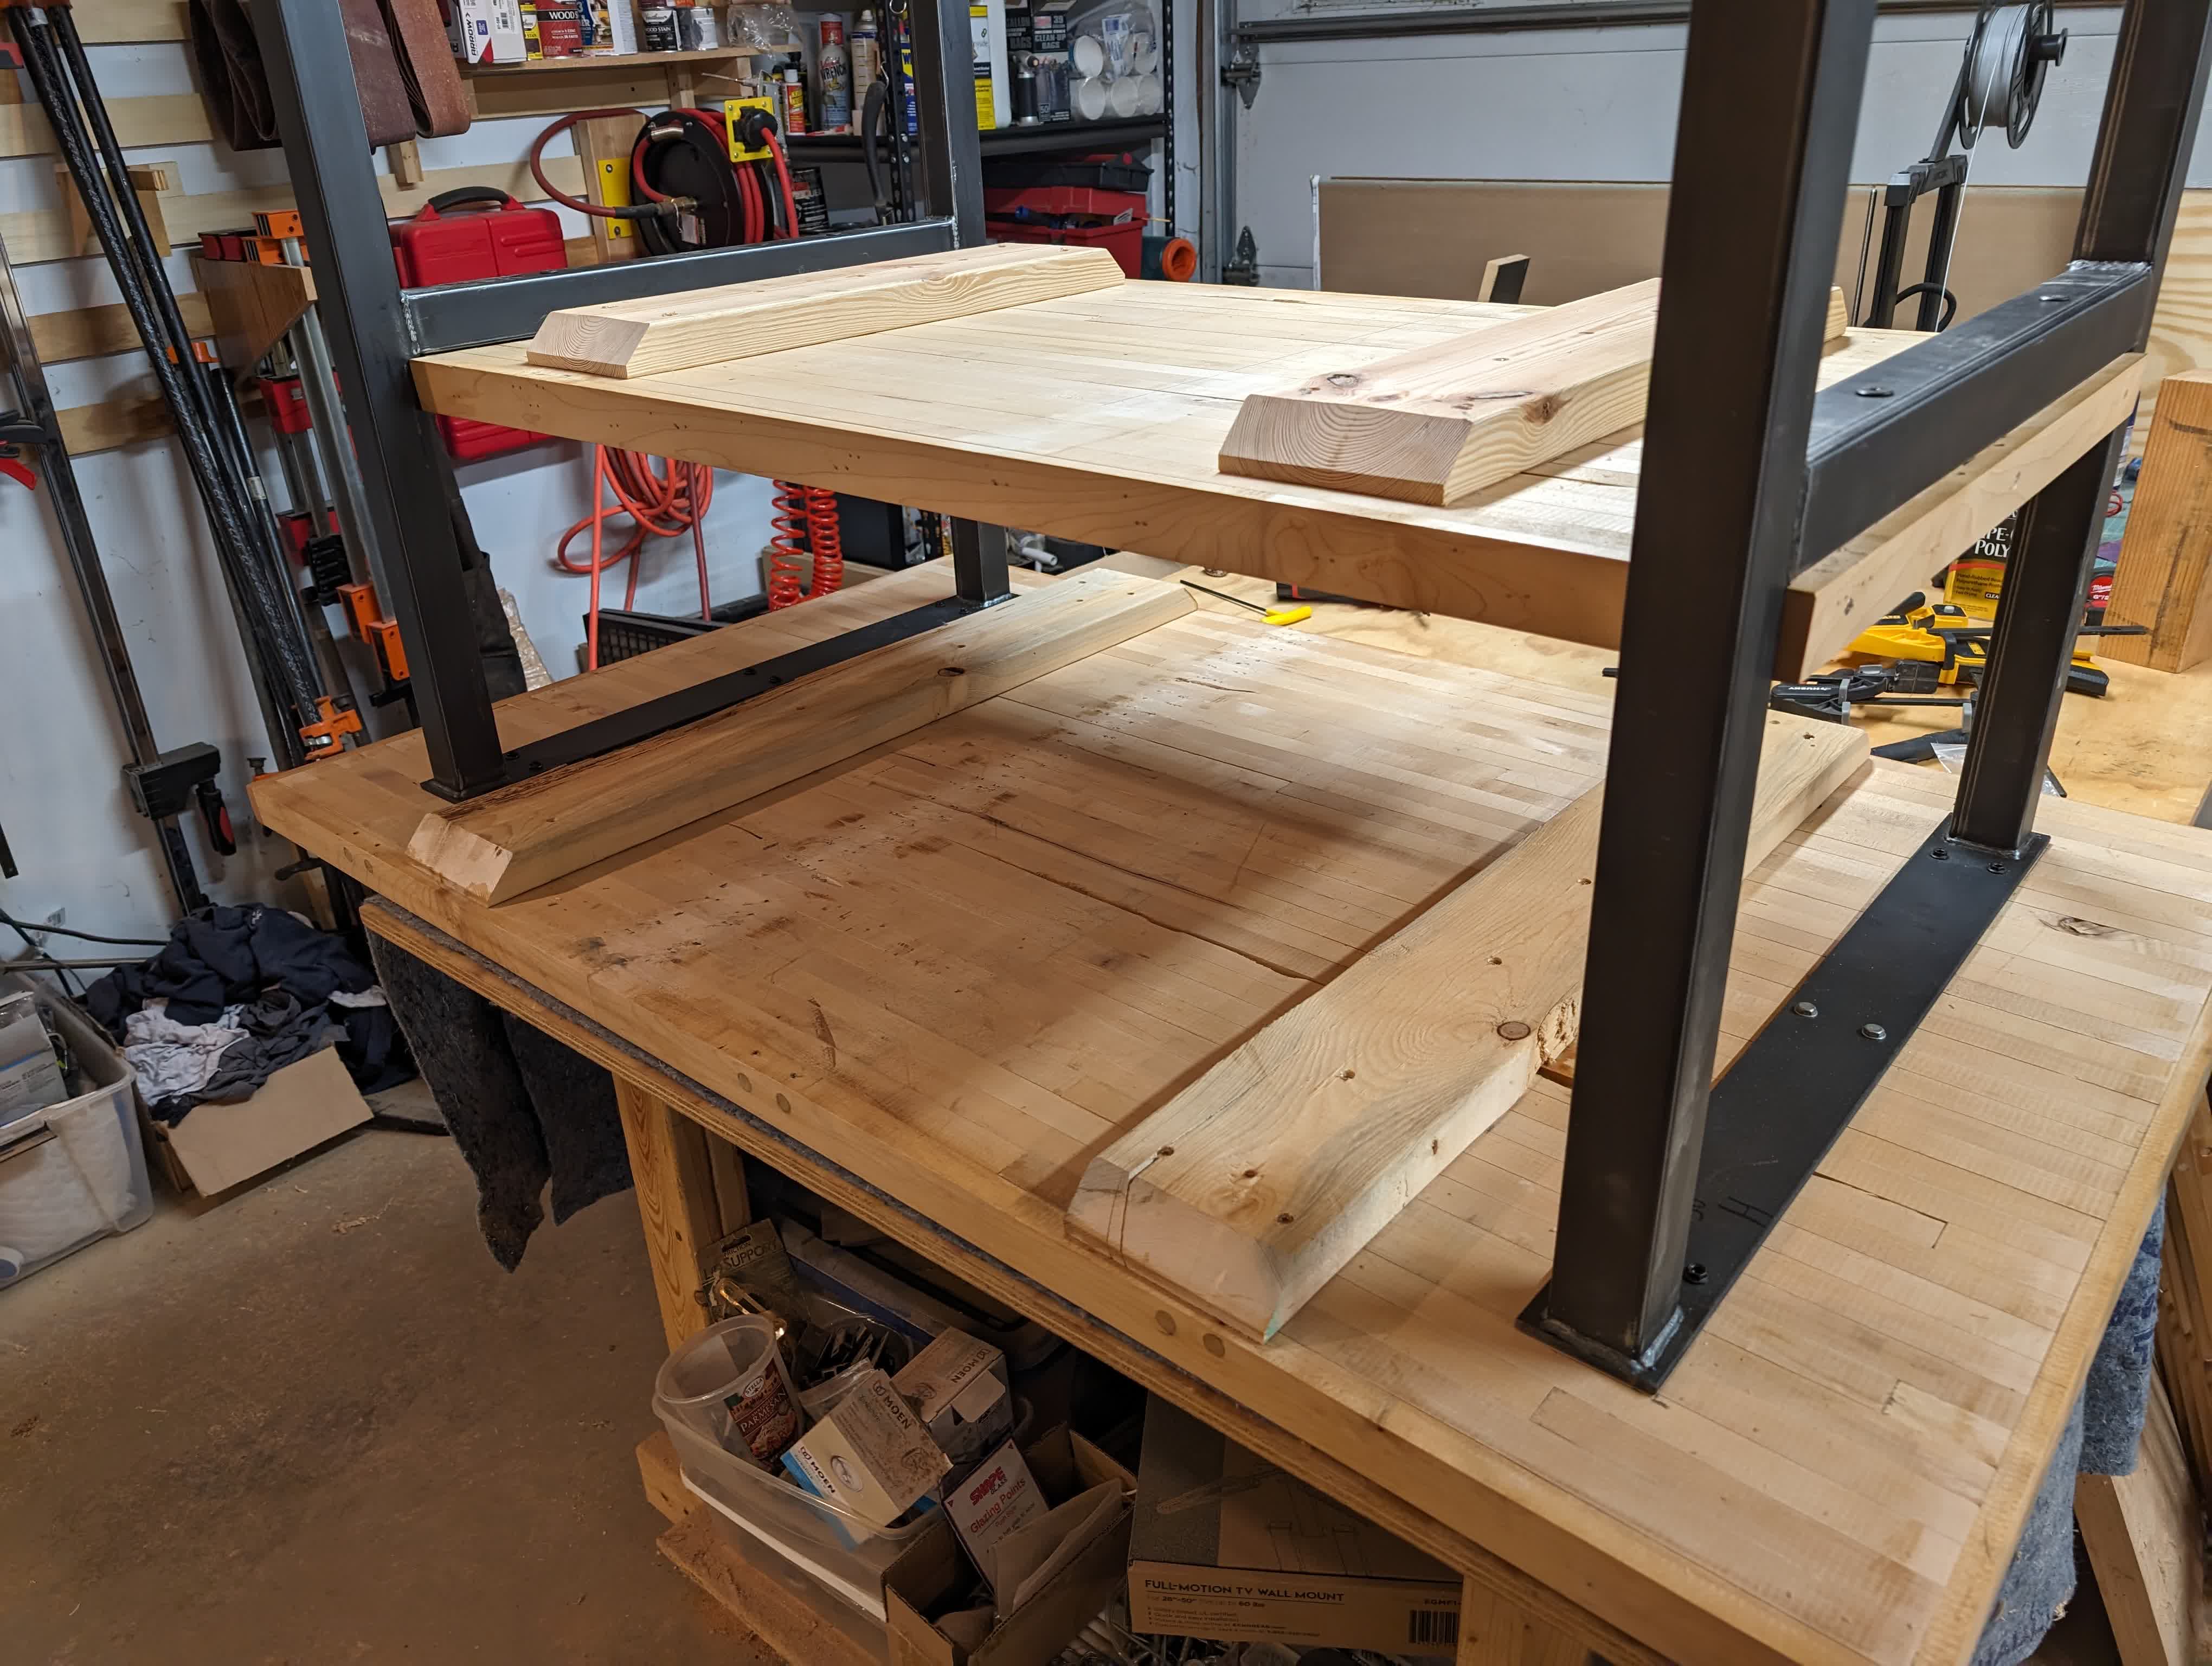
Then flatten / readd structure with 2x6’s.
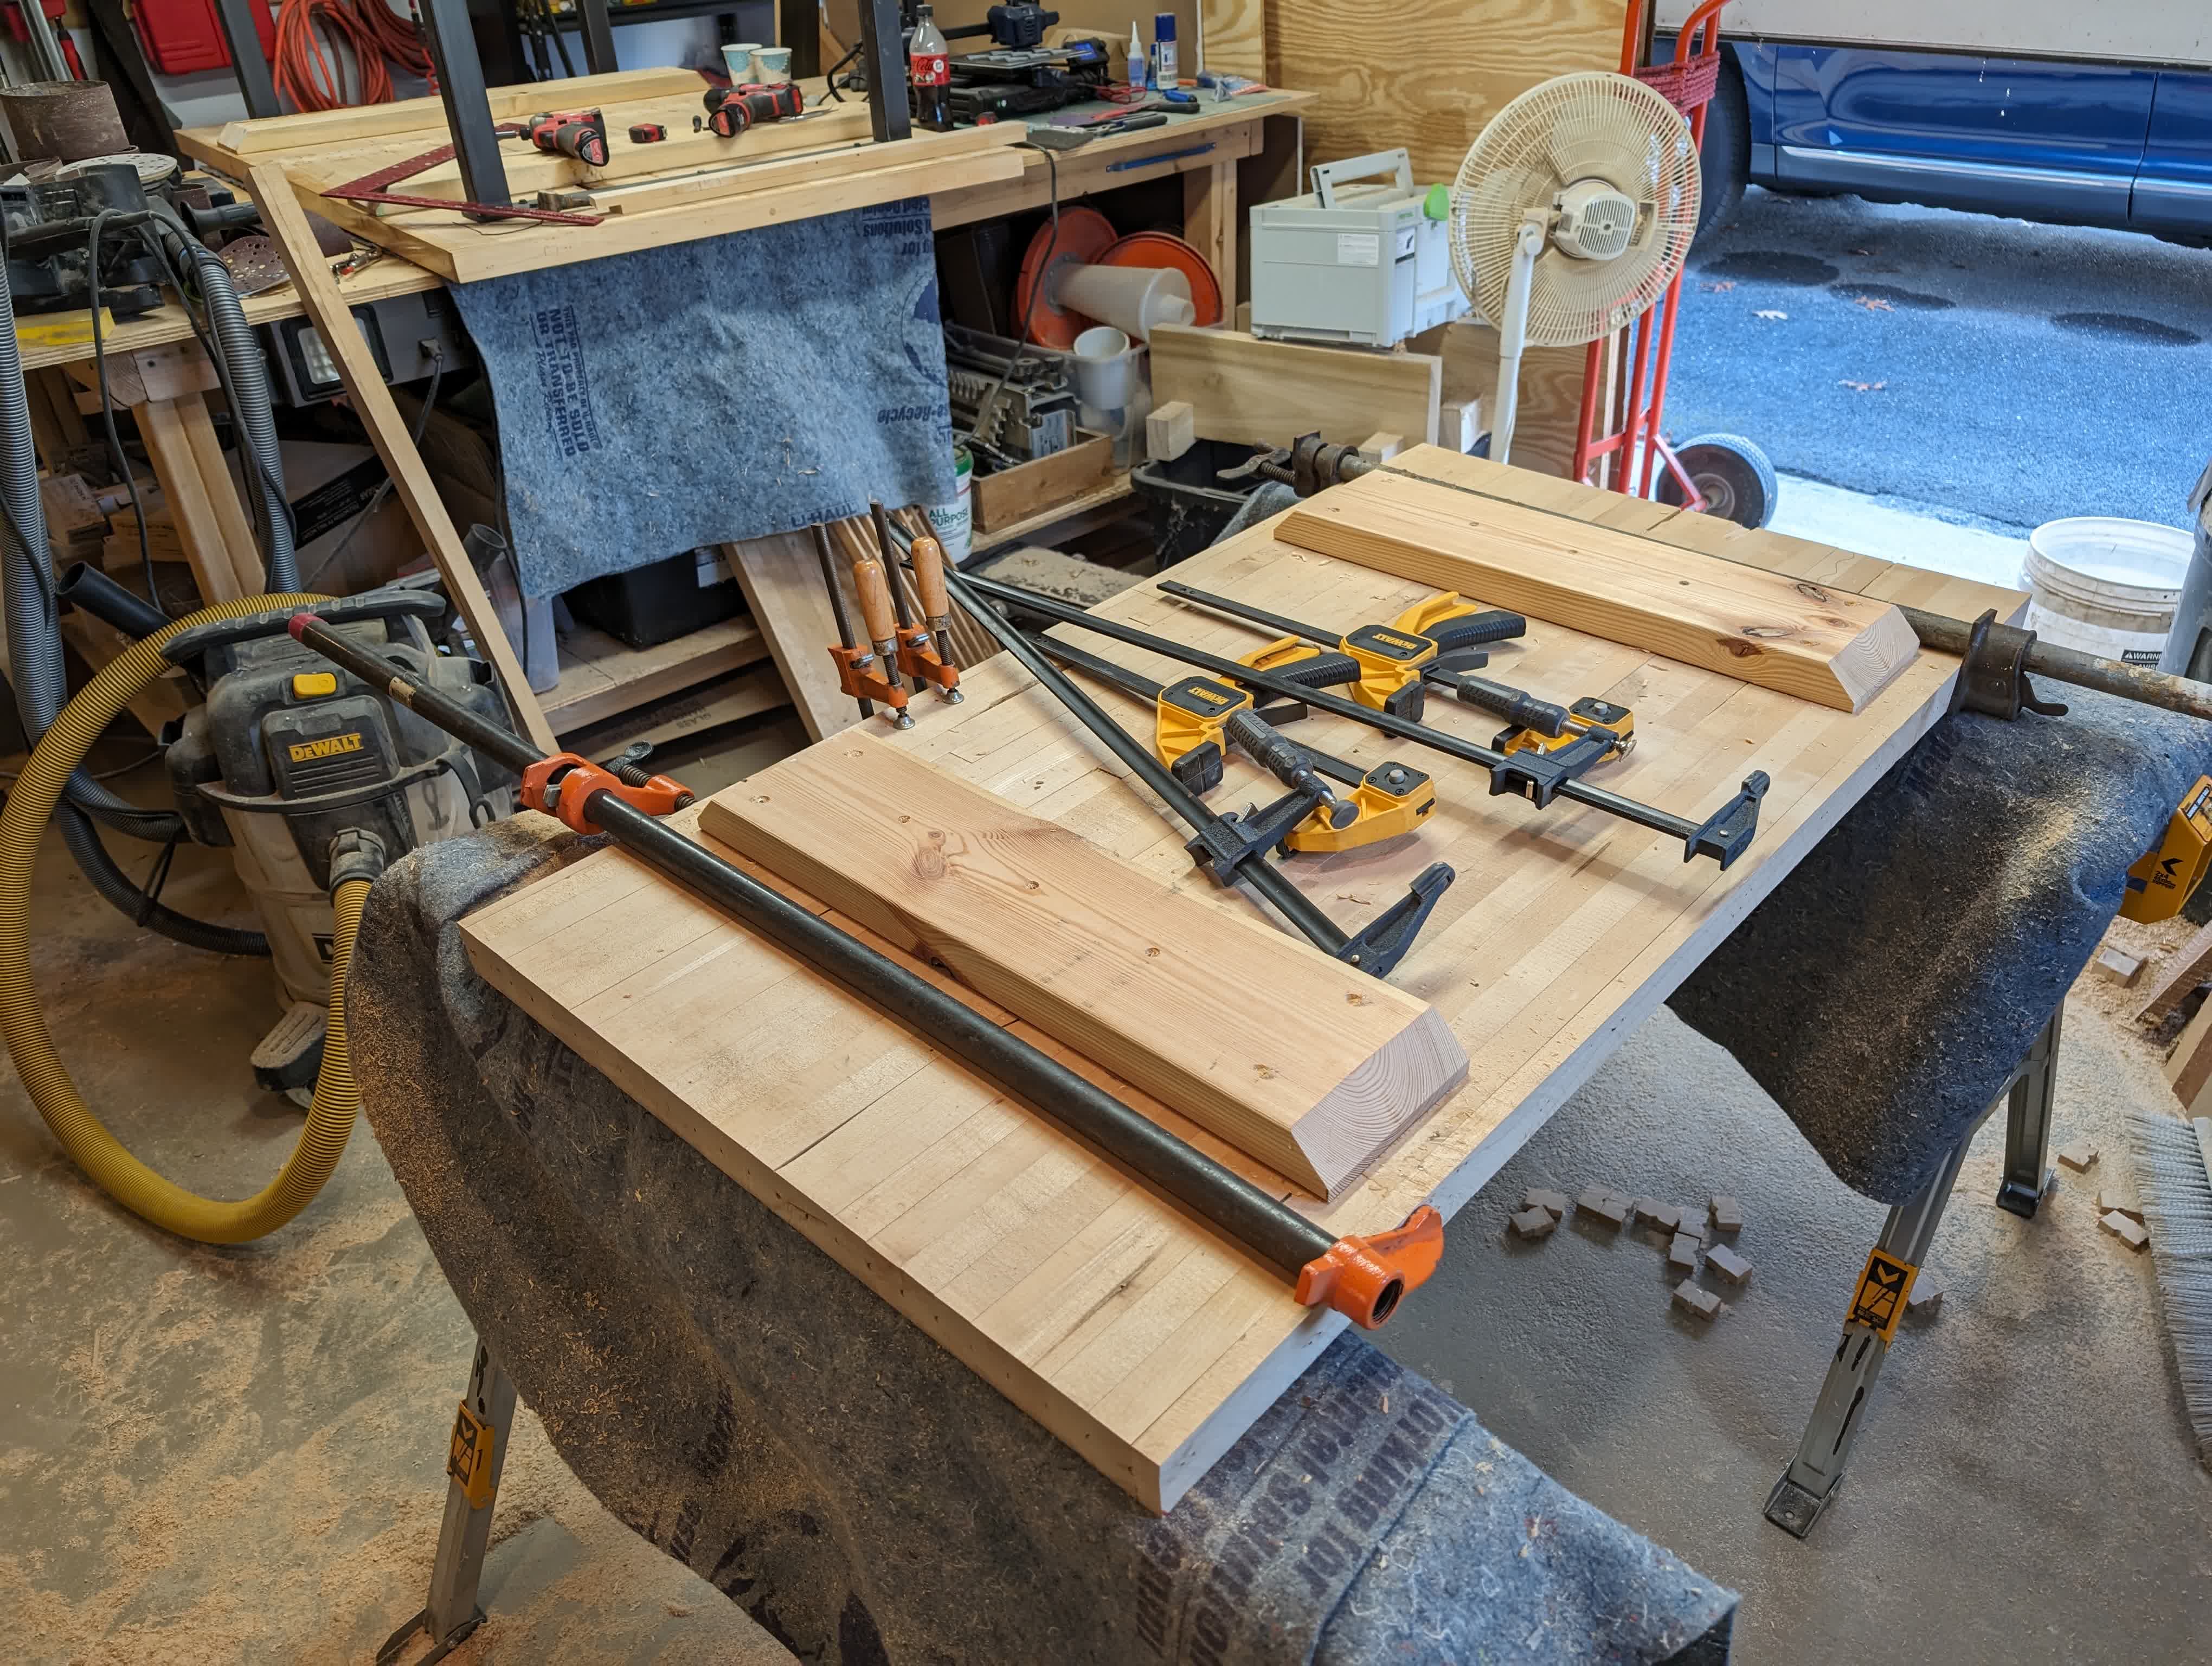
Then measure / cut / fit to the interior width of the base.
 |
 |
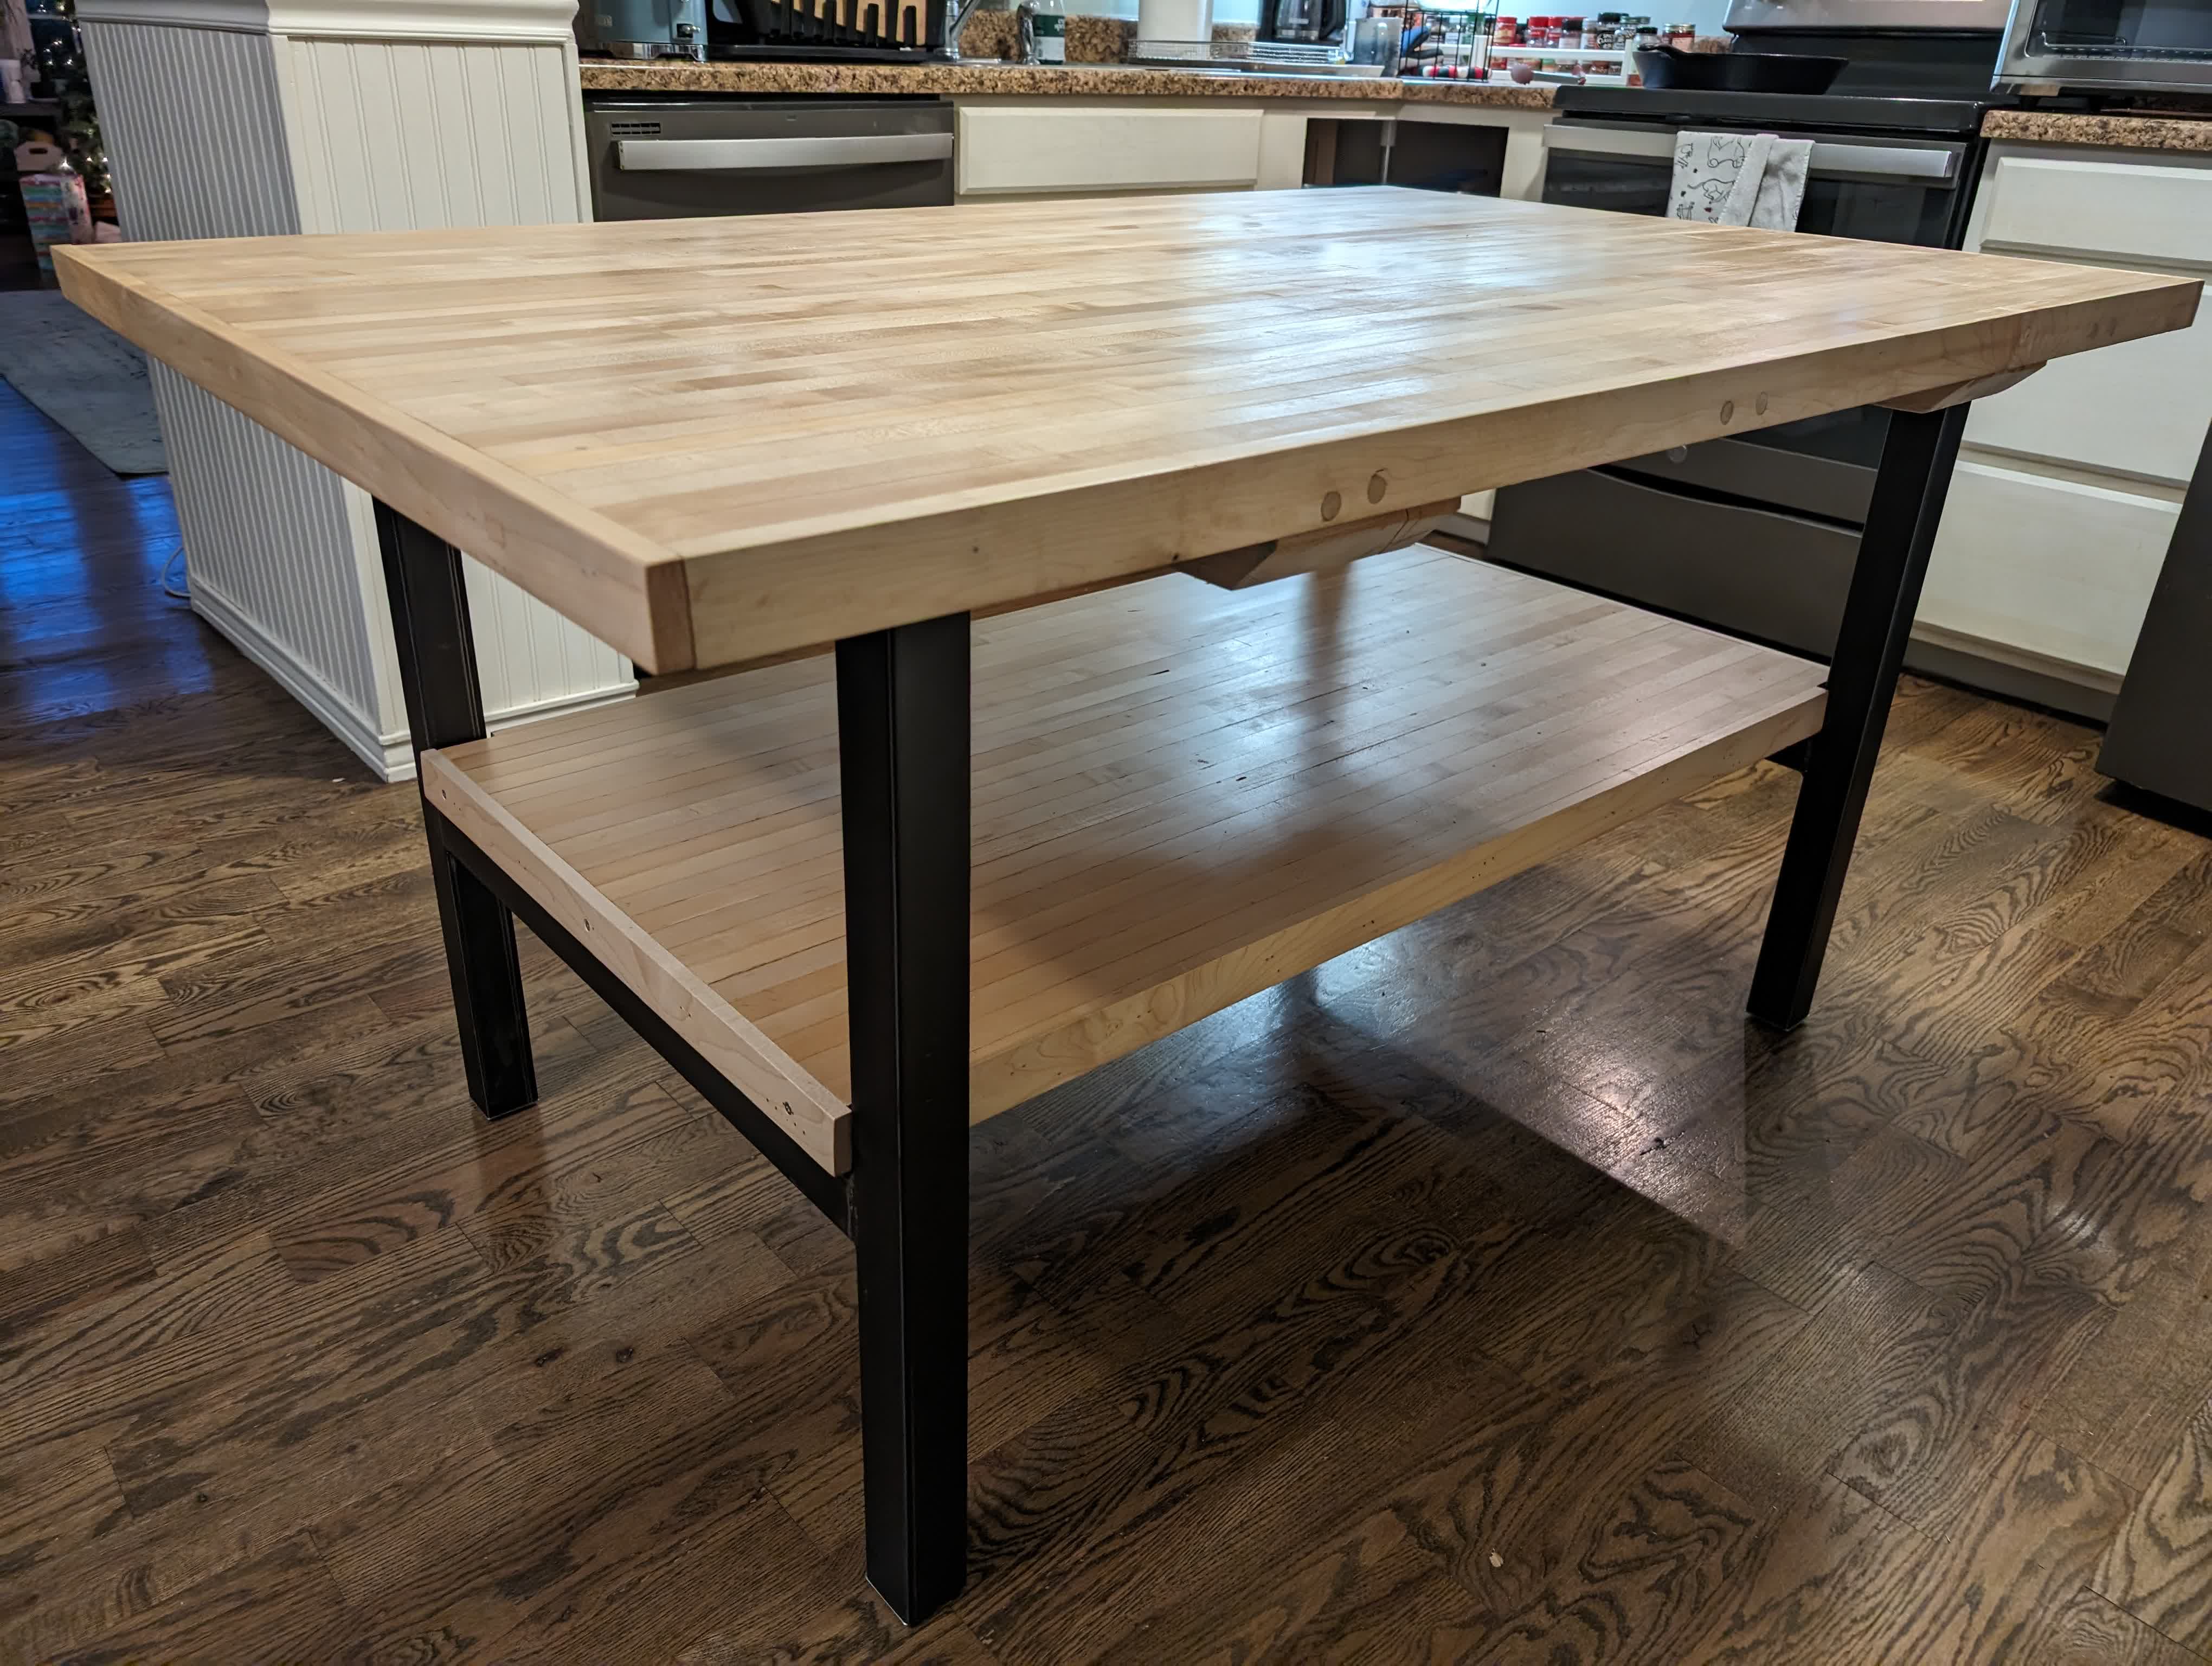
Once fit to width I went back and finish sanded, and added some breadboard ends similar to what I did on the top. On the top I attached them with screws with oversized holes to allow for wood movement. Then I squared off the countersink and cut a perfectly-fit rectangular piece to seal it in. On the base I left the screw heads visible.
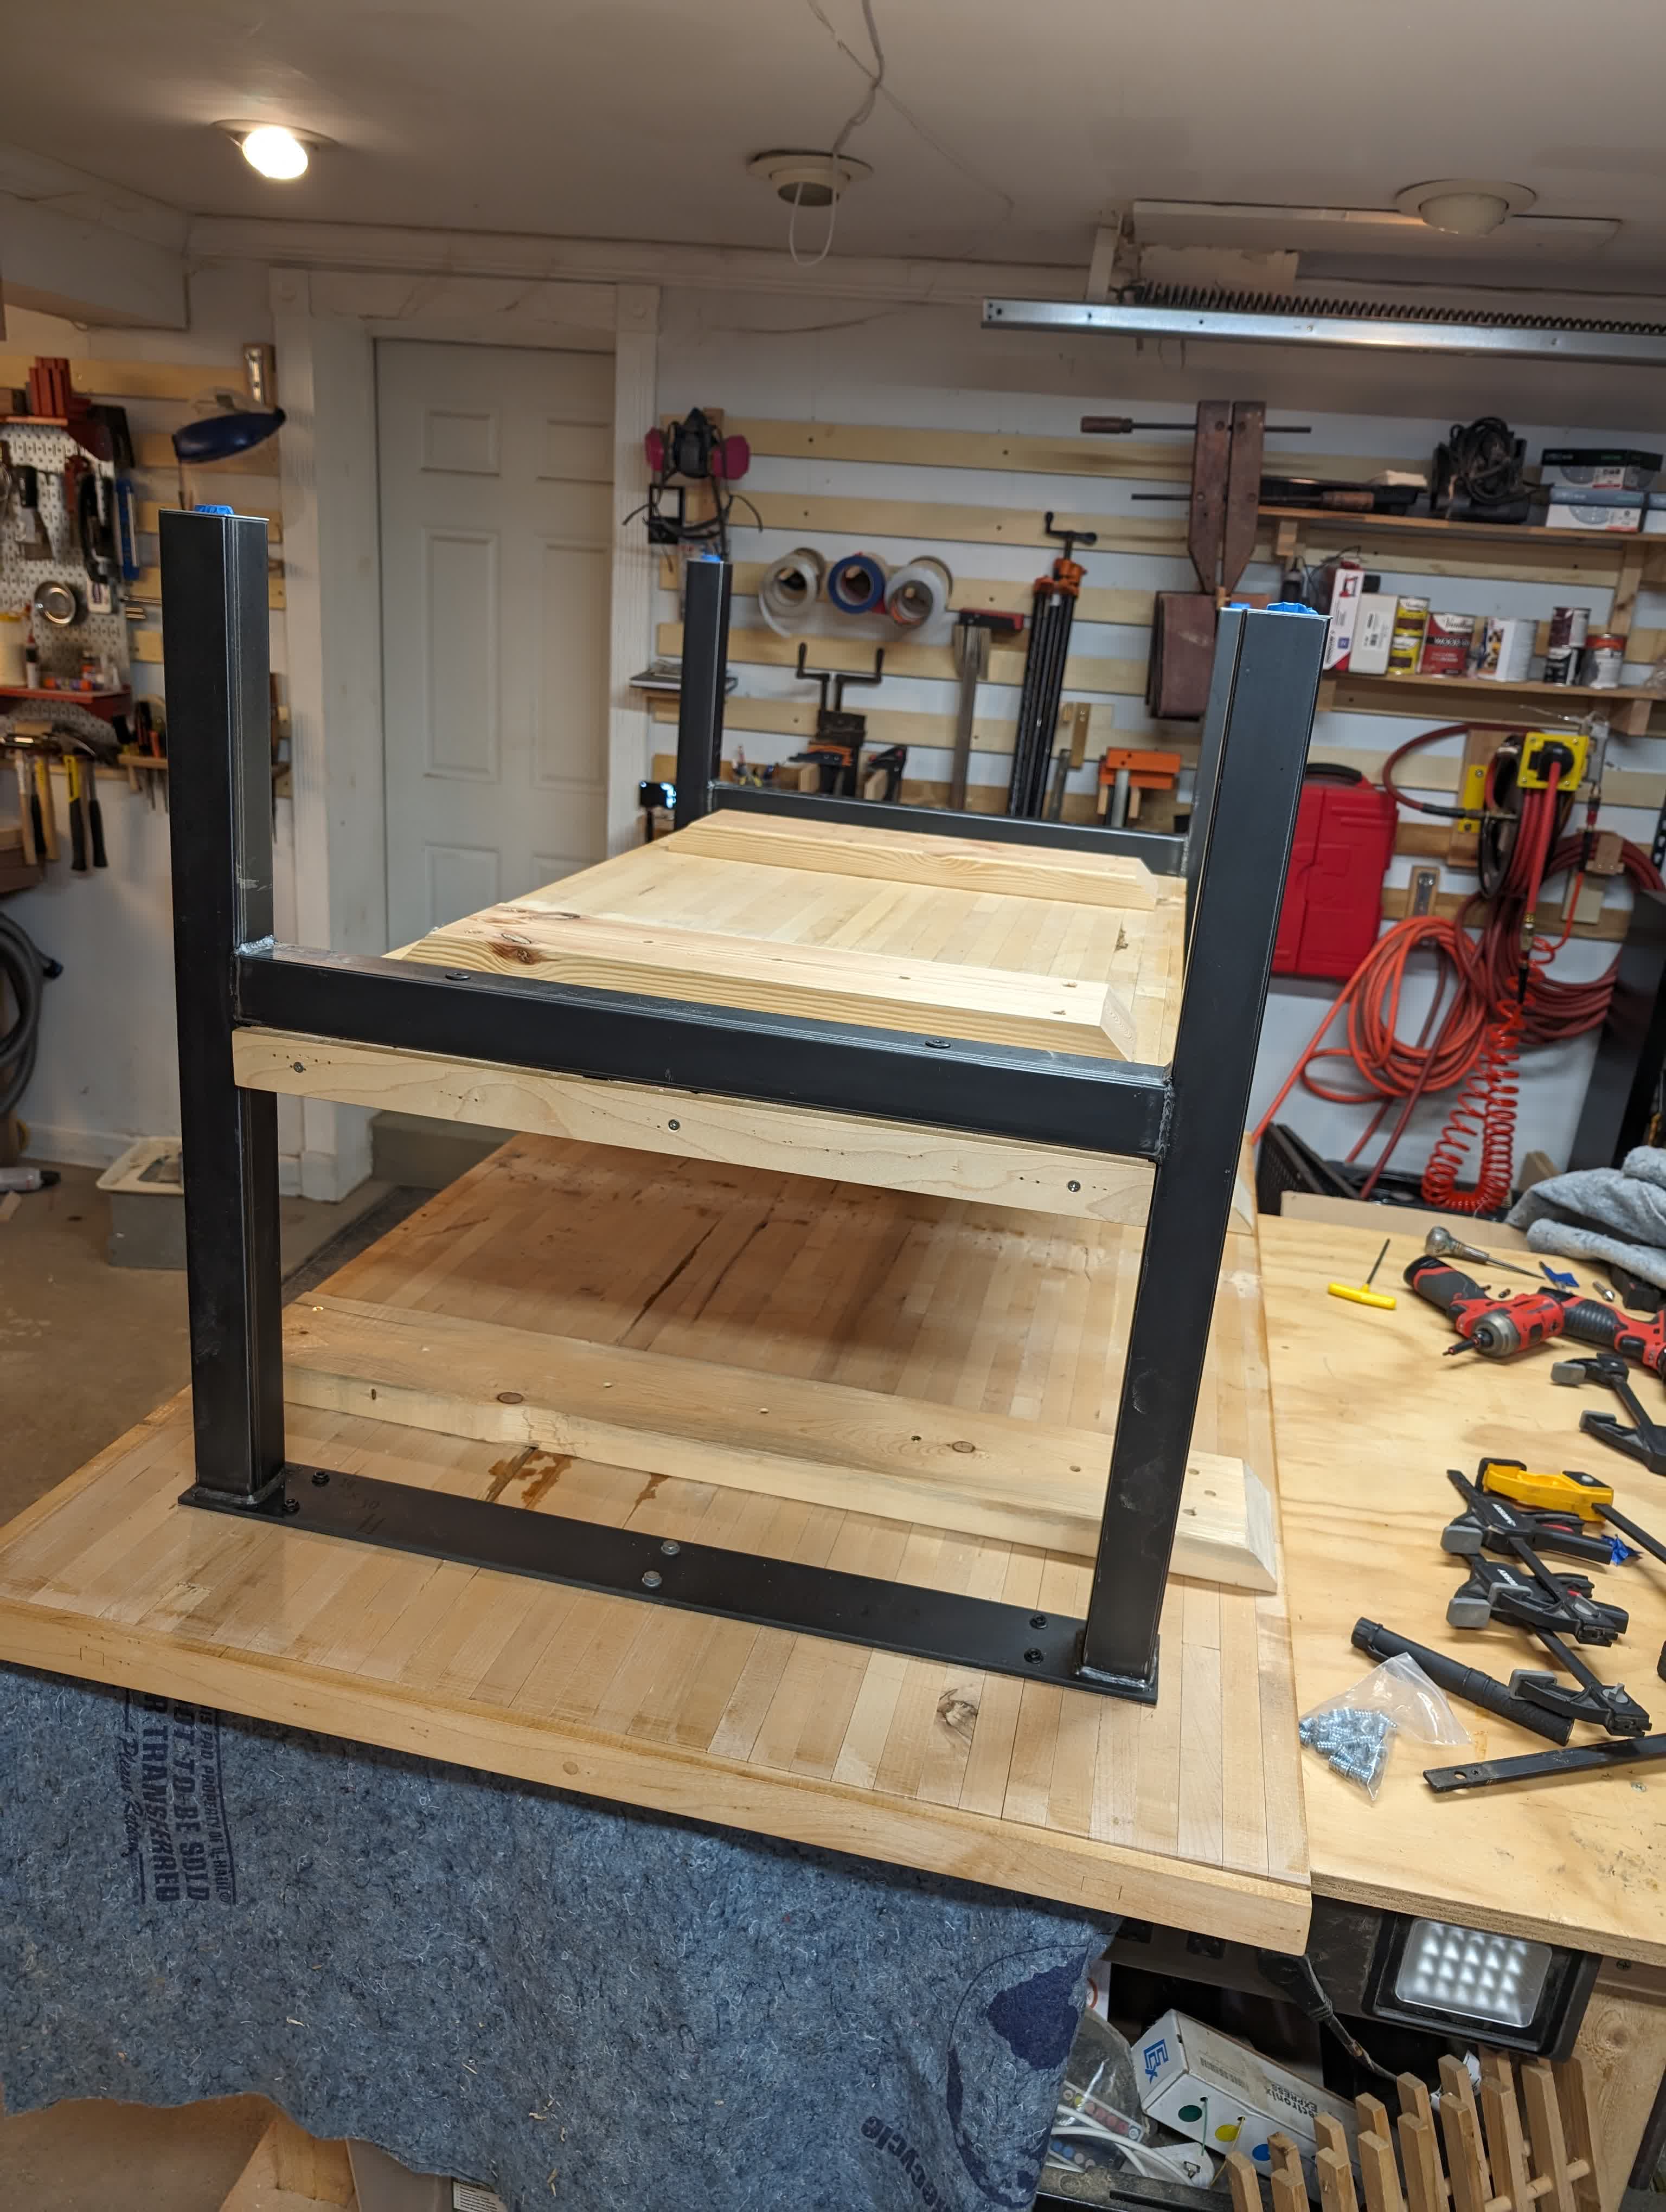
With it done I still had to attach it to the base, which meant drilling some big screw holes through the 1/8 inch thick, 2x2 steel tubing (with a hand drill!). Then marking the holes on the underside of the shelf, putting in some machine screw inserts, then screwing everything in.
 |
 |
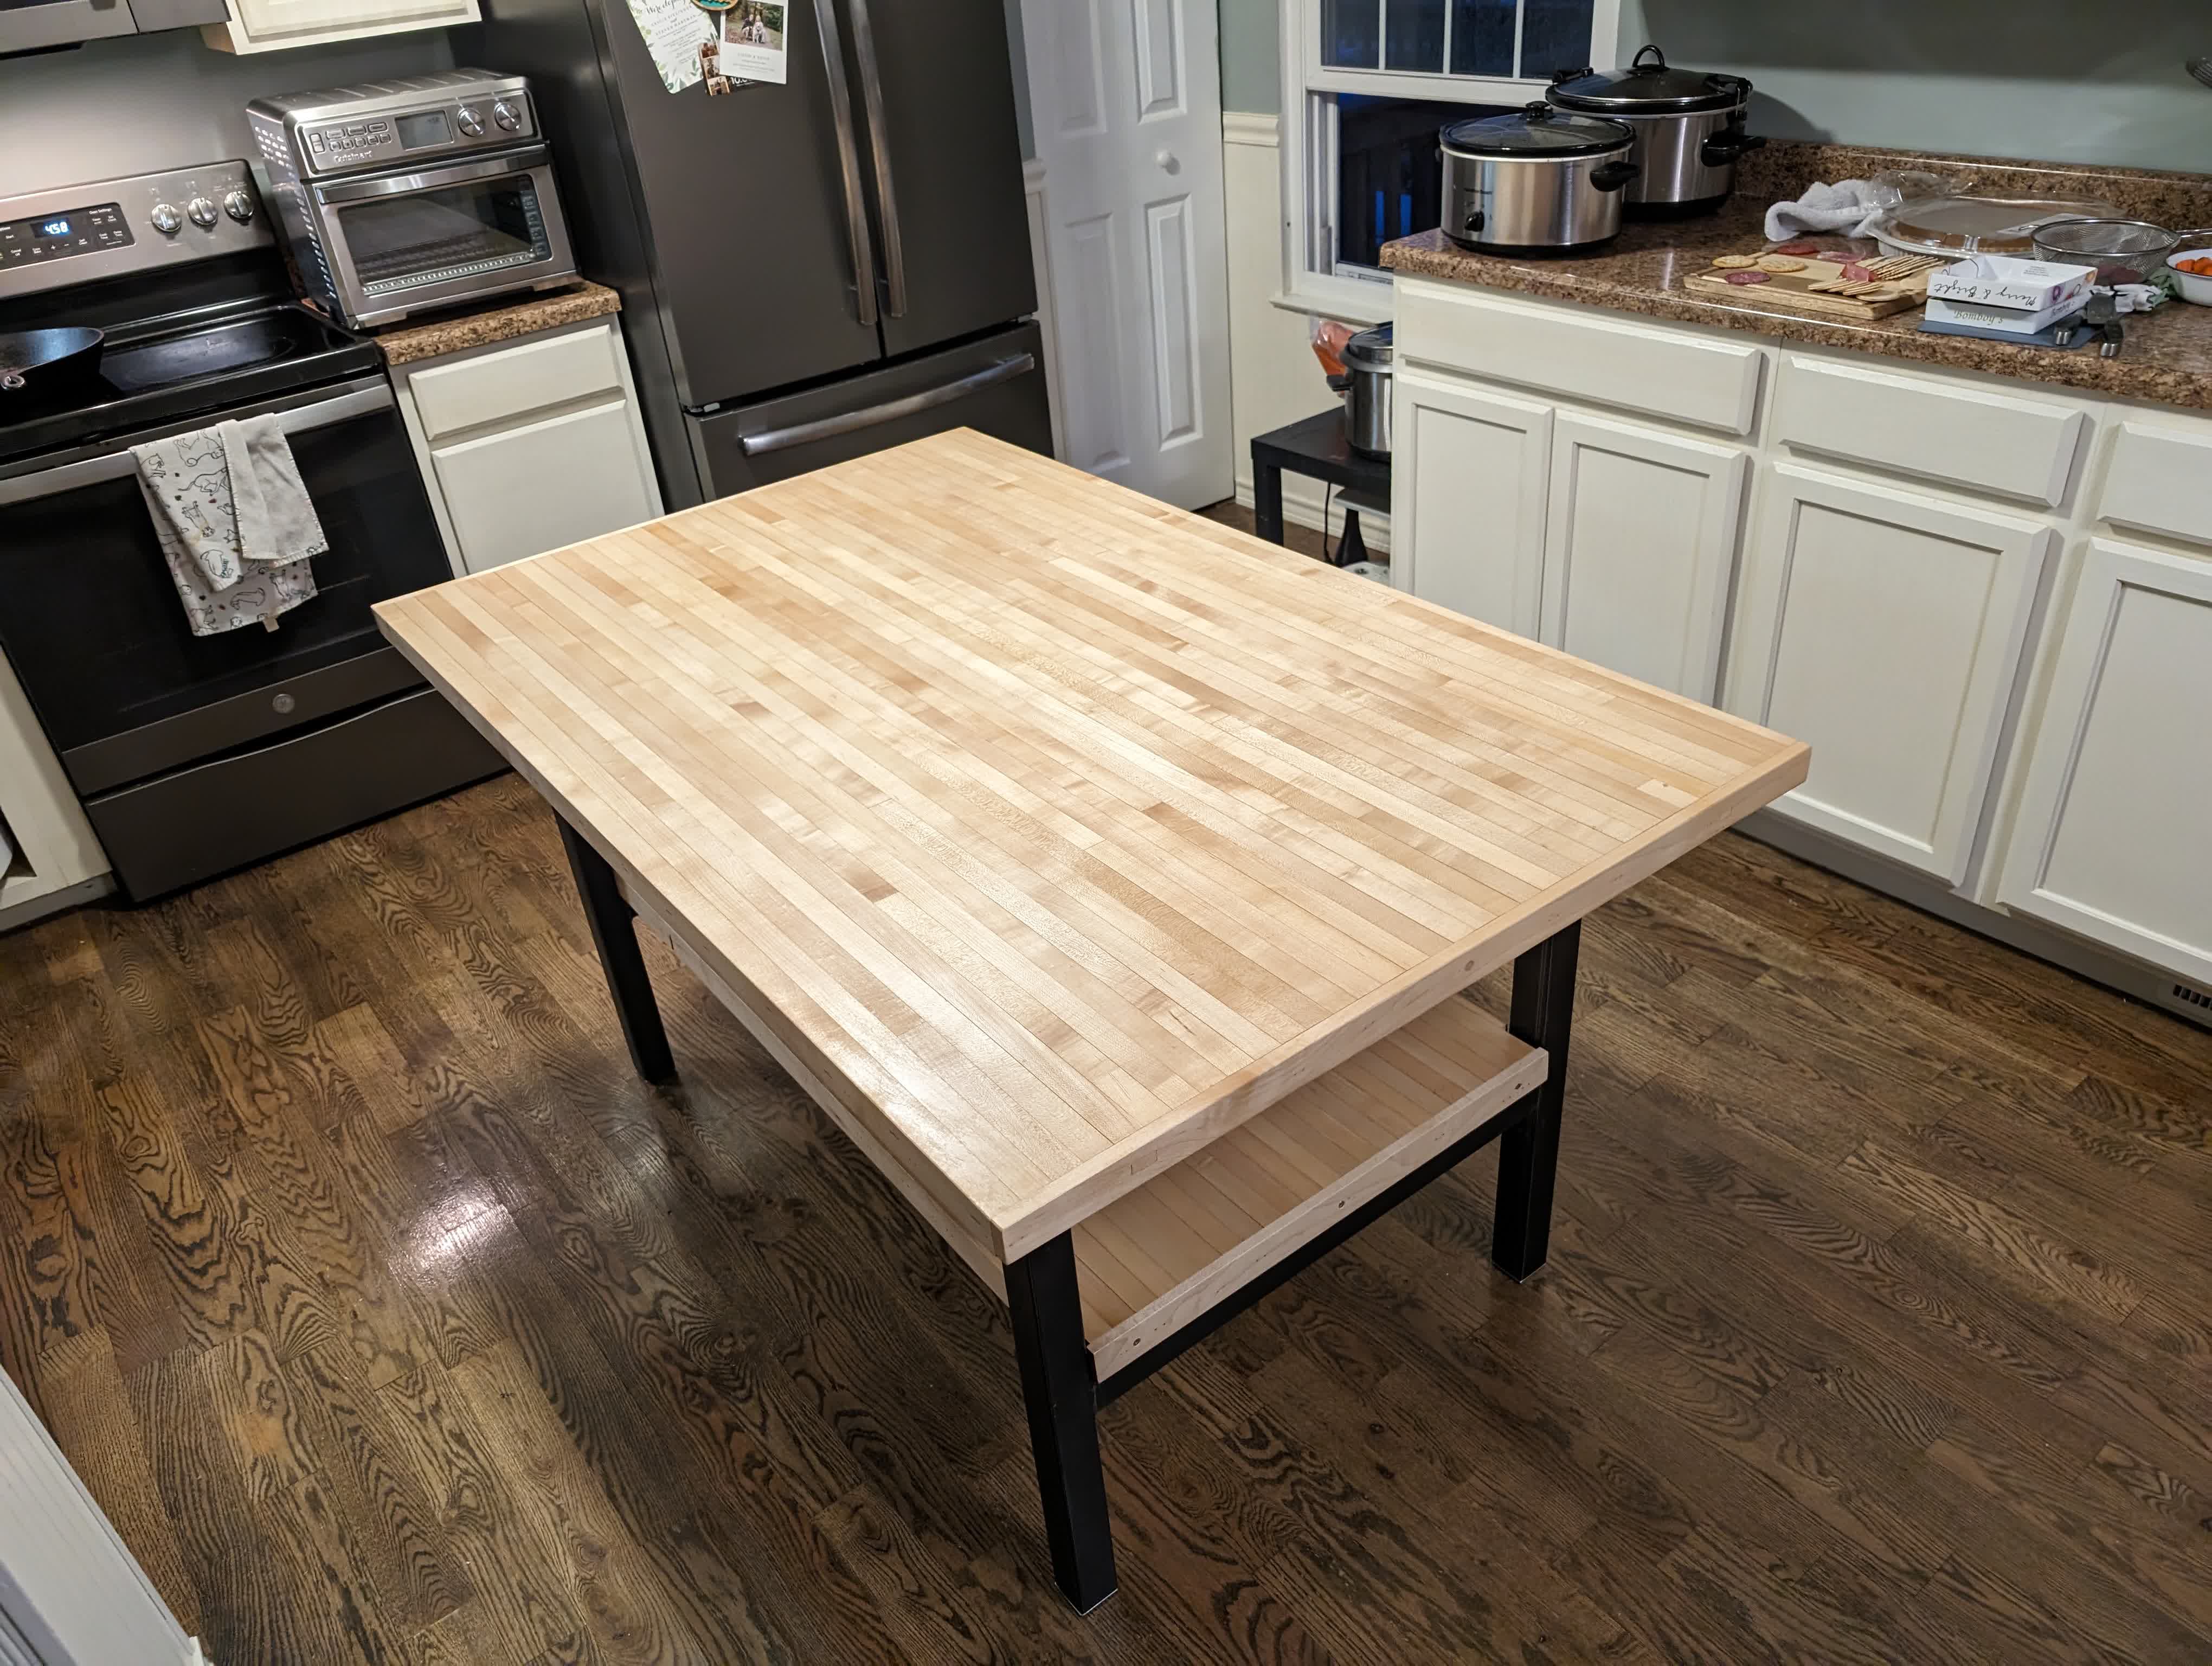
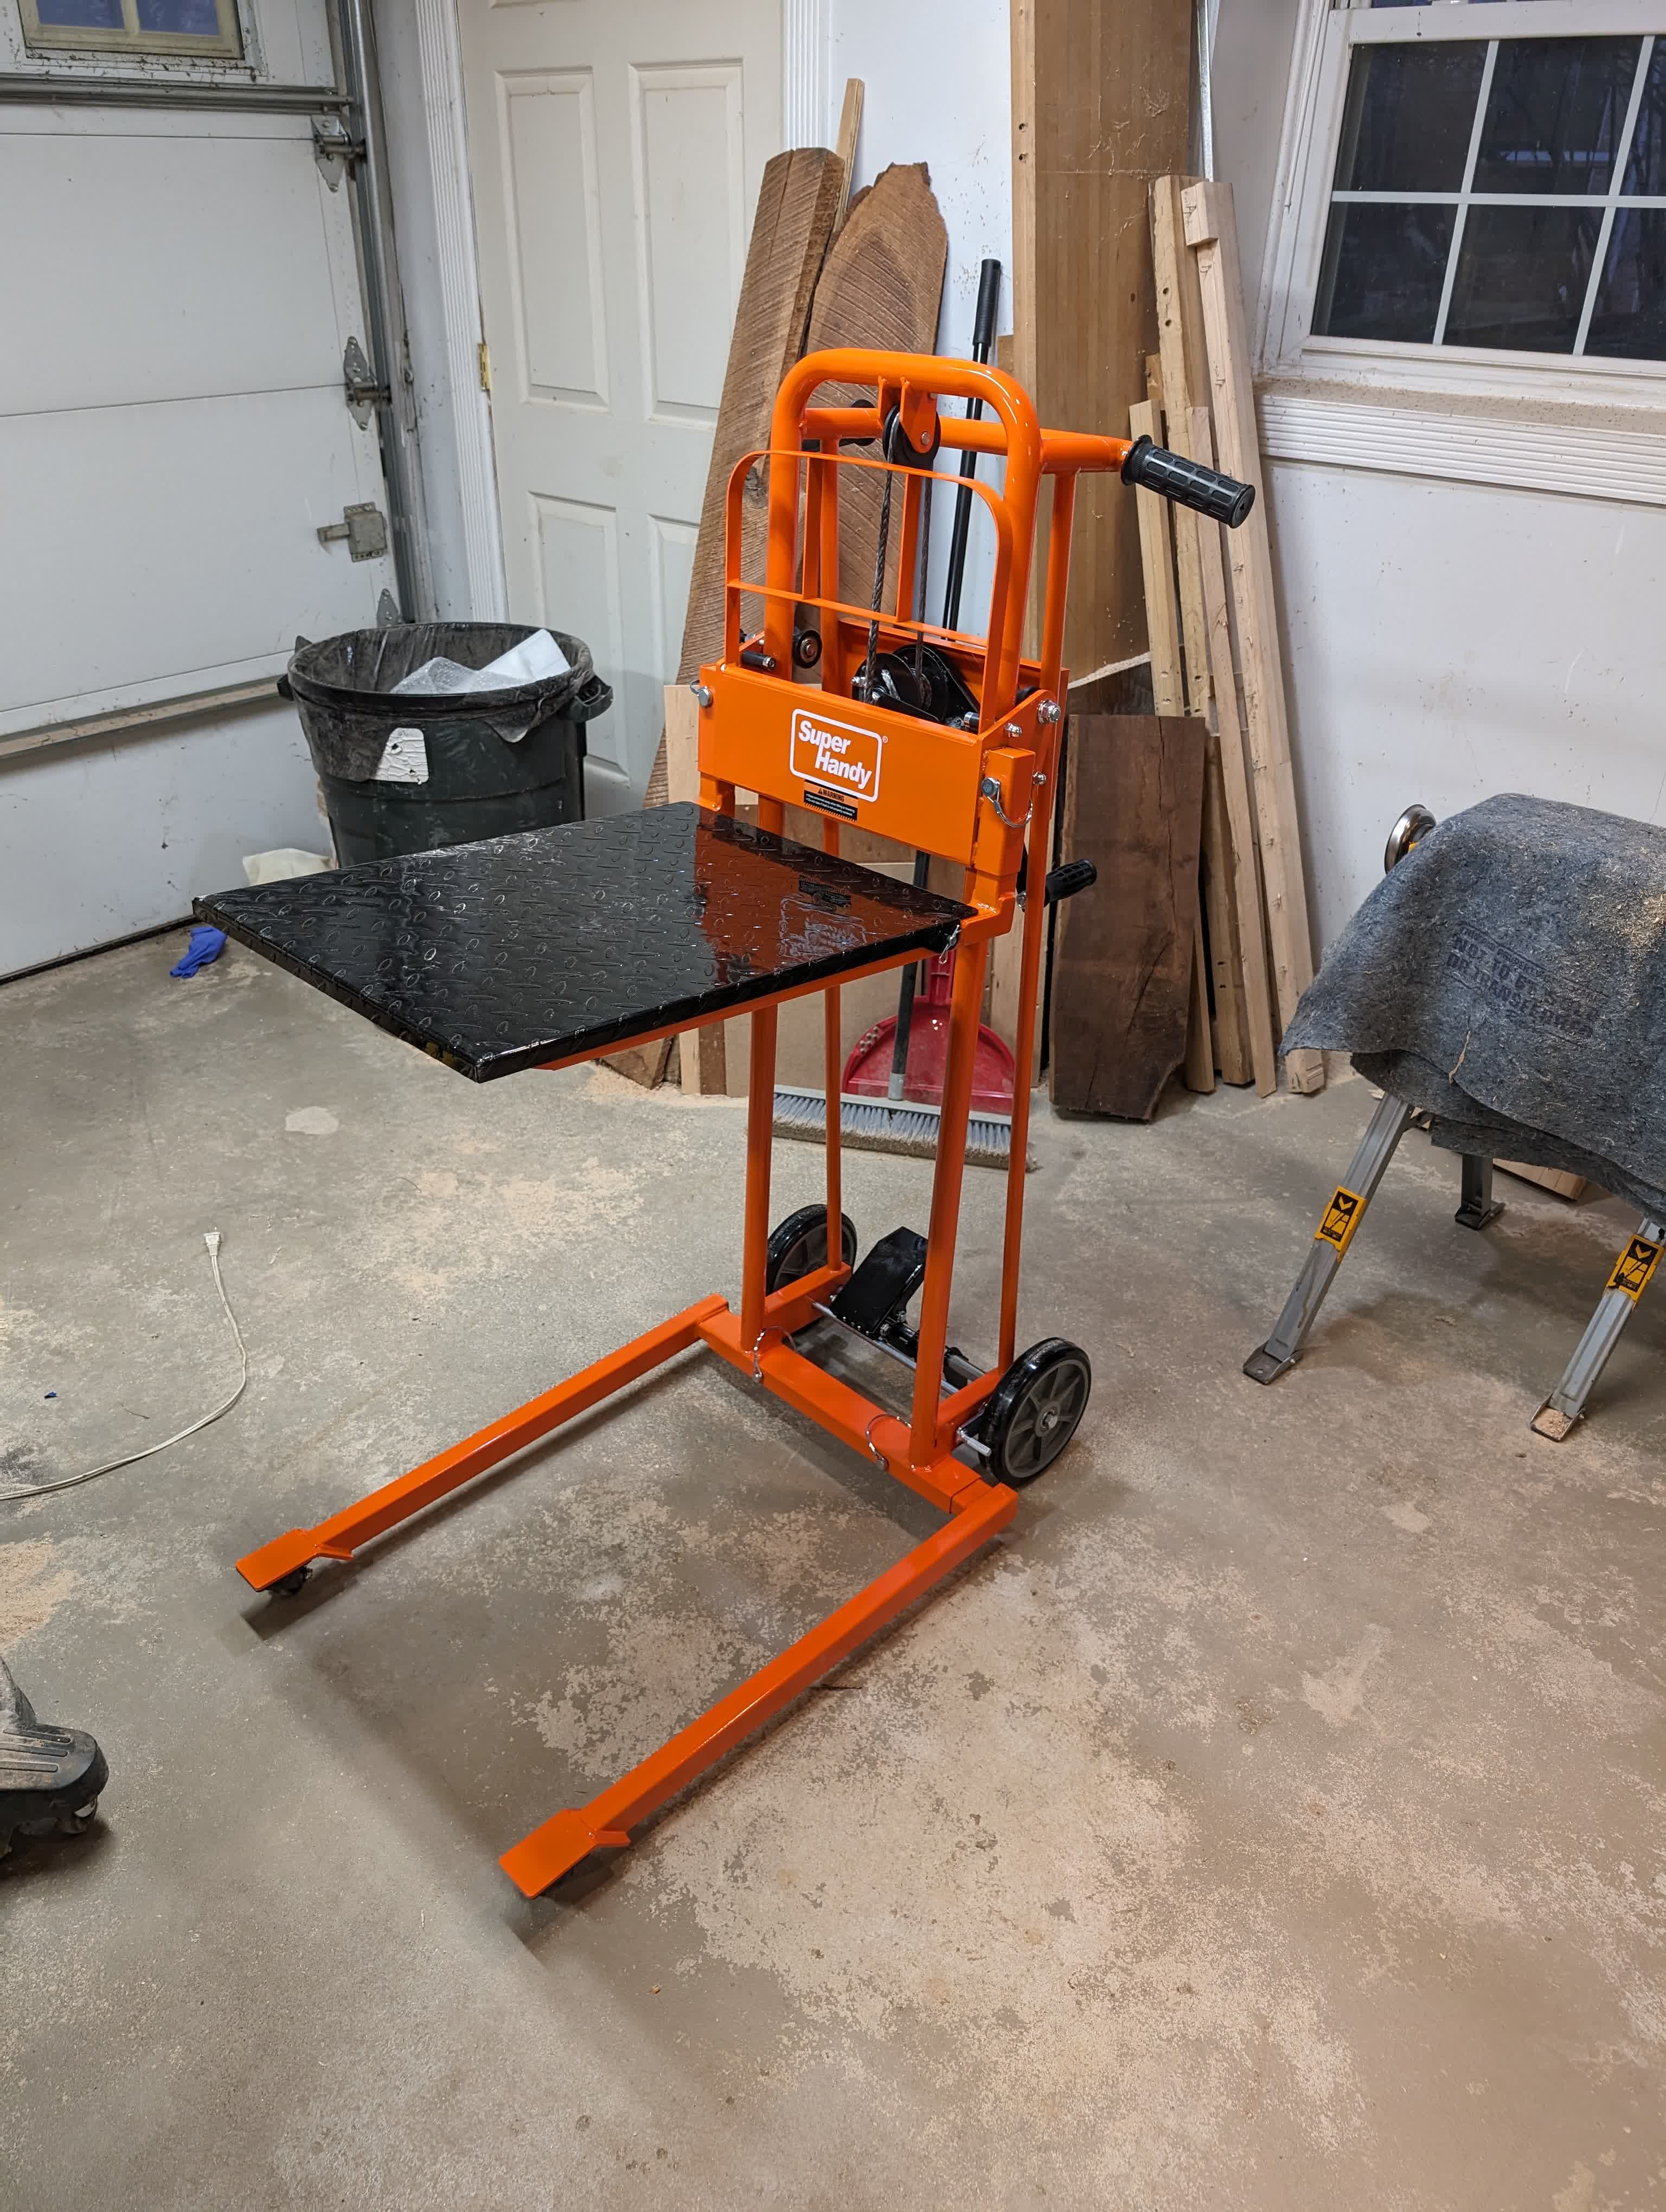
All that, and it should be done? But it turns out it’s too heavy for me to flip over alone in my shop. I actually had to get a mini manual forklift to be able to load it into my car. It just barely fit in the back of my Toyota Highlander.
At my friends house, it took a few people to unload and maneuver into position. Then I finally saw it finished right side up!
I like how it turned out, and I’m really glad it didn’t get damaged in transit!