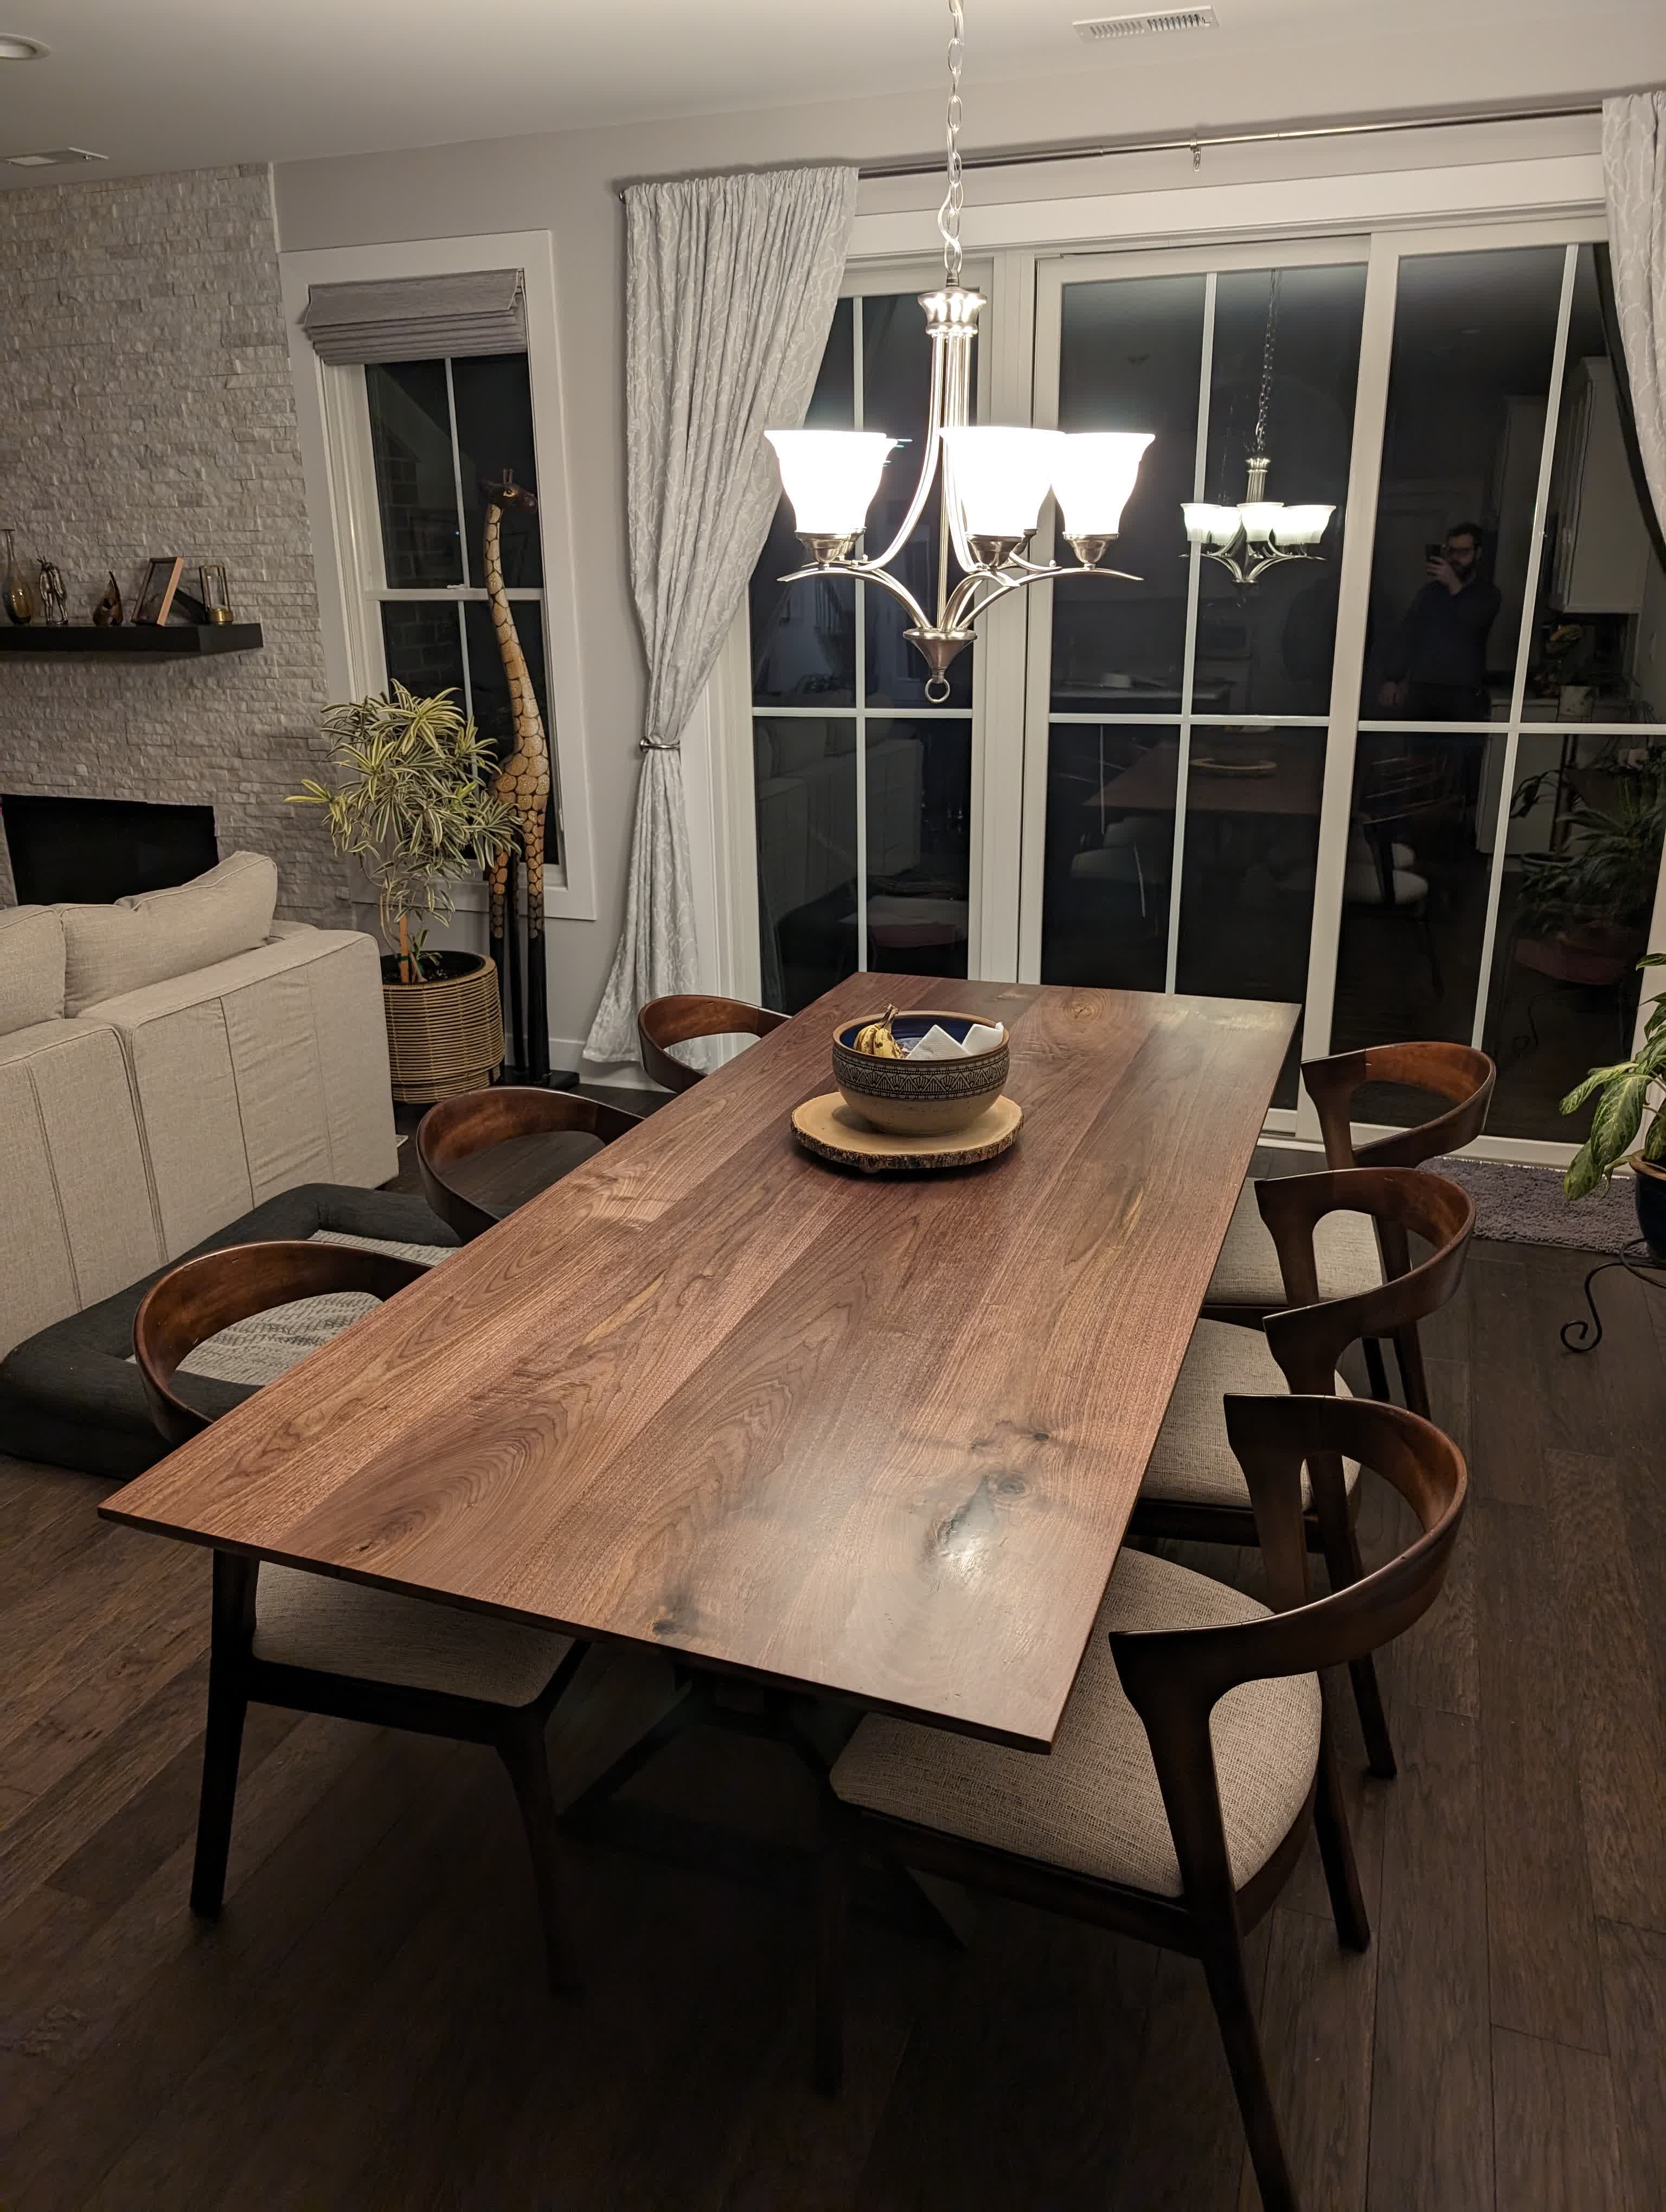
Walnut Dining Table
 |
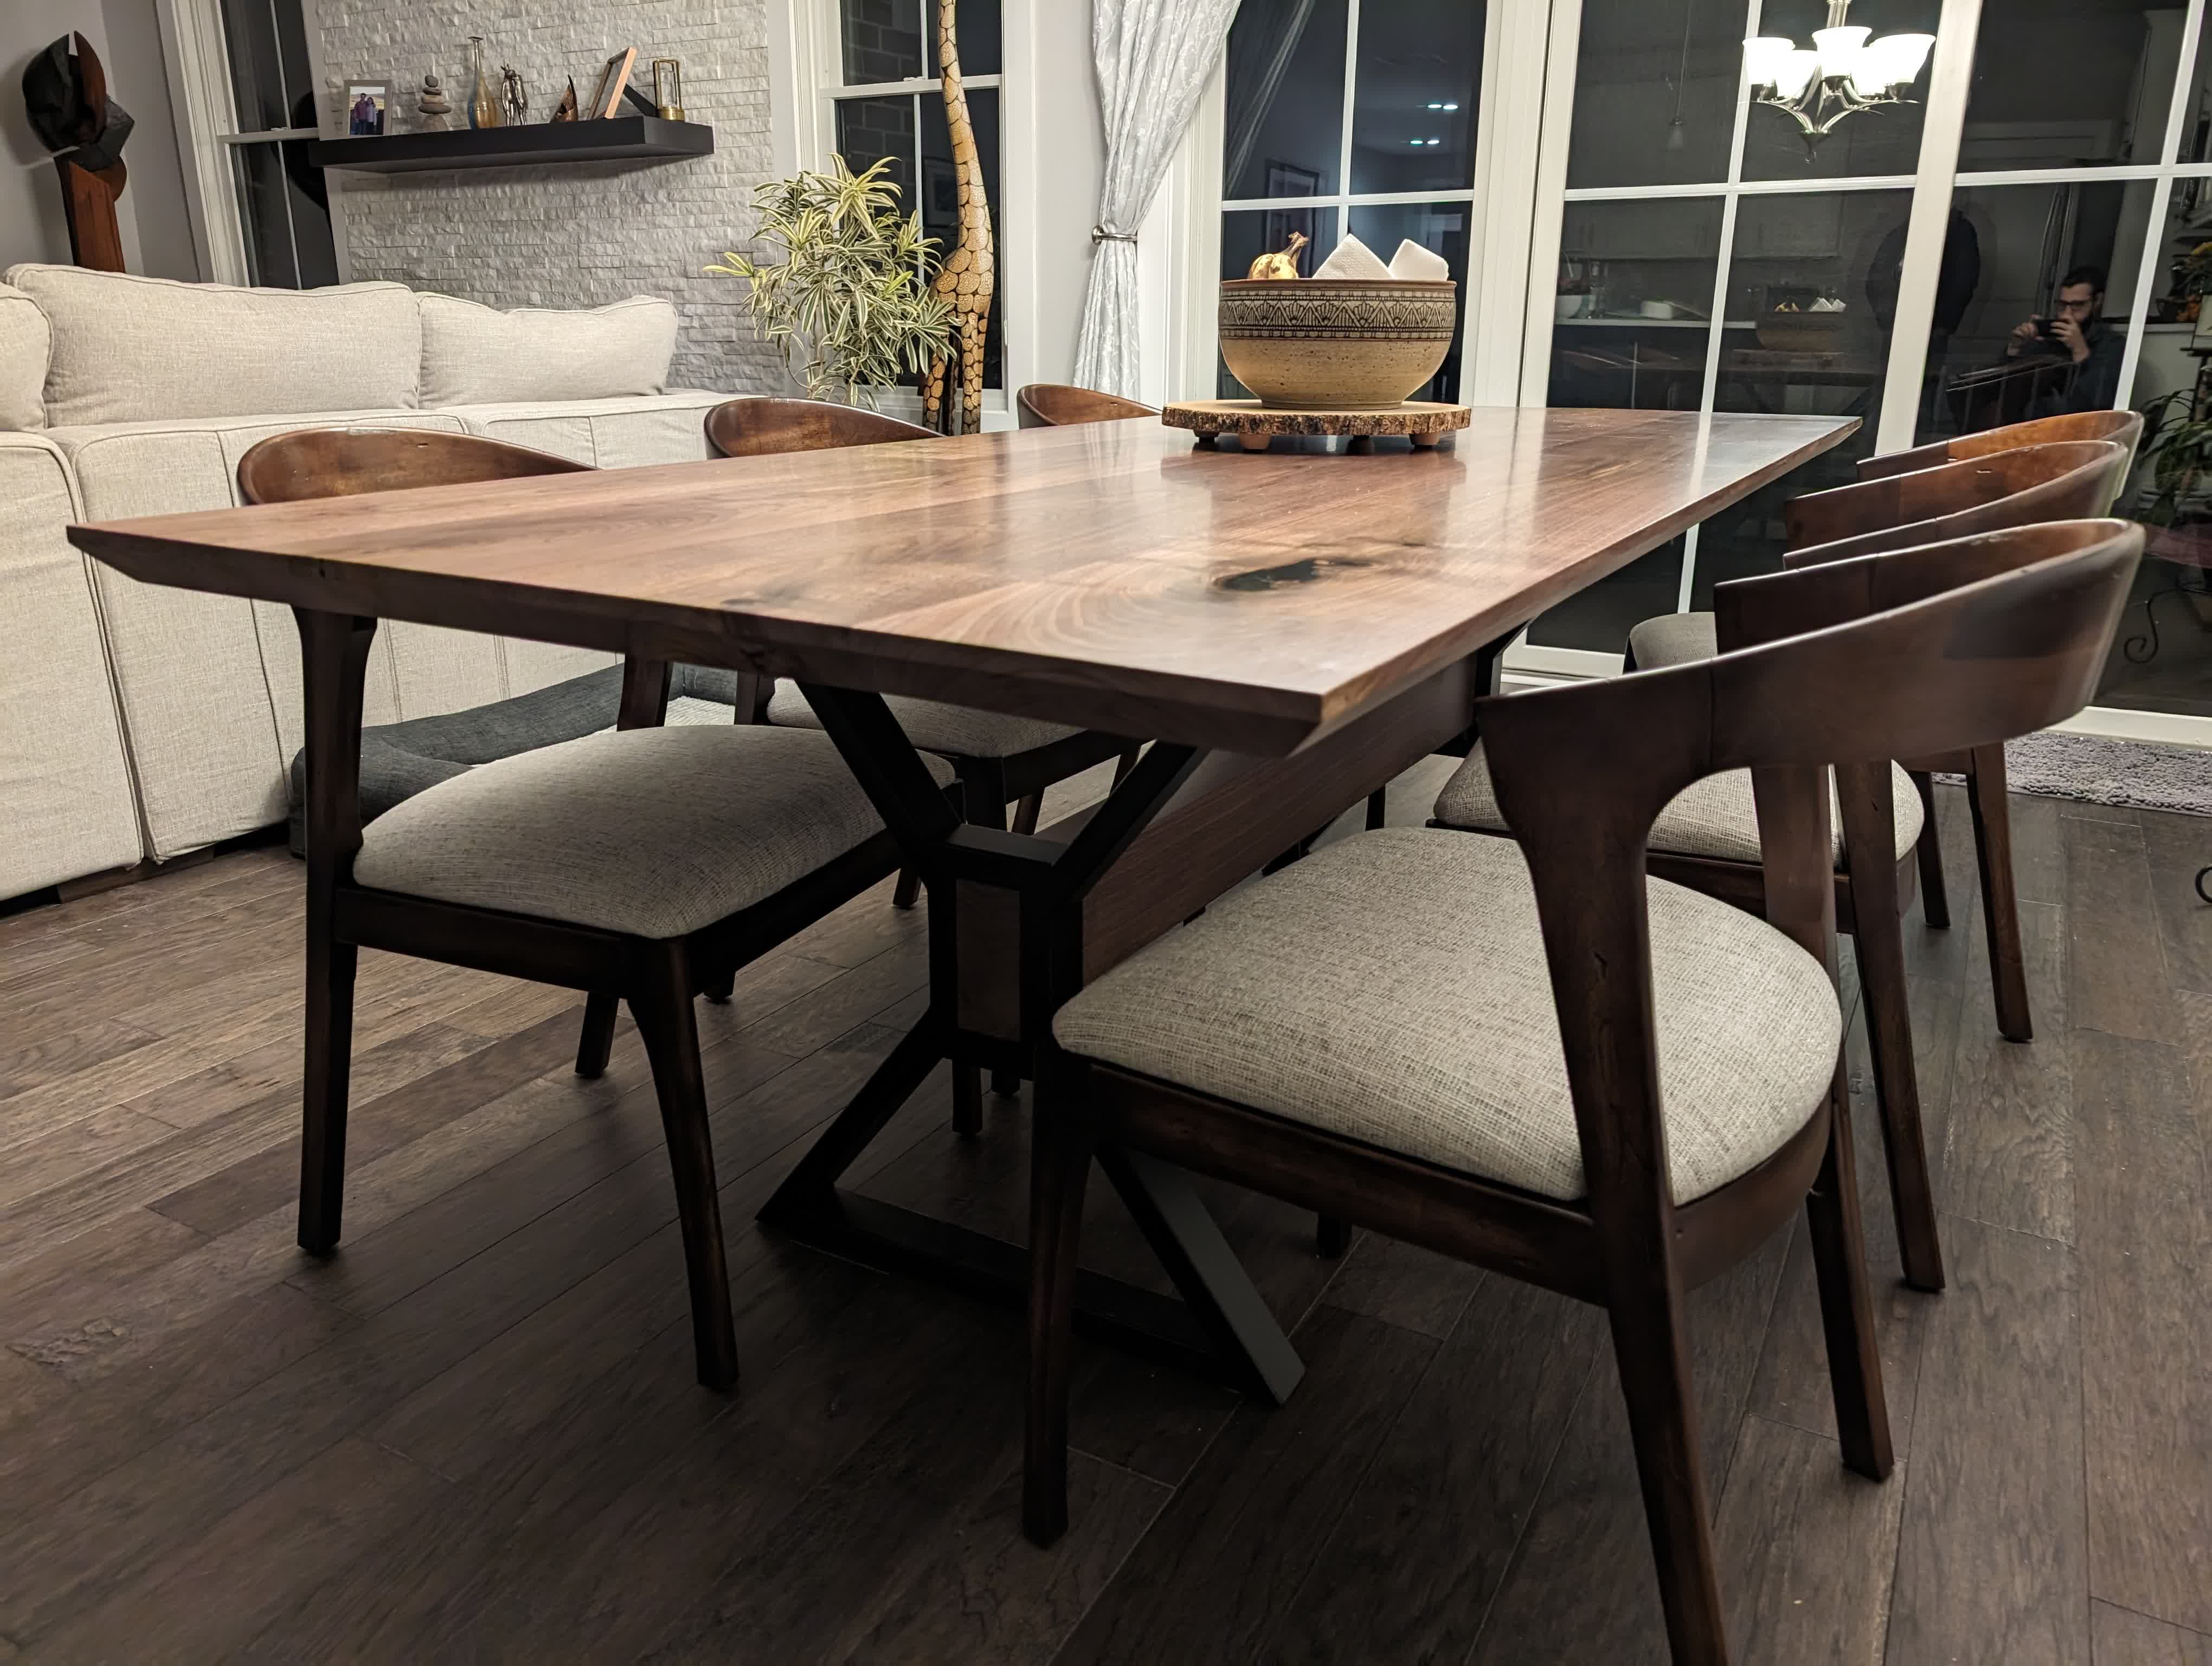 |
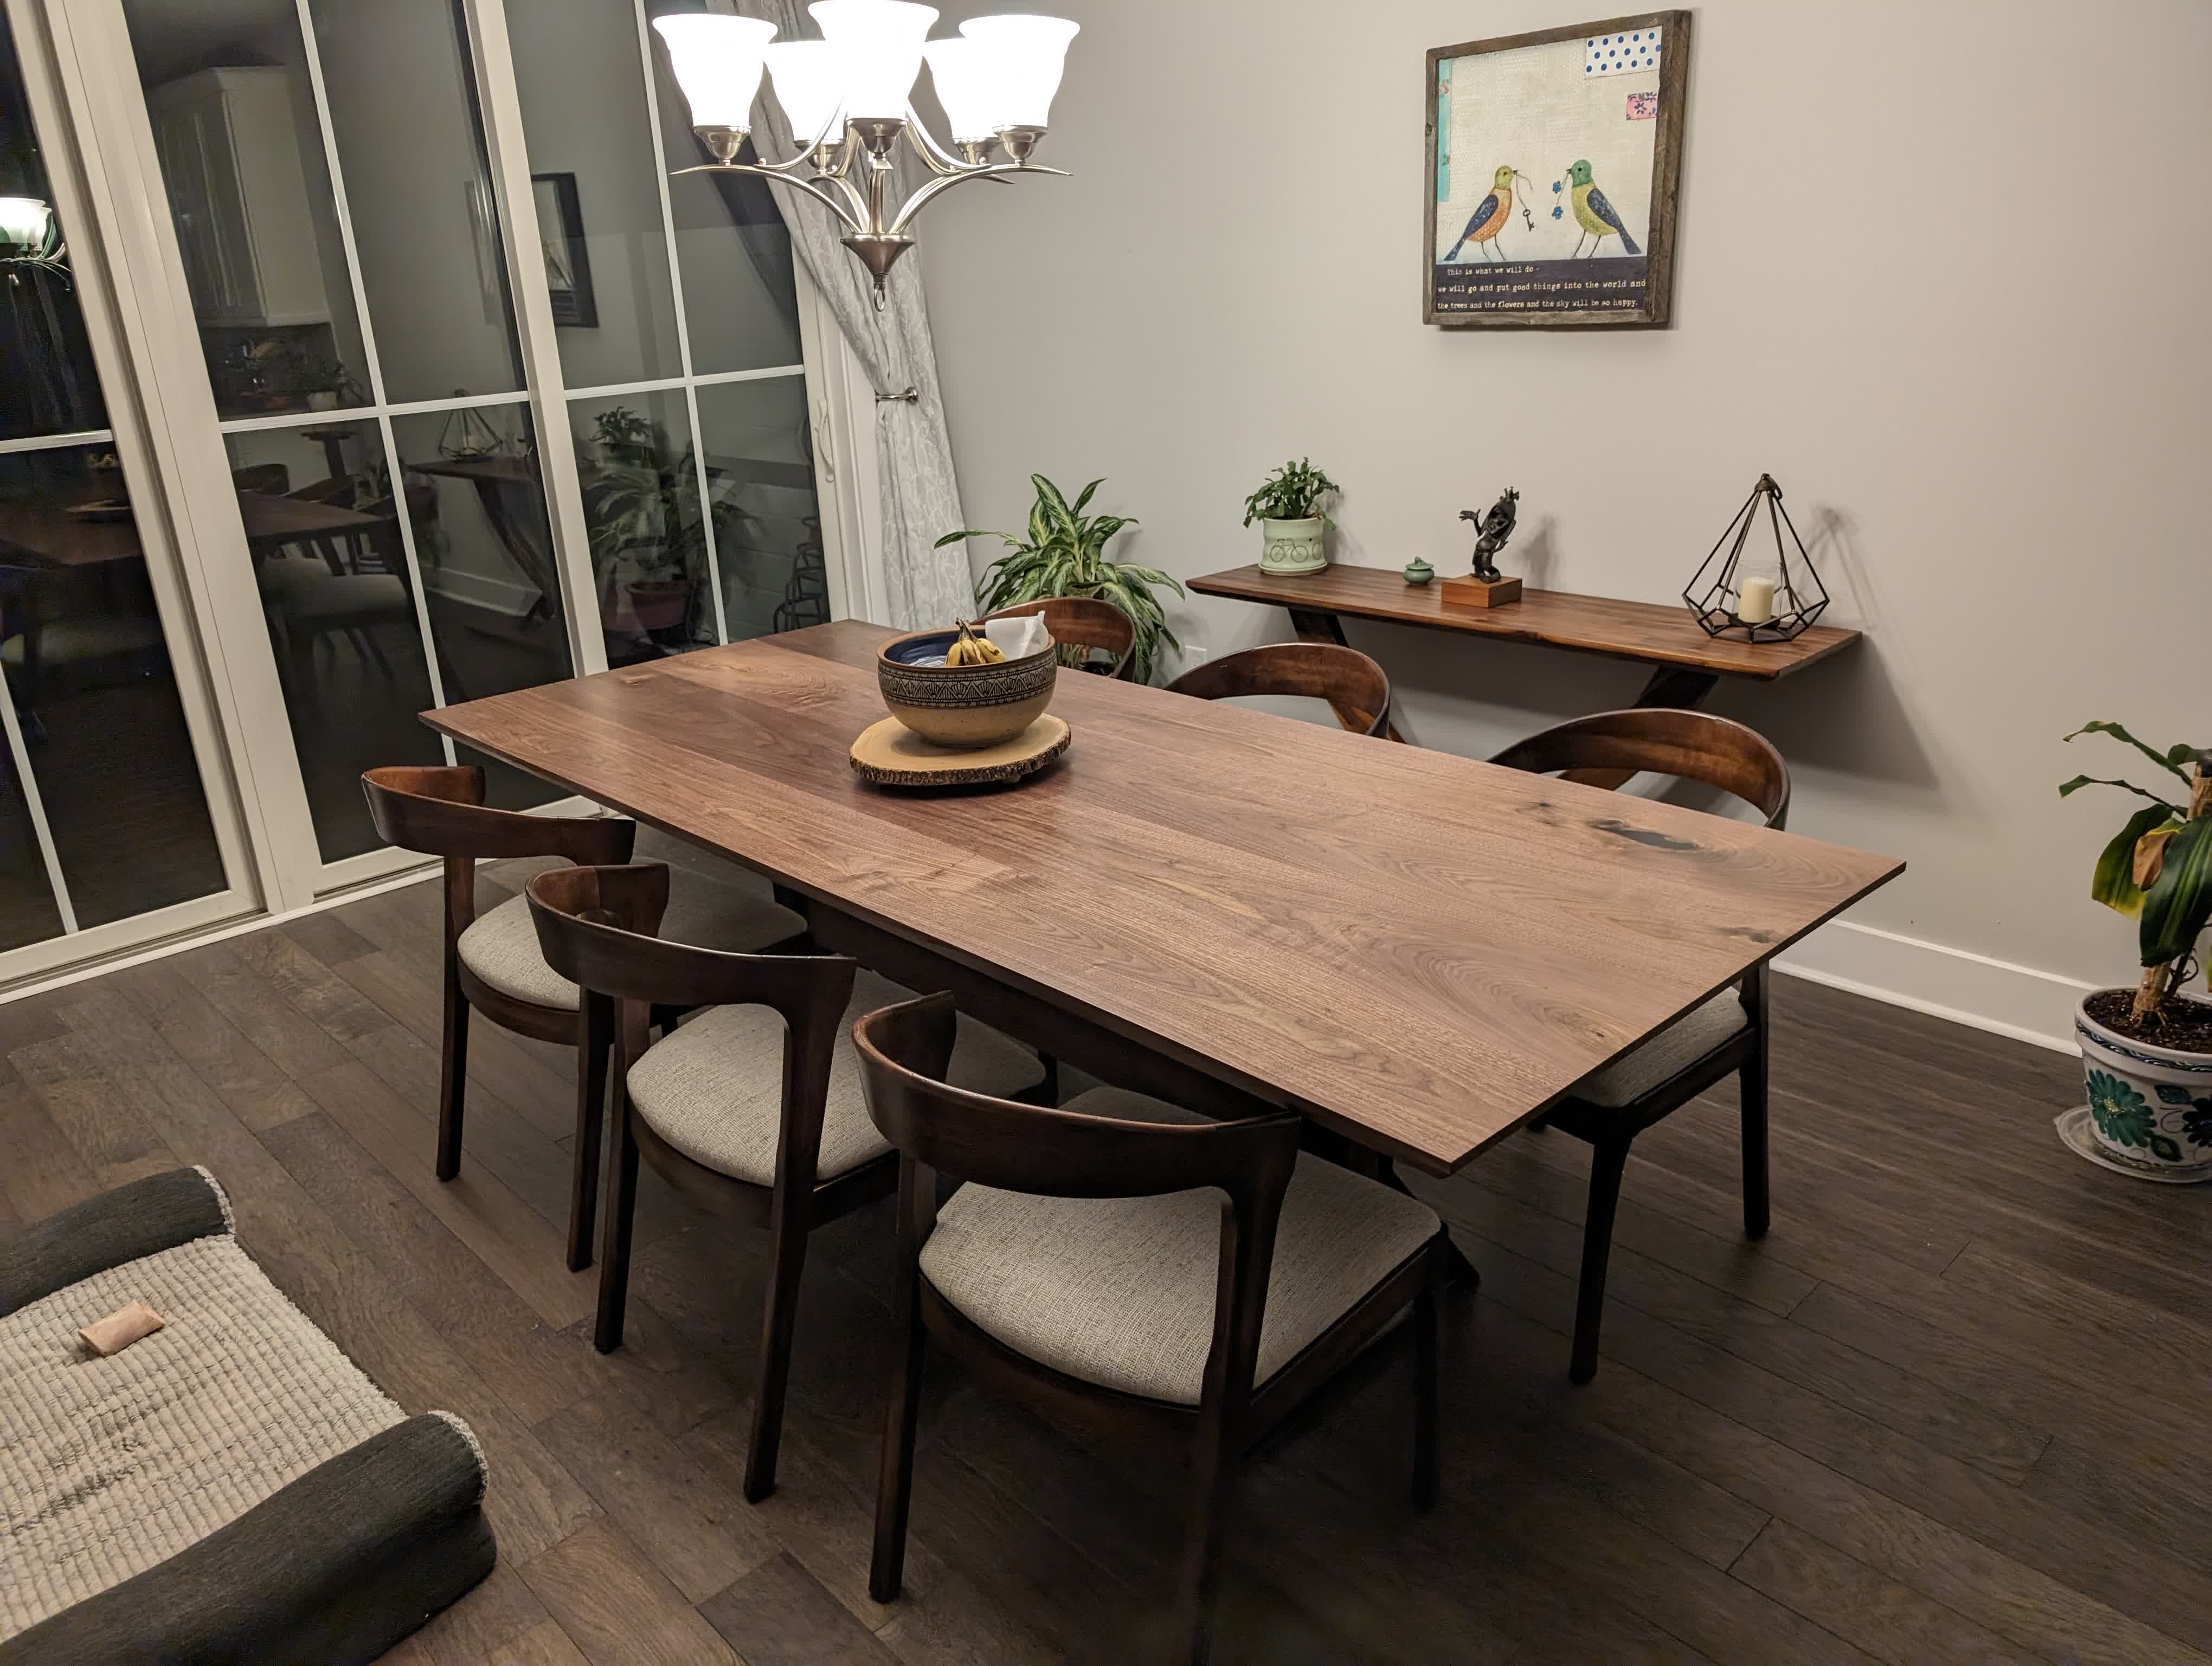
Finished
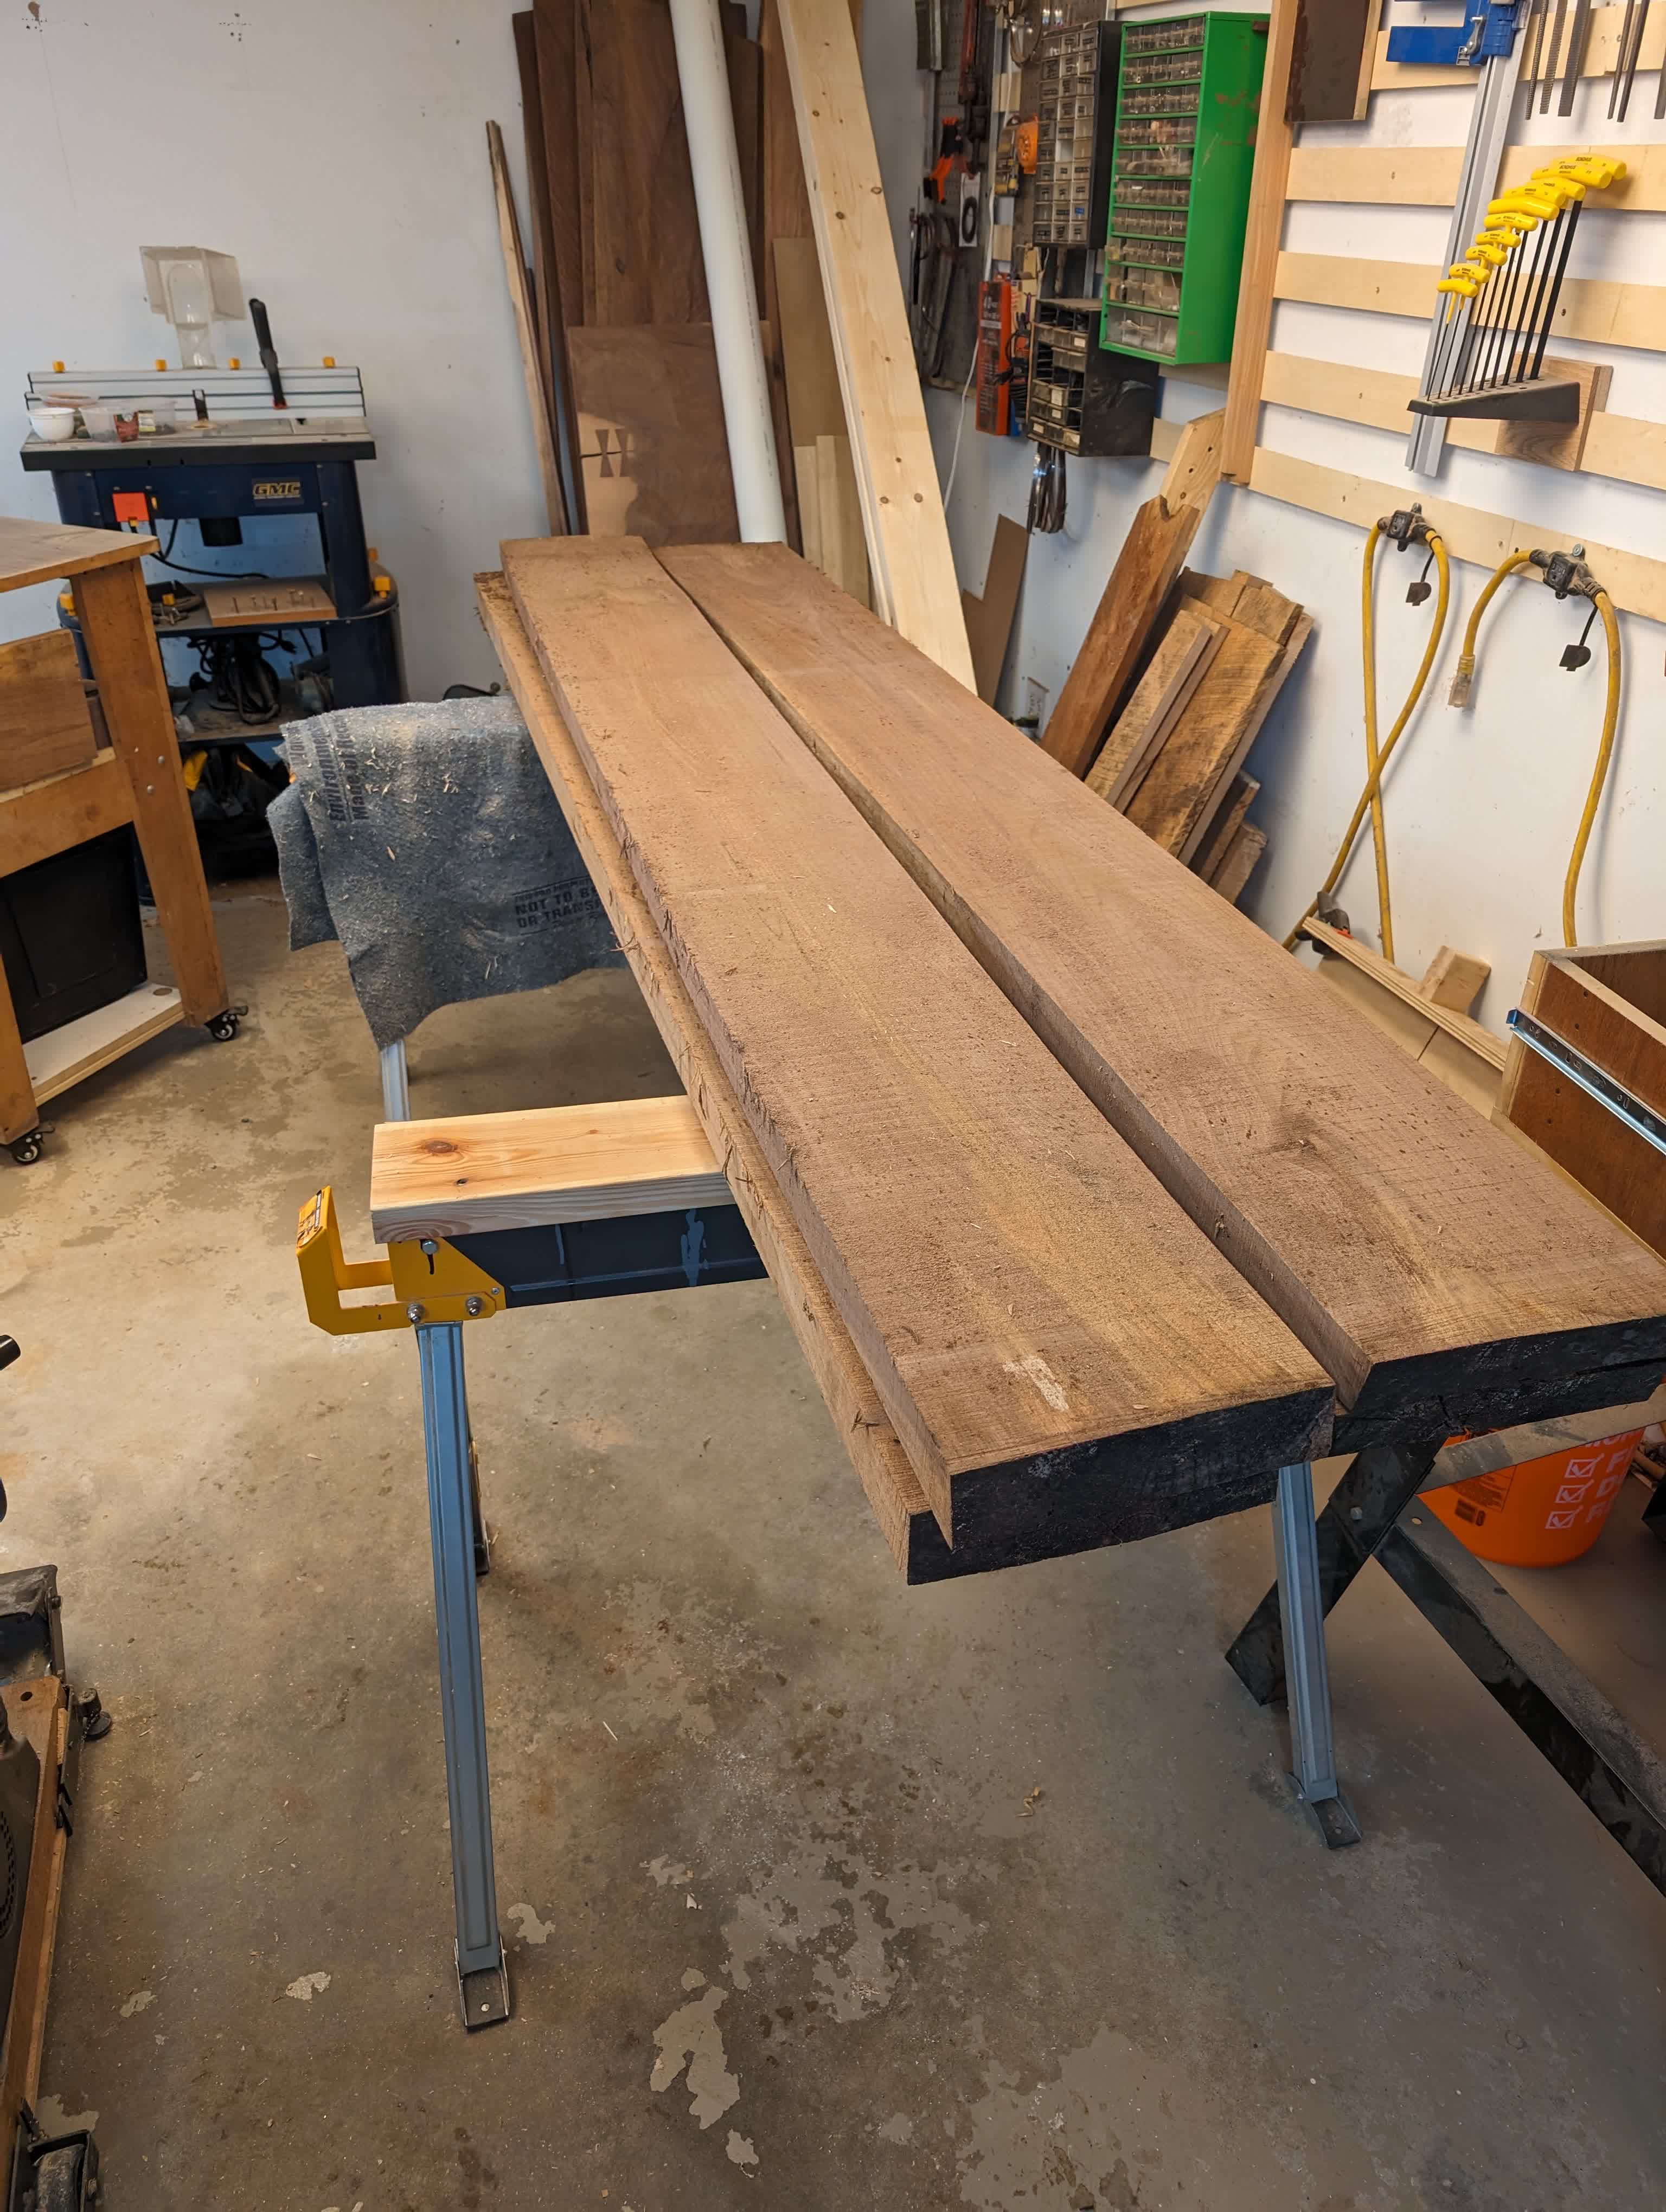
This is a dining table I built for my Dad. I started with some rough cut walnut boards. Since my jointer is only 6” wide and can’t handle 8ft boards, I did most of the jointing the old fashioned way: with winding sticks.
 |
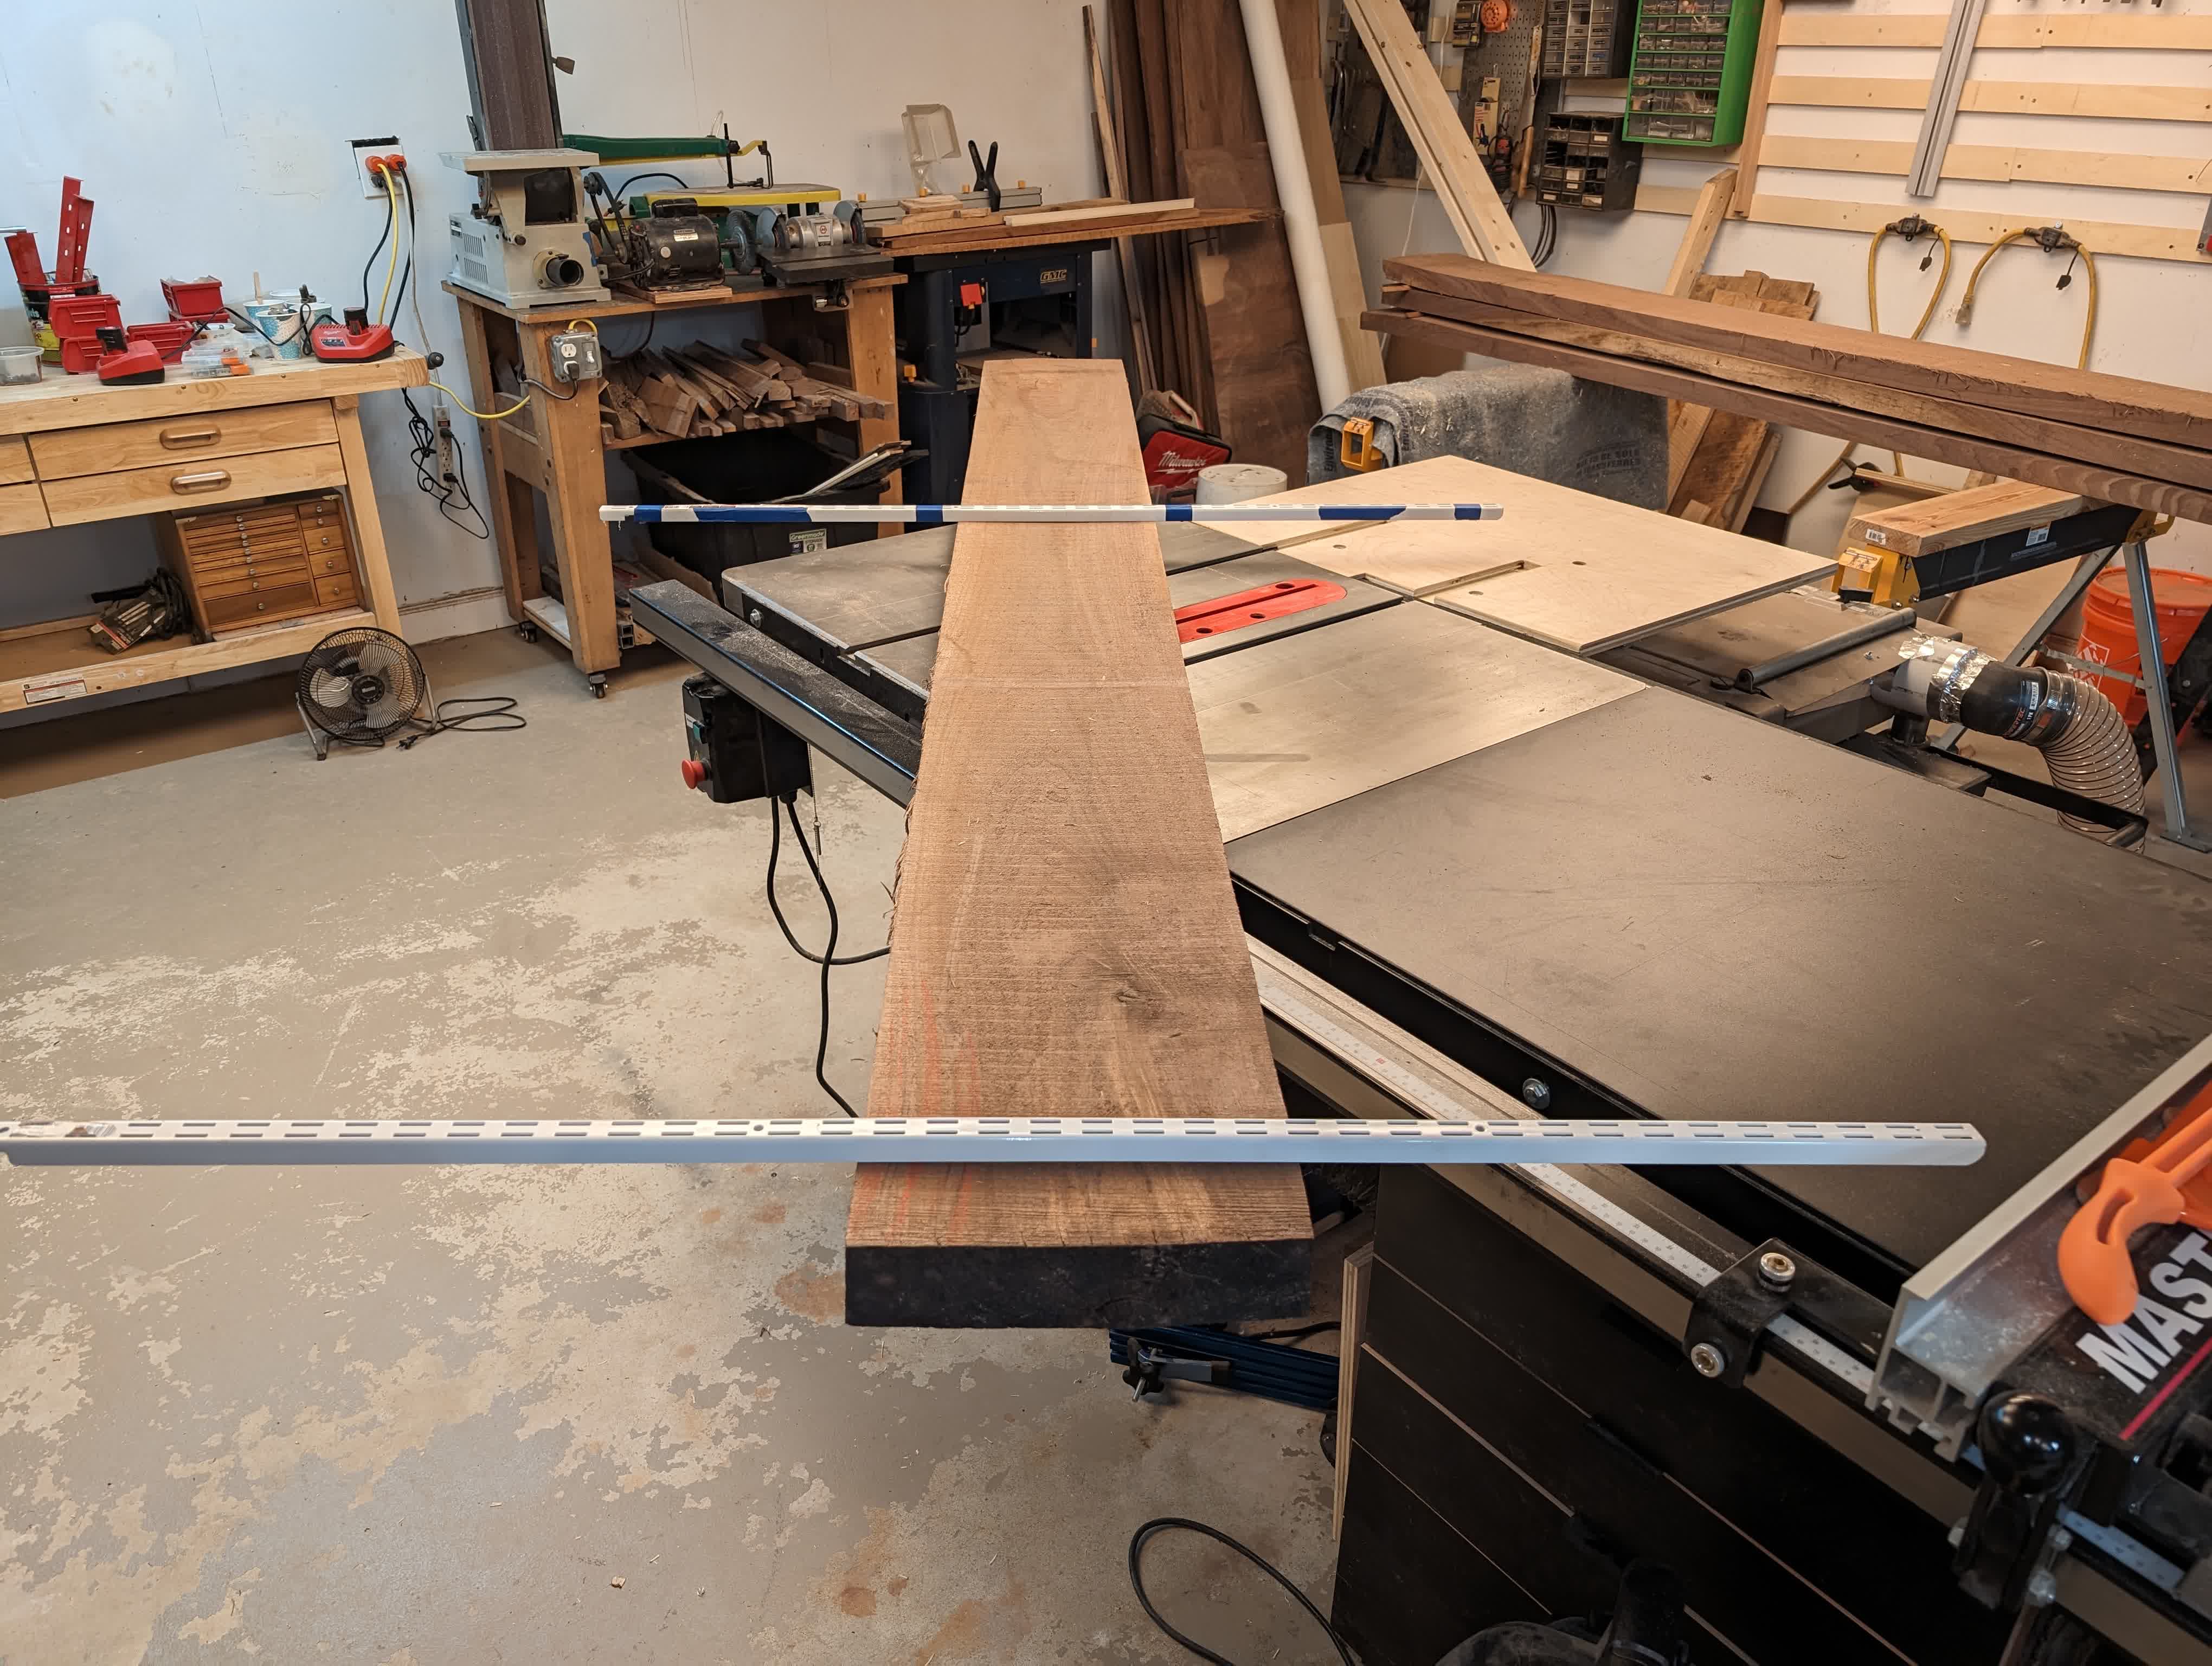 |
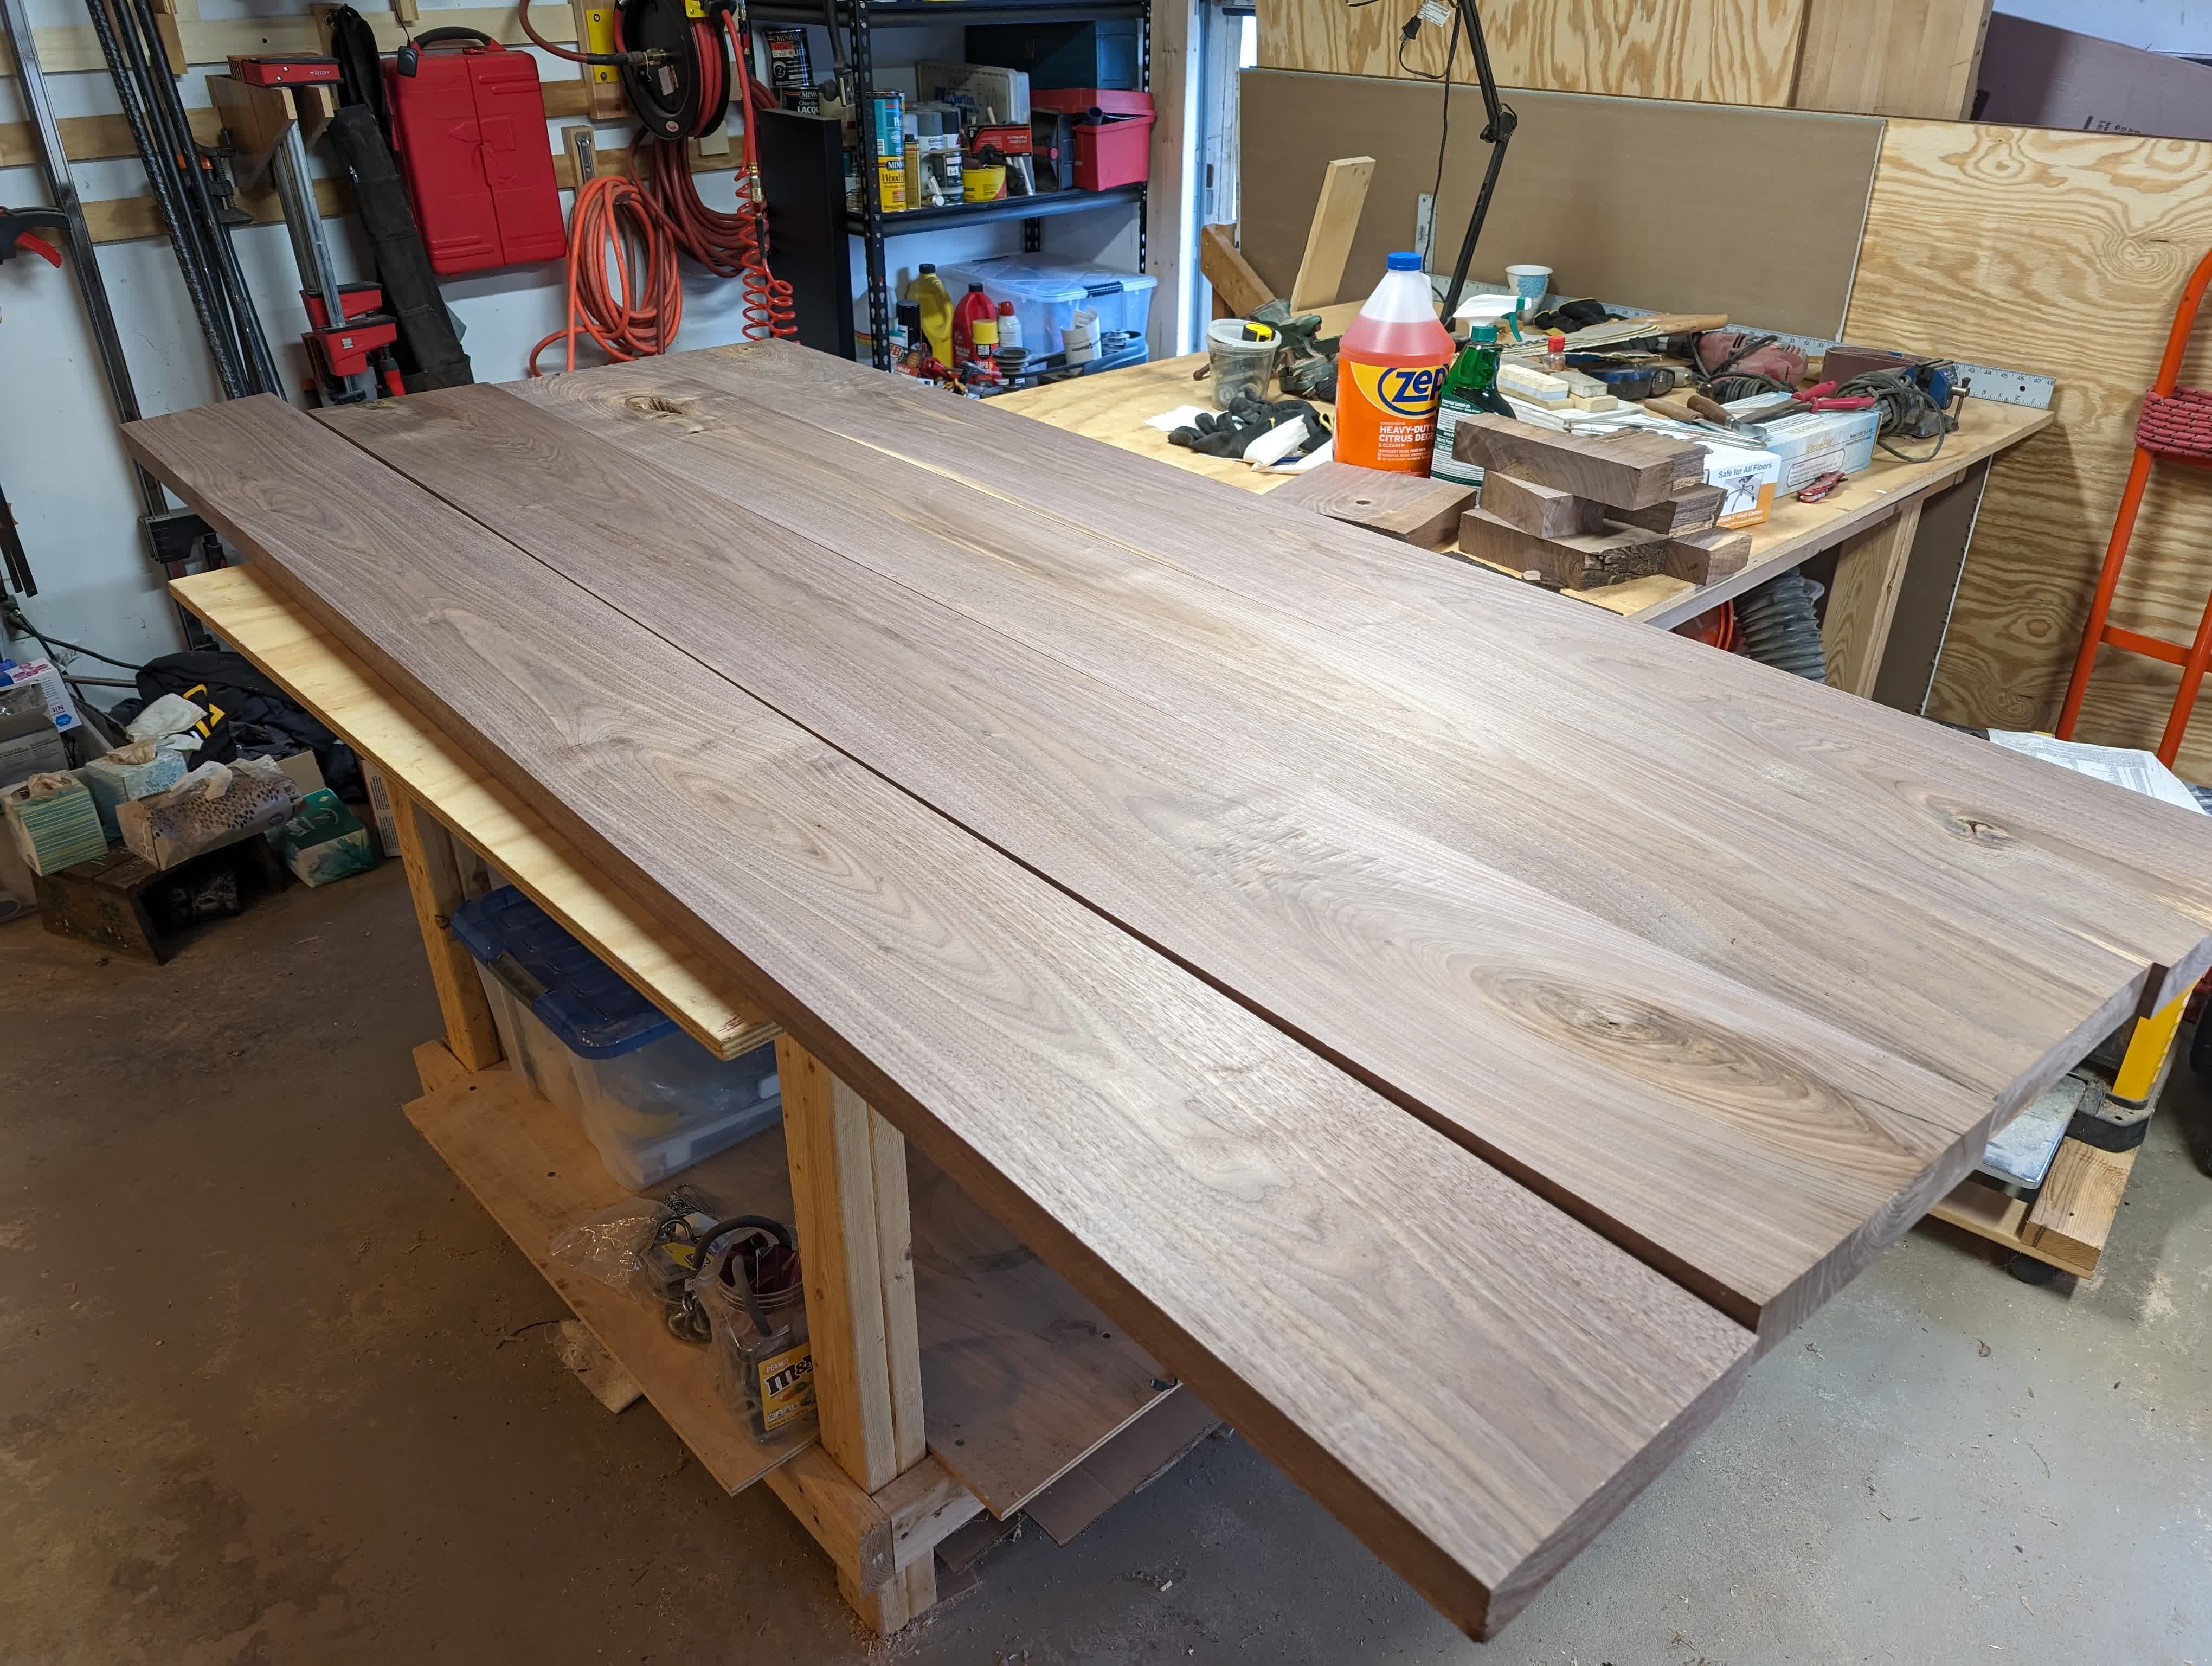
In short, use two known-straight sticks to slowly work twist out of the board and manually plane down high spots. Eventually this got the boards straight enough that I could run them through my thickness planer to get them the rest of the way (or close enough to force into alignment)
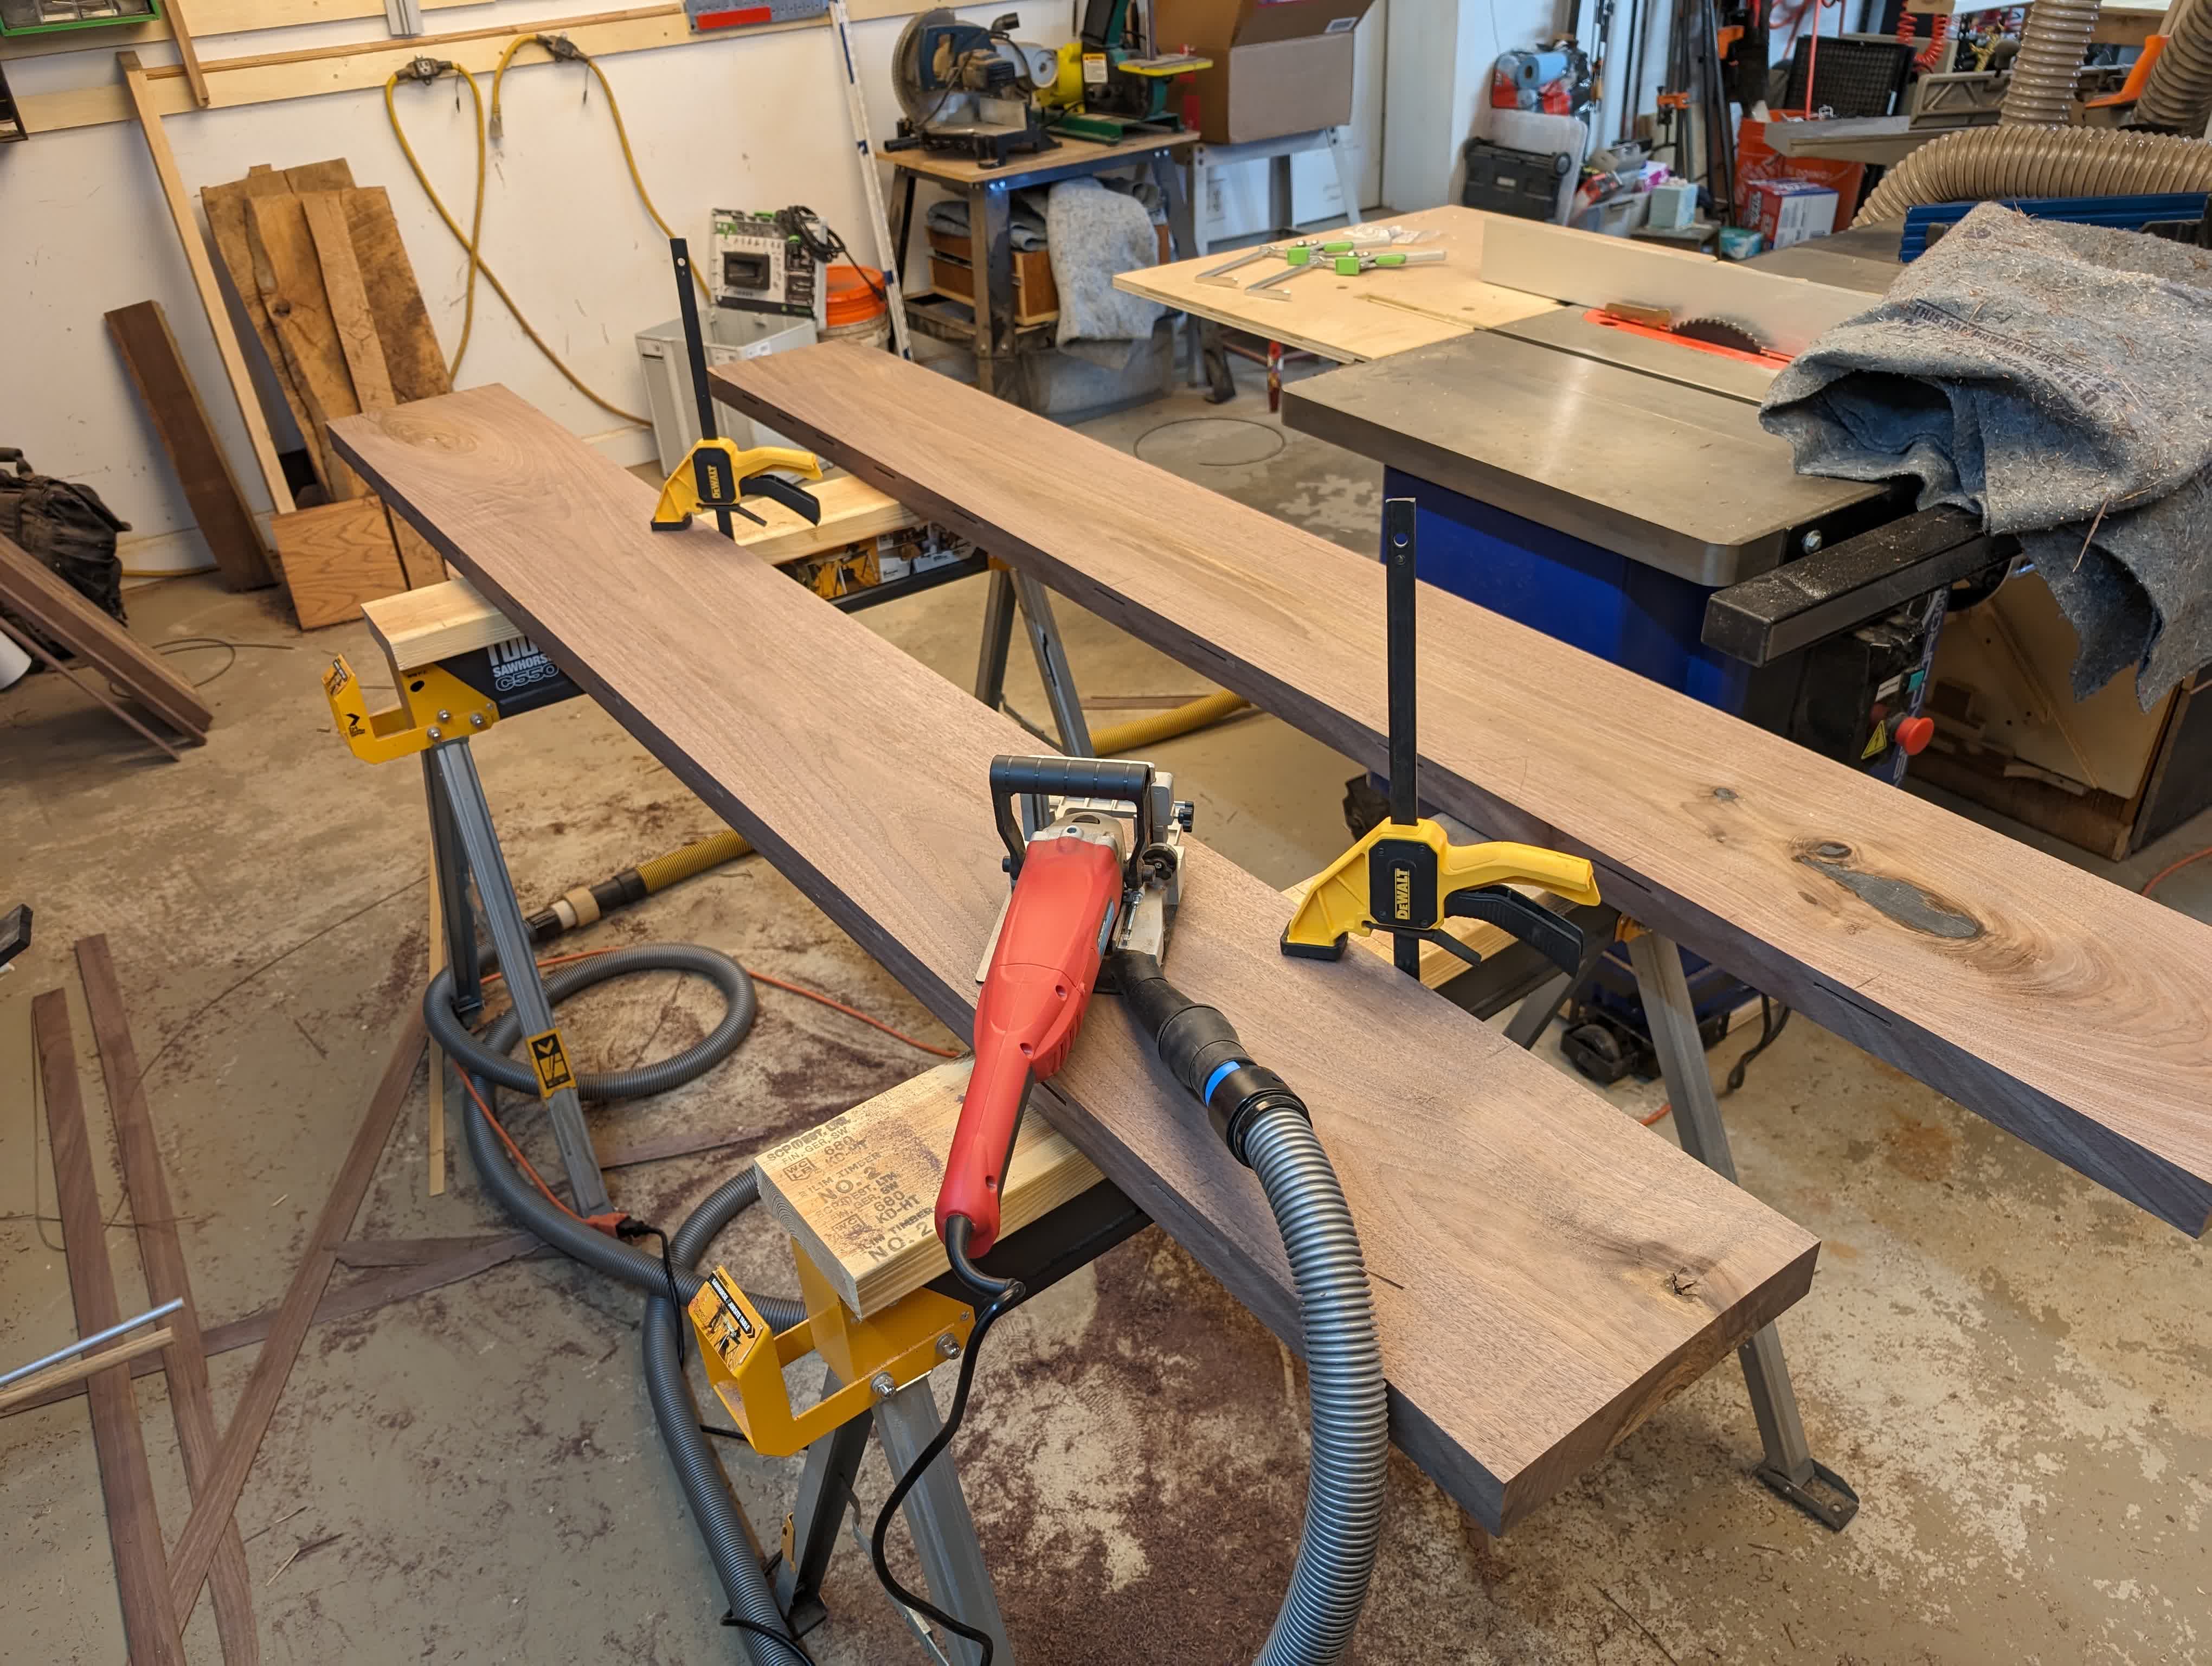
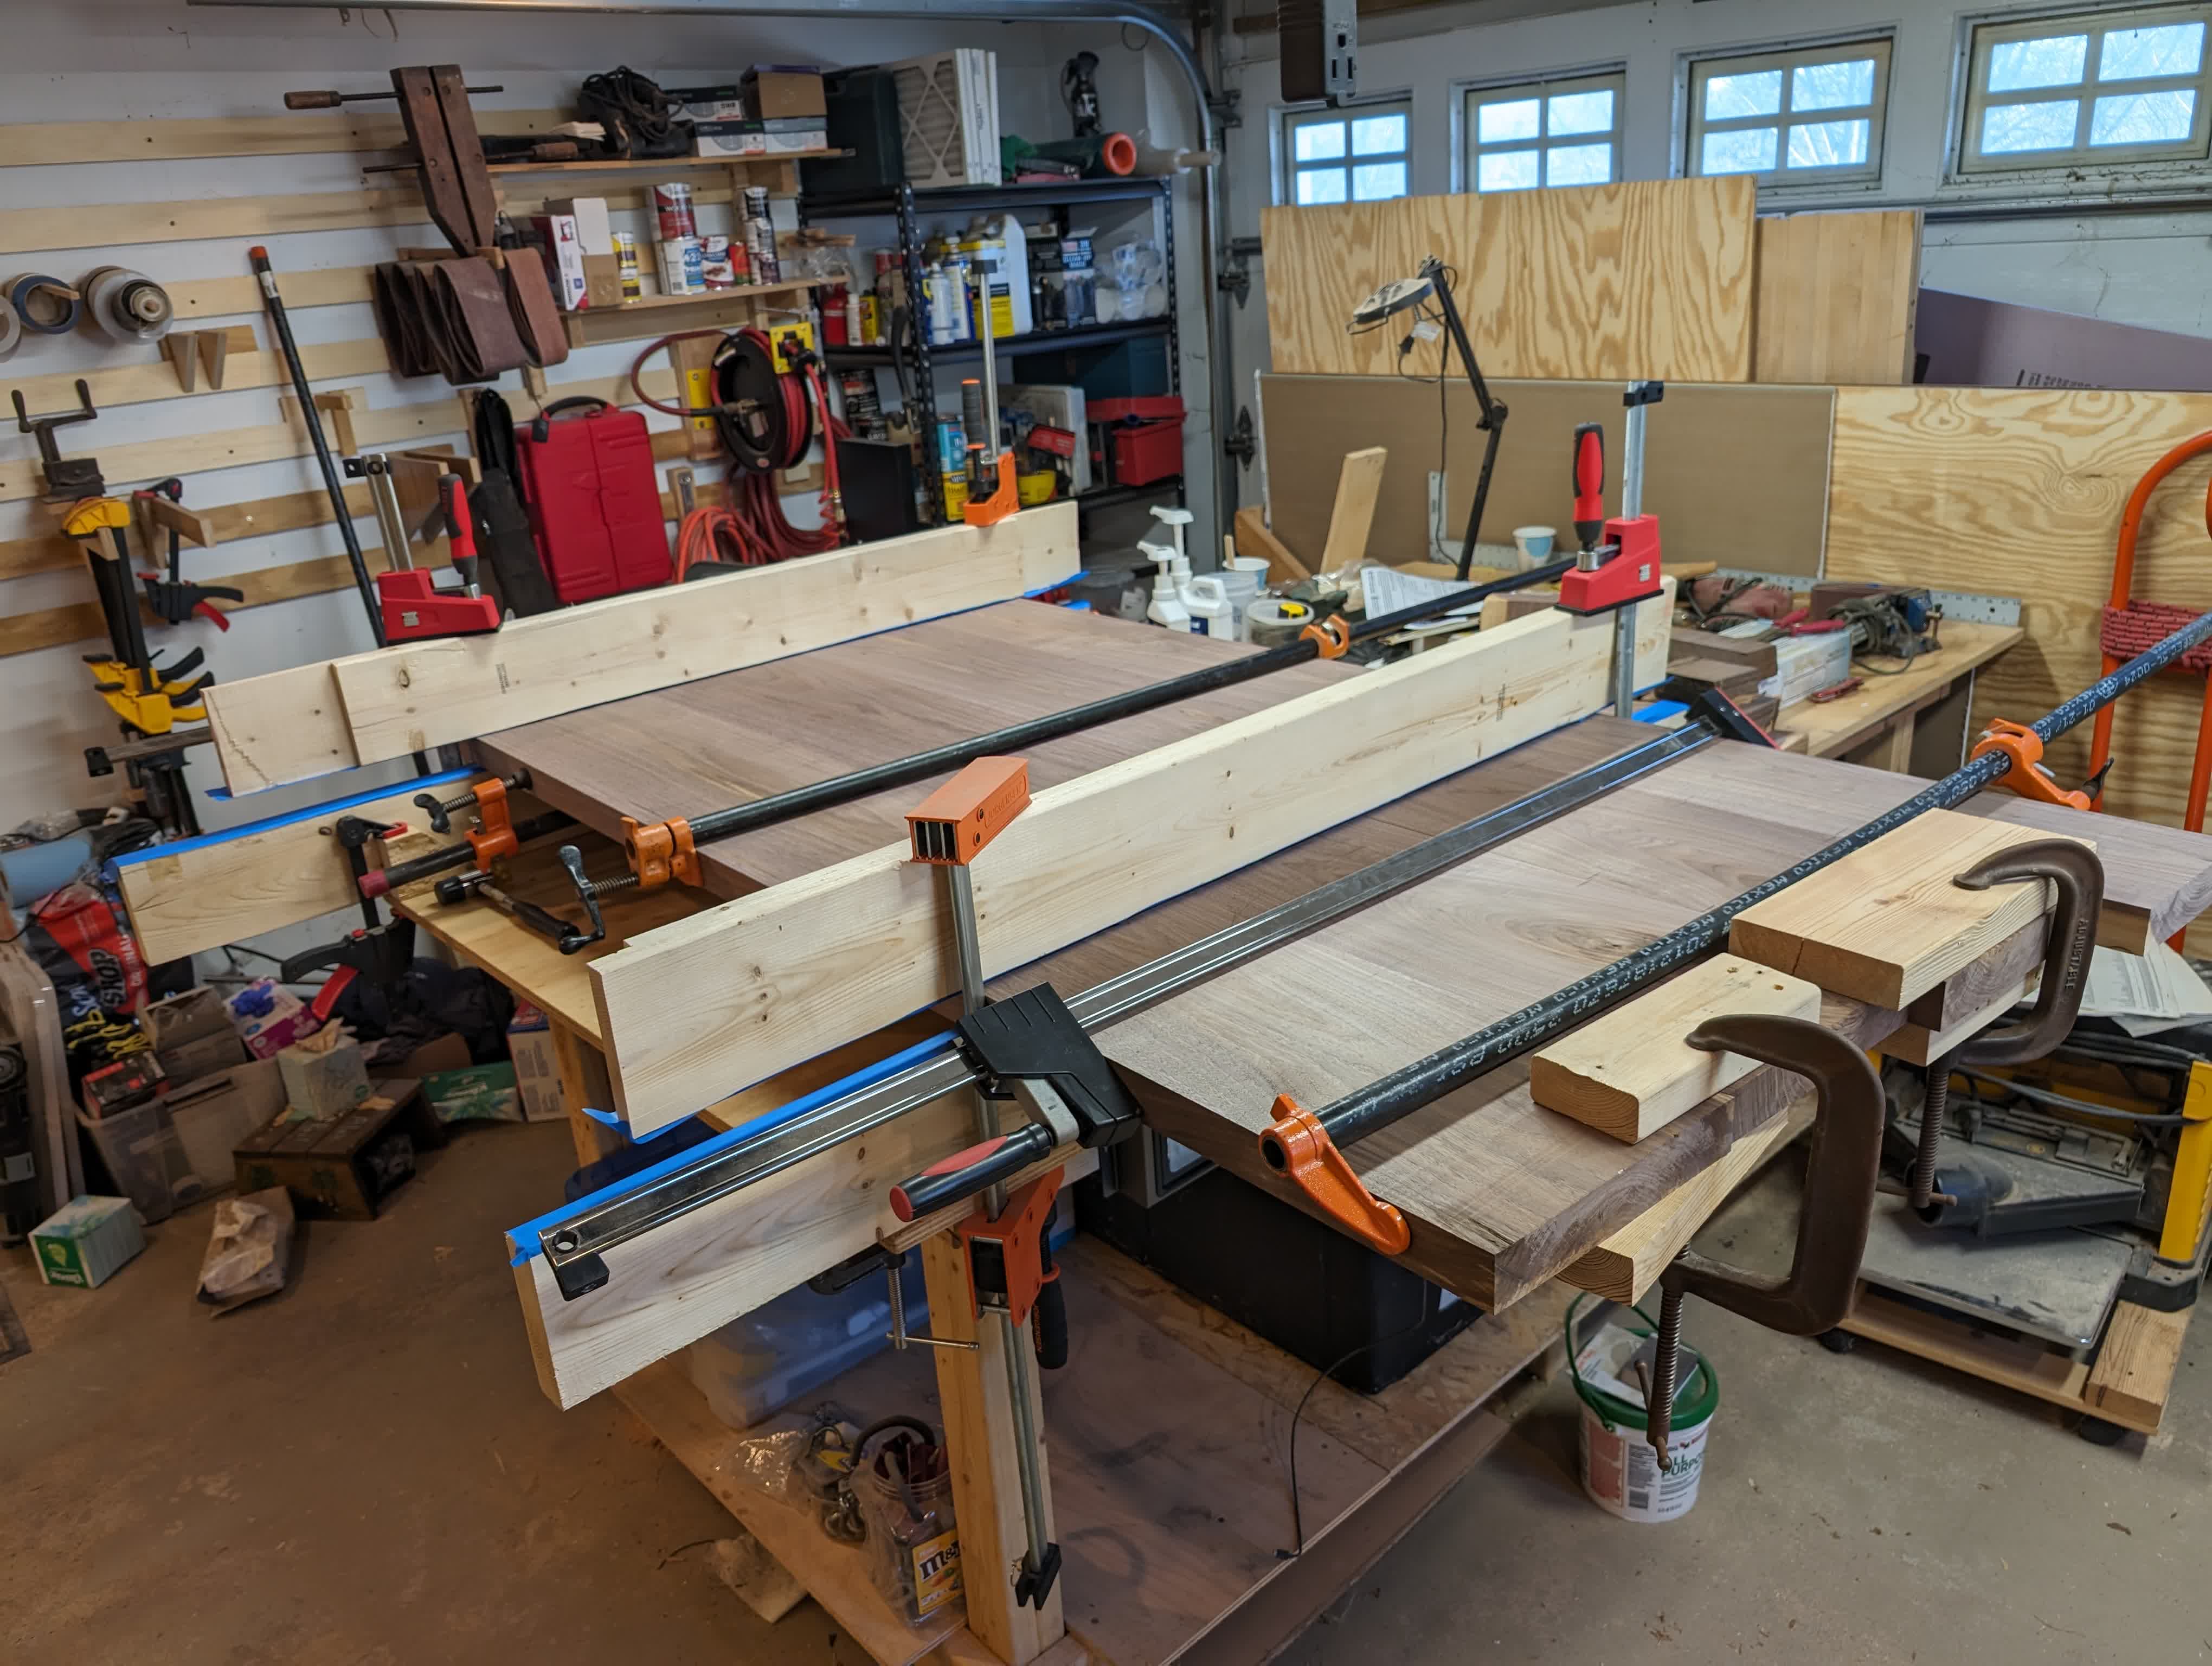
There were a few voids I cleaned out then filled with black exoxy too. After that I put in some biscuits to help with forcing boards into alignment during the glue up.
 |
 |
 |
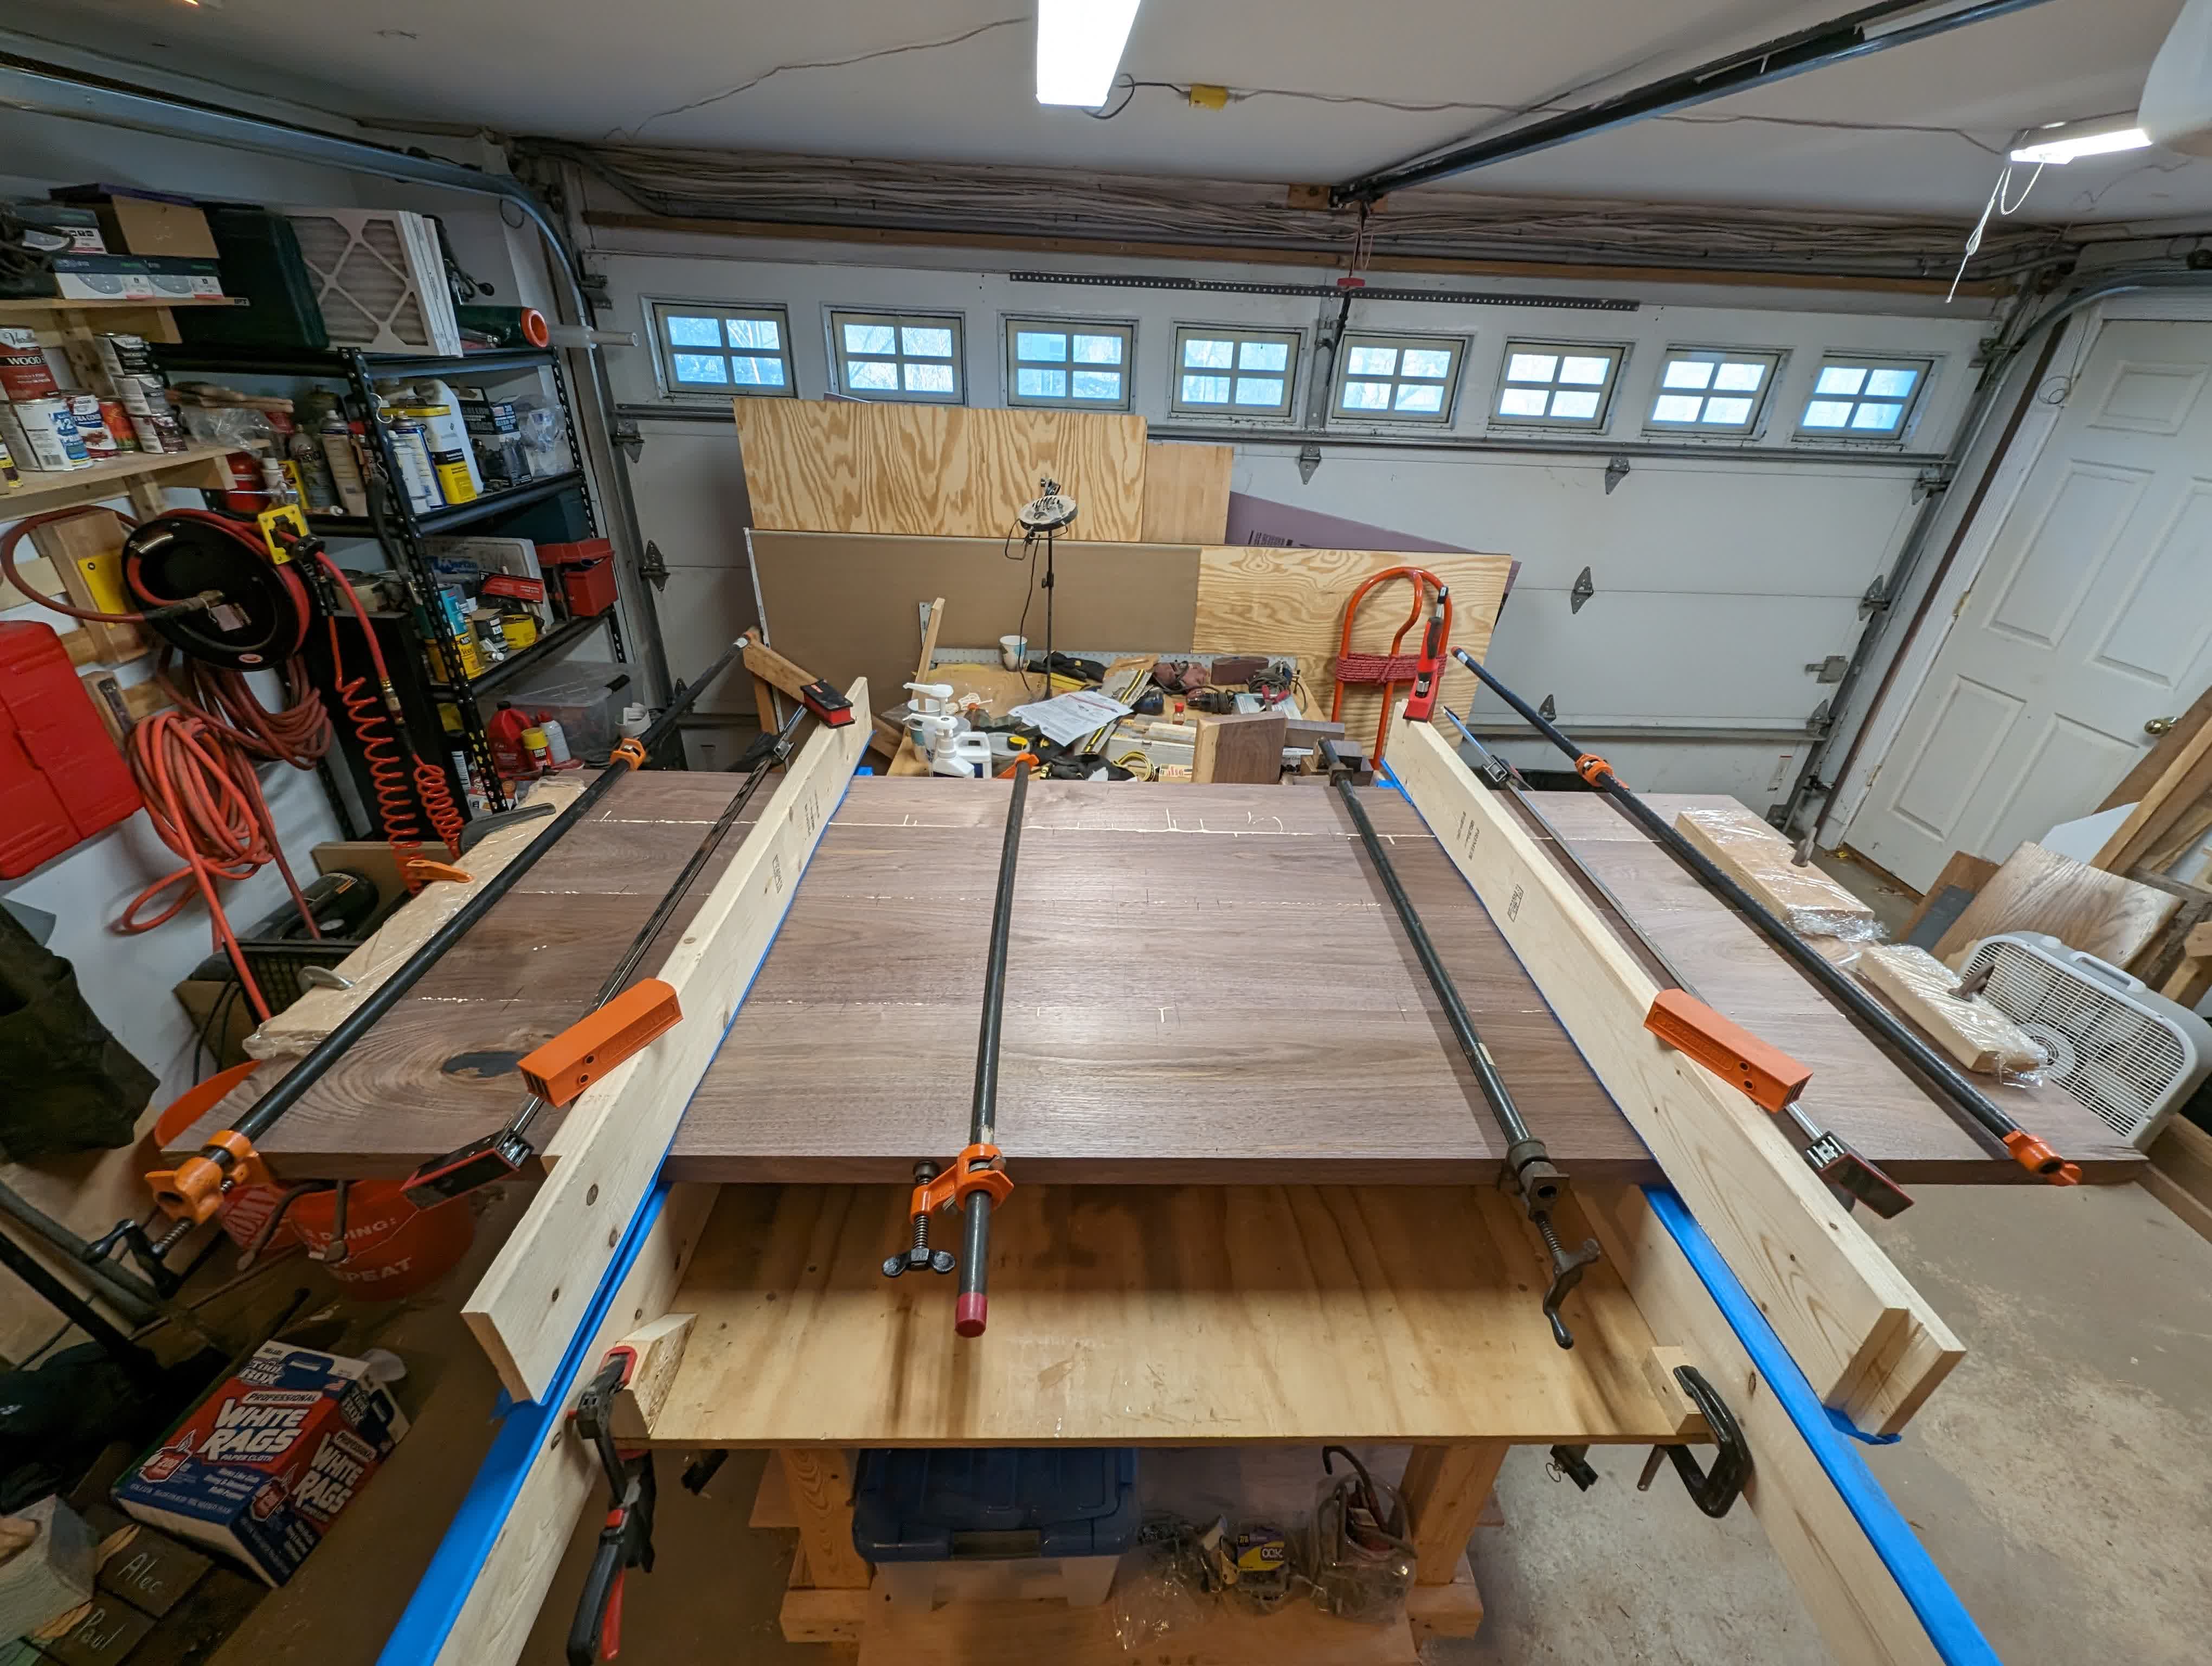 |
And out came a really heavy (nearly 2” thick, almost 4’ x 8’) single piece.
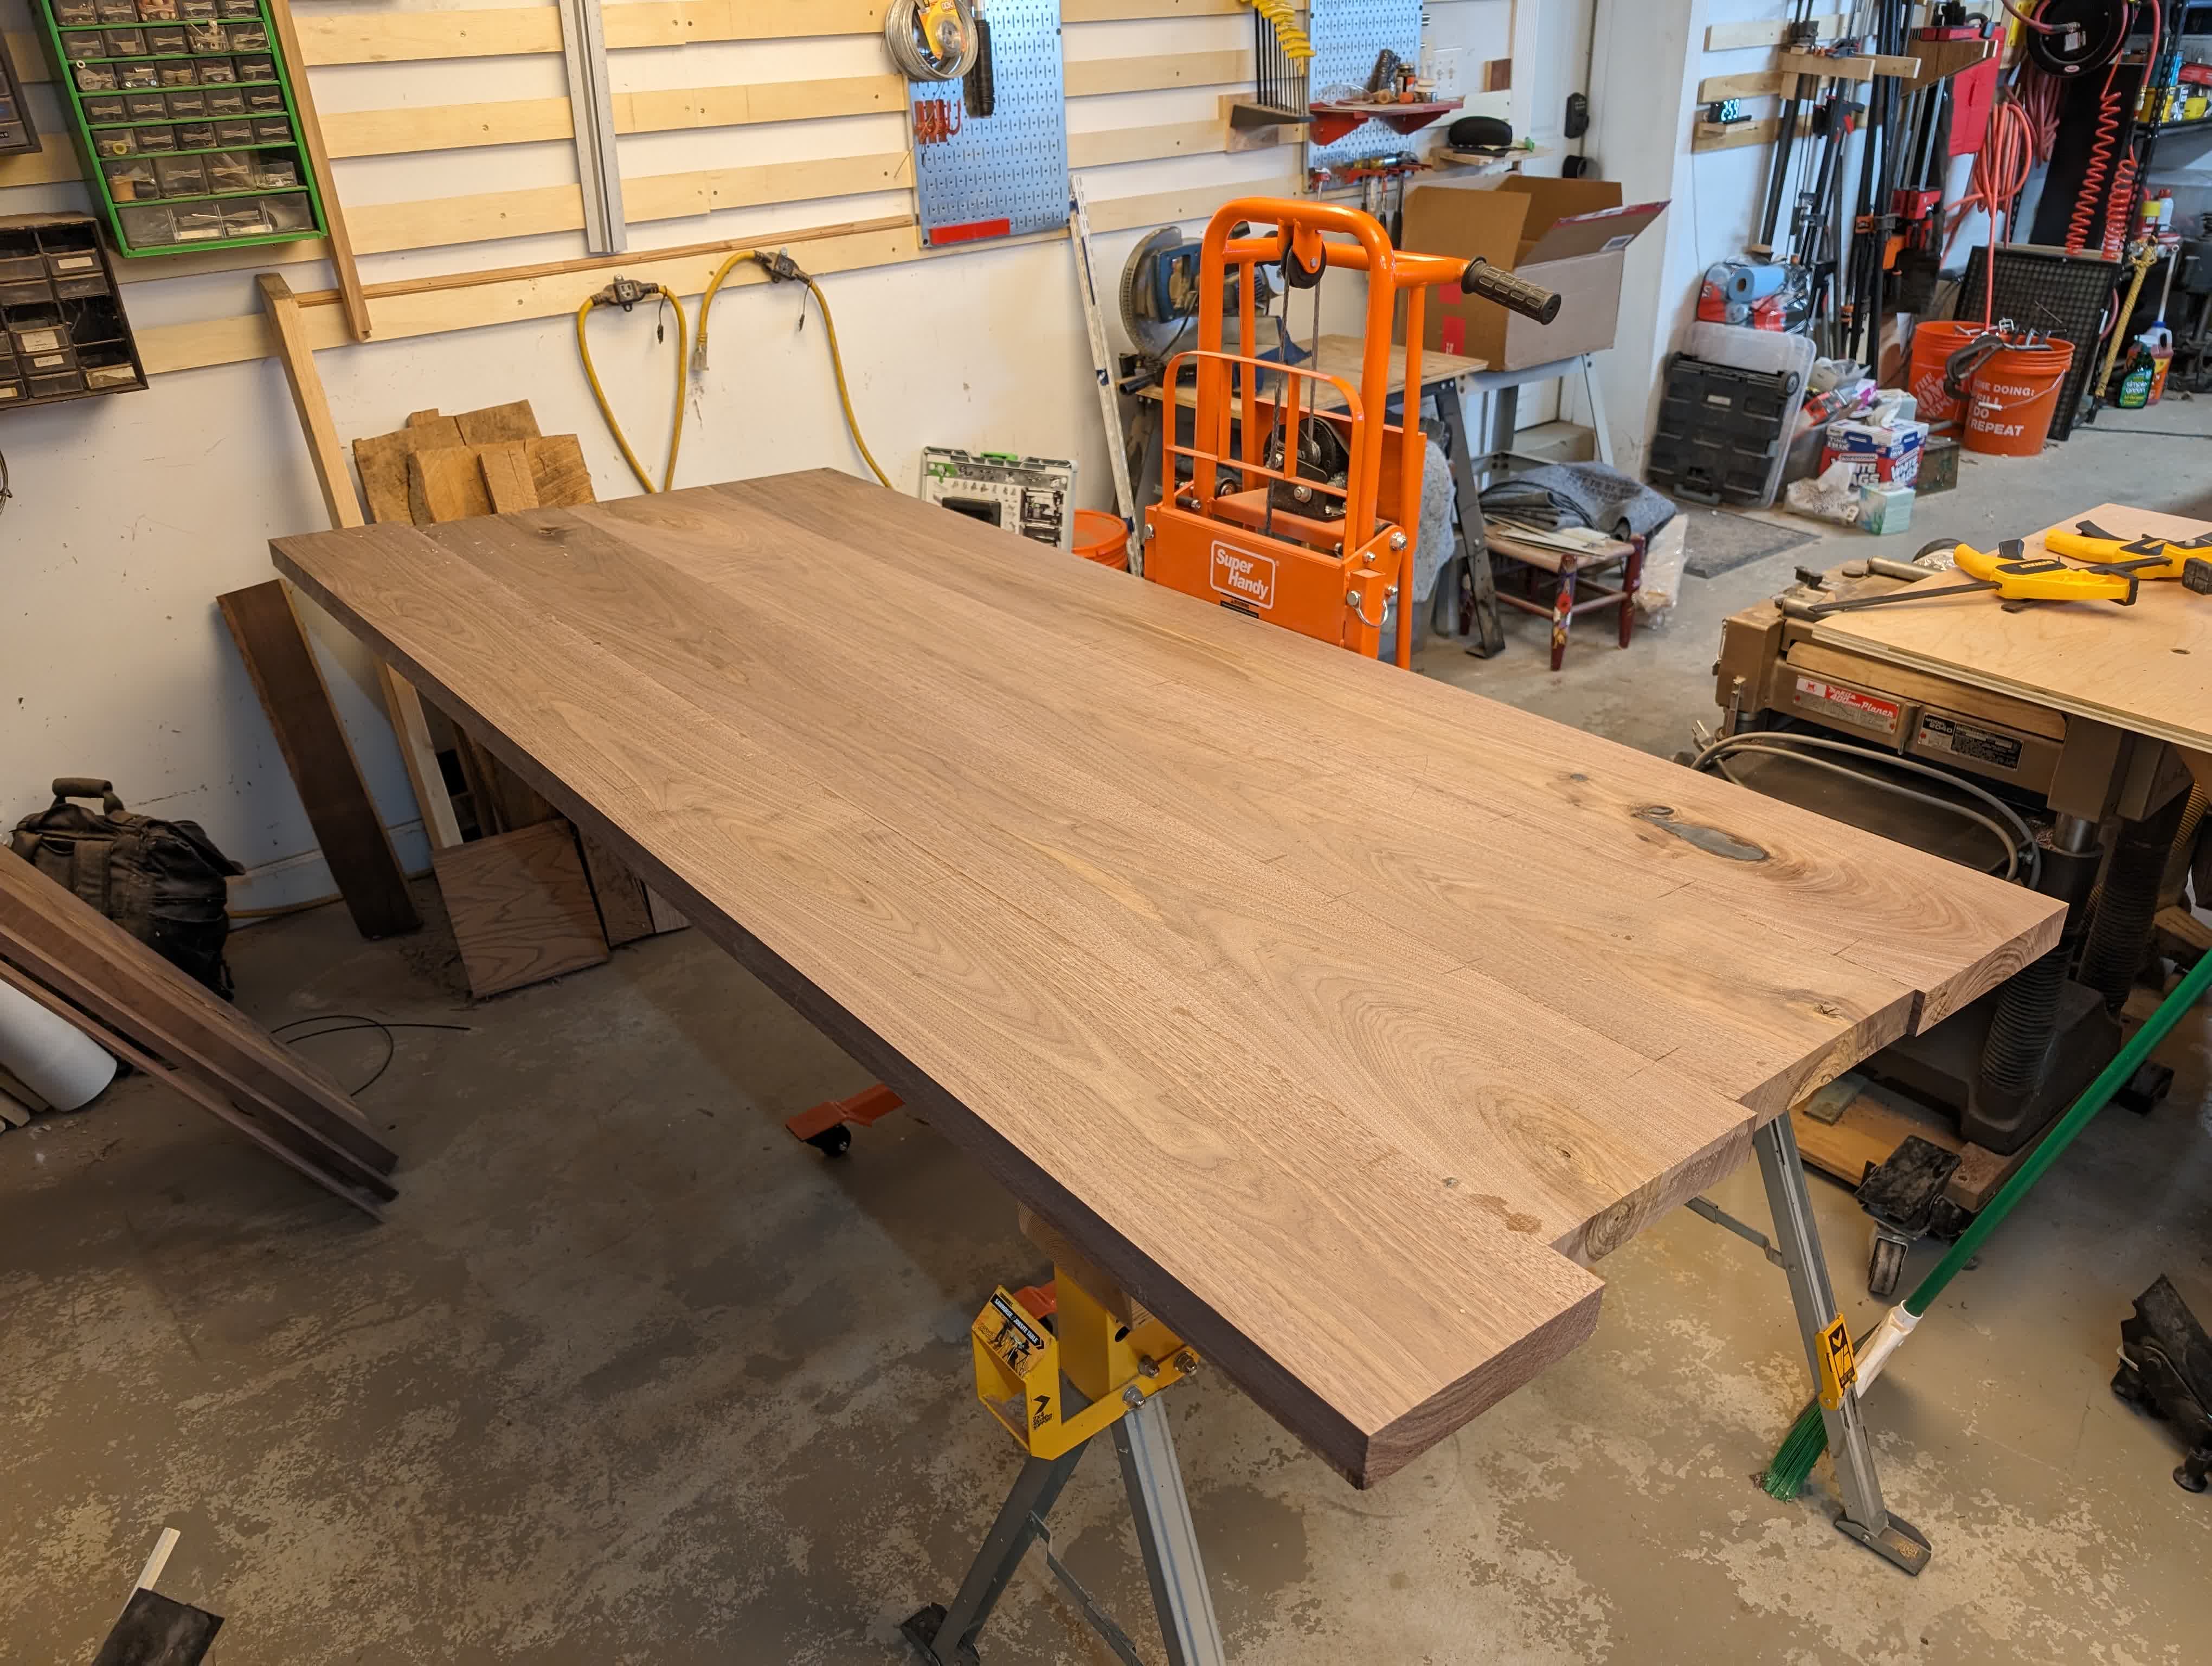
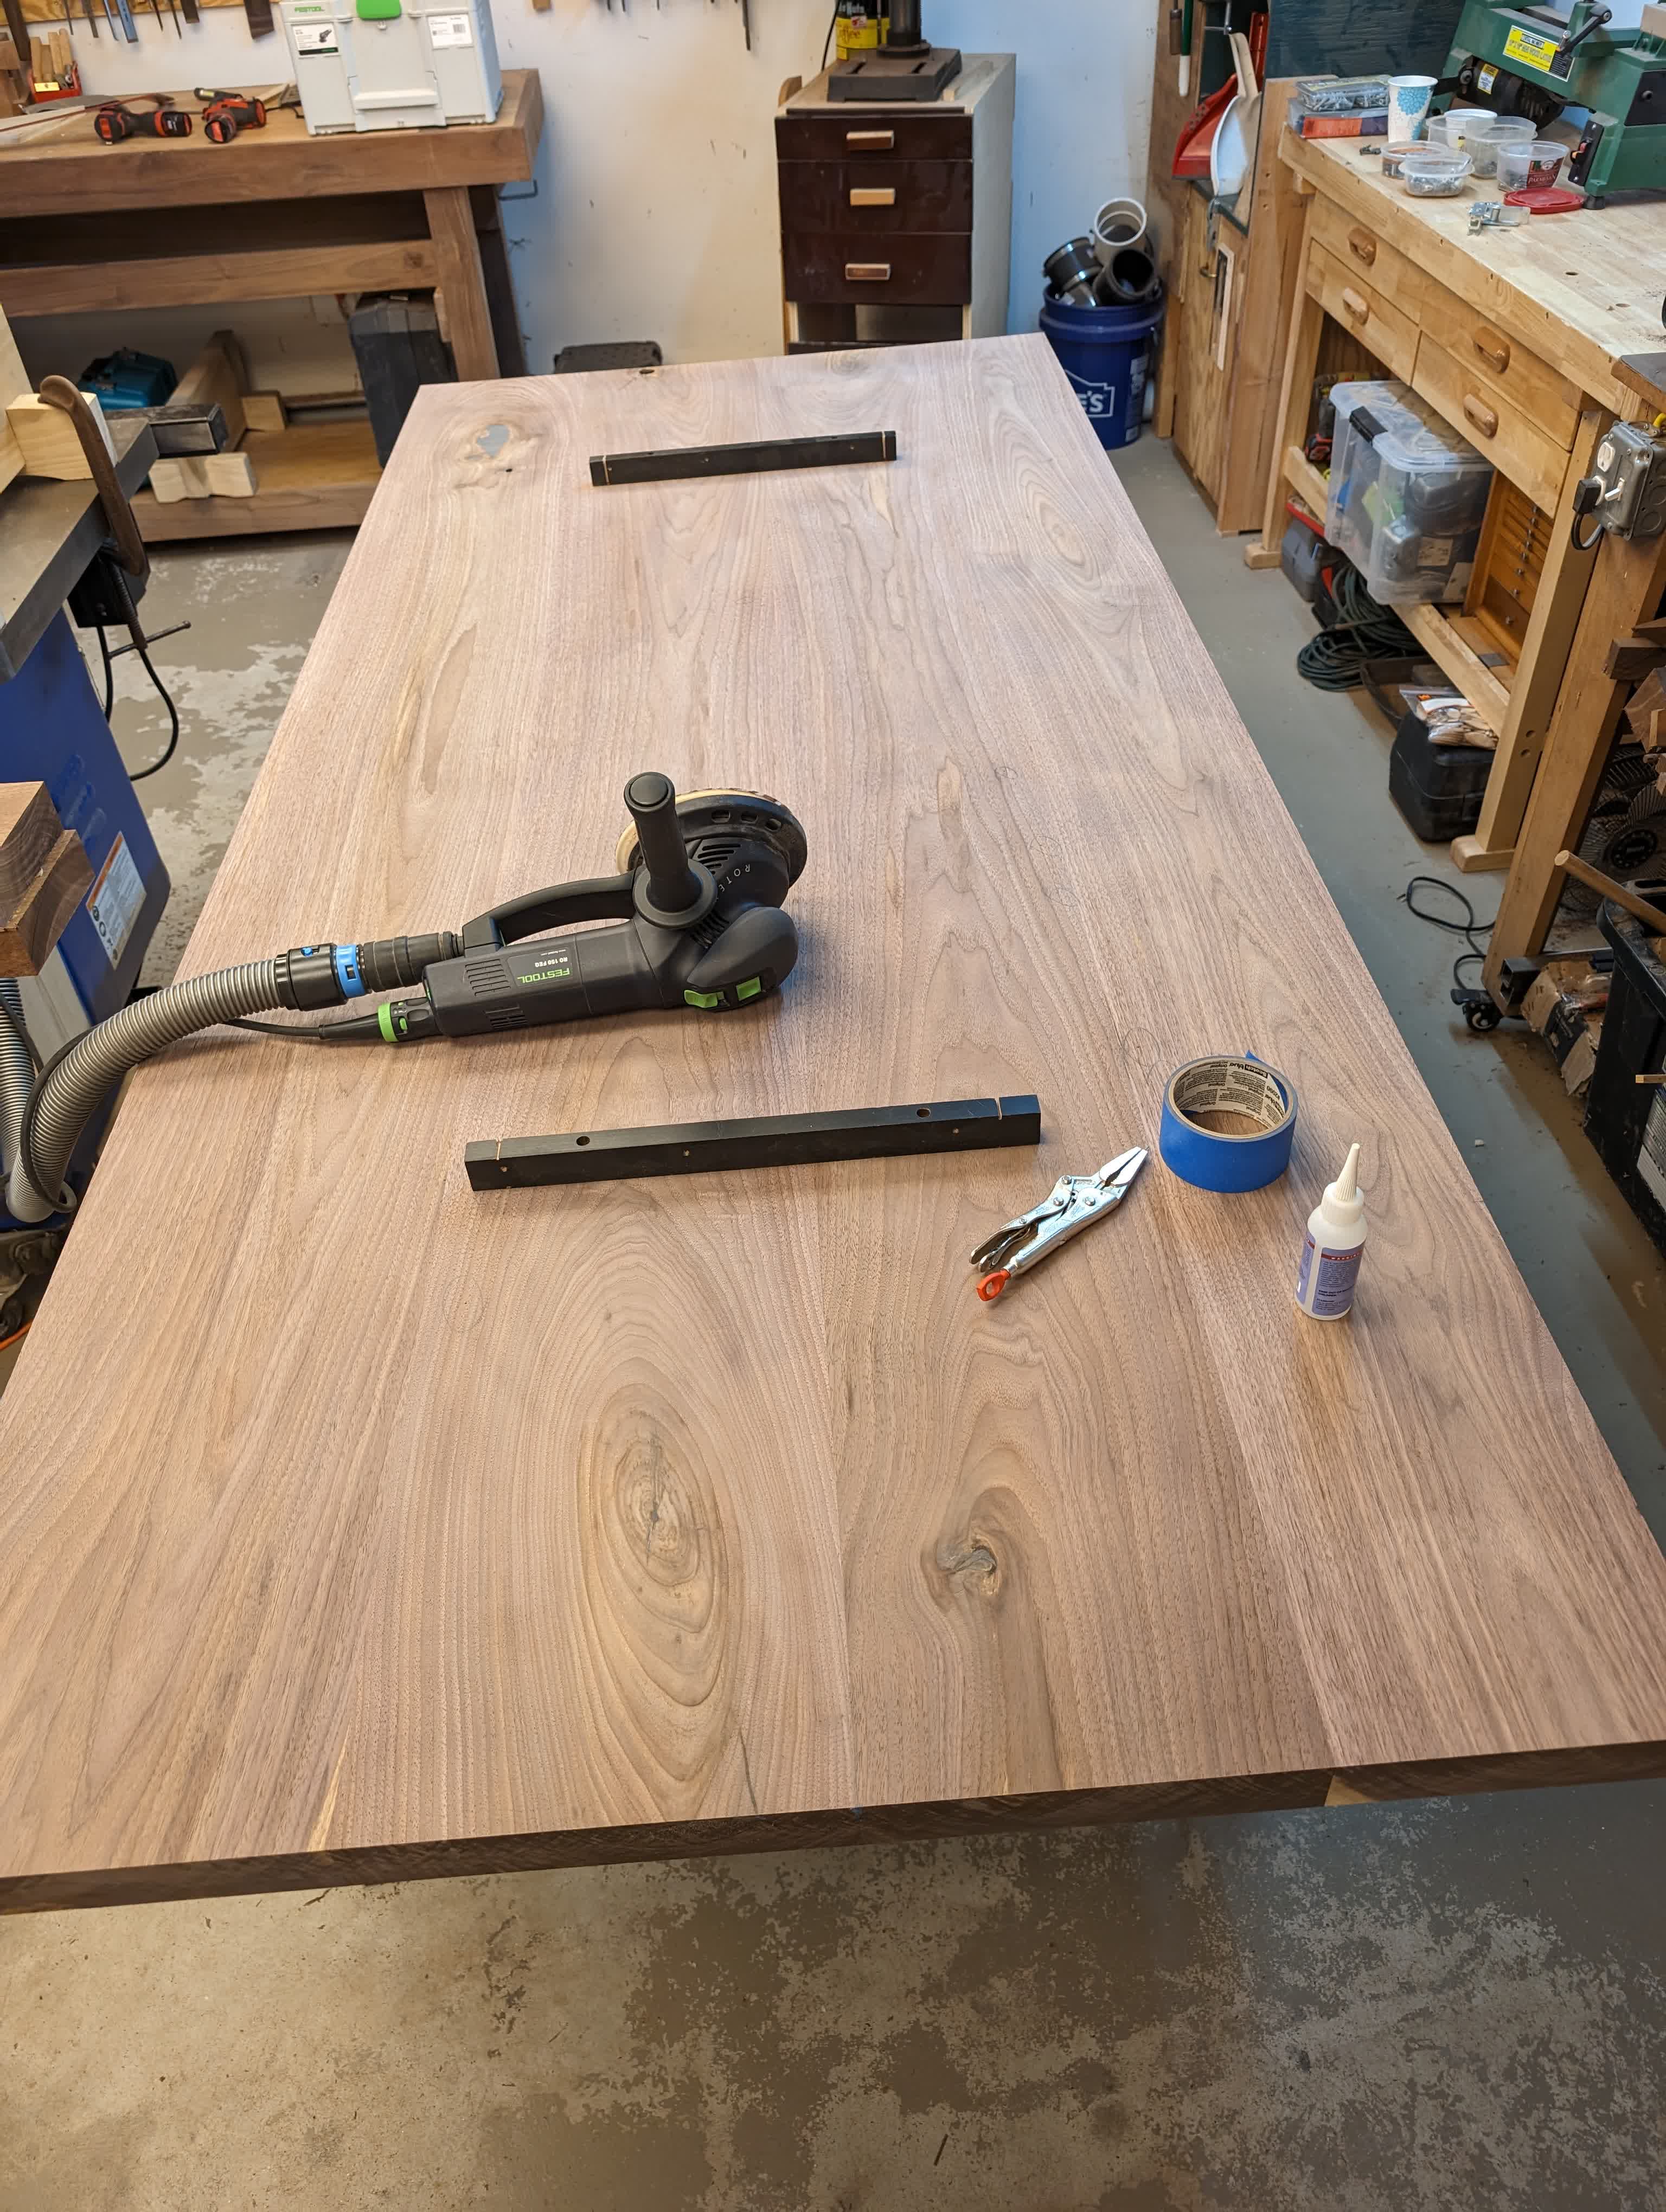
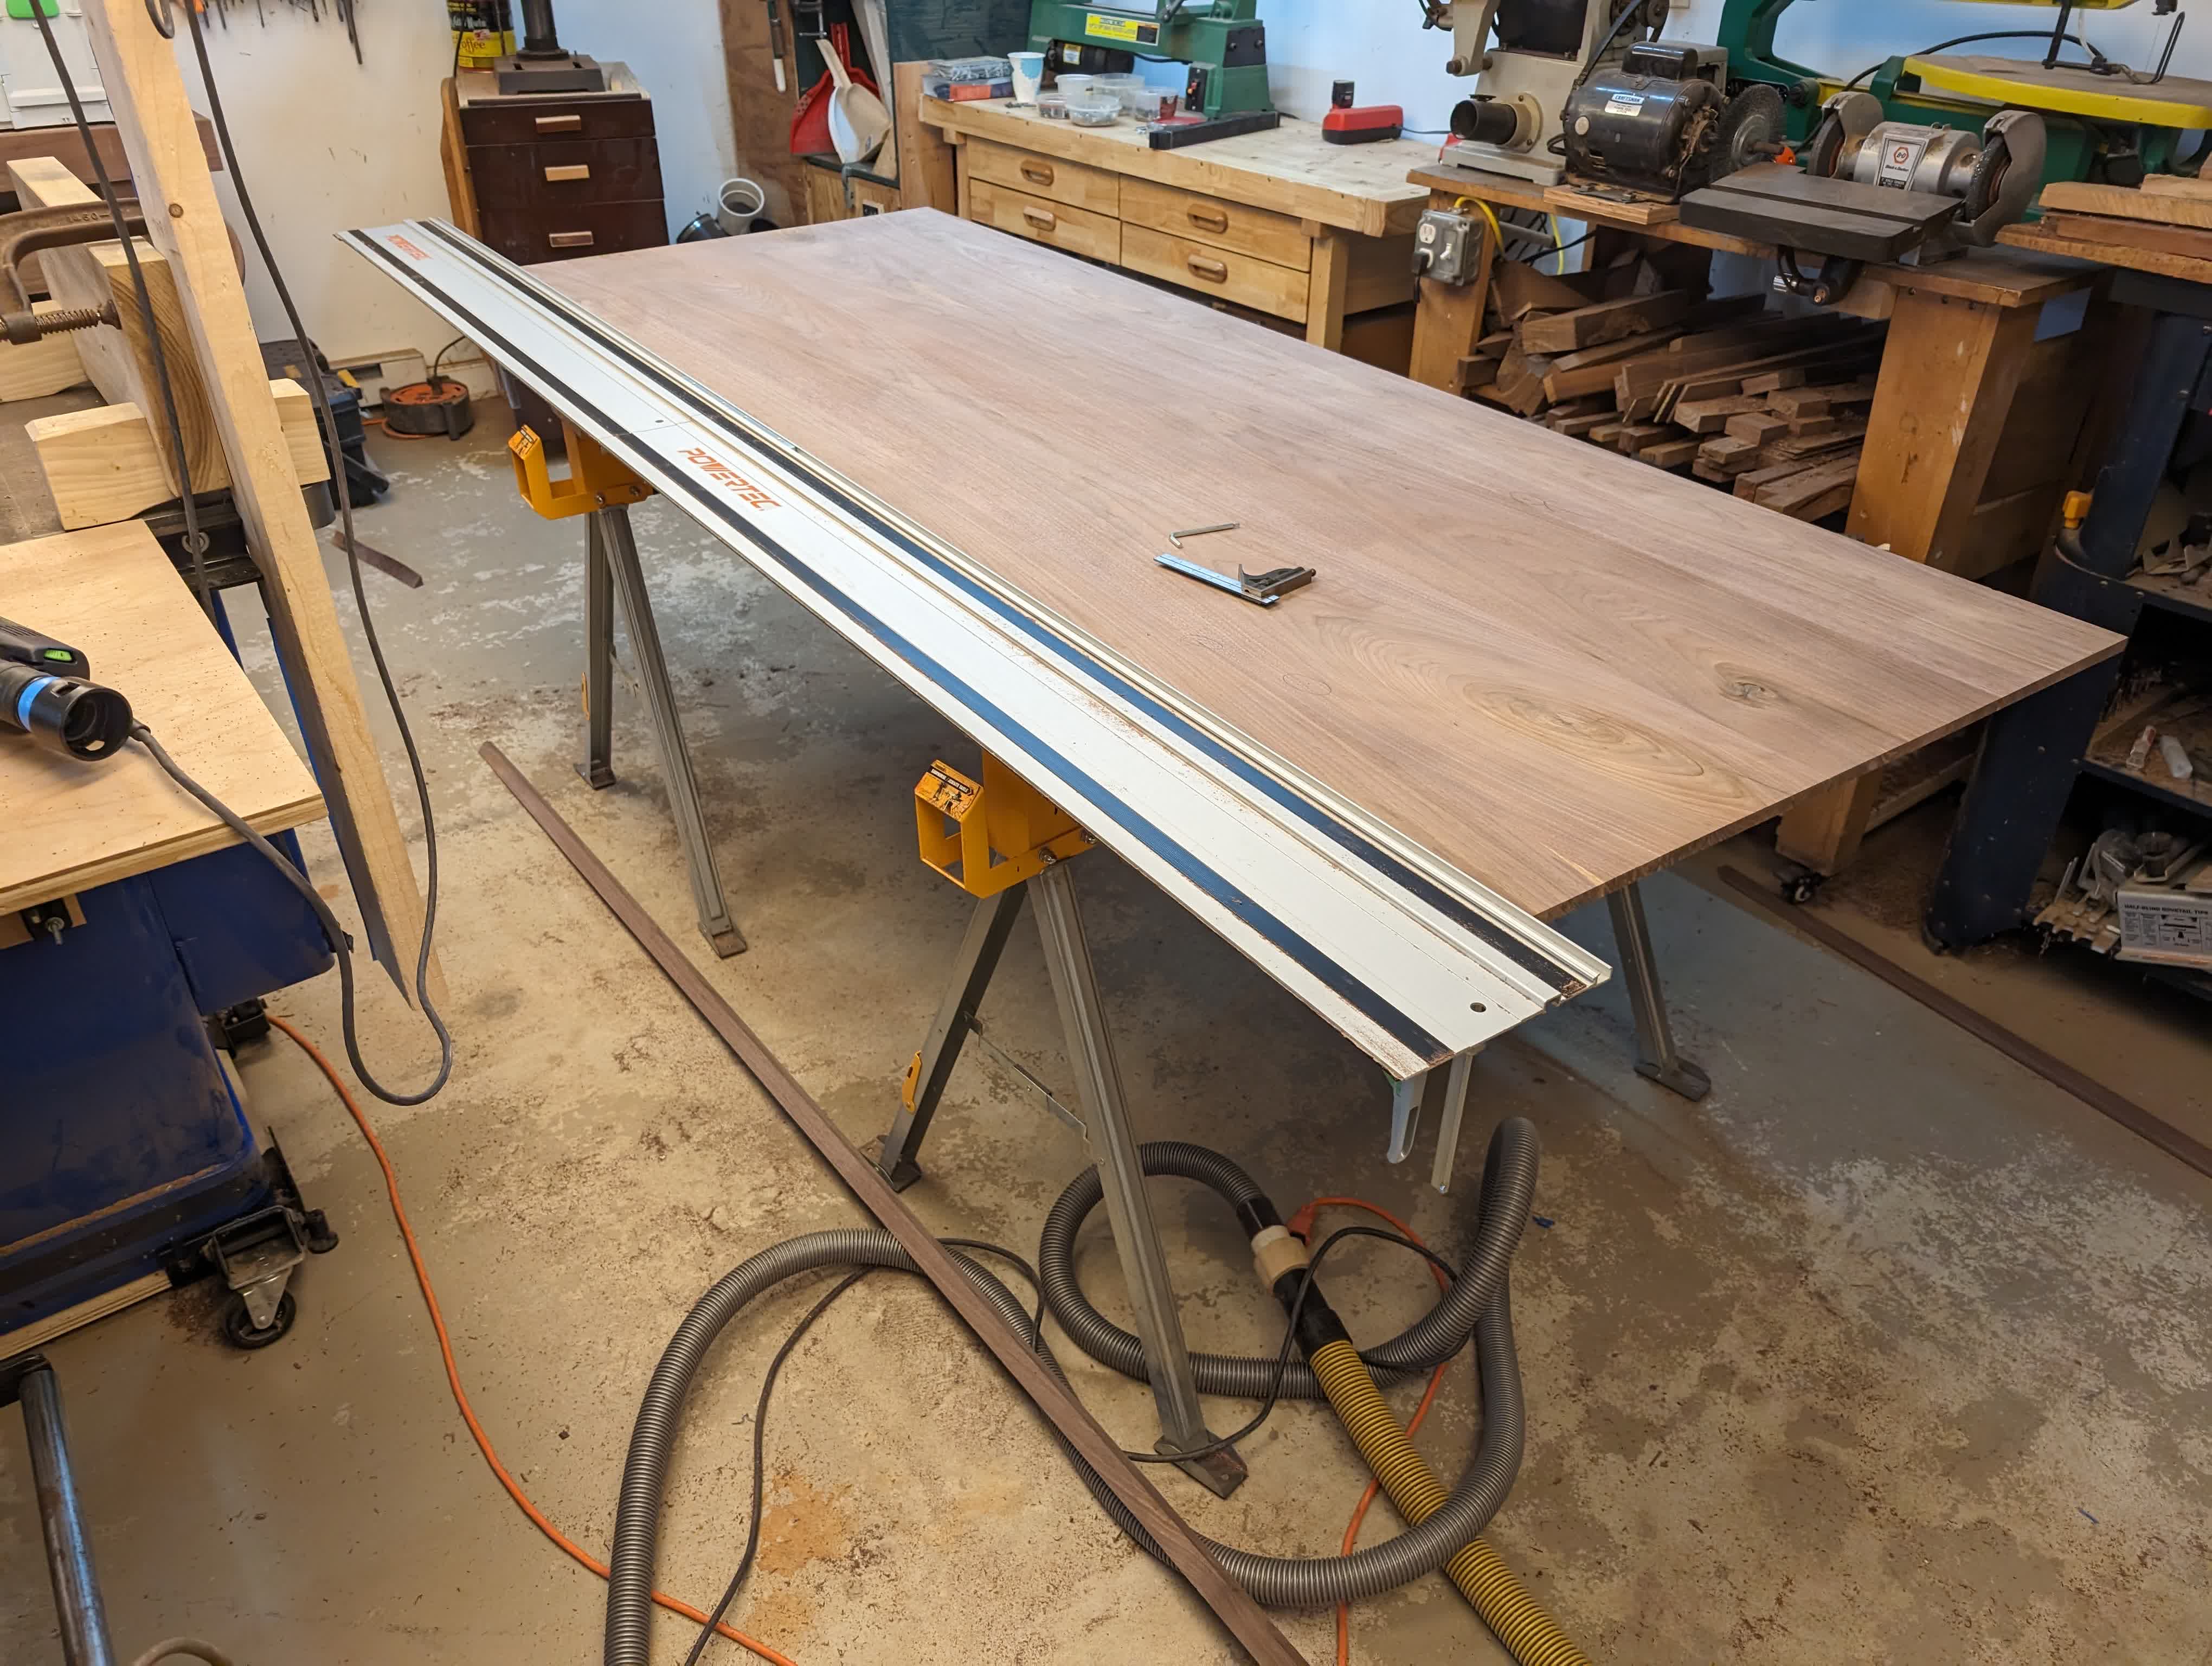
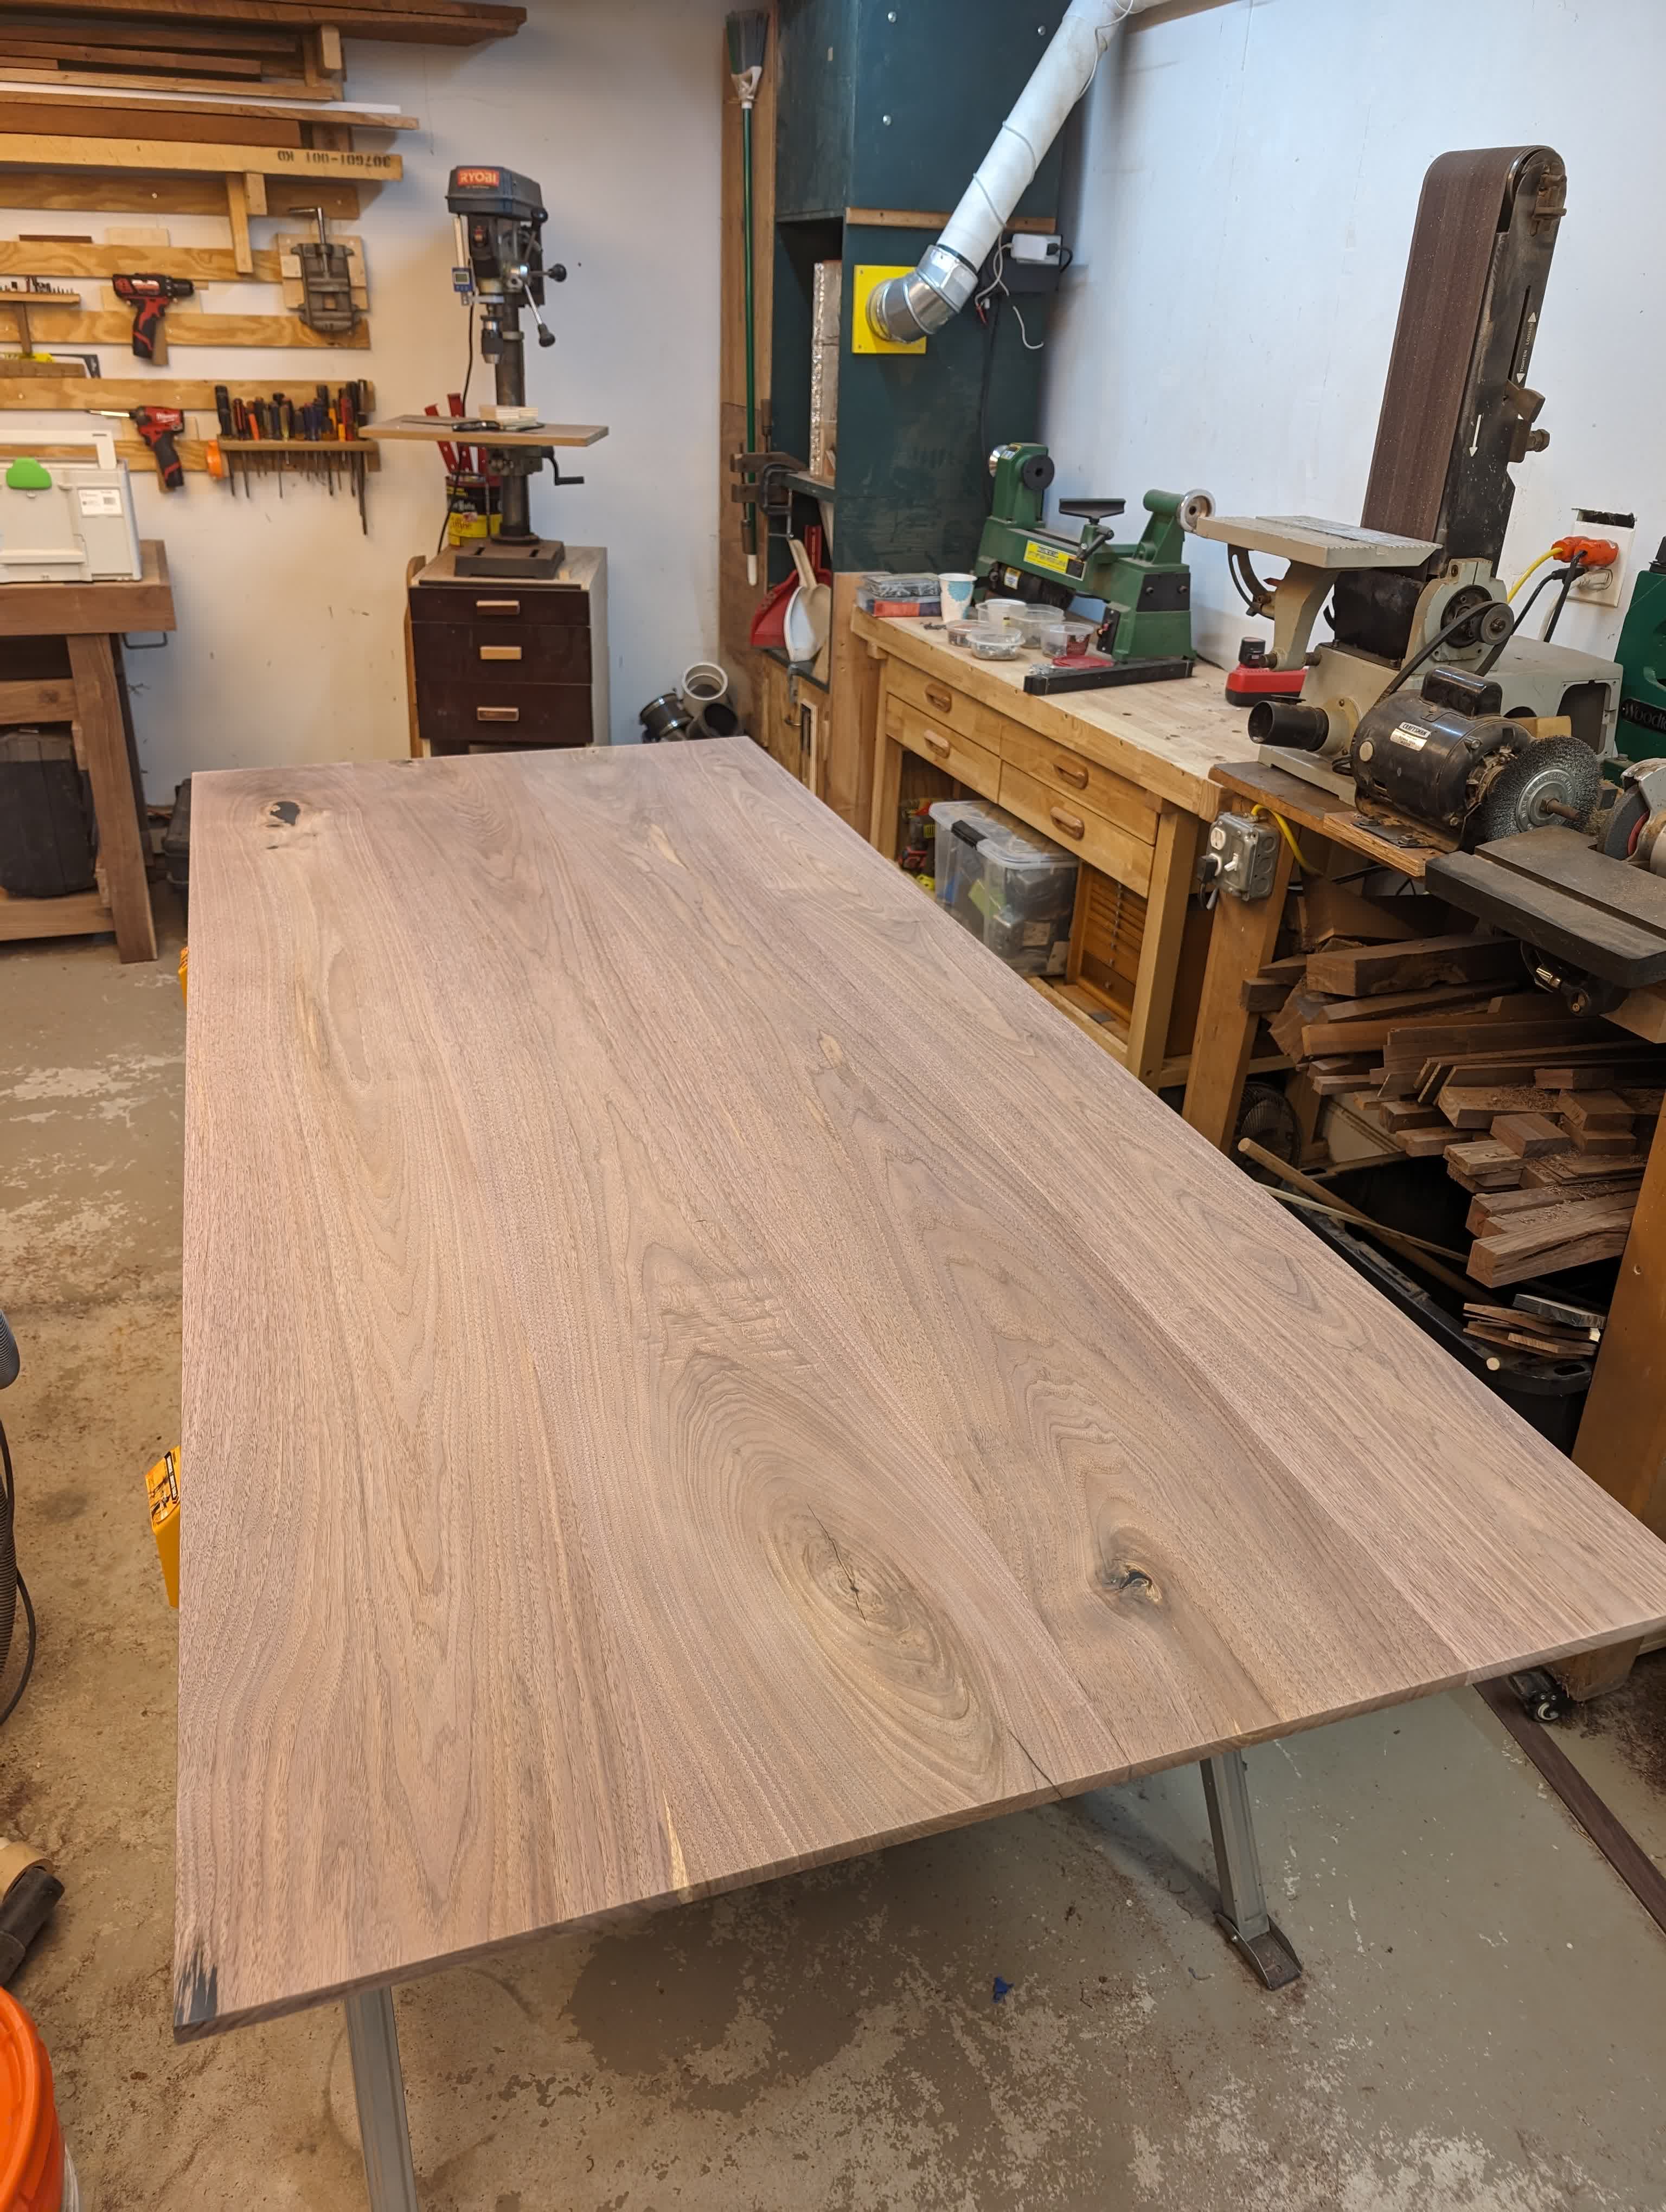
From there I cut the edges straight / parallel (using my track saw) and sanded the top down. It took a number of passes filling in tiny voids with superglue to get it looking perfect.
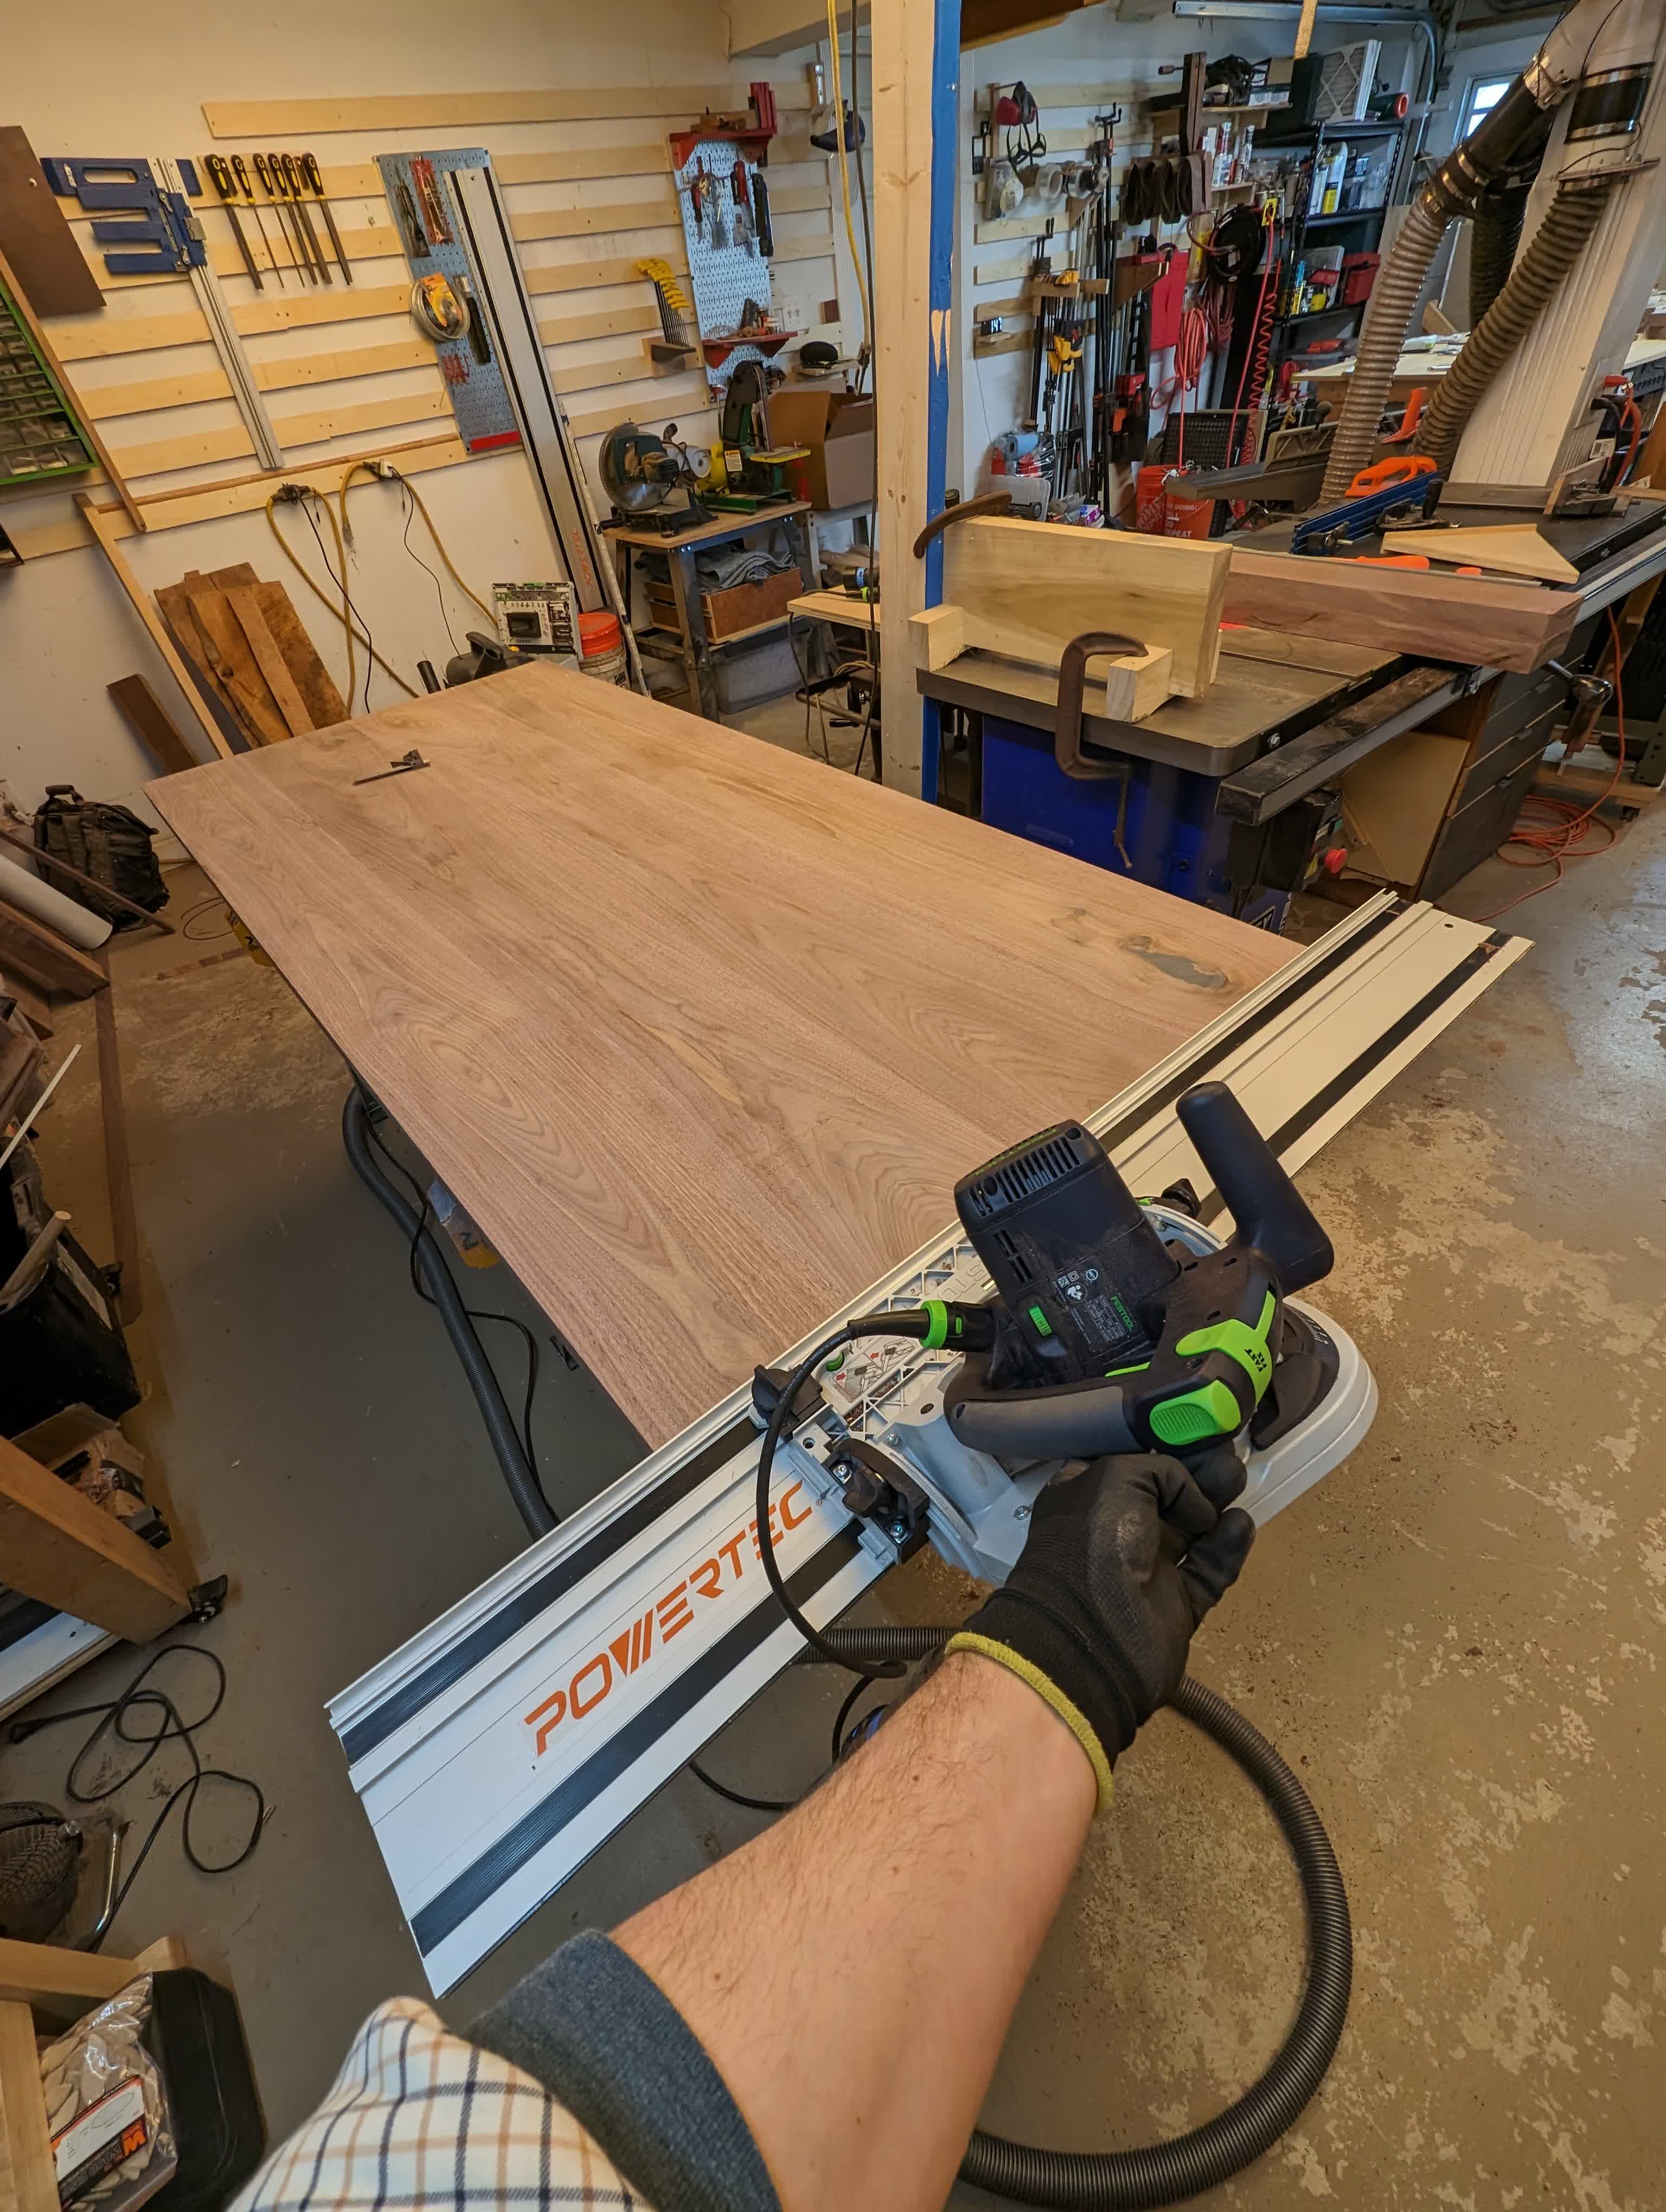
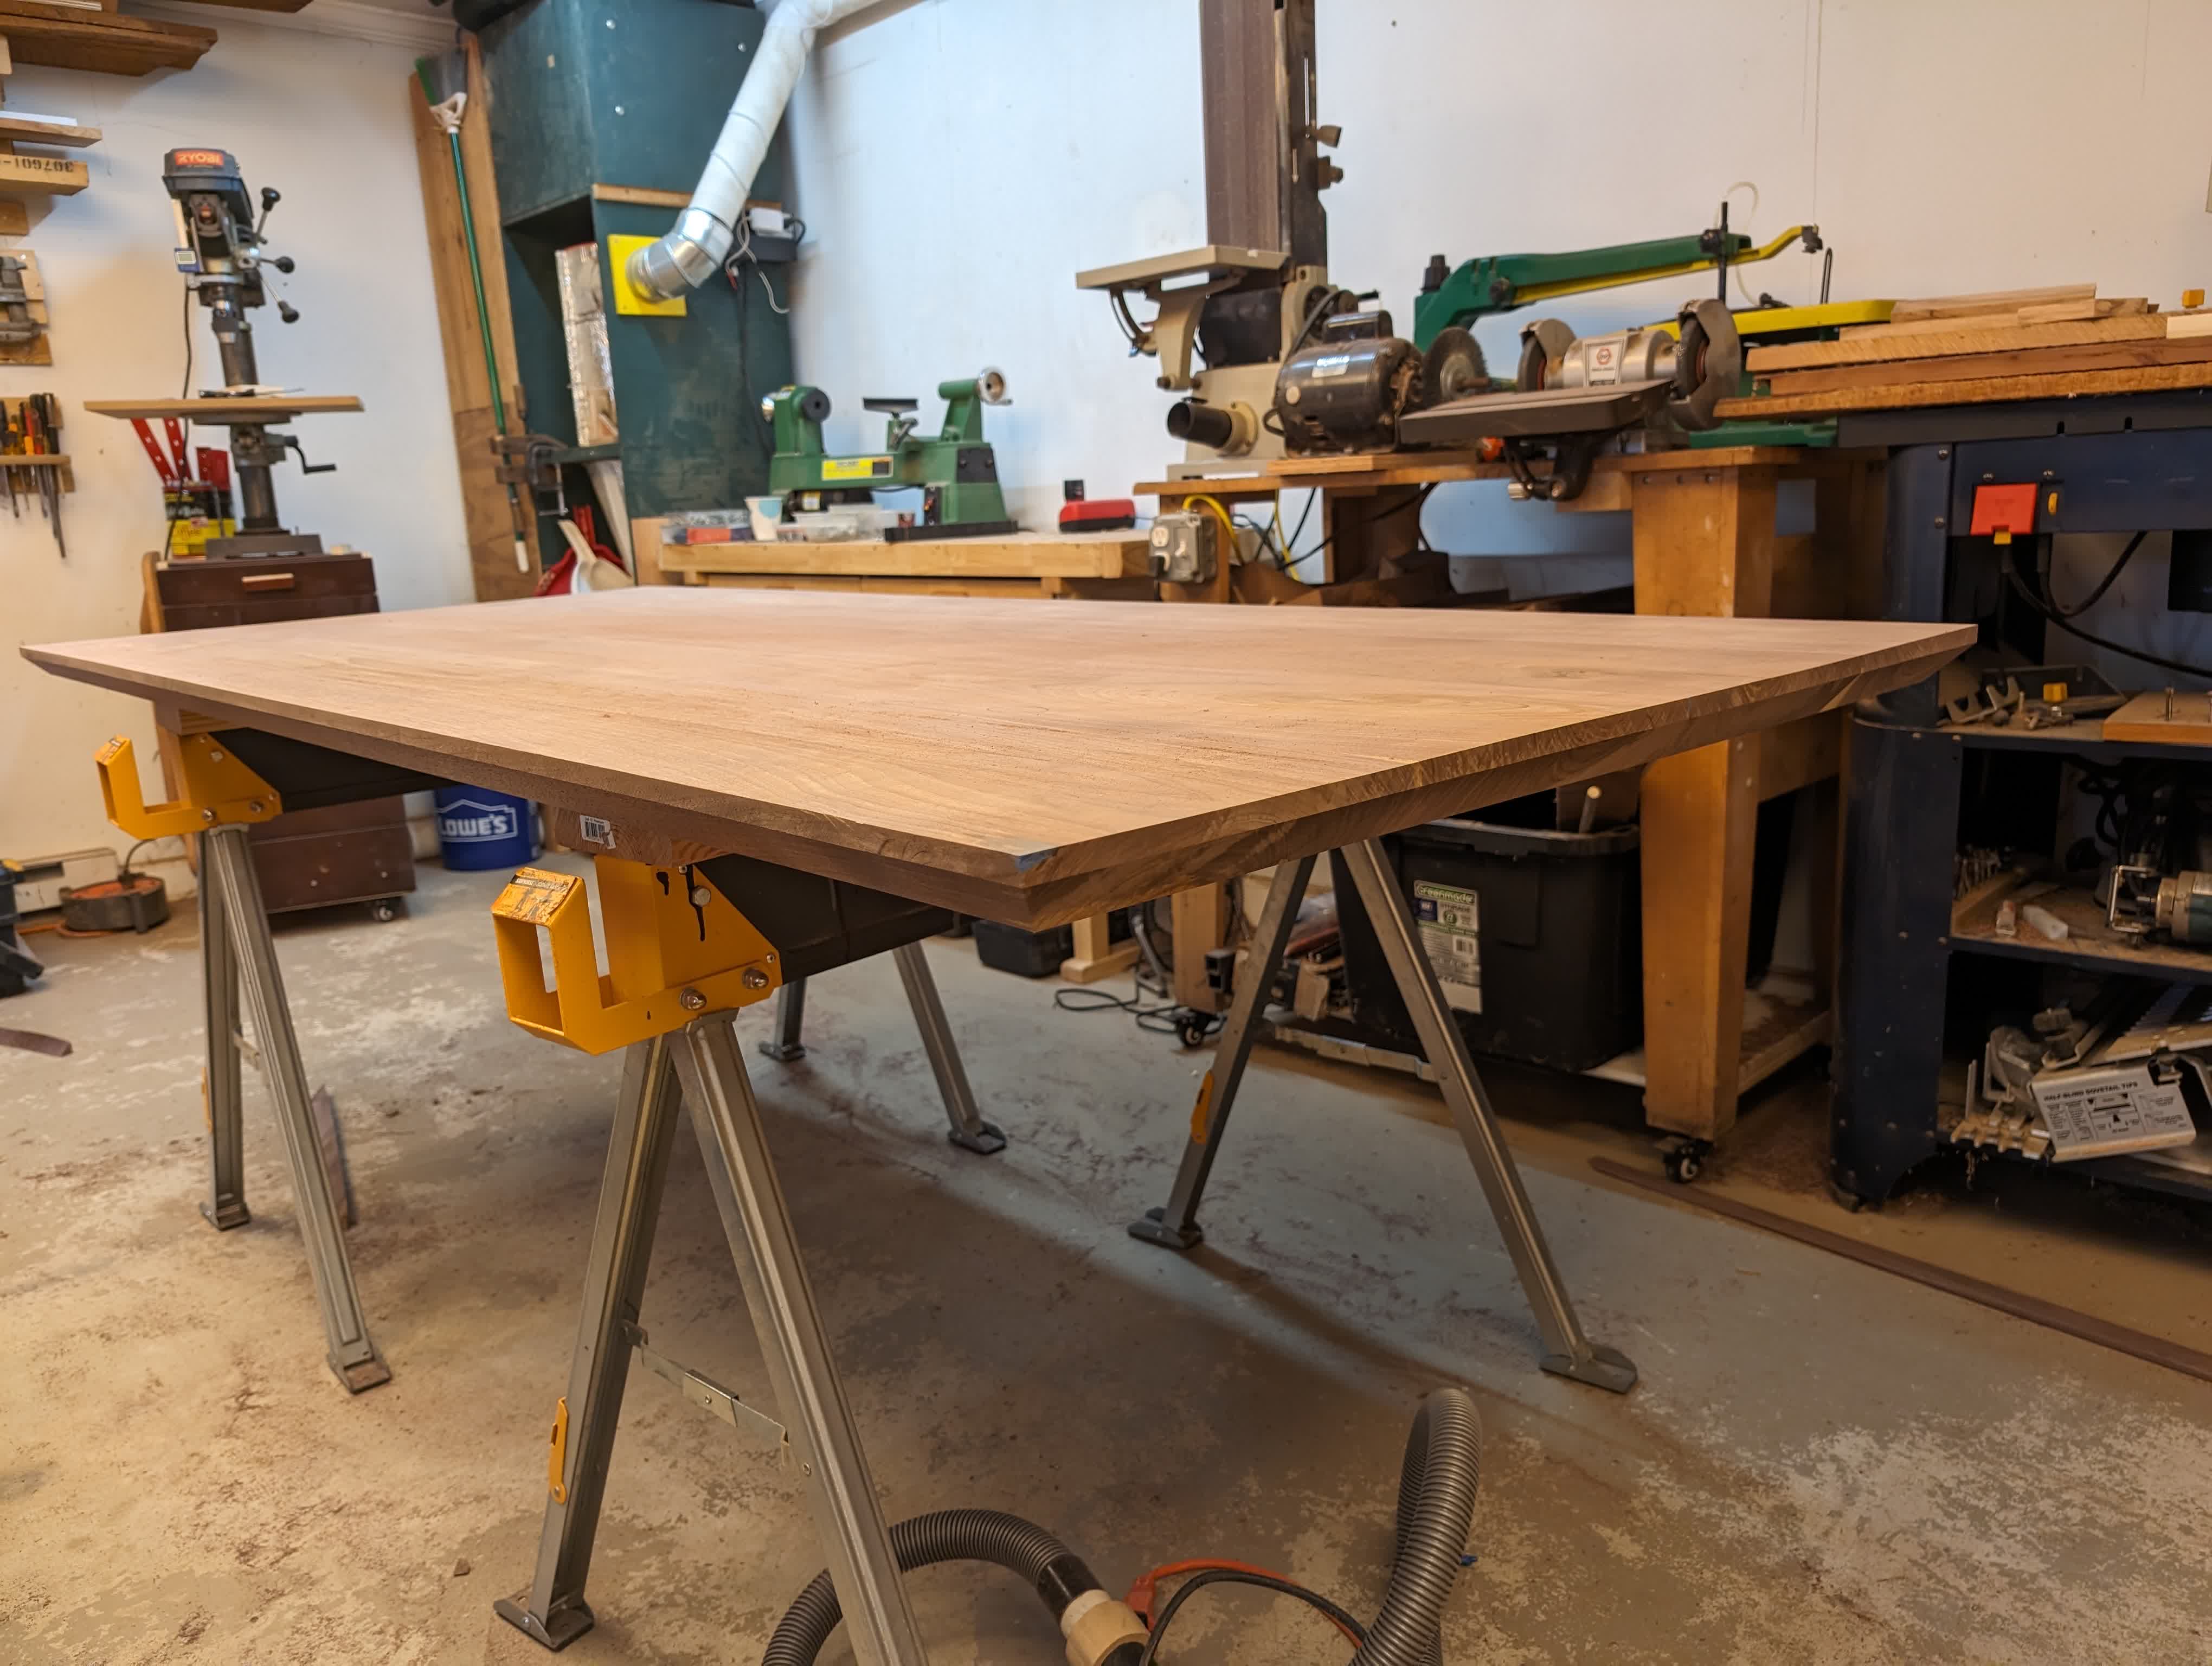
Before starting the finishing process, the last touch I added was an undercut on each edge of the table
 |
 |
And with some minor sanding of the bevel, the top was just about ready for finish!
 |
 |
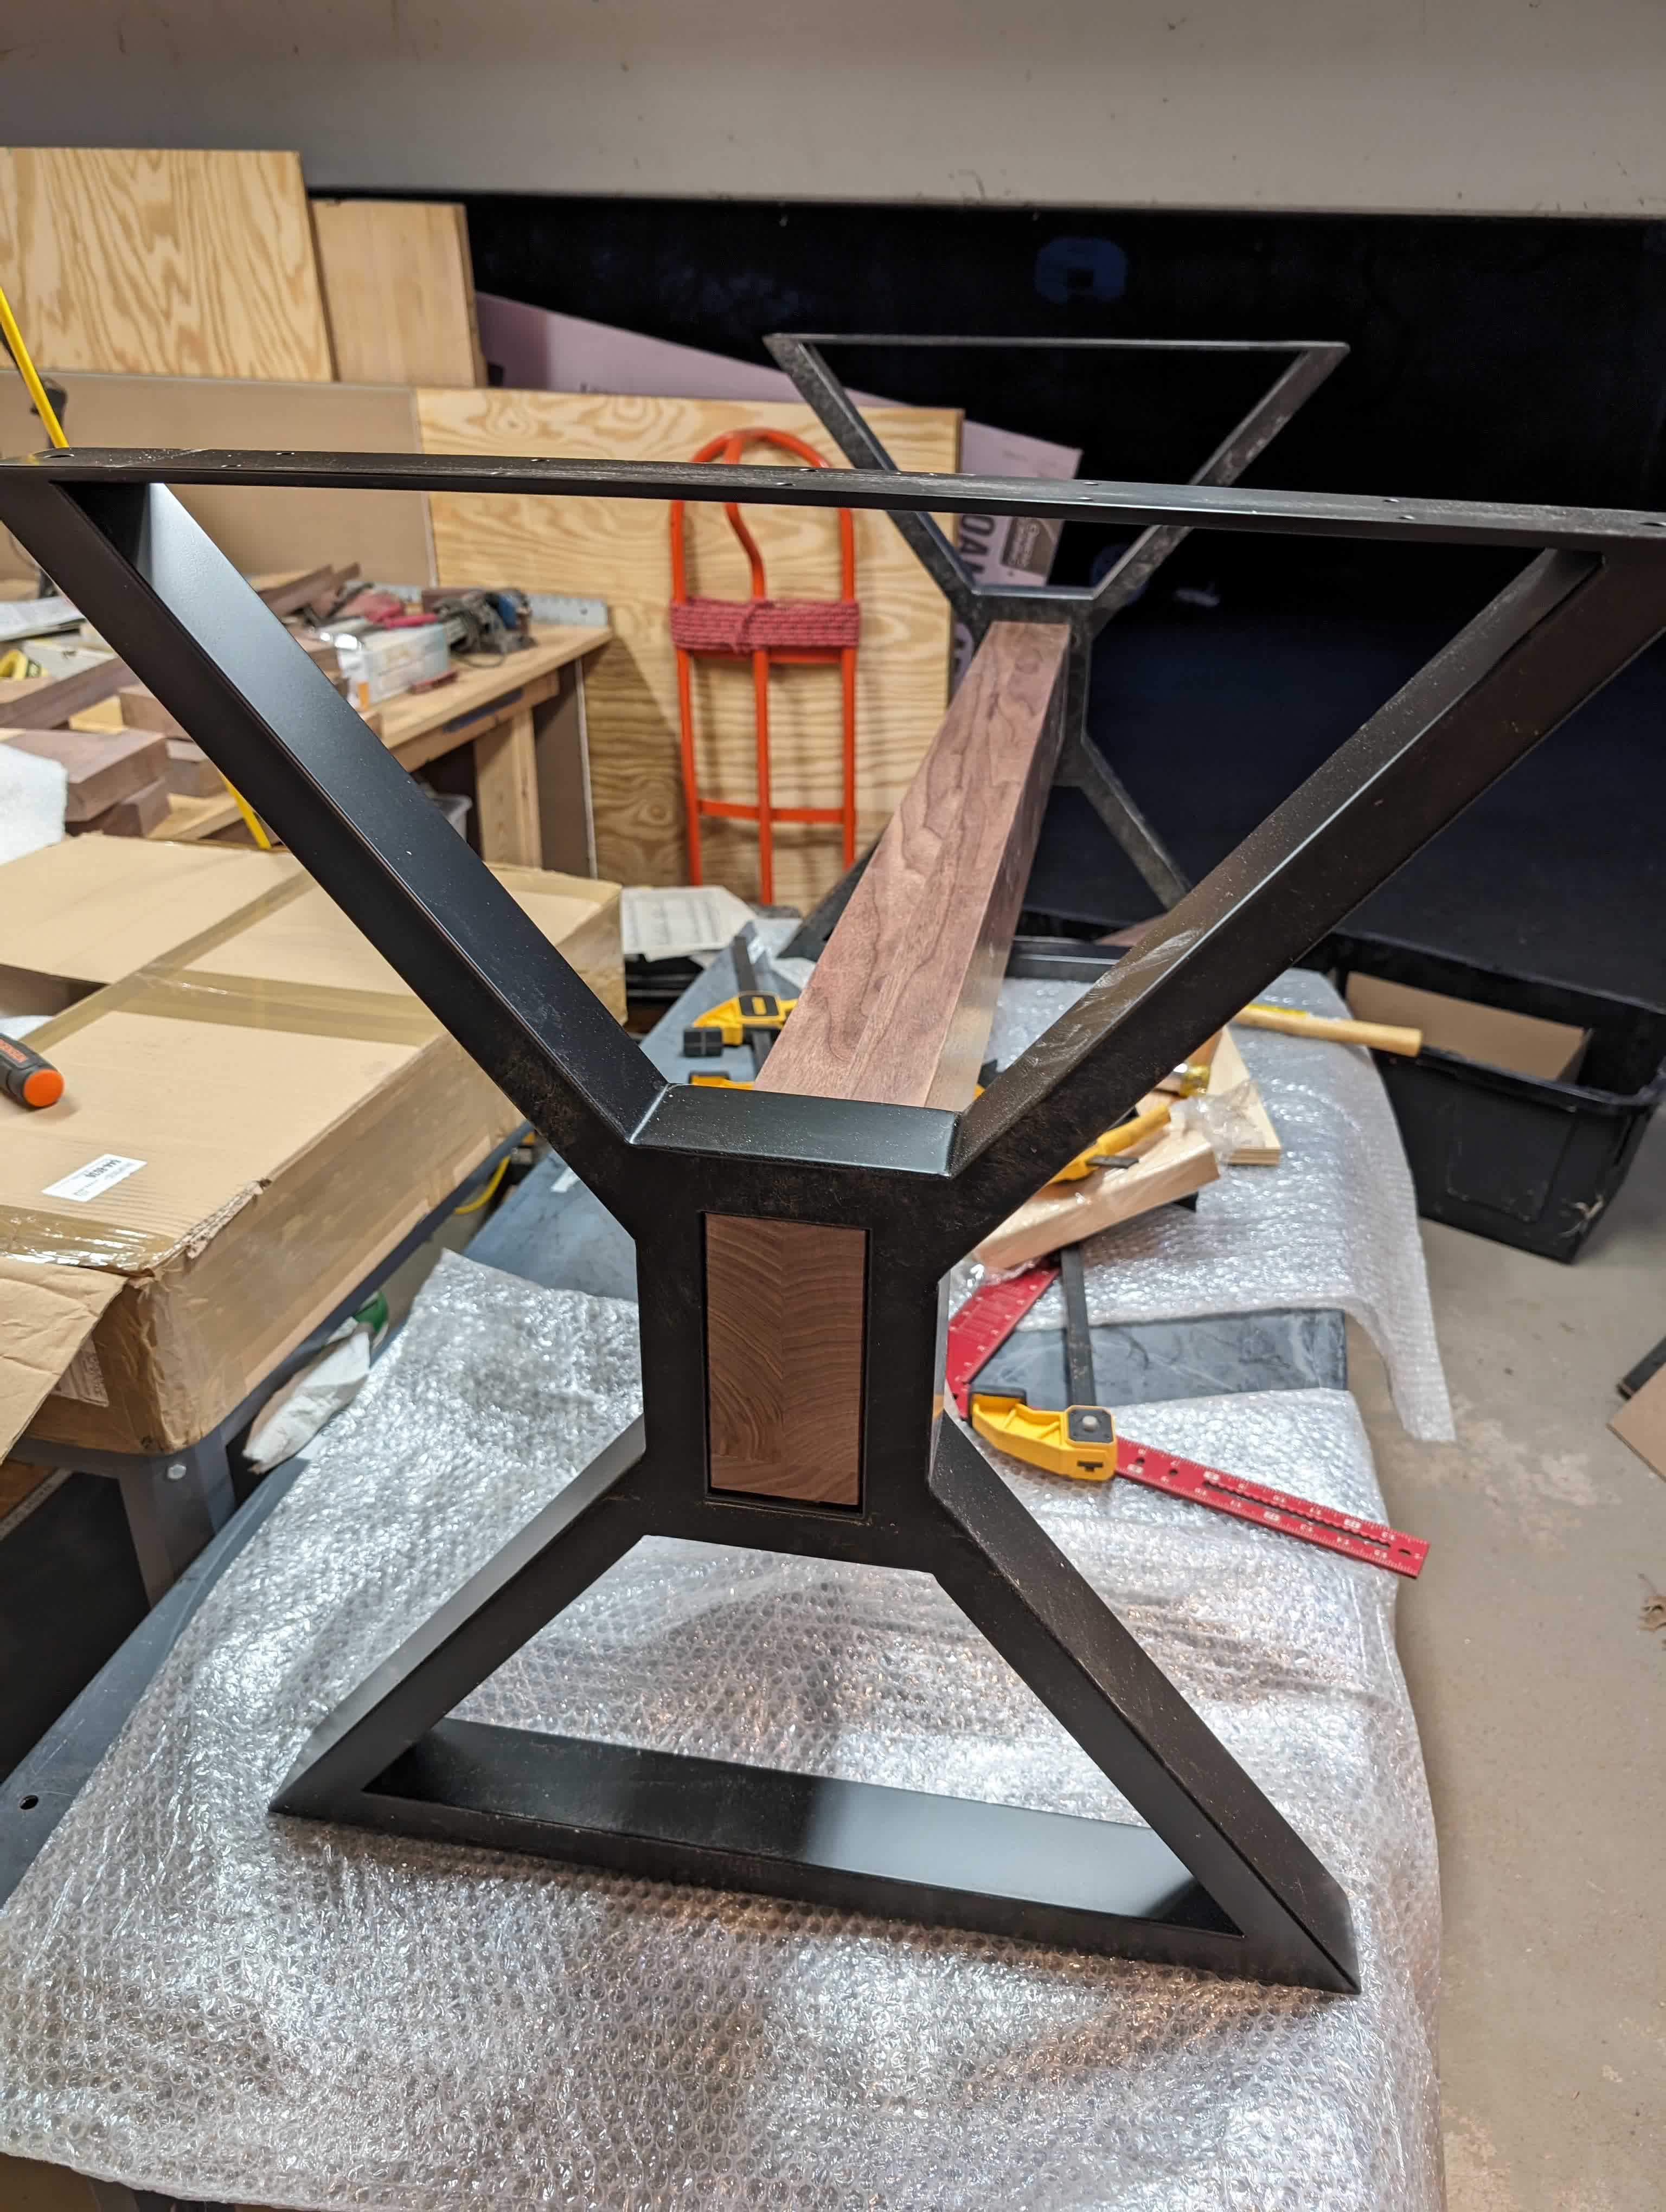
Then on to the base. Most of the base came prefabricated from etsy, though I still had to make a stretcher to run the length of the table and join everything together. Again I started with rough cut walnut:
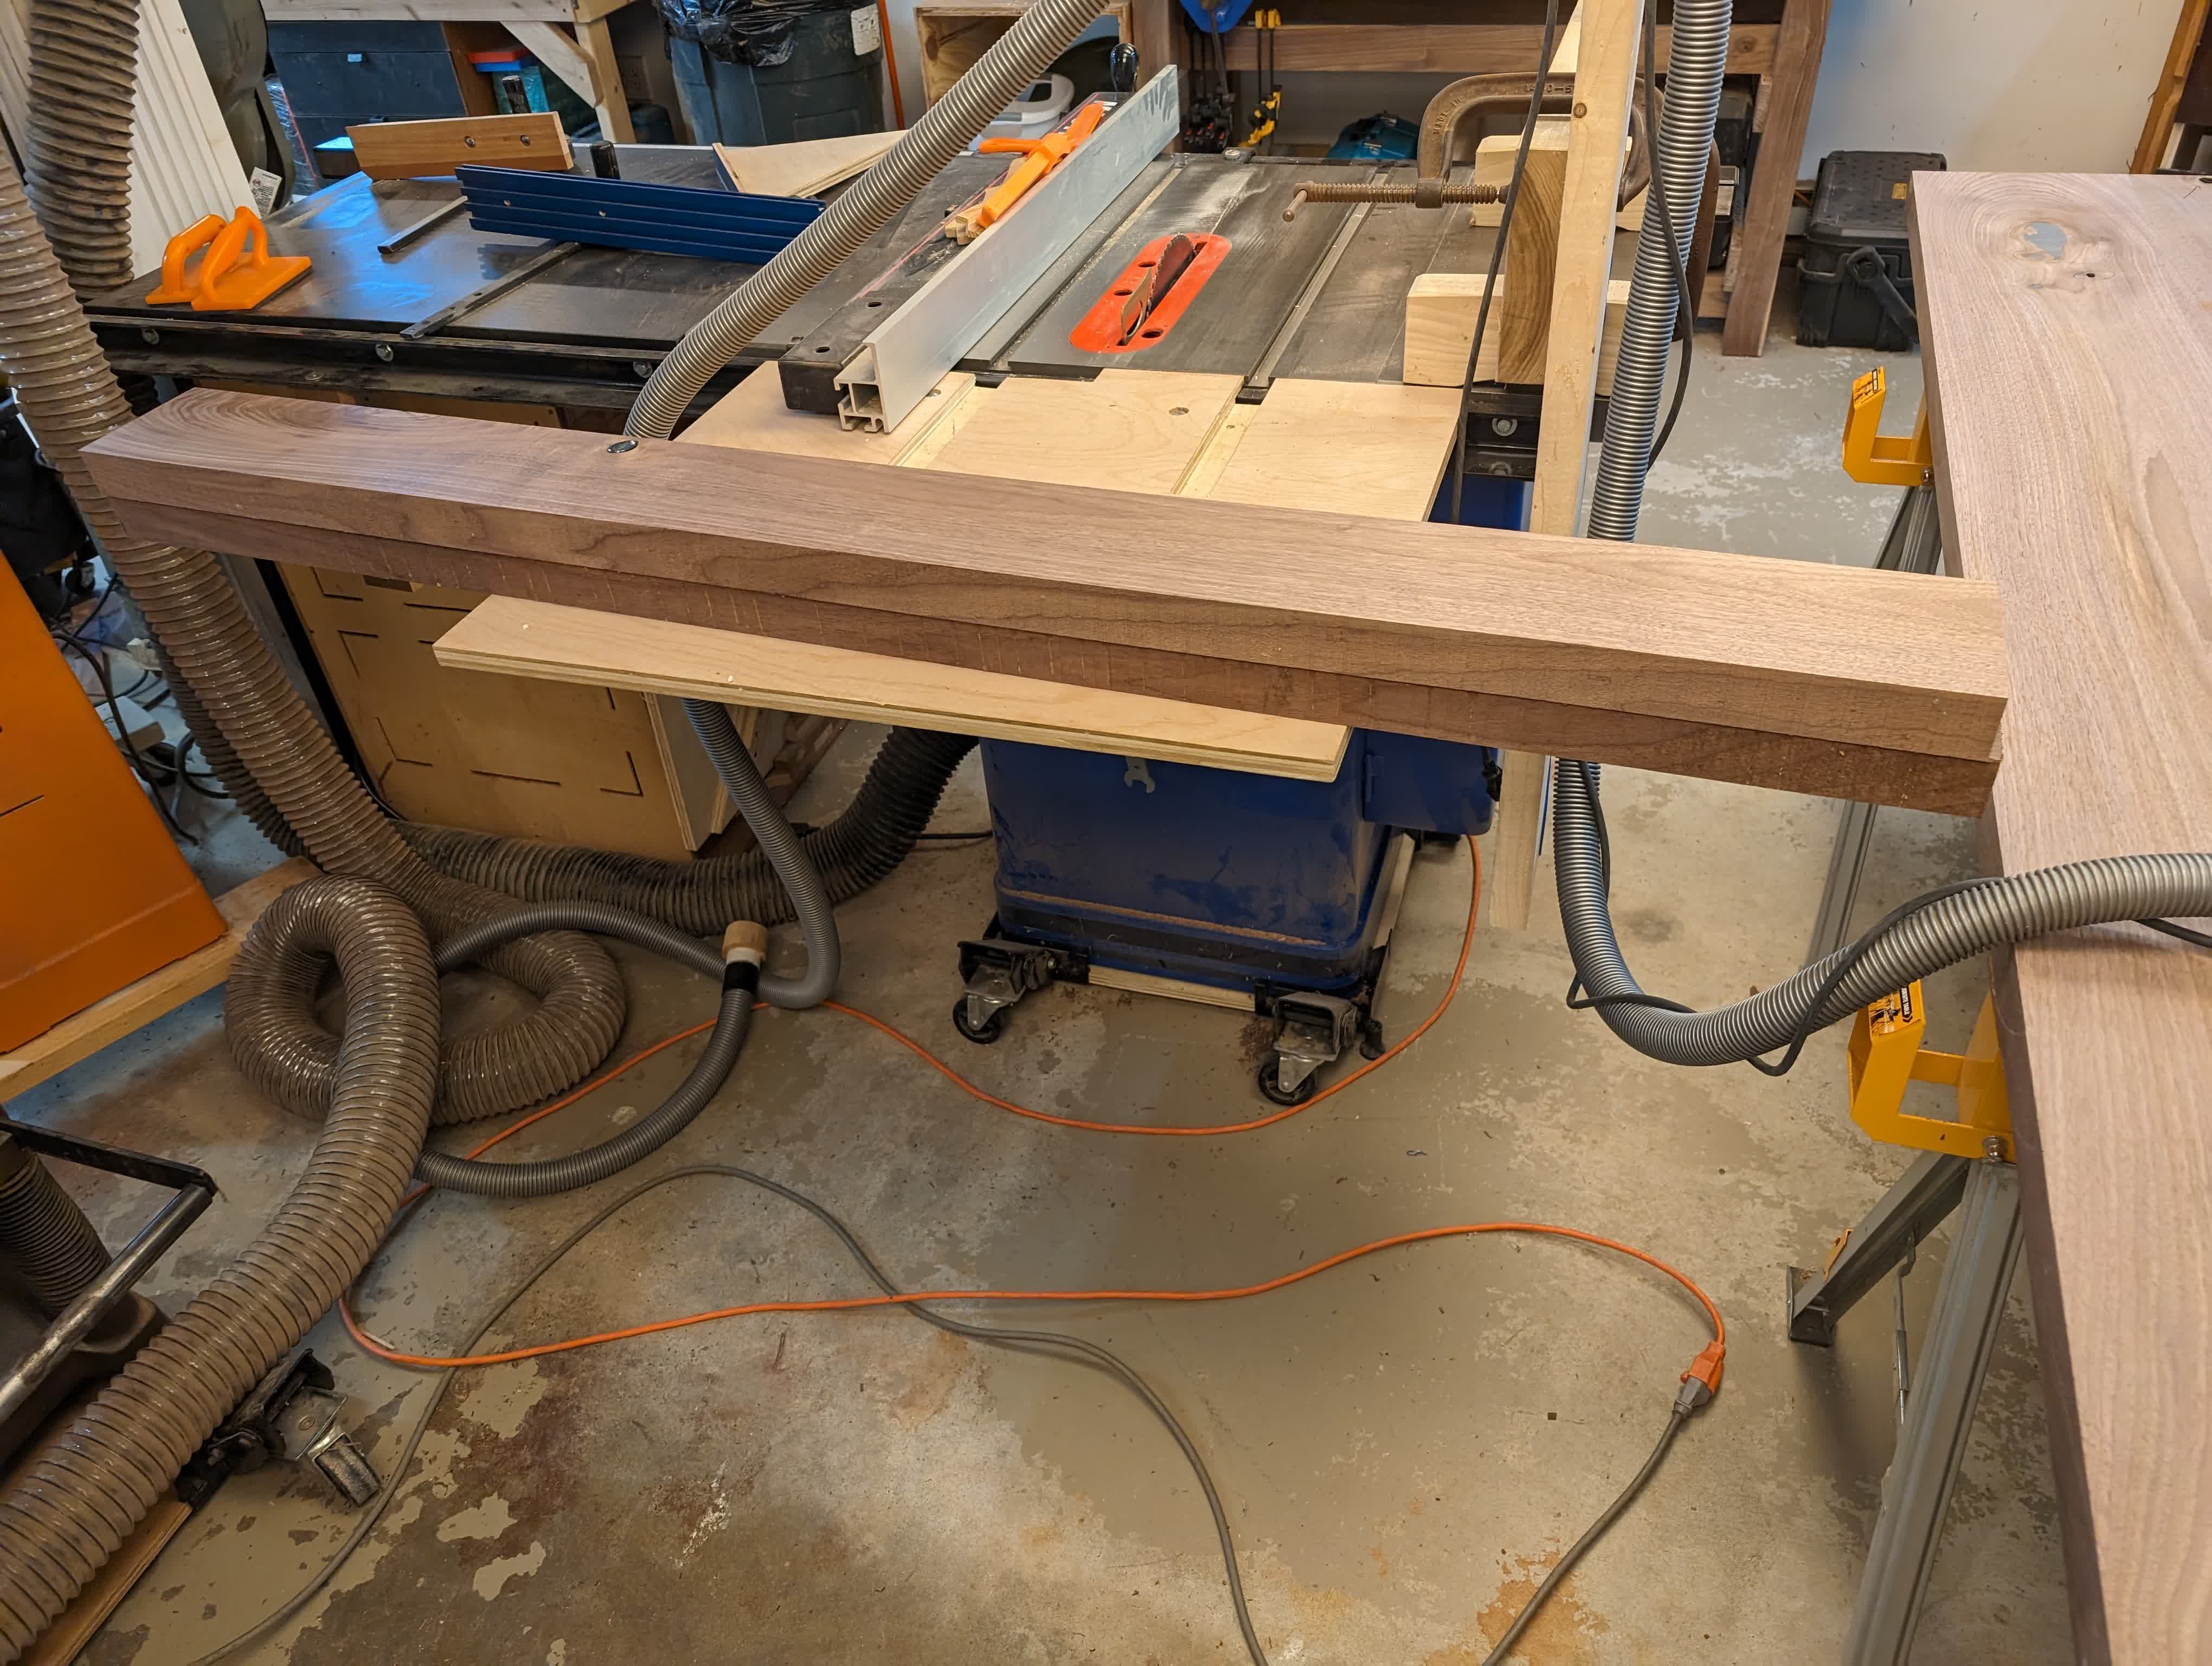
I wanted to do a sort of mortise/tenon joint on the each end, so I left the overall stretcher too thick and slowly shaved the end down until it fit perfectly
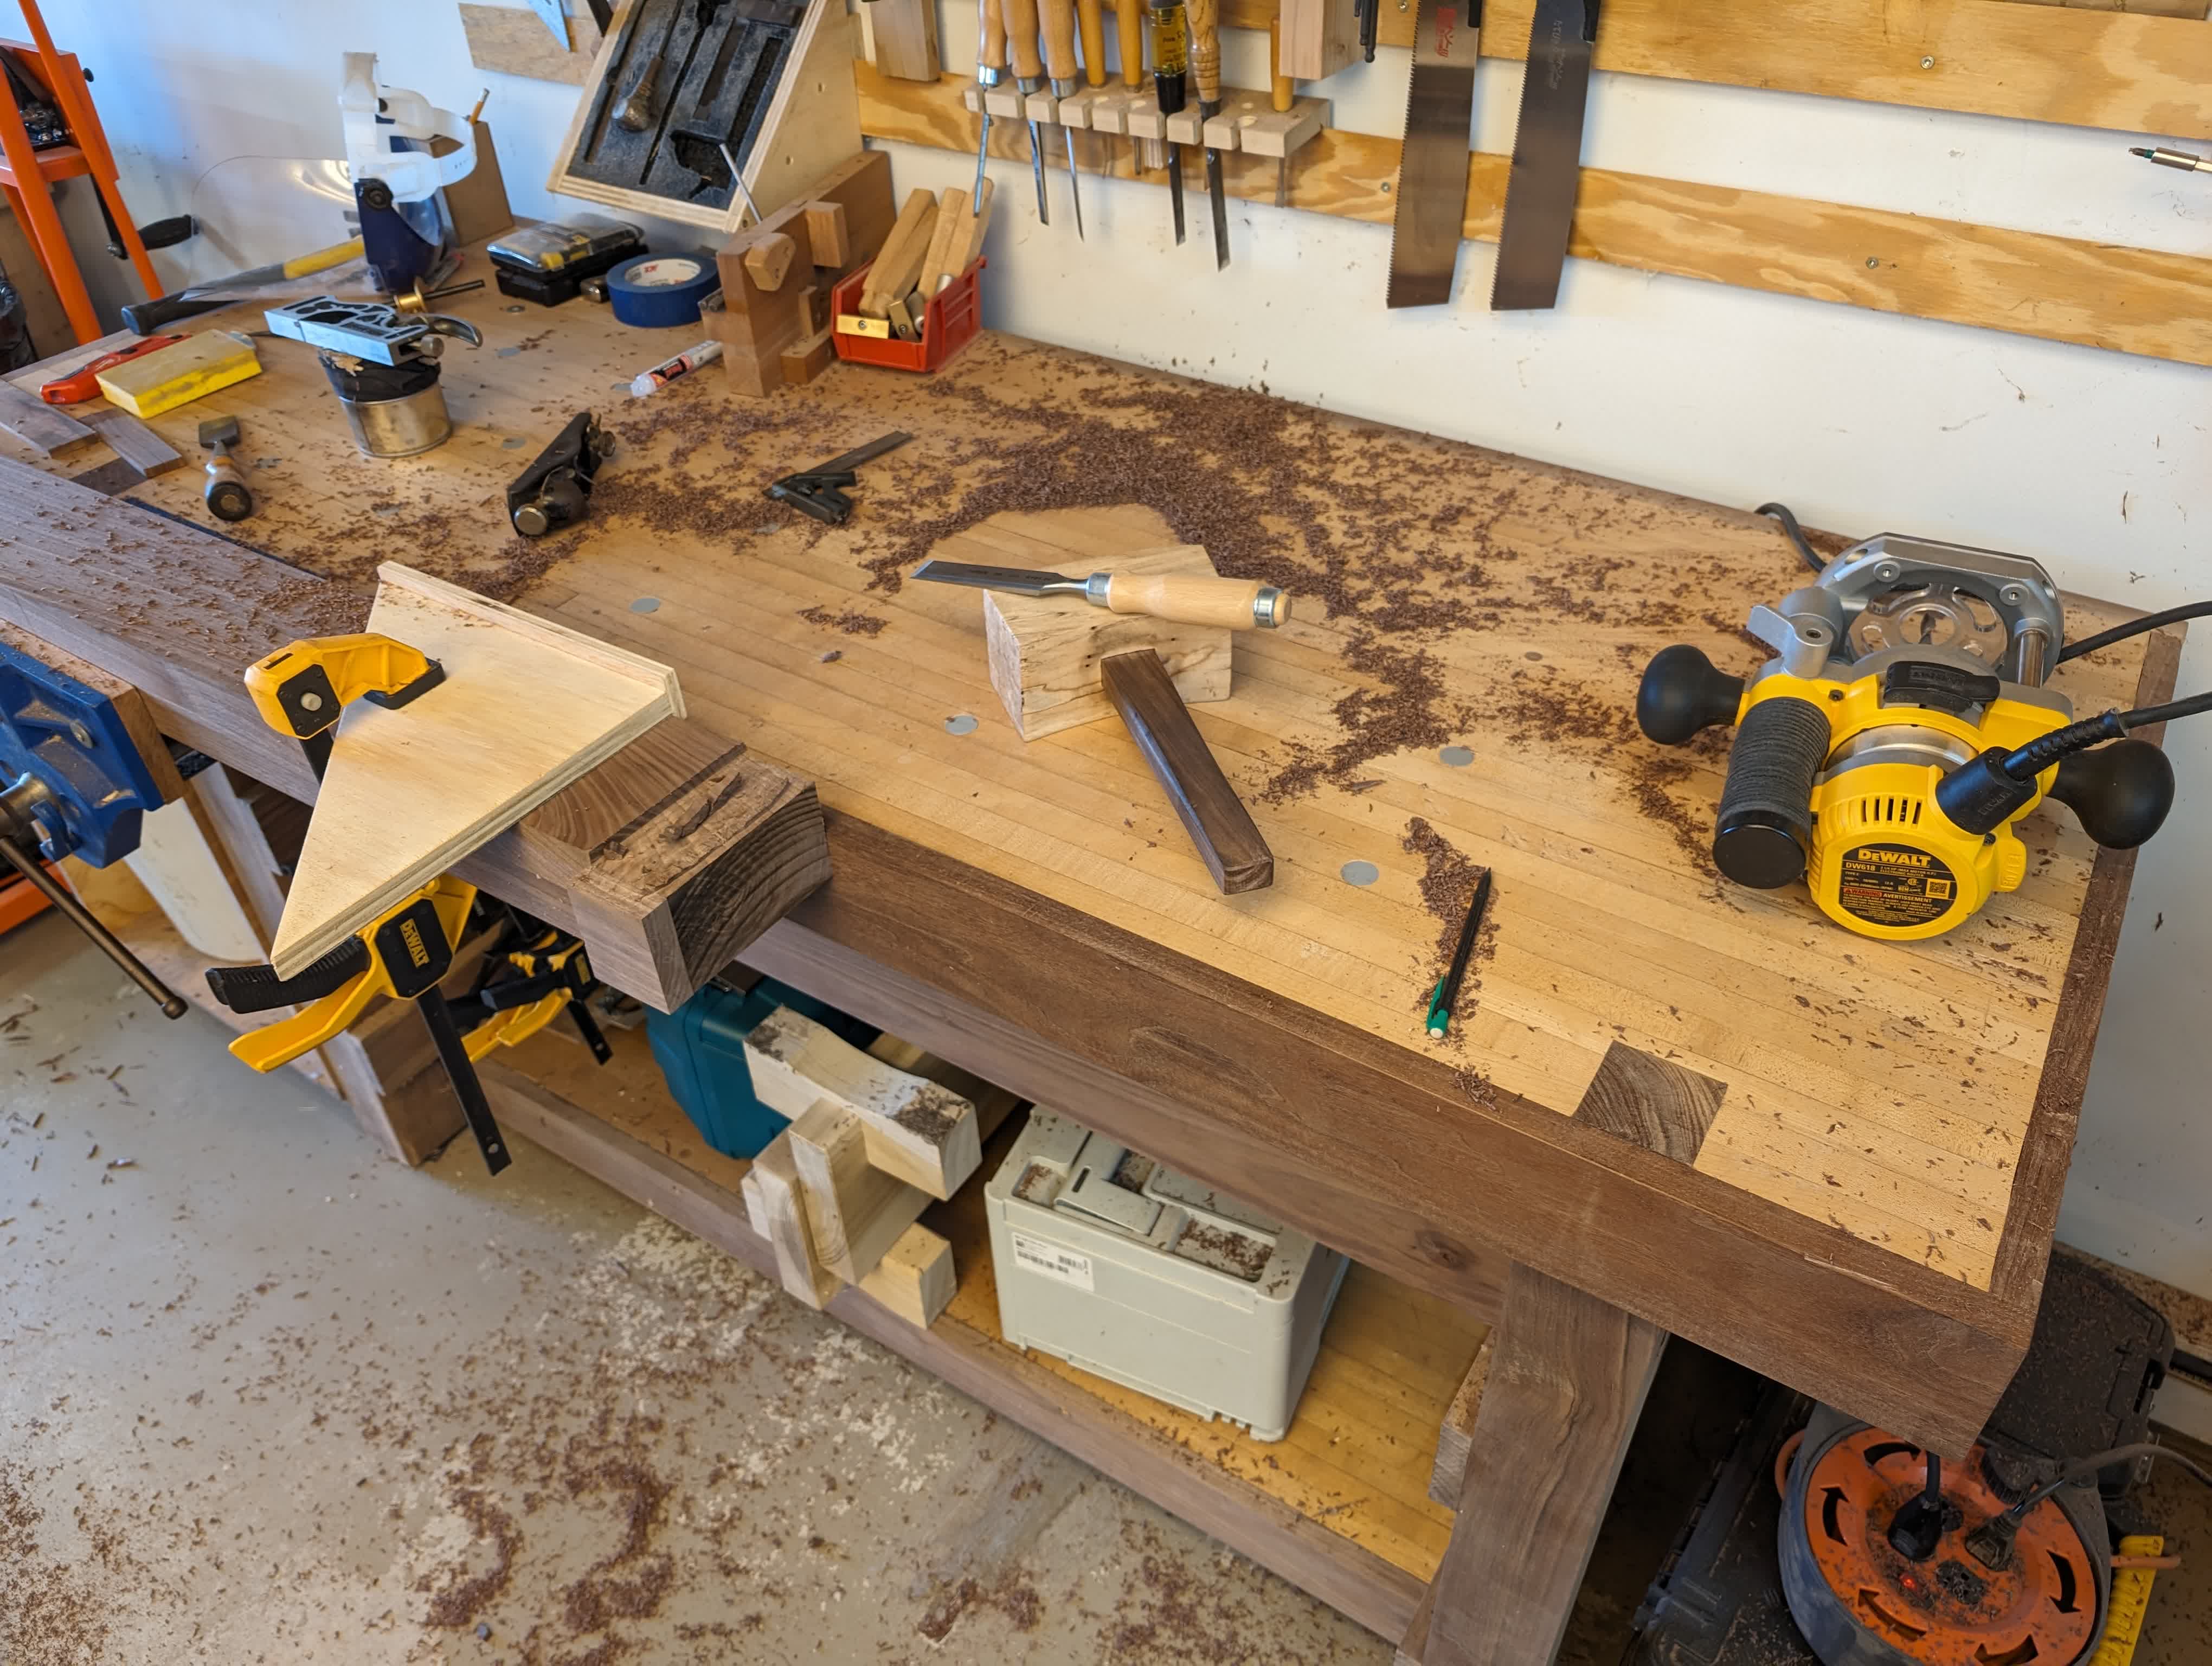 |
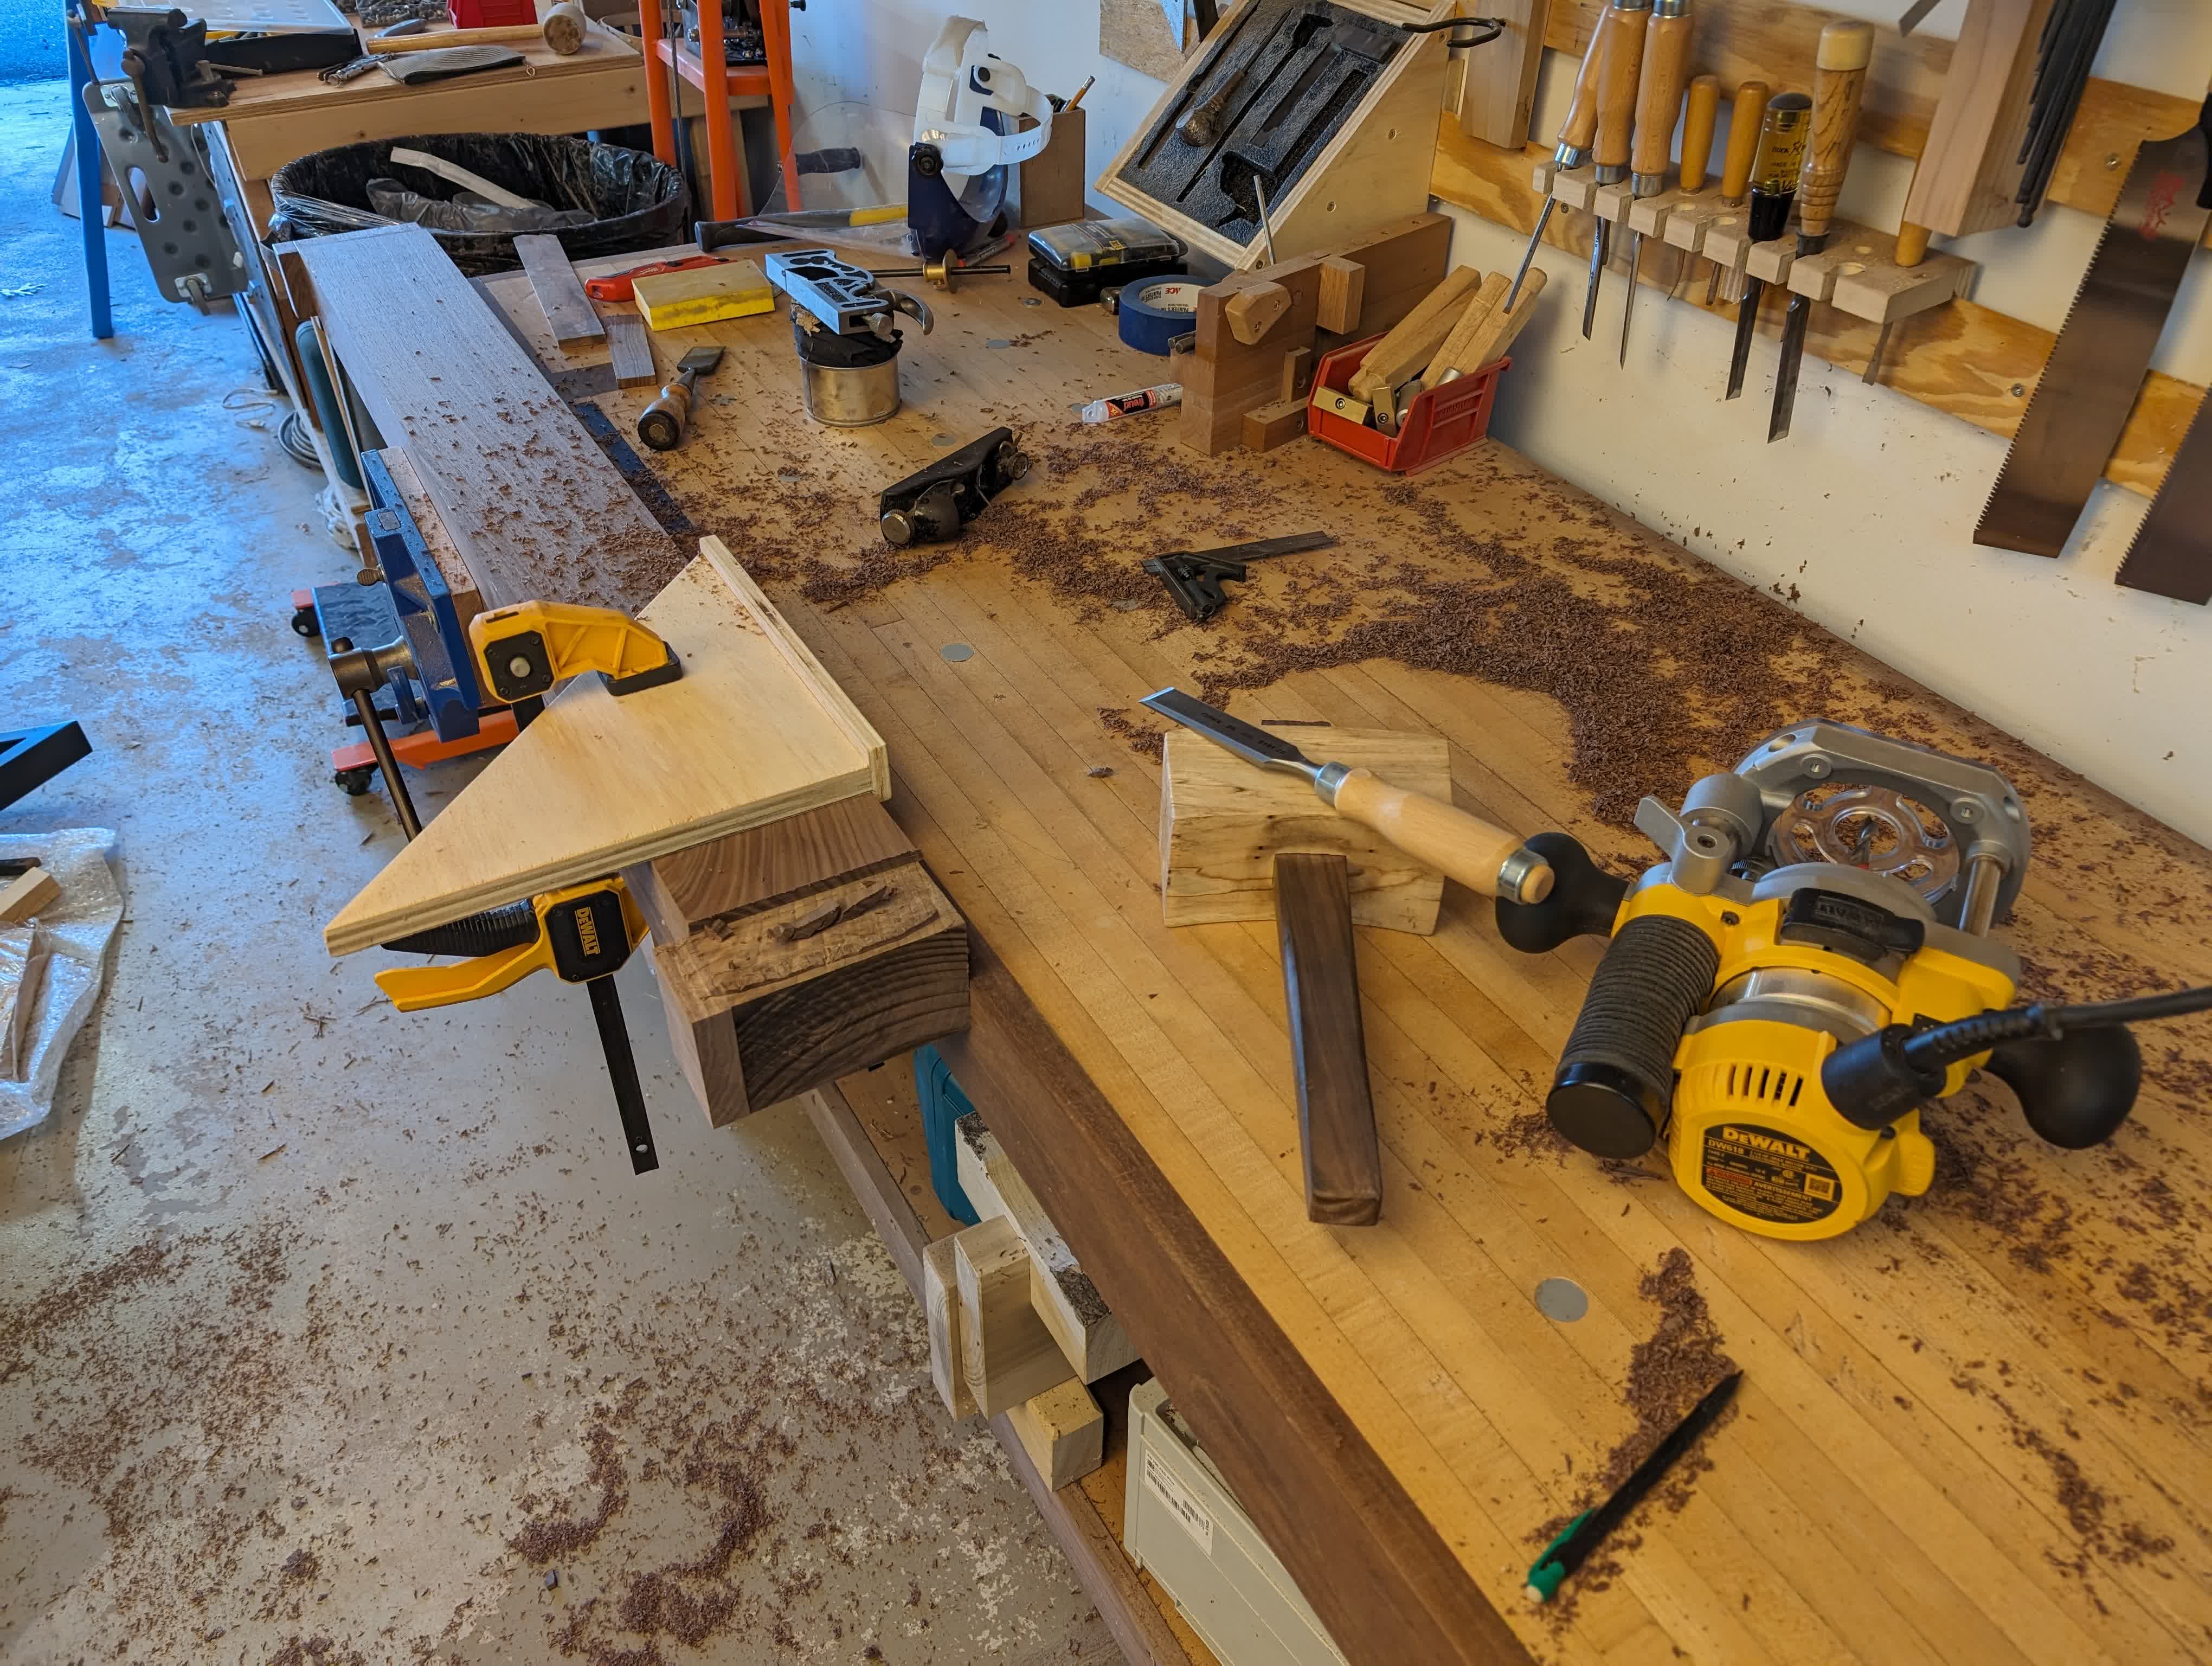 |
With that it just needed some finish and I could put it together:
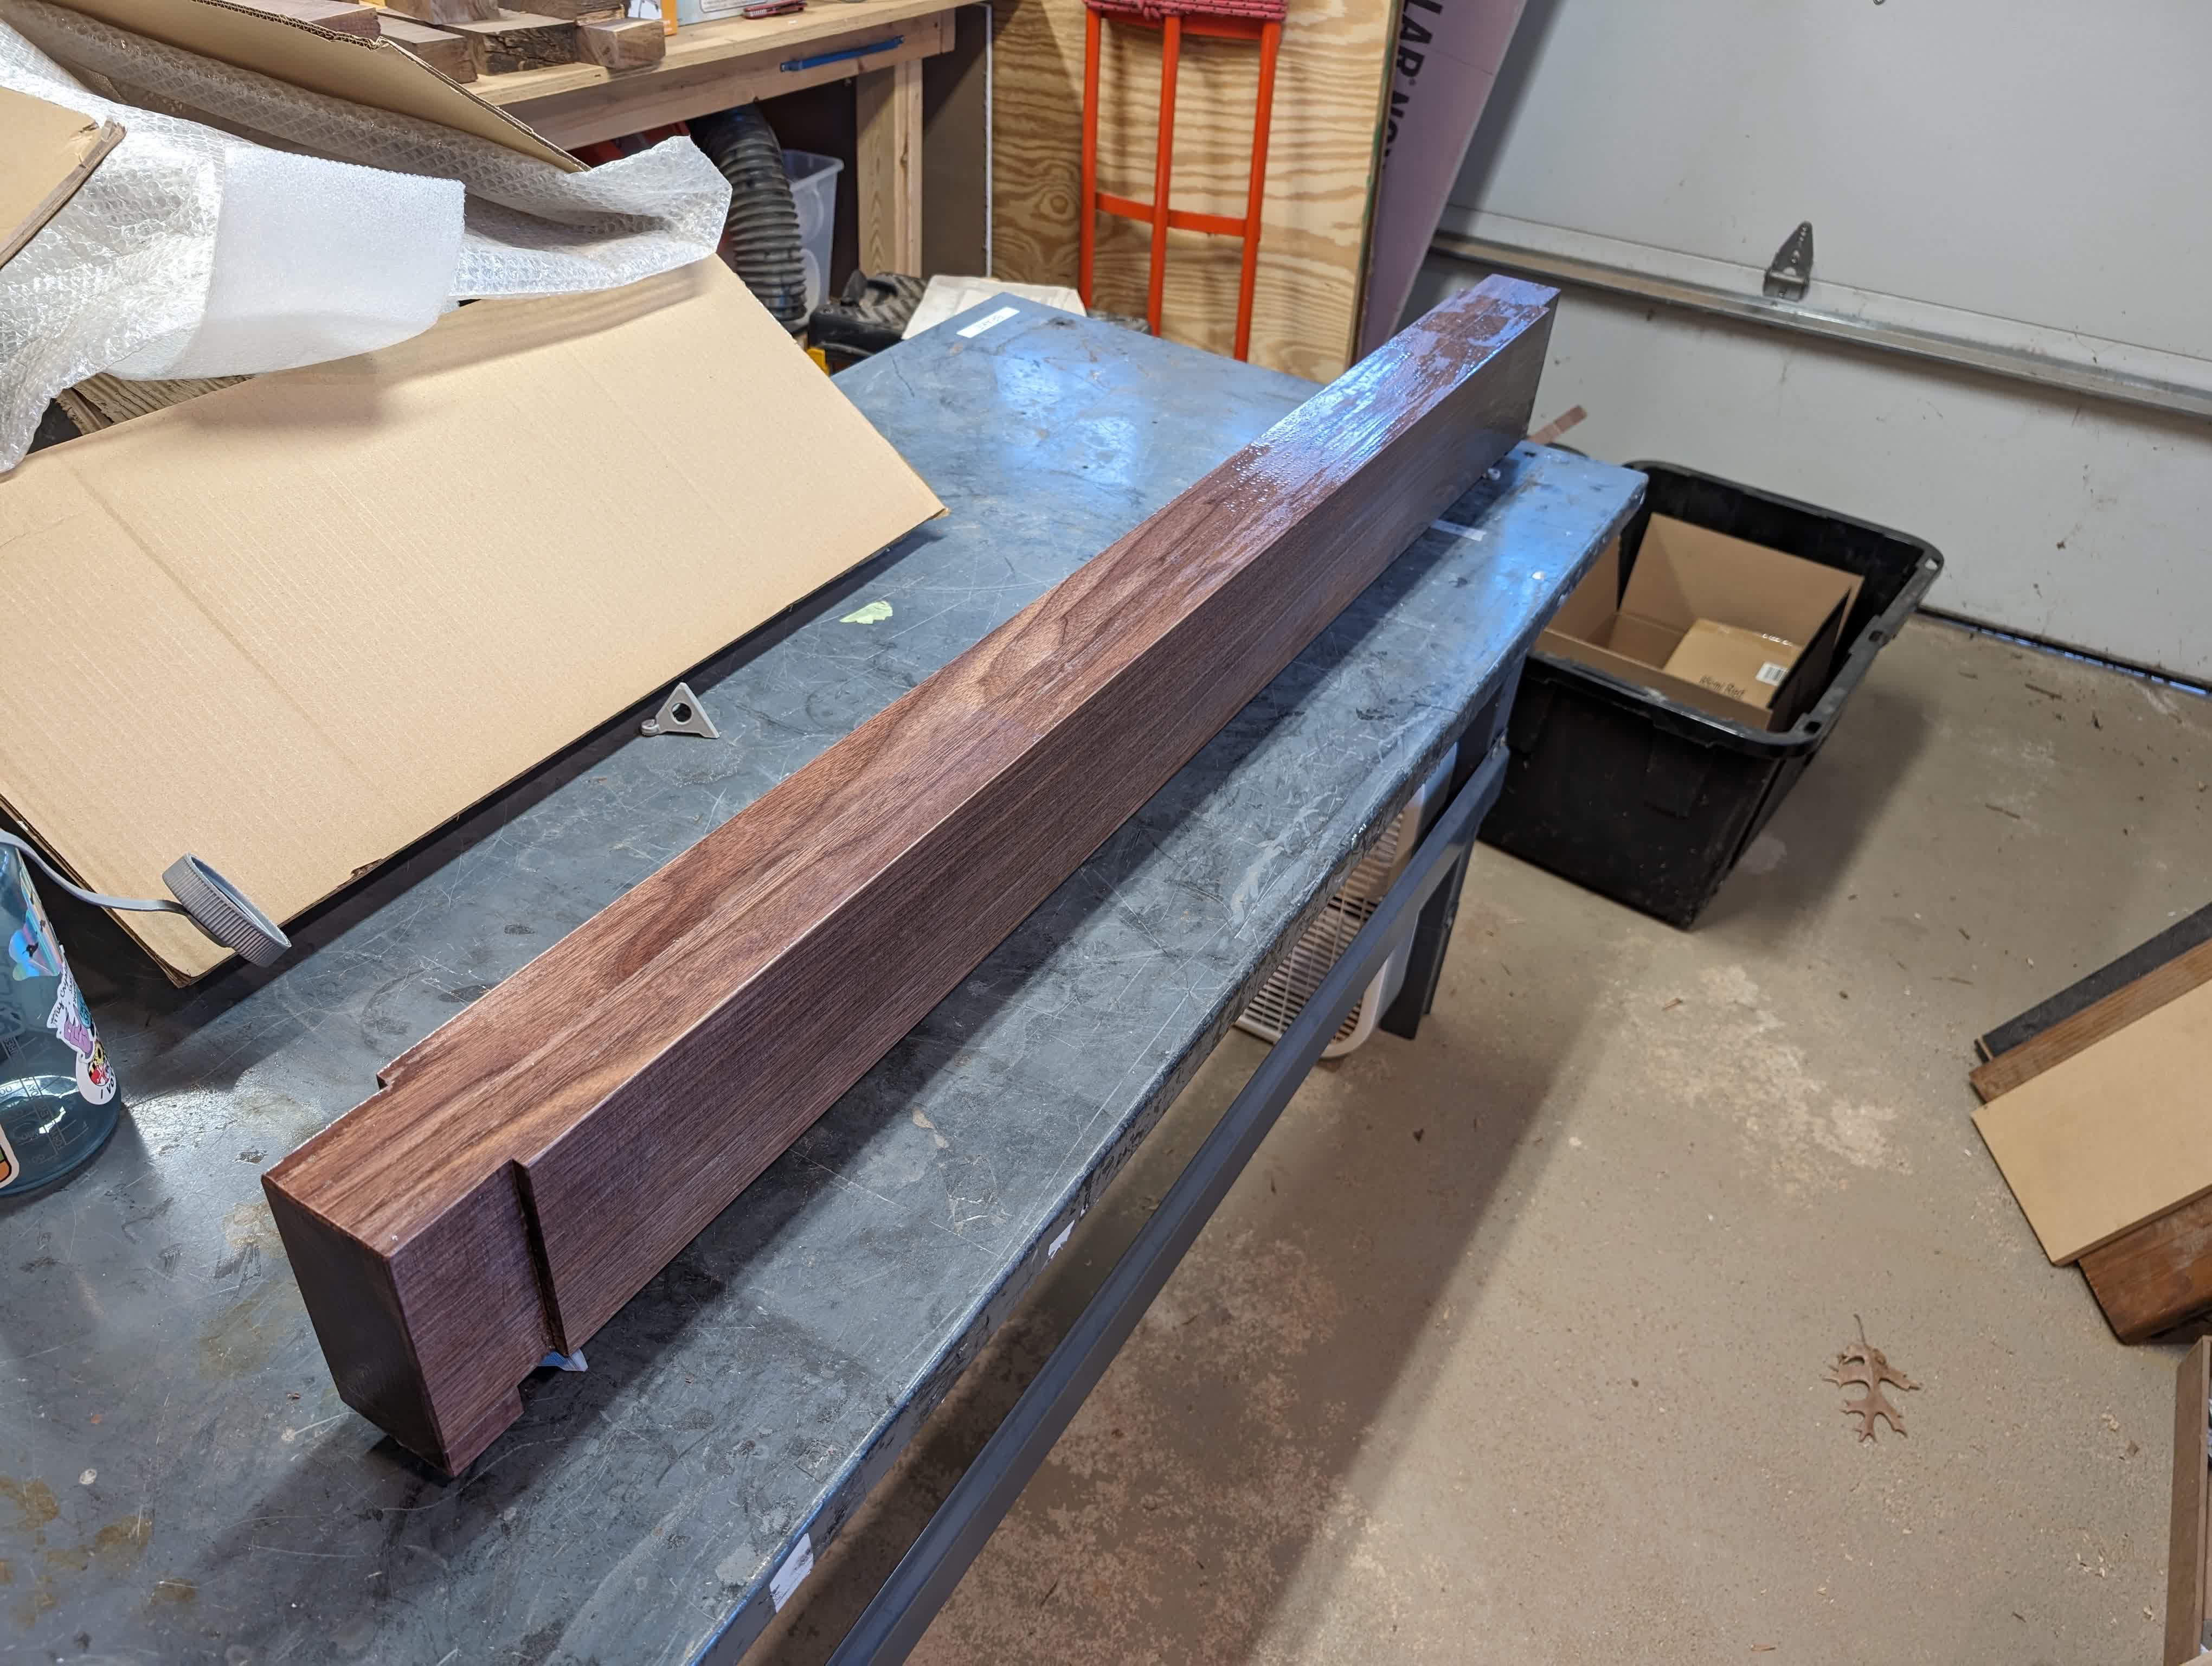 |
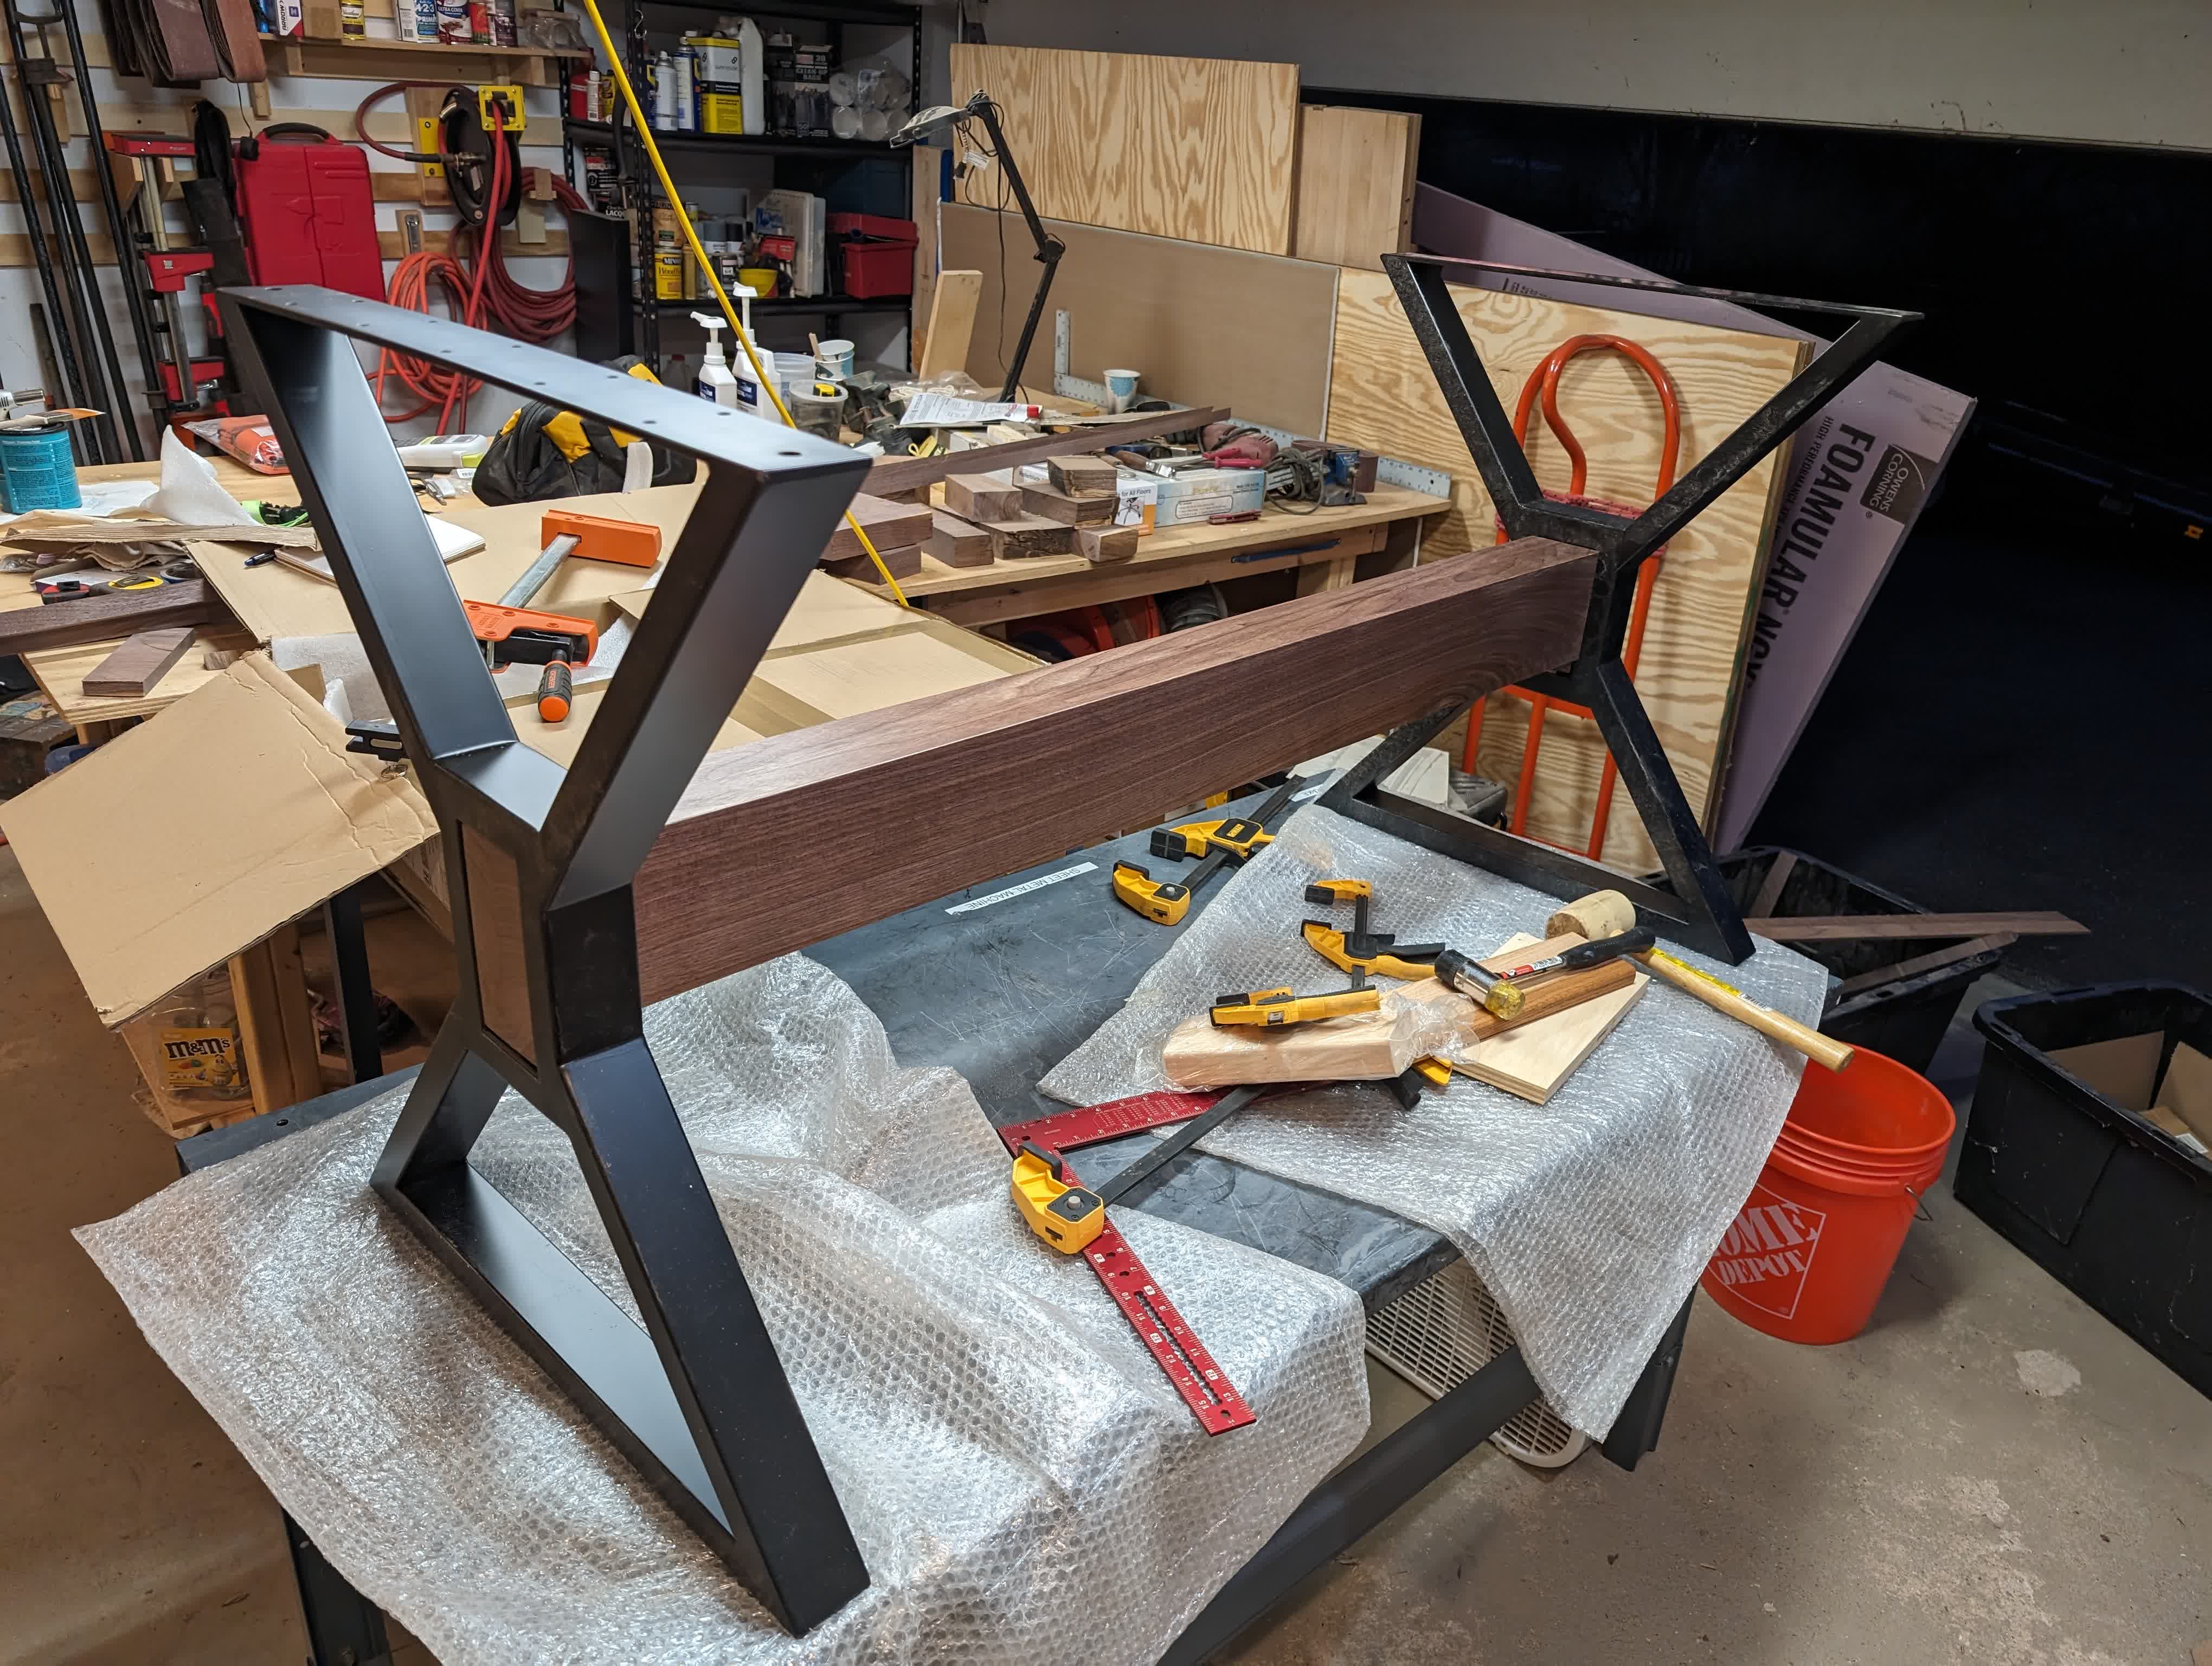 |
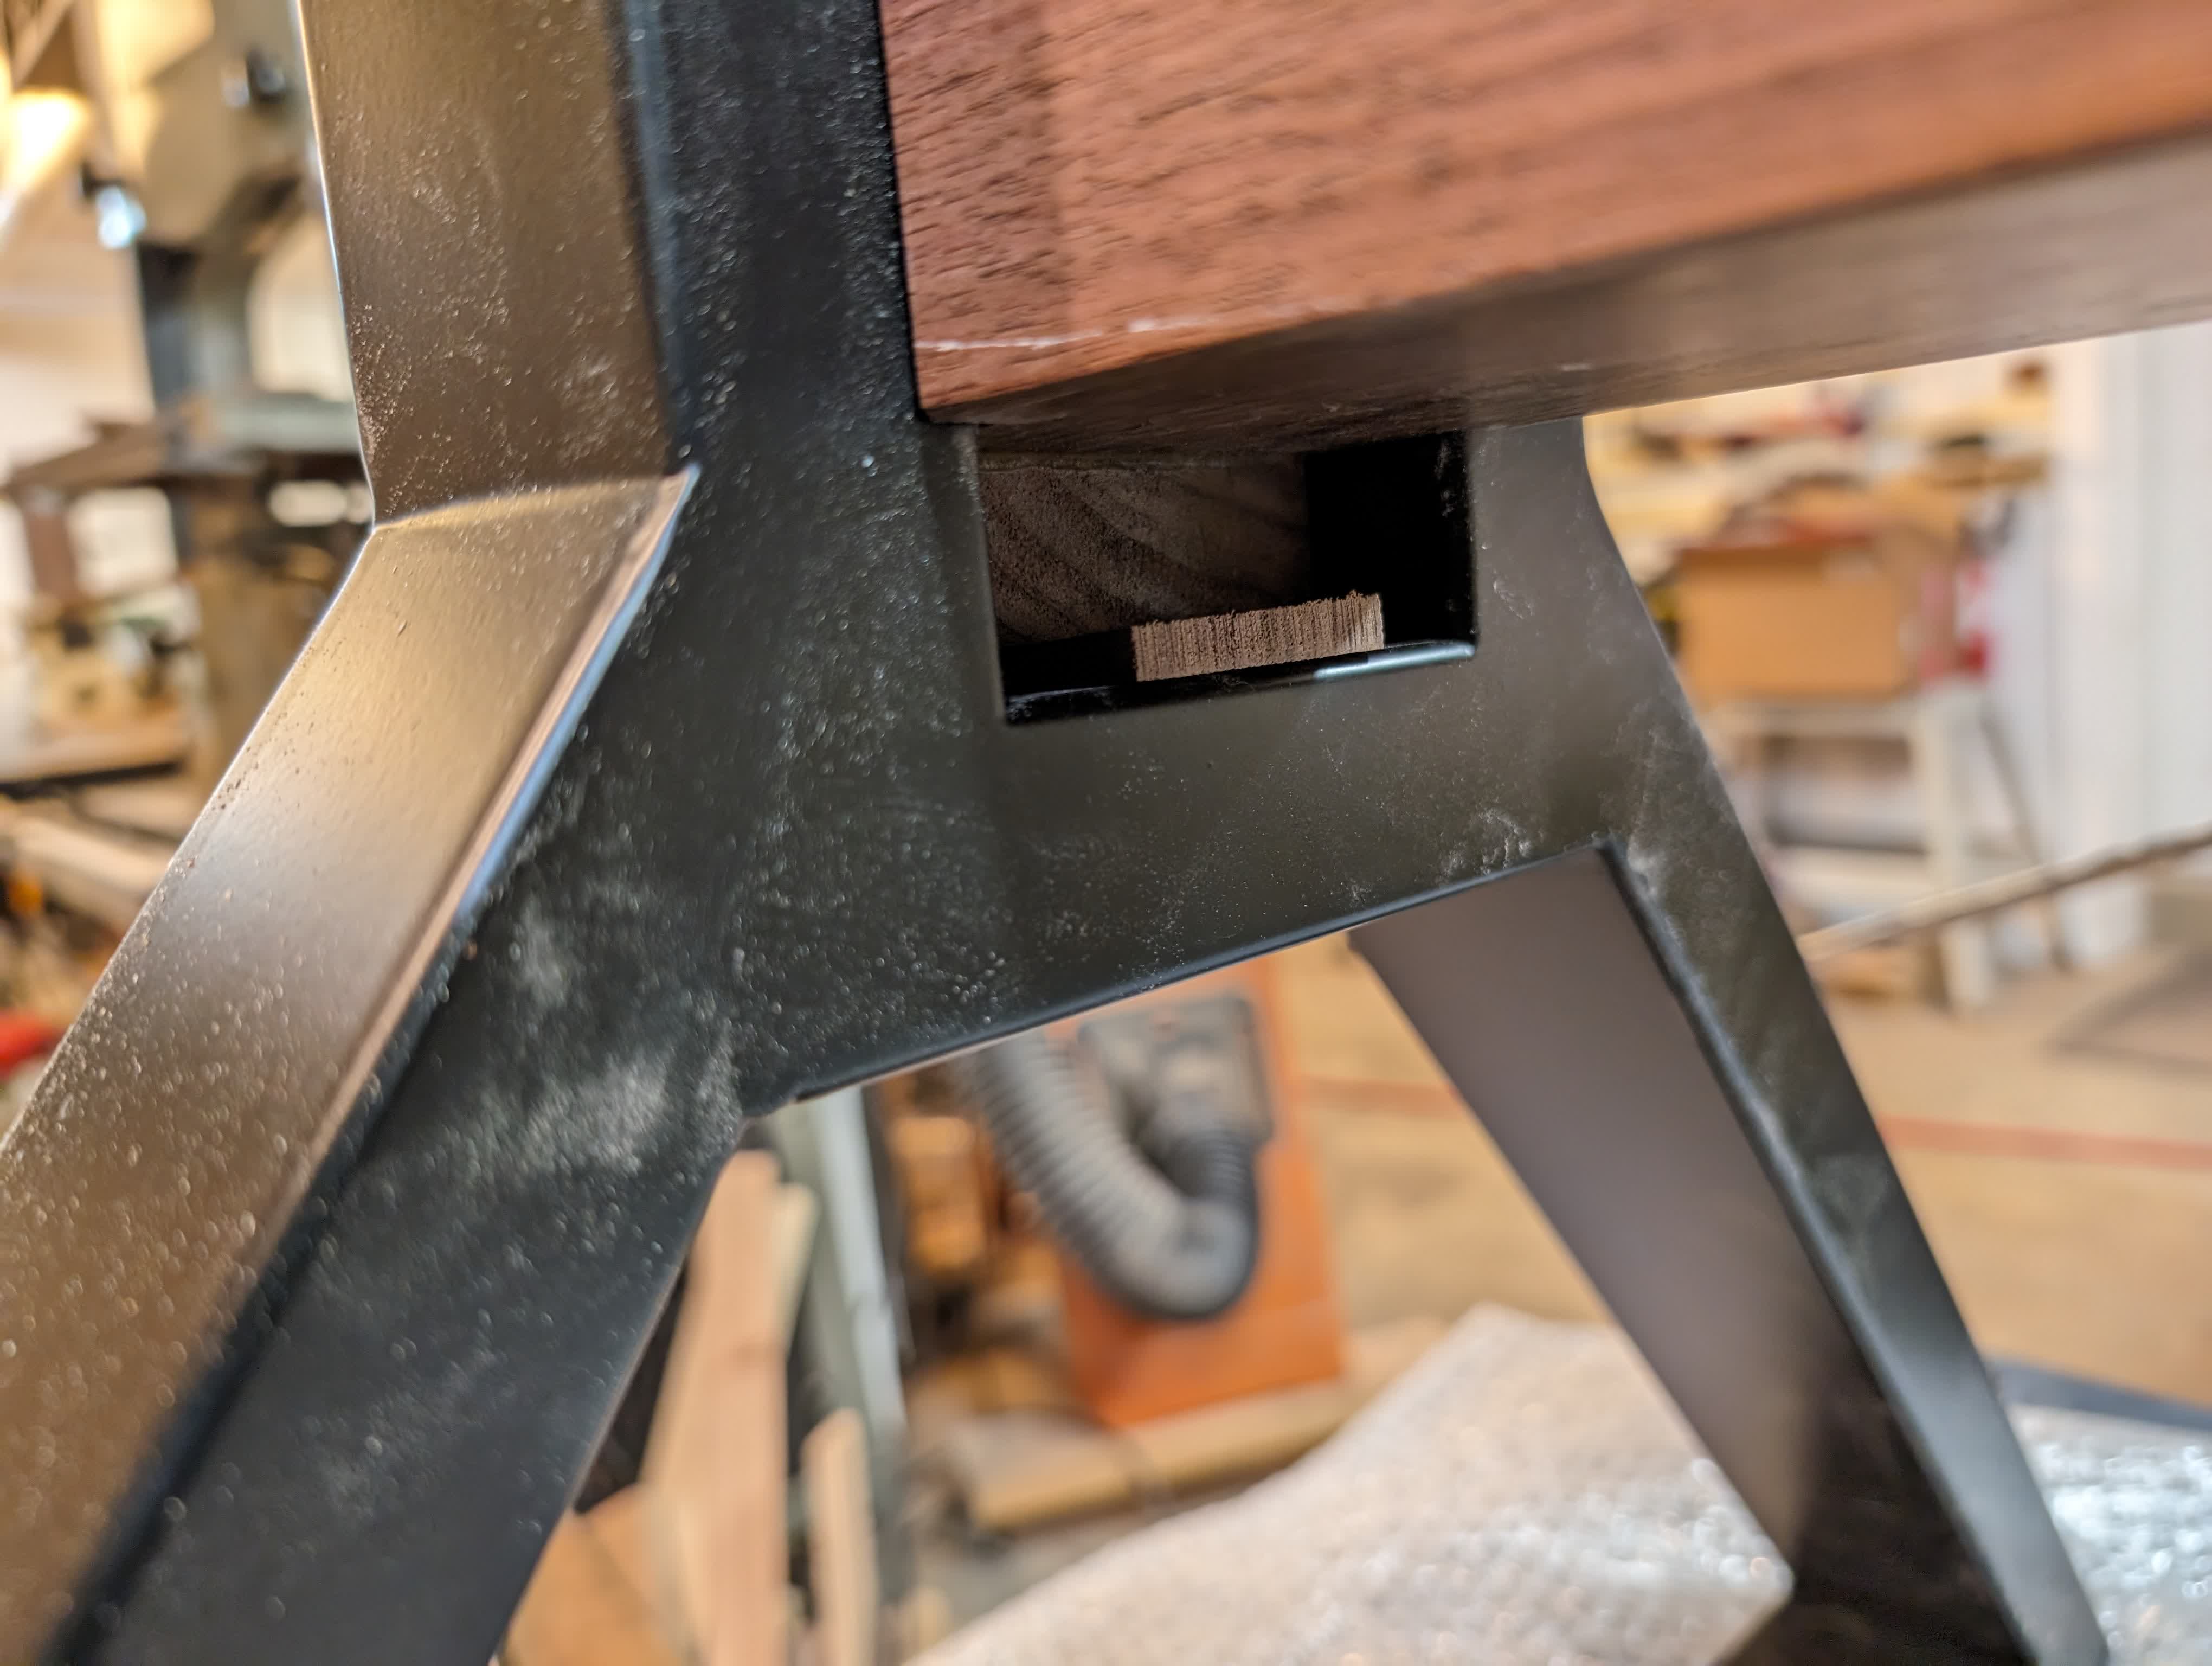
To get the tenon to stay in and the base to be rigid, I made sure it was pretty close to the exact right size for the opening and made a shim I could wedge in to make it super rigid / strong (even without the top attached).
 |
 |
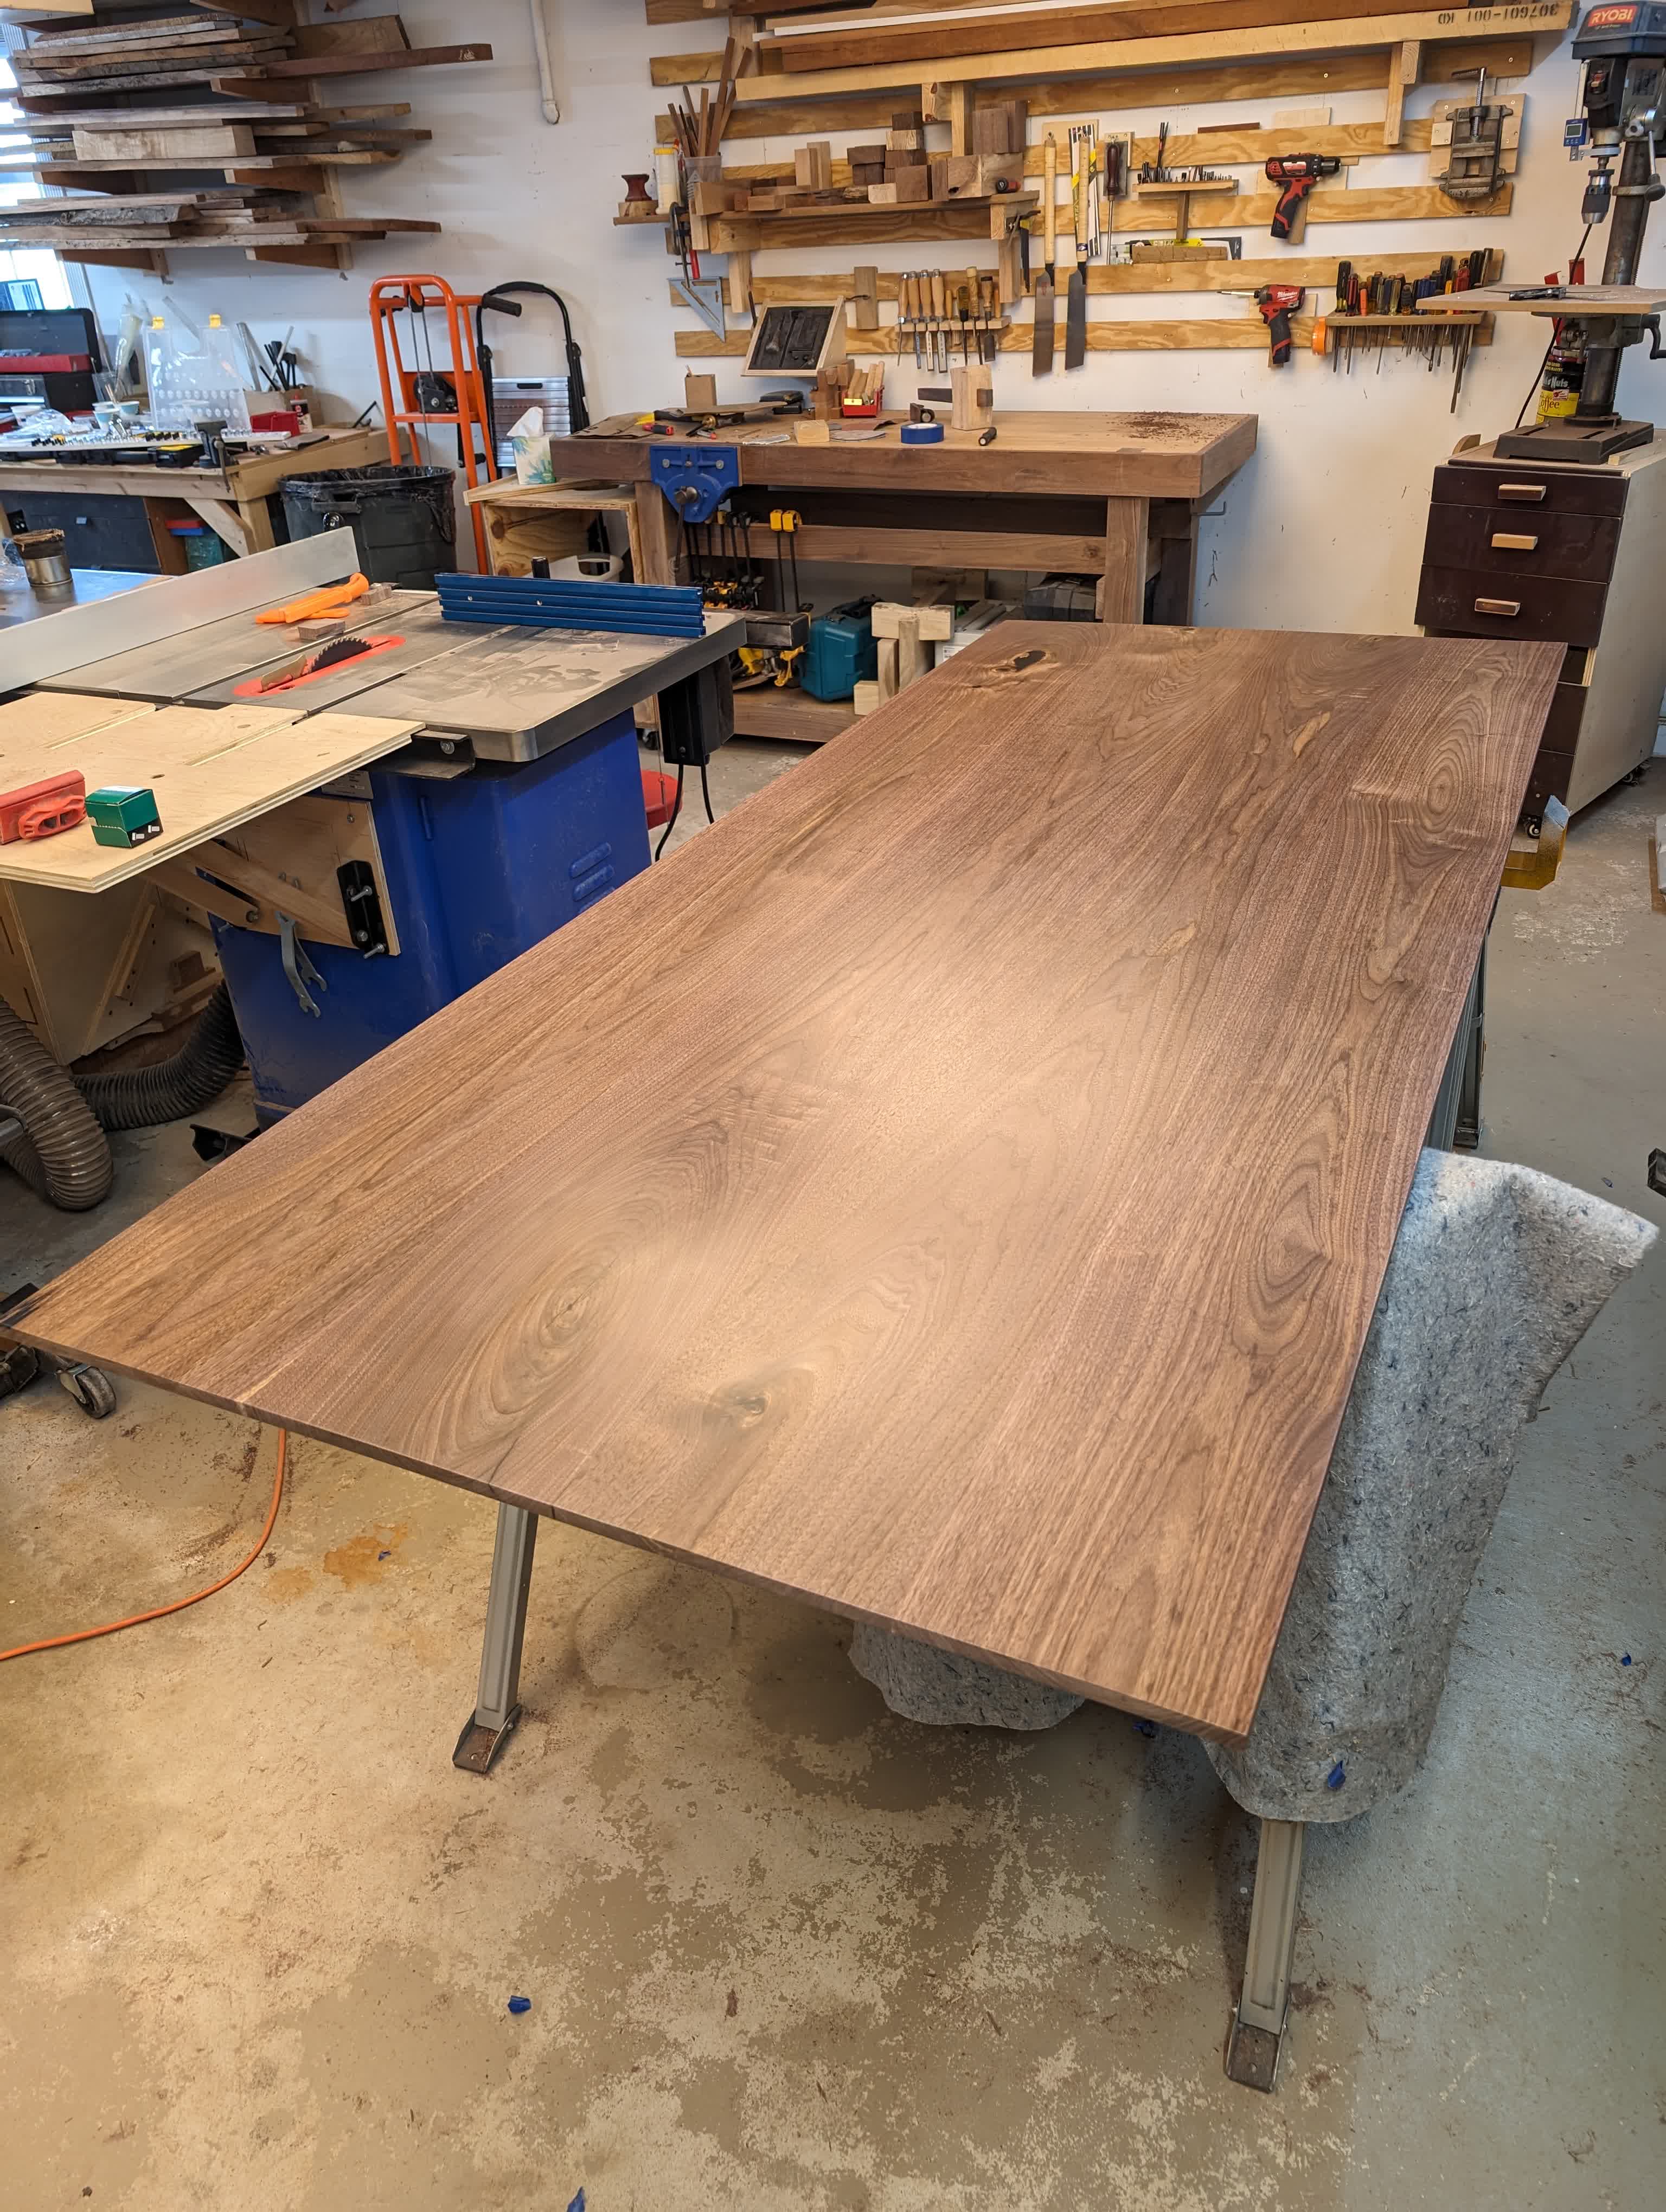
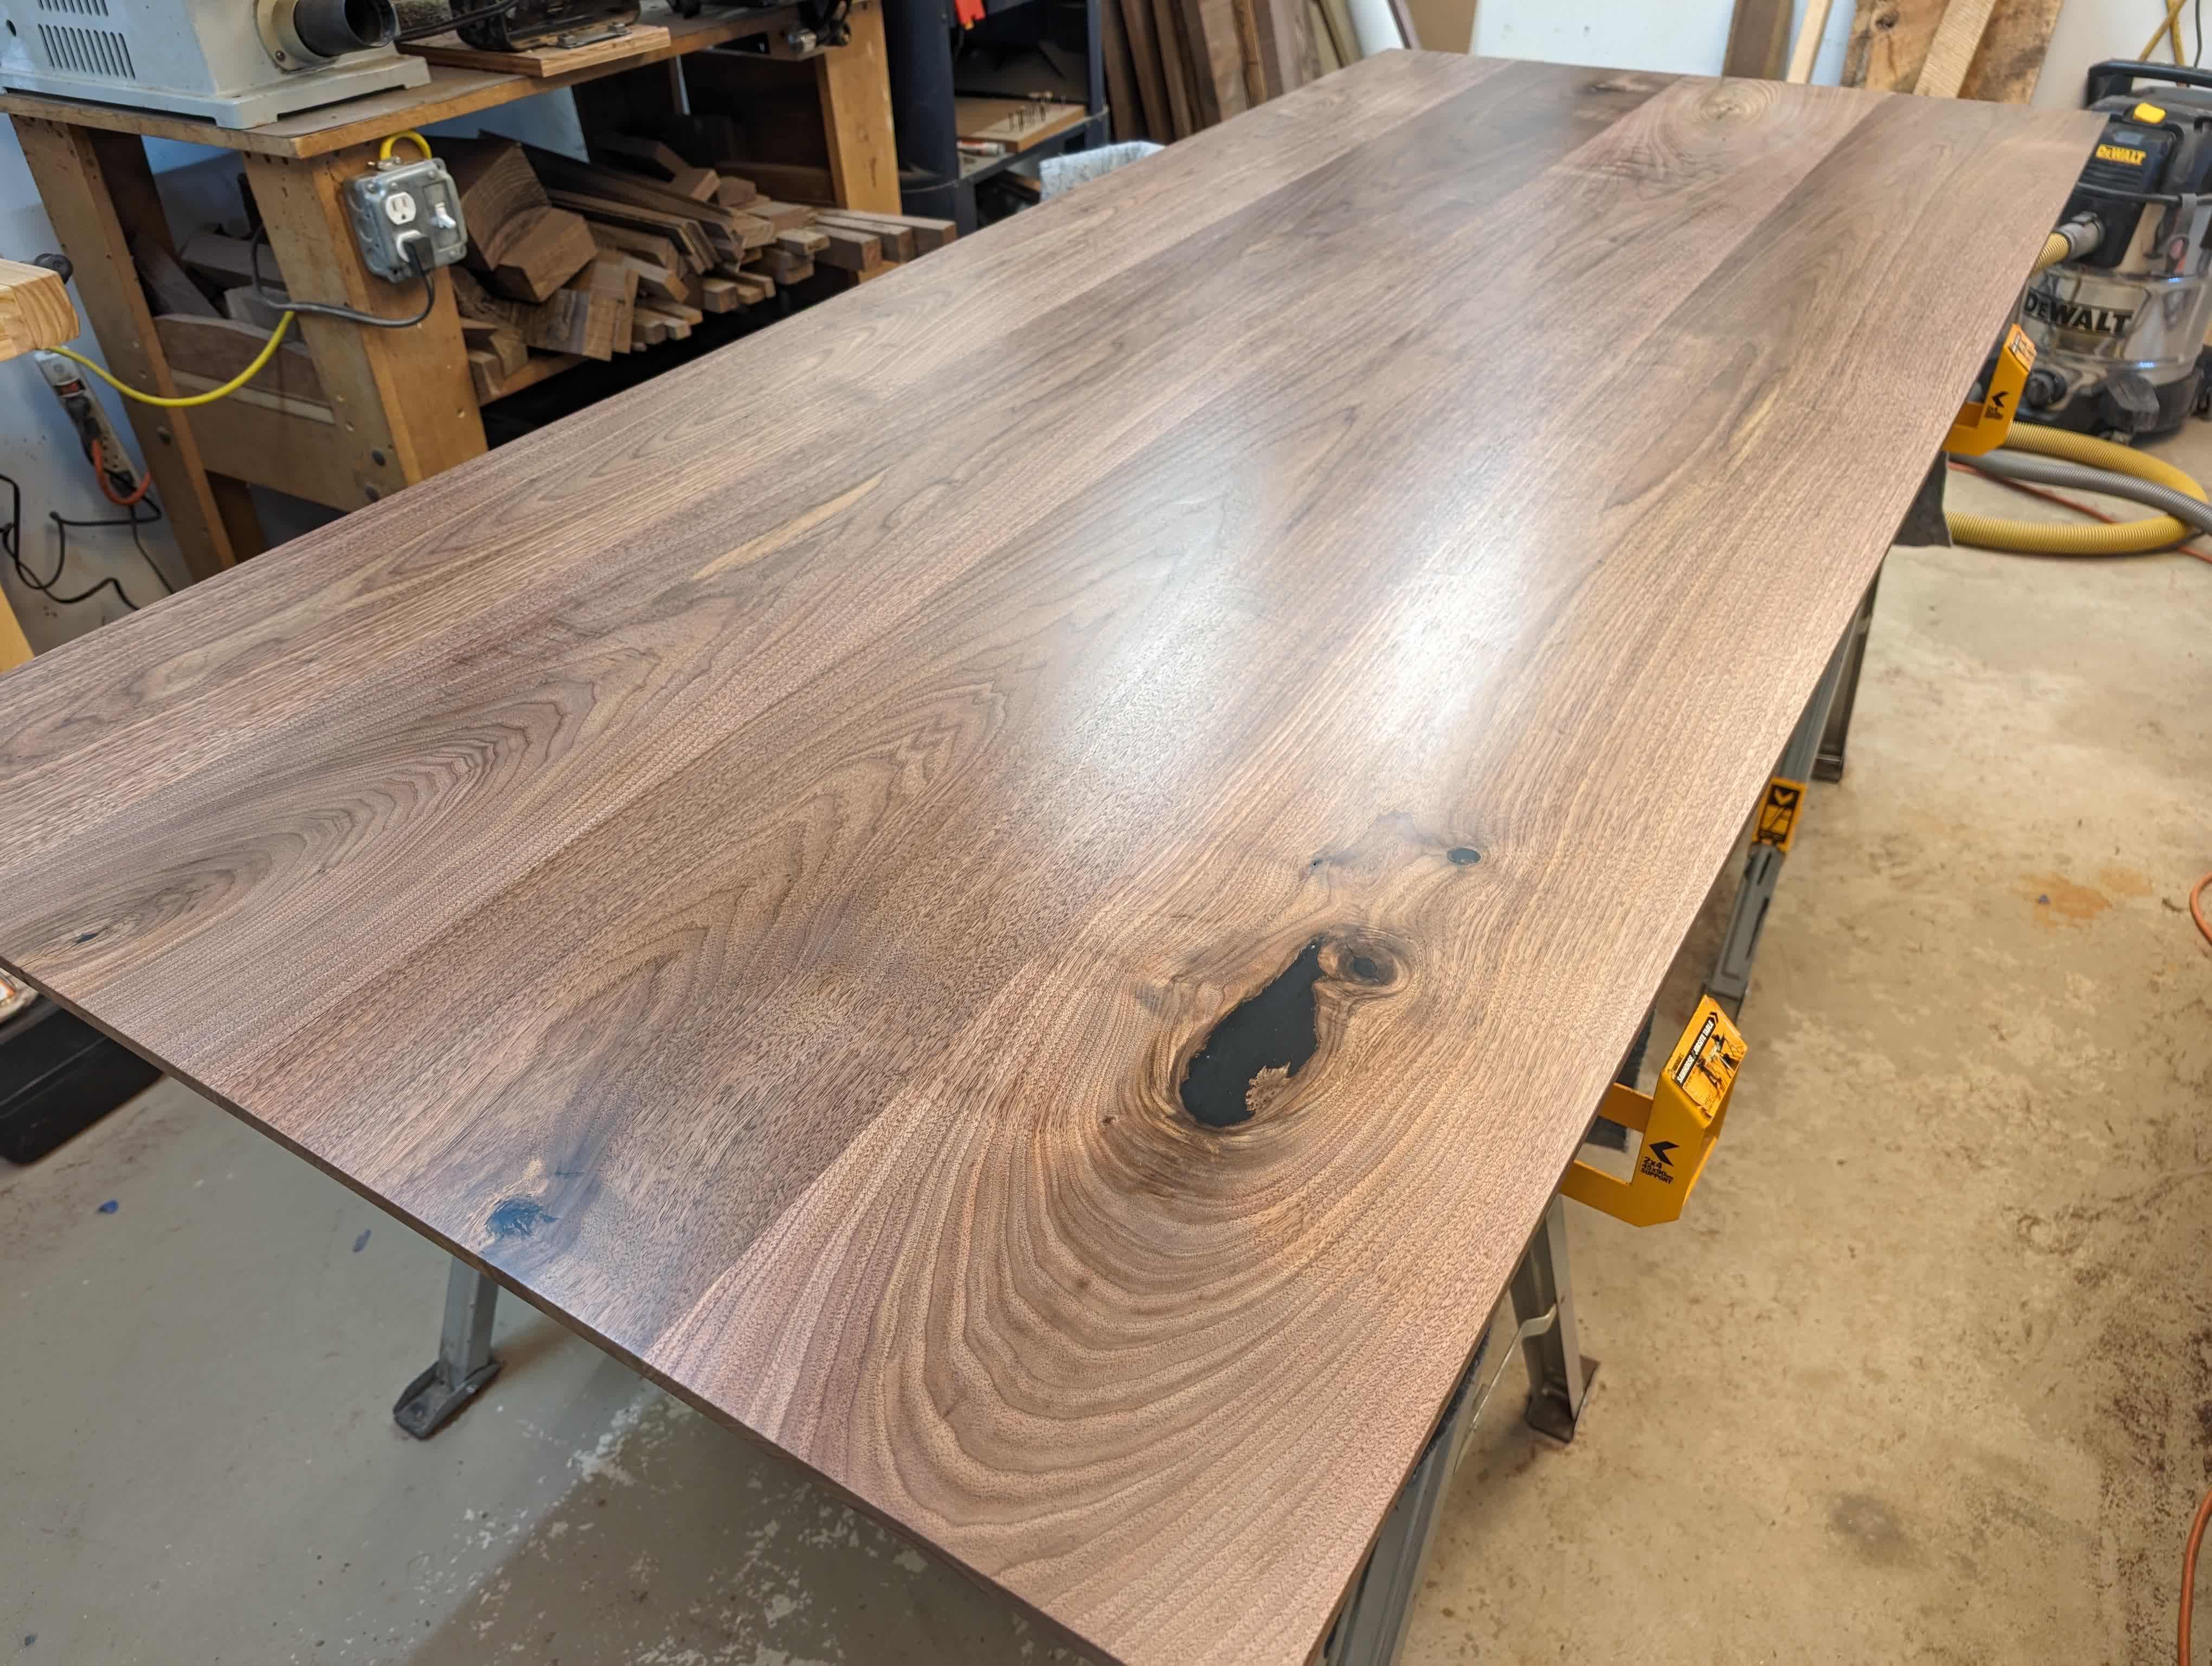
After quite a few coats of water based polyurethane, the top was also now finished.
 |
 |
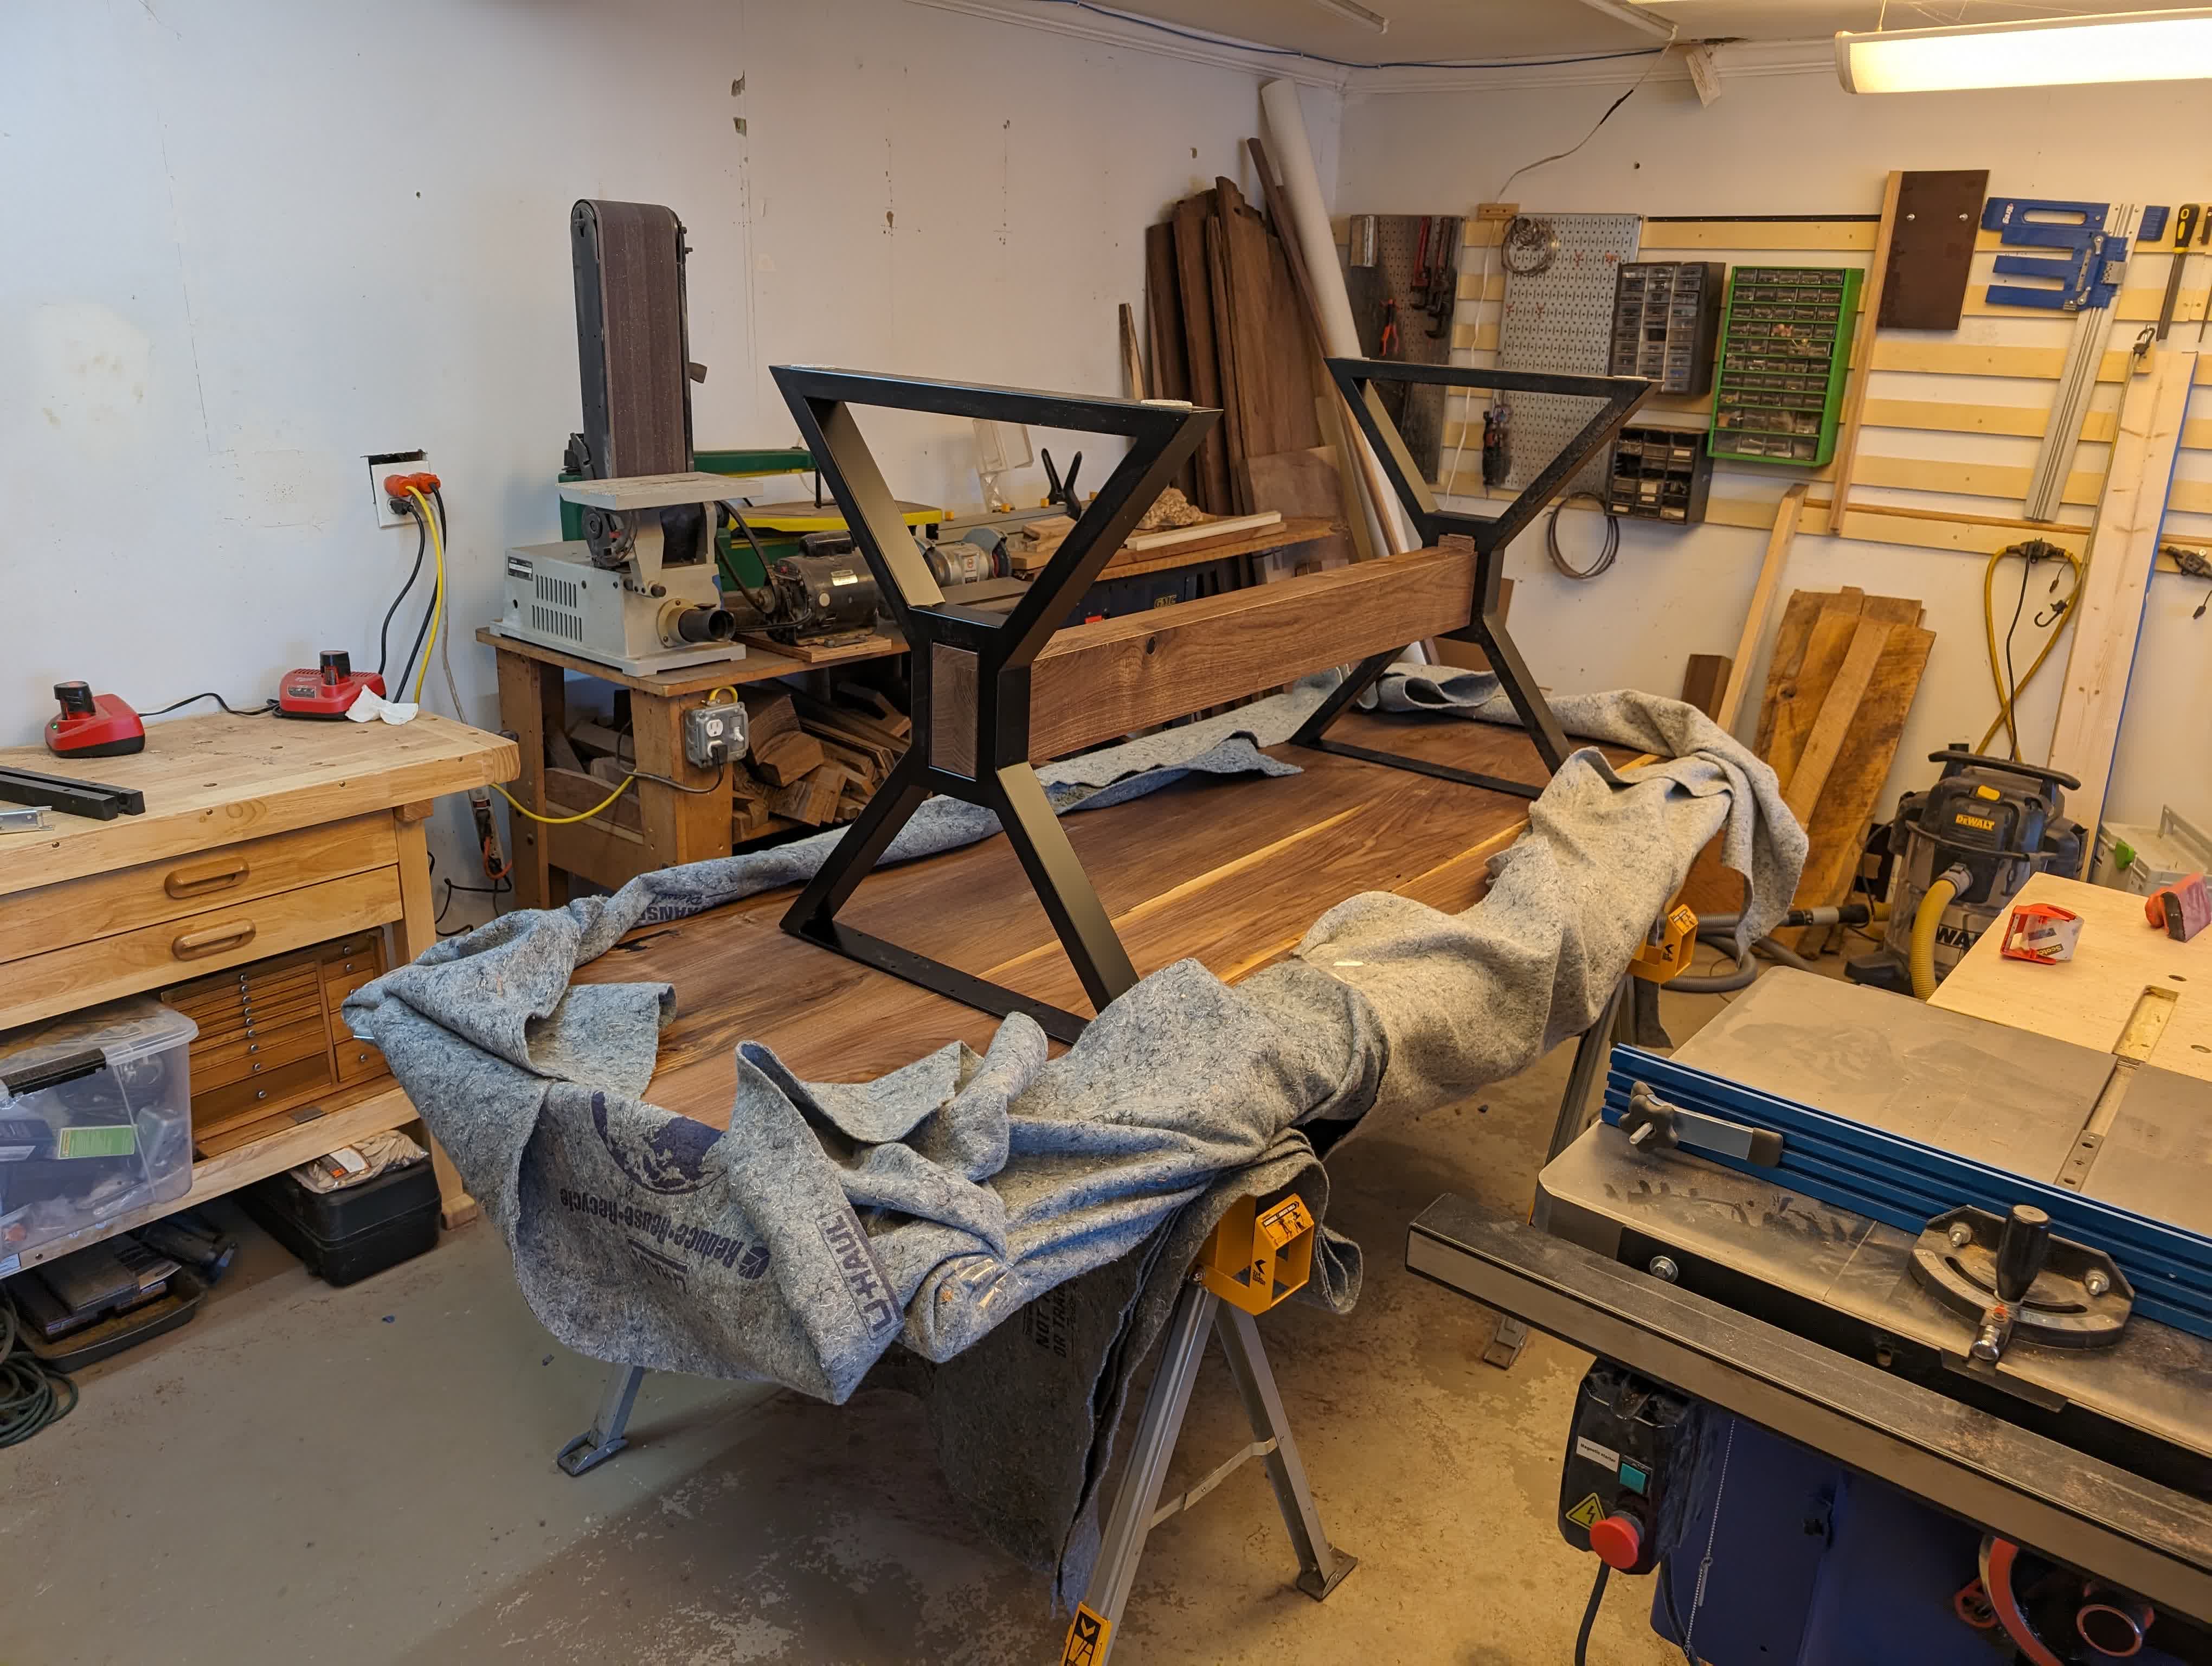
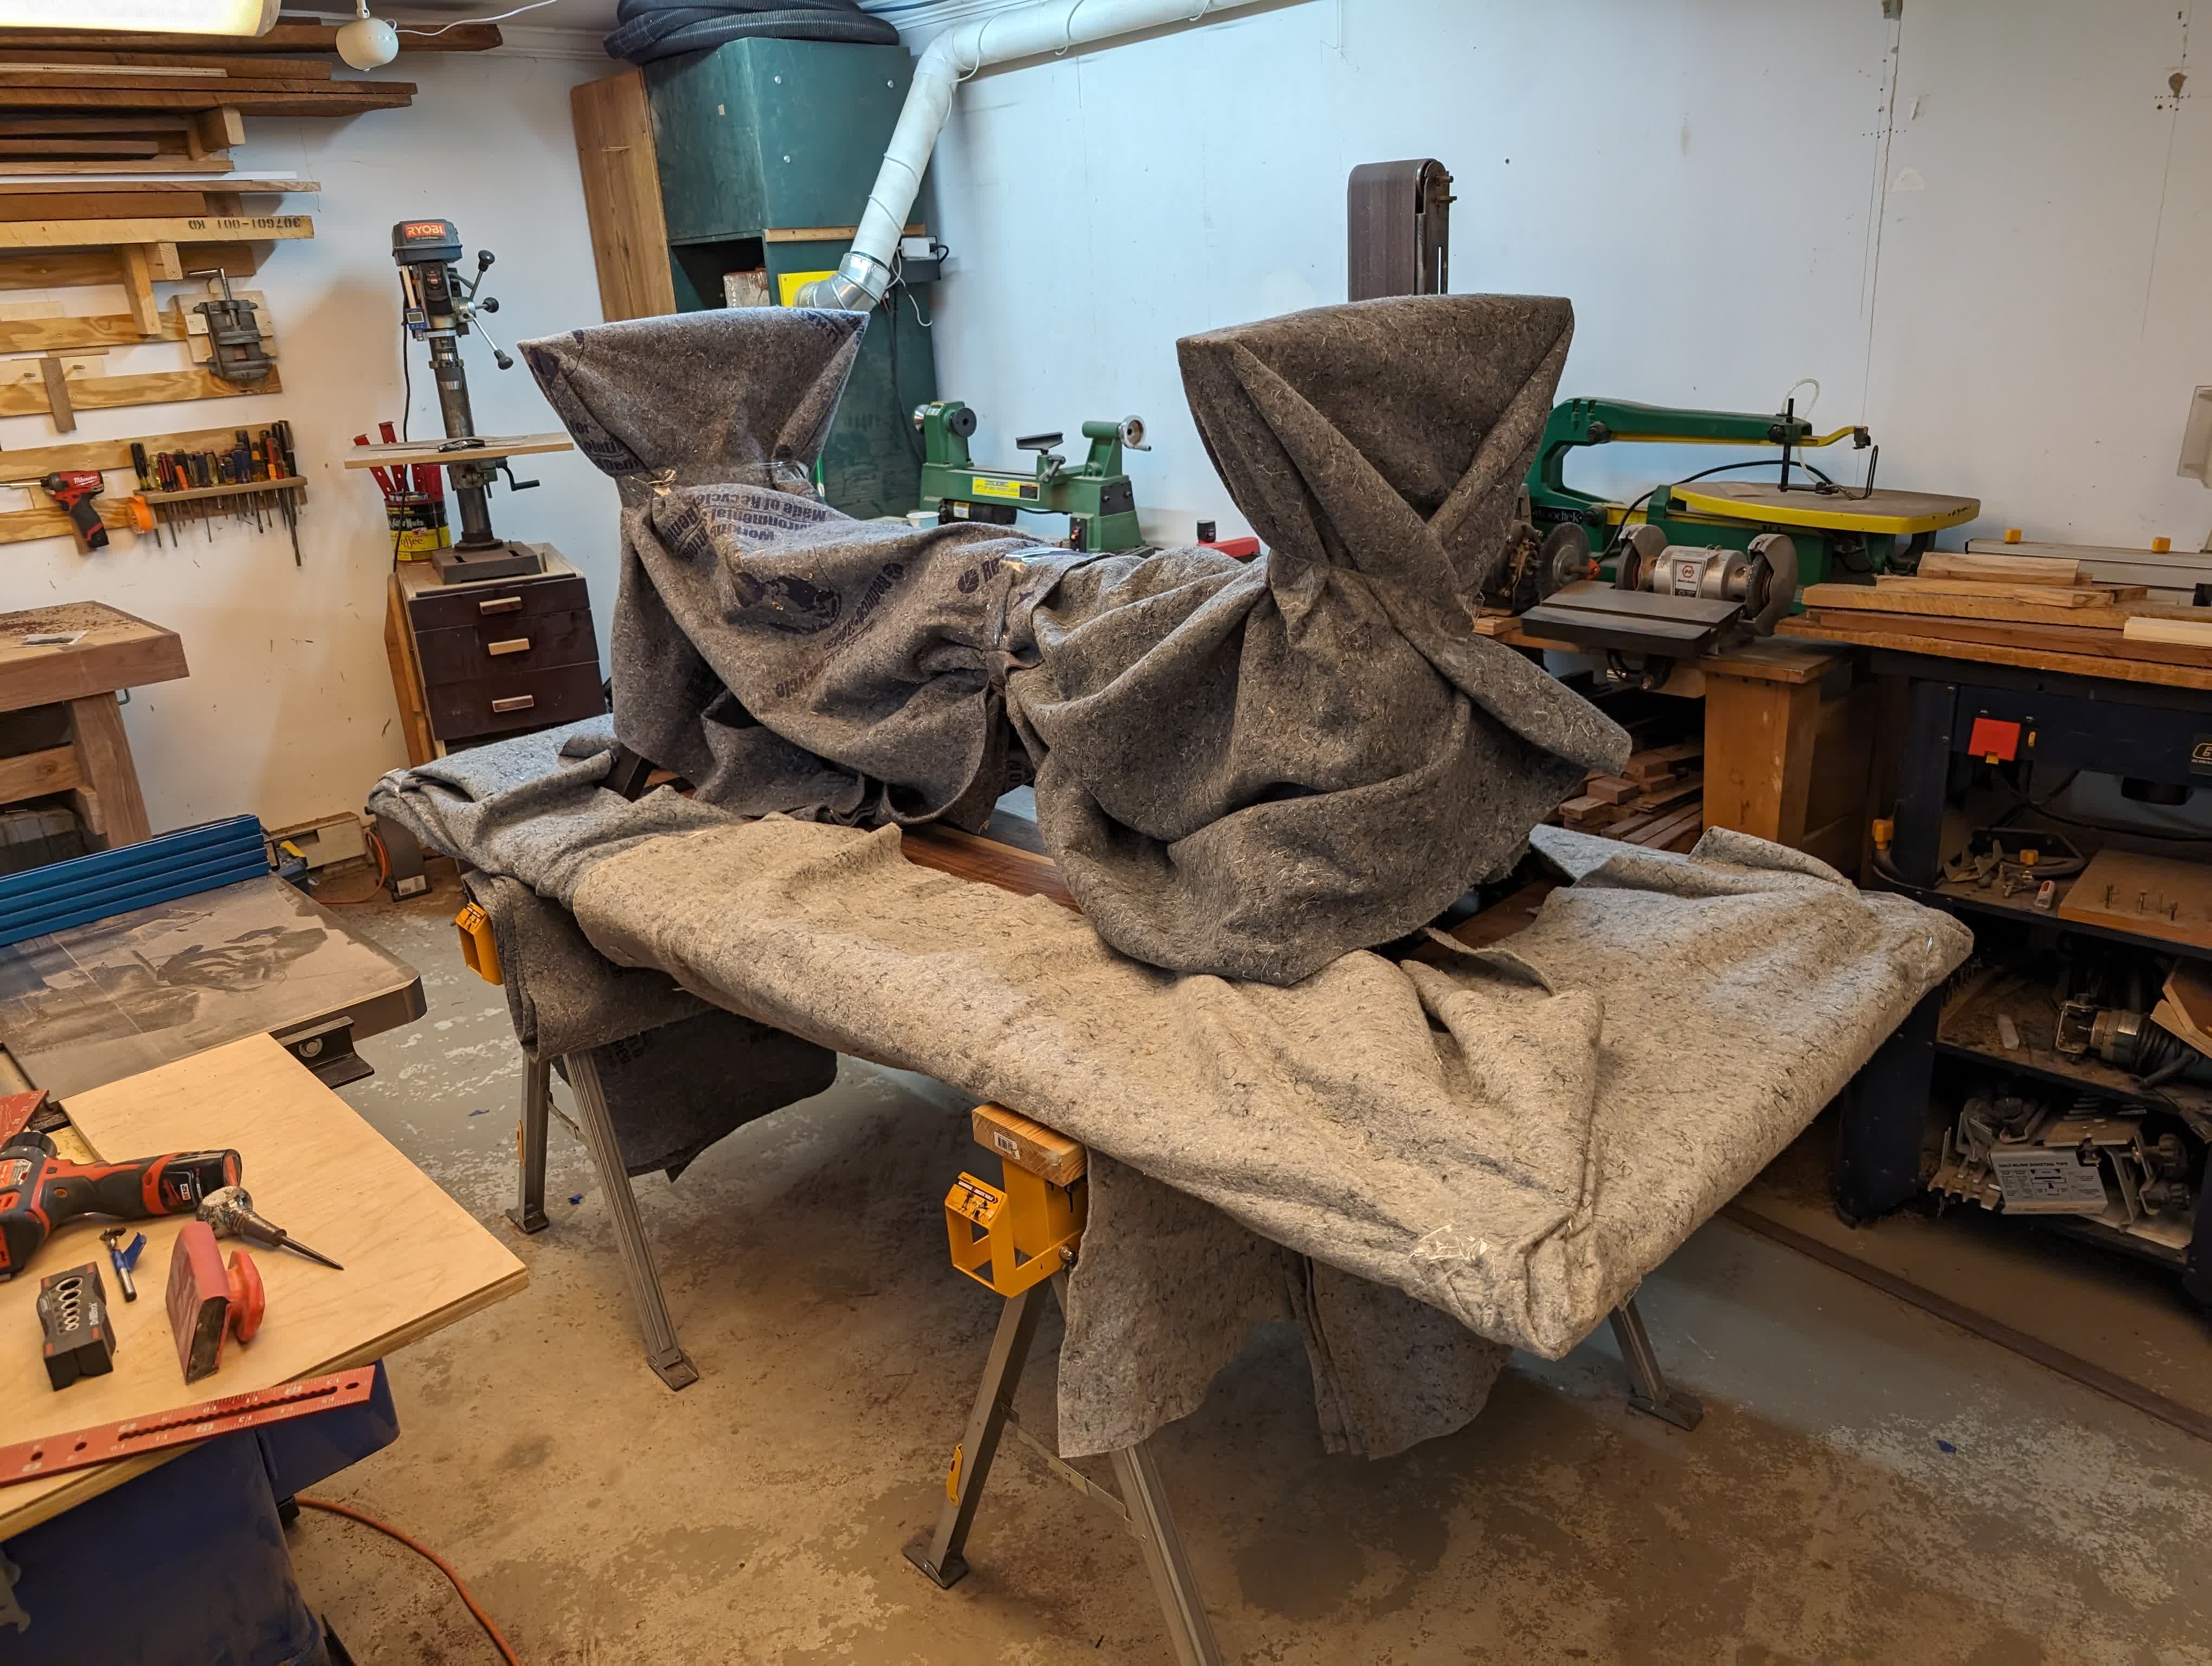
I drove this up, so before putting it in my truck I wrapped it pretty good with moving blankets.
 |
 |
And I think it turned out pretty well!

